
Hooray! You finished that sweater. But don’t throw it on just yet — you have to block it first so it retains its shape as you wear it. (You don’t want to end up with droopy sleeves or curled up hems later on!) Keep reading for a blocking knitting tutorial.
Put simply, blocking is a technique where you wet and reshape your knitted project. Let it dry on a flat surface and then, voilà, the item will hold its form.
.What Types of Knits Should Be Blocked?
For some casual garments, like a one-piece sweater that’s meant to be a wear-around-the-house type of item, blocking isn’t necessarily a must. But most knits will benefit from the shaping that blocking provides.
Blocking Tips for Different Fibers
- Natural fibers like wool and alpaca generally benefit the most from full wash blocking, where you totally soak your piece first. (See below for a complete how-to.)
- For more delicate items like cashmere and acrylic, spritz blocking is recommended. (This is just like the washing method, but you spritz the fabric with a spray bottle rather than soaking it completely.)
- Steam blocking is an alternative method that uses heat and moisture (more on this below!).
- Never use a heat method on silk, which is too delicate to withstand it.
- If you apply heat to acrylic through steam blocking or ironing the fabric directly, the plastic fibers in the acrylic yarn essentially melt together, creating a whole new soft, limp texture. This is called “killing” the acrylic, and sometimes it’s a good thing if super-drapey is what you’re going for. But once you’ve “killed” a garment, there’s no going back — you can’t block it to restore its original shape. So think twice before you apply this technique.
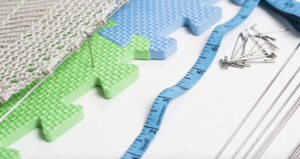
Blocking Tools
You don’t need much to block, but a few key tools make a big difference.
Blocking Mats
You can block your knits by laying them out on the bed or even on the floor. But special foam blocking mats are also a great choice, and some even come with grid markings to help with measuring.
T-pins
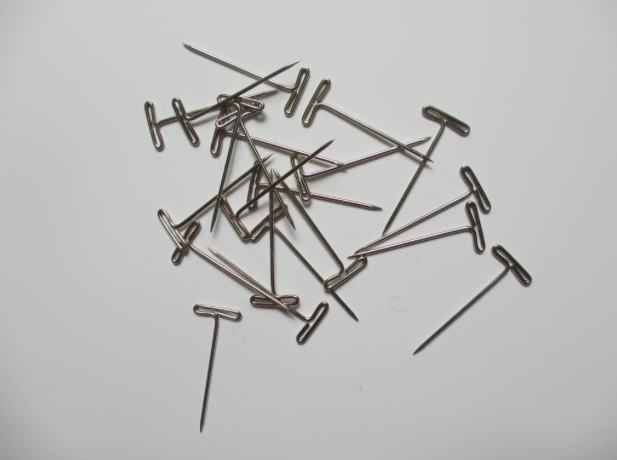
You’ll use these to hold your item in its correct shape as it dries.
Sock Blockers
Talk about genius: these sock blockers come in a range of sizes to hold your socks in the perfect shape as they dry. No pins needed!
Wool Wash
Blocking often starts with washing your knit, which calls for mild shampoo (baby shampoo works well). Or you can buy special wool wash to give your knits the true spa treatment!
How to Block Your Knitting by Washing
Use this method for less-delicate items.
What You Need
- Sink or bucket large enough to hold your item
- Mild shampoo or wool wash
- Two towels, one for rolling and another for blocking
- Blocking mats
- T-pins
- Measuring tape
Instructions
1. Fill ‘Er Up
Fill a sink or bucket with lukewarm water. Never use hot water when soaking or rinsing natural fibers (unless you want to turn your wool into felt).
Toss a little bit of the shampoo or wool wash in there and mix it all up.
2. Soak
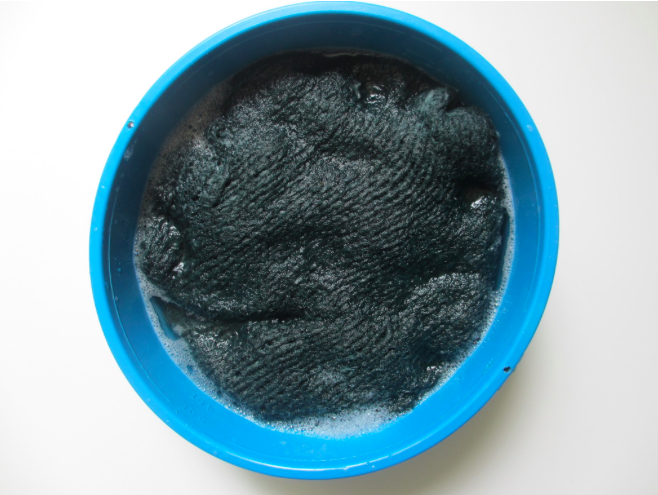
Dip your knitted item into the water. Move it around just enough to make sure the entire item is wet, but don’t go nuts and dunk it in and out. Too much agitation encourages the fibers to clump together, which is the opposite of what you want. Let the item hang out in the sink or bucket for about 5 minutes.
3. Rinse
Begin the rinsing process: drain the sink or bucket and refill it with cool water. Keep rinsing the item until the water is clear and without suds.
4. Remove Excess Water
Grab a bath towel and place your item on top. No need to check exact measurements right now, but lay it out roughly the way you want it to look. (You’ll get another chance later to really adjust it.)
Roll the item up in the towel, squeezing the water out as you roll. If the item still feels drenched, you can repeat this step with another dry towel.
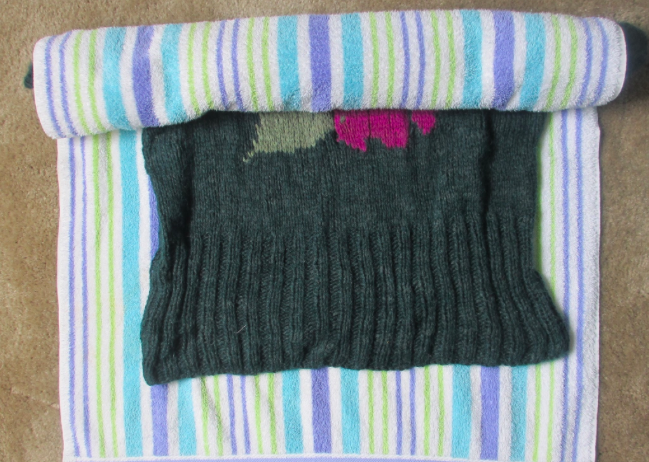
5. Measure and Pin
Grab one more bath towel. Lay the towel on a flat surface or blocking mat.
Check out the measurements from your pattern. If you’re making a garment like a sweater, you’ll want to be more exact than if you’re blocking, say, a blanket. Pull your damp item into shape, making sure it’s laying flat and that all the measurements match those from the pattern.
Now’s the time to get fussy. Adjust every angle, using pins to hold it in place. Once you’re happy with it, let it sit and dry. Drying time will vary depending on how large the item is, so just check back in a couple of hours.
Once it’s dry, unpin and you’re all set!
How to Steam Block
This gentle blocking method doesn’t require you to soak your item. All you need is a normal iron. There are two ways to do it:
Method 1
1. Pin your garment out to the desired dimensions, making sure the wrong side is facing up.
2. Wet an old pillowcase or thin towel and wring out the excess water so that it’s damp. Place it on top of the garment.
3. Use a household iron at its hottest setting and press down lightly, forcing the steam through the garment. Repeat this all over the garment until the pillow case is dry. Then let the garment dry for approximately 30 minutes.
Method 2
1. Put your iron on the steam setting, and hover it about an inch away from the garment. (The goal is for the steam to go through the garment without ever touching the iron to the piece.)
2. Keep the iron moving along the length of the garment until you’ve gone over the whole thing.
3. Let it dry for 30 minutes or so.
Share tips, start a discussion or ask one of our experts or other students a question.
Already a member? Sign in
No Responses to “How to Block Your Knits So You Get the Perfect Fit”