
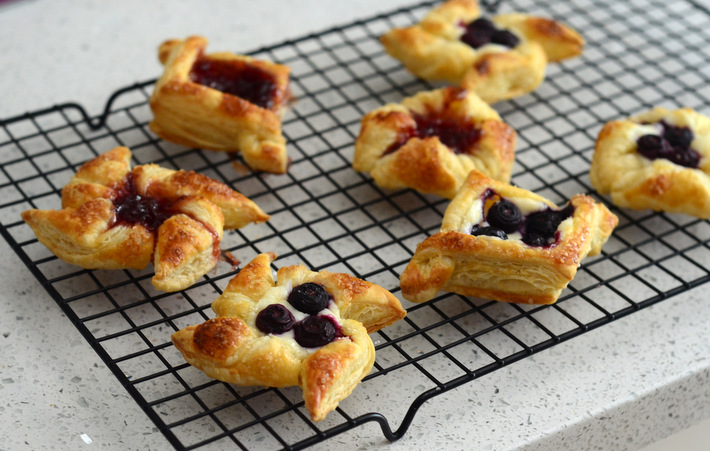
There are lots of great pastries that you can bake up for brunch, but few are as impressive as homemade Danishes. Danishes are light, multi-layered pastries that make a sophisticated — and delicious — addition to a breakfast spread. One thing that makes them so appealing? All the Danish pasty shapes you can try!
Before we can make Danish pastry, we have to get the dough ready.
You can learn to make homemade Danish dough from the videos in Danish Pastries From Scratch, or you can take the shortcut that I did and use store-bought puff pastry dough.
Traditional Danish dough has yeast in it, giving the pastries a particularly light texture. Puff pastry does not use yeast, but still has plenty of layers and makes a very good substitute — especially if you are short on time.
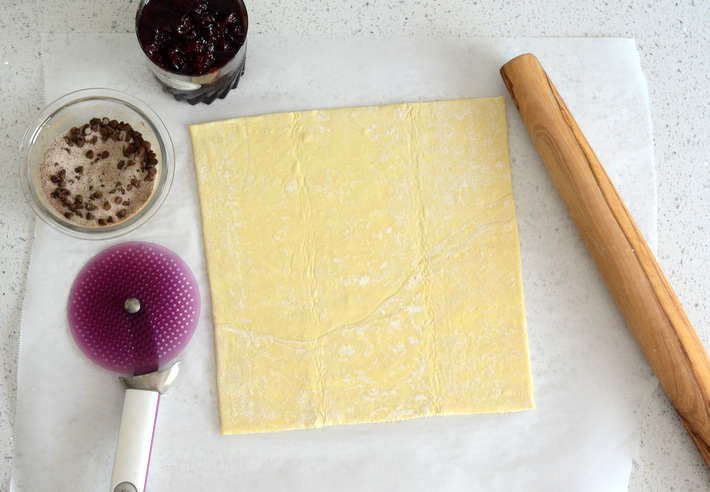
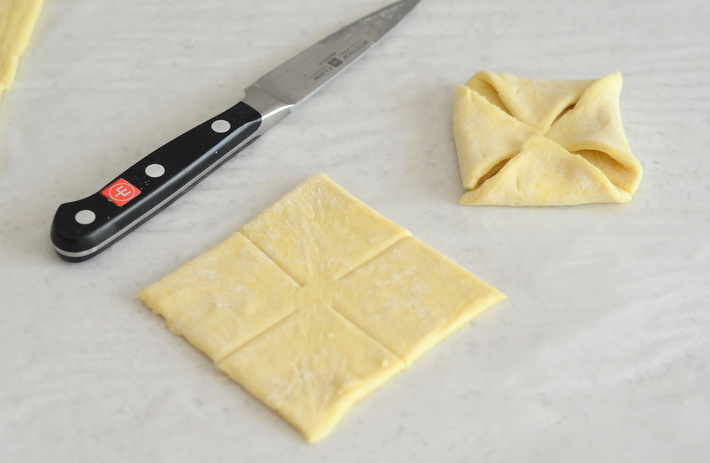
Gently roll your pastry dough onto a lightly floured surface. Cut the pastry into even squares, as all of these shapes are based on a square.
I usually eyeball my squares because I am OK with slightly imperfect pastries (though I will cut off any extra bits with a knife or kitchen shears before the pastries go into the oven). You could also use a ruler to ensure that your proportions are accurate. Once you have your squares, you’re ready to fold!
Follow along to see how to make three different Danish pastry shapes.
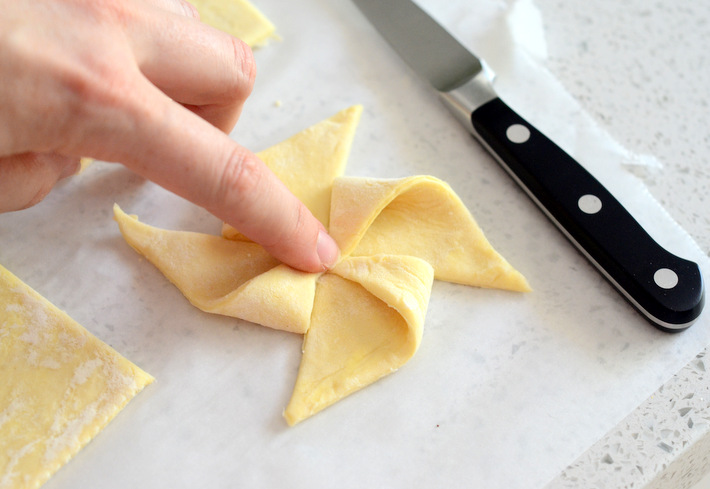
The pinwheel
This shape is always a favorite — often it’s the only one that I’ll make.
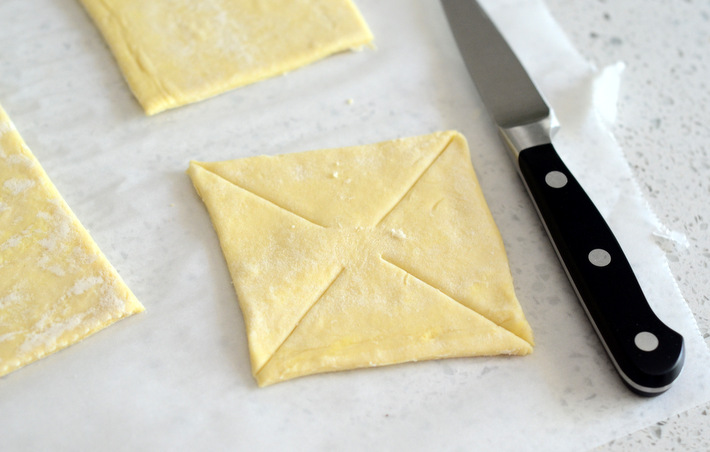
To make the shape, make four equal cuts at each corner of one square. Each cut should reach toward the center of the square but not cut all the way through.
Grab one half of each corner and pull it toward the center of the square. Then, add your filling at the place where all the points meet.
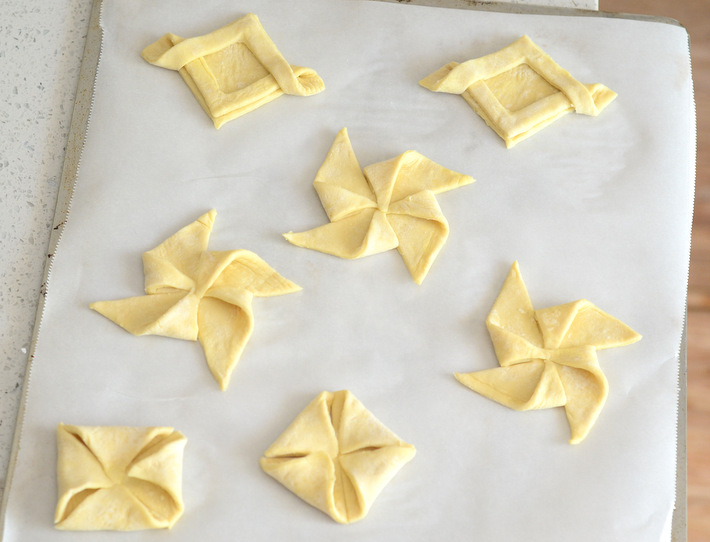
The envelope
This pastry shape reminds me of a vol-au-vents, as the shape creates a frame of pastry around your filling.
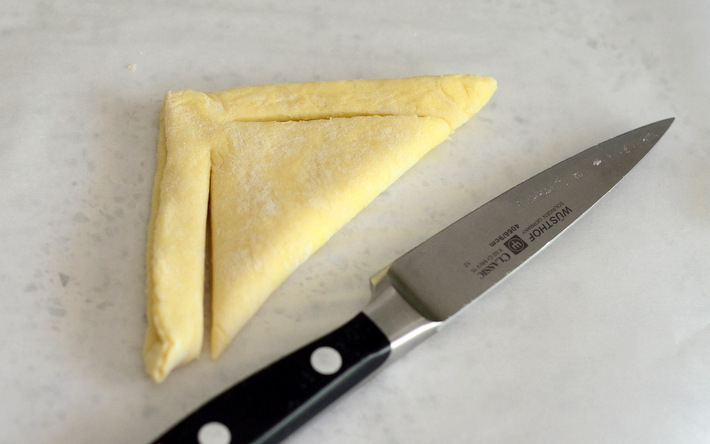
To make this shape, gently fold a square in half diagonally. Make two diagonal cuts along the outside edge of the triangle, leaving about ¼” of pastry, or more if you are making larger treats.
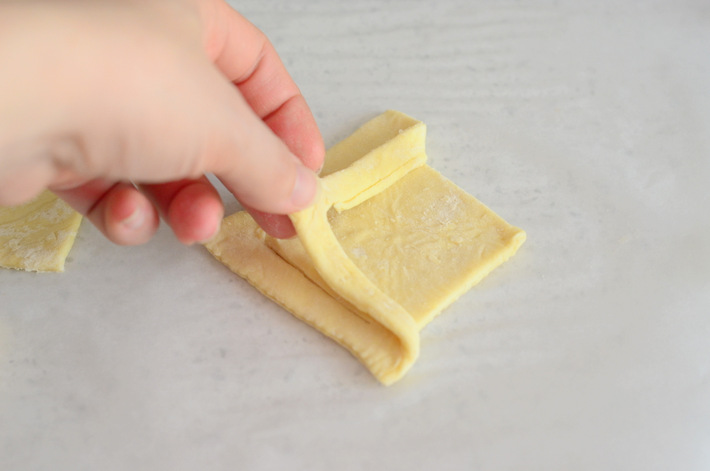
Unfold the dough.
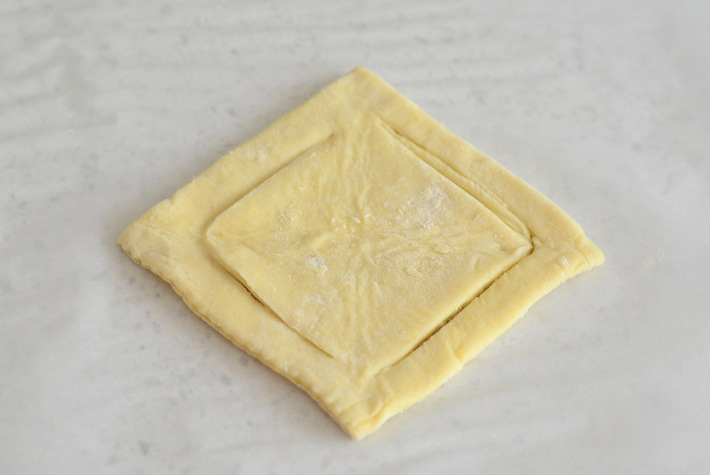
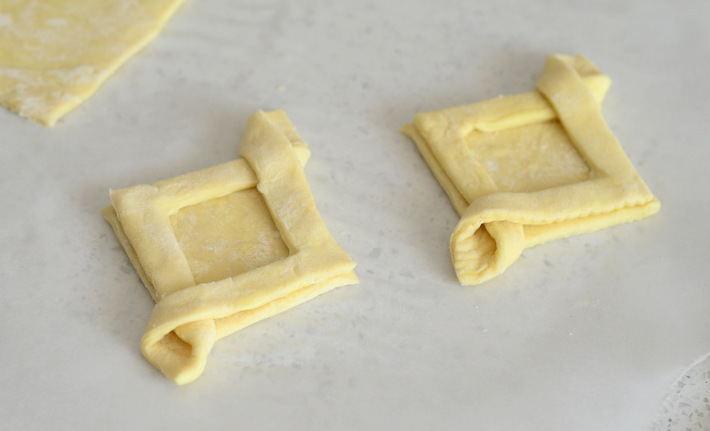
Take the outer “frame” edge and fold it over until it meets the cut you just made. Repeat on the other side to form a diamond shape. Add your filling to the center.
The Danish pocket
I like this shape because it really gives you a lot of layers. While I added my filling to the center, you can squeeze in a little extra filling inside of the pocket to make your pastry sweeter and more indulgent.
To make this shape, make four equal cuts in the center of each side of a square. Like in the pinwheel, the cuts should reach toward the center of the square but not cut all the way through.
Grab each corner and pull it toward the center of the square. Then add your filling at the spot where all the points meet.
Ready to get going? Keep these Danish pastry shaping tips in mind!
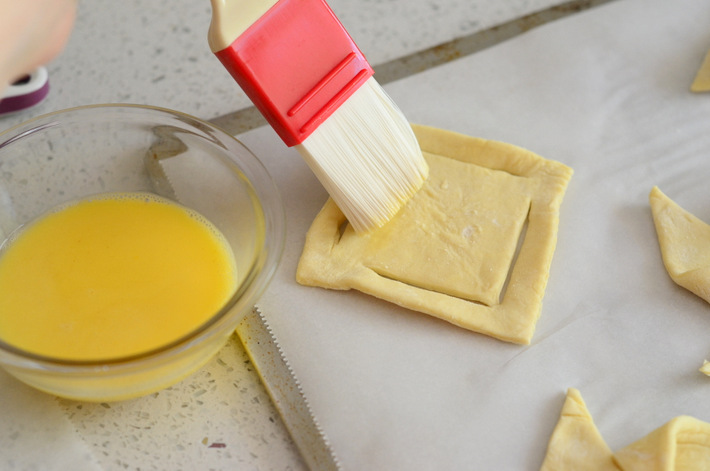
1. Use an egg wash
Your pastries may not stick together perfectly, especially if you are working with your dough on a lightly floured surface. Brush the pastry with an egg wash (a egg whisked together with 1 tablespoon water) to make the surface sticky and help the pastries hold their shape.
The egg wash will also give the pastries a golden color and provide a nice surface for coarse sanding sugar to stick to, if you want to add some texture to your pastries.
2. Don’t be a square
You can make all of these same shapes starting with circles of pastry, instead of squares. The curved edges will provide a different, impressive style.
What about the fillings? We’ve got ideas for those, too!
You can use jam or slices of fresh fruit as fillings for Danishes of all shapes and sizes.
Jam fillings
If you’re going for jam, I recommend using high-quality fruit preserves that have a lot of texture for the best results. I also recommend using more than one type of preserves, so that your Danishes have a lot of color.
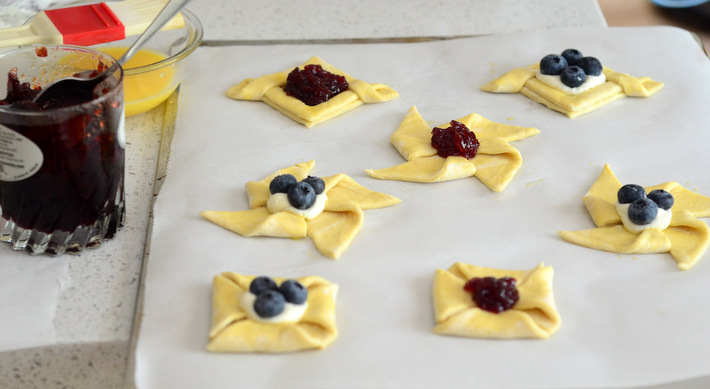
Cream cheese filling (keep reading for the recipe!)
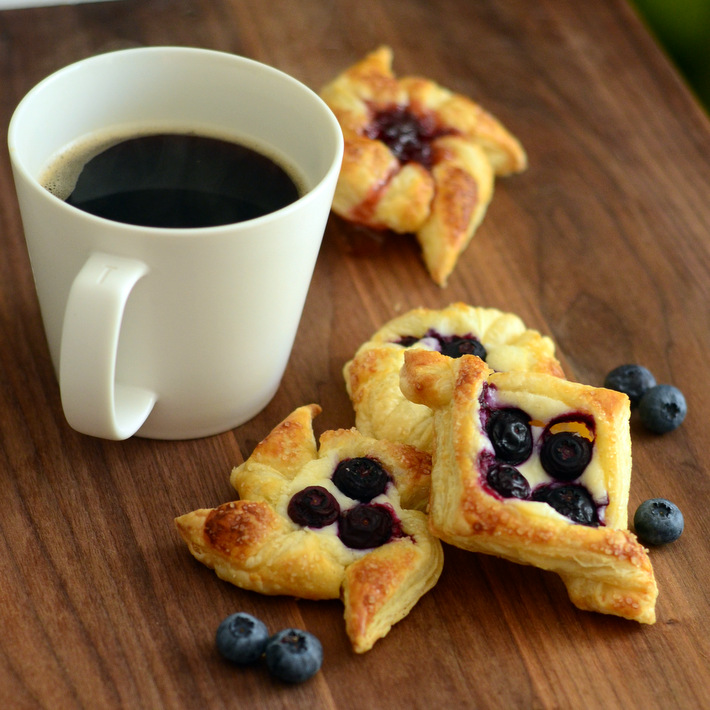
My other favorite filling is a cream cheese filling, which can be served on its own or paired with fruit and jam. In these pictures, I paired it with fresh blueberries.
Scroll on down to get the easy-as-pie recipe. If you want to make the filling a little more flavorful, add fresh citrus zest, almond extract or a splash of liqueur to the mixture.
Easy Cream Cheese Danish Filling
This recipe will make enough for at least a dozen small Danishes, but how many you get will depend a lot on the size of the pastries you are baking.
Makes about 1 cup of filling
Ingredients:
- 8 ounces cream cheese
- 1/3 cup sugar
- 1/8 teaspoon salt
- 1/2 teaspoon vanilla extract
Directions:
Combine all ingredients in a large bowl and blend together at high speed until smooth and well-combined. Pipe onto unbaked Danishes as filling.
Learn to make the best Danish pastry dough ever!
Learn the secrets to creating flaky Danish pastry dough, from popular Craftsy instructor Colette Christian! Master bear claws, streusel & more.
I'm very interested with your arrangement.