
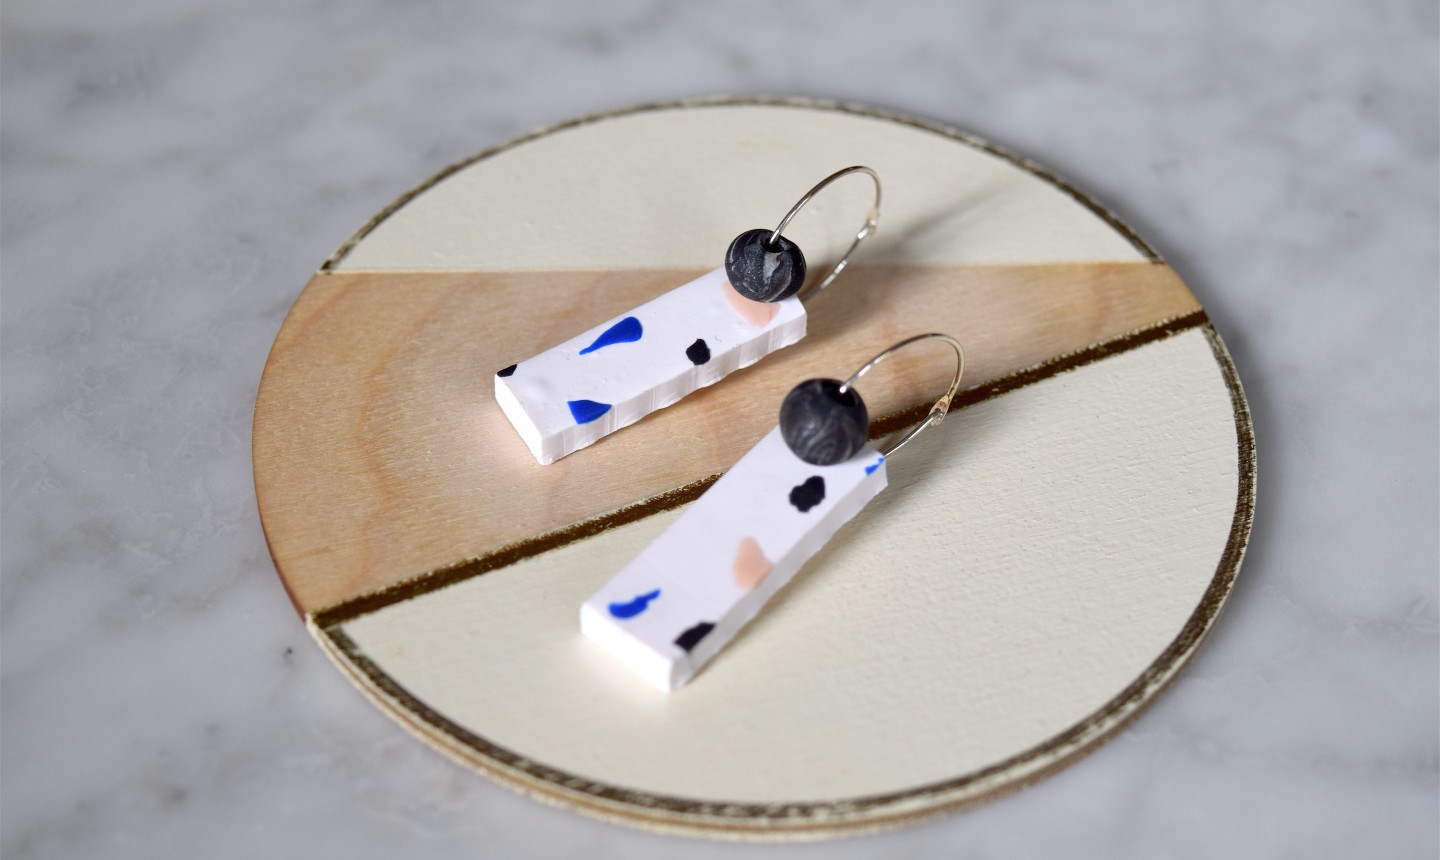
In case you haven’t noticed, this cool speckled stone is totally taking over the jewelry market. These faux-terrazzo earrings are incredibly easy and inexpensive to make, but the final product looks 100 percent gallery-worthy. Make two sets at at time, so there’s one for you and one to gift!
DIY Modern Terrazzo Earrings
Level: Easy
What You Need
Instructions
1. Create Your Square Bead Base
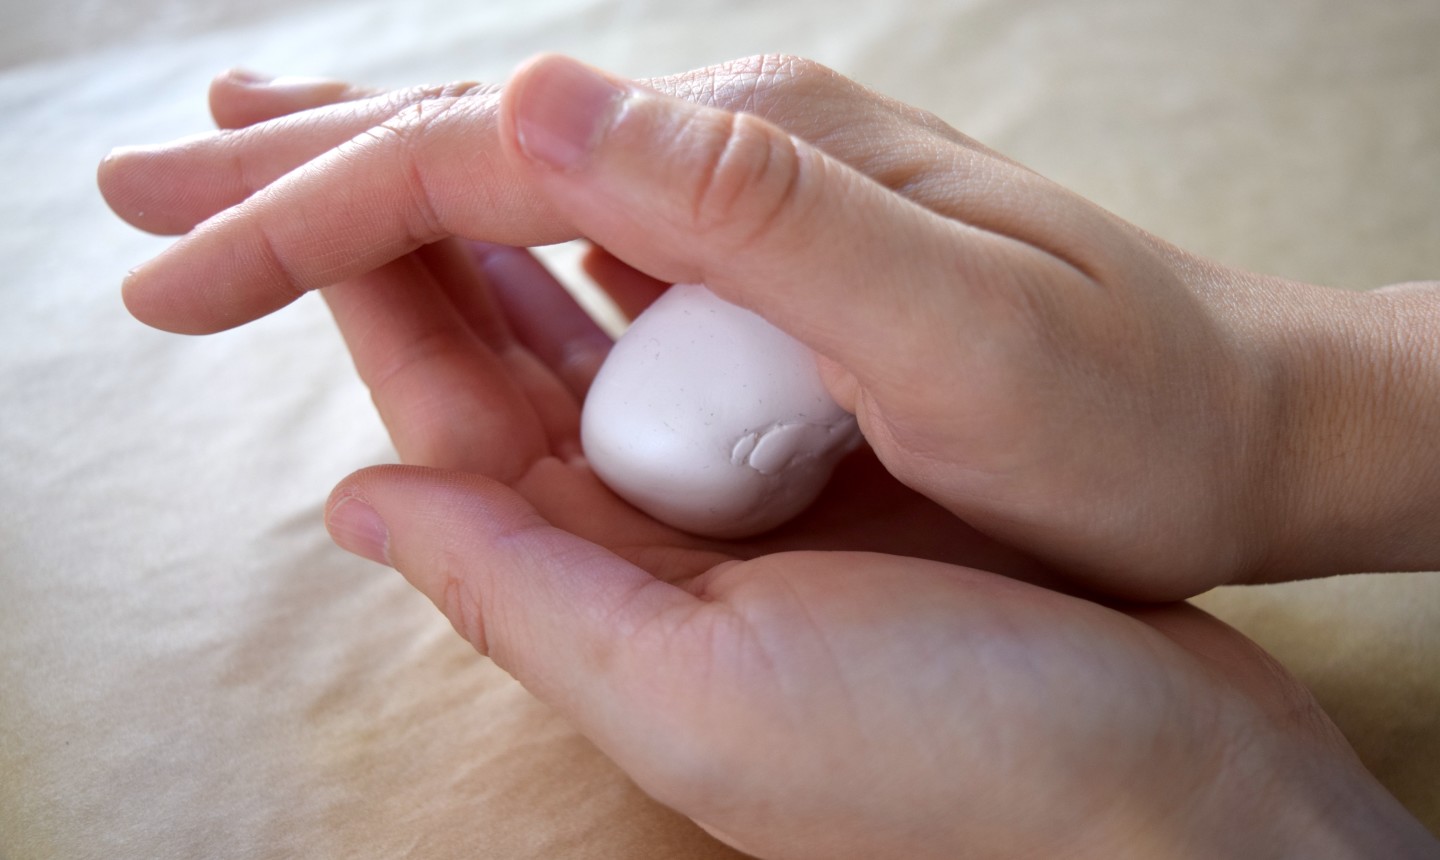
Warm up one package of white clay by rolling it between your palms to form a ball. Then, place the ball on a piece of parchment paper and flatten it with your palm (this will make the next step a little easier).
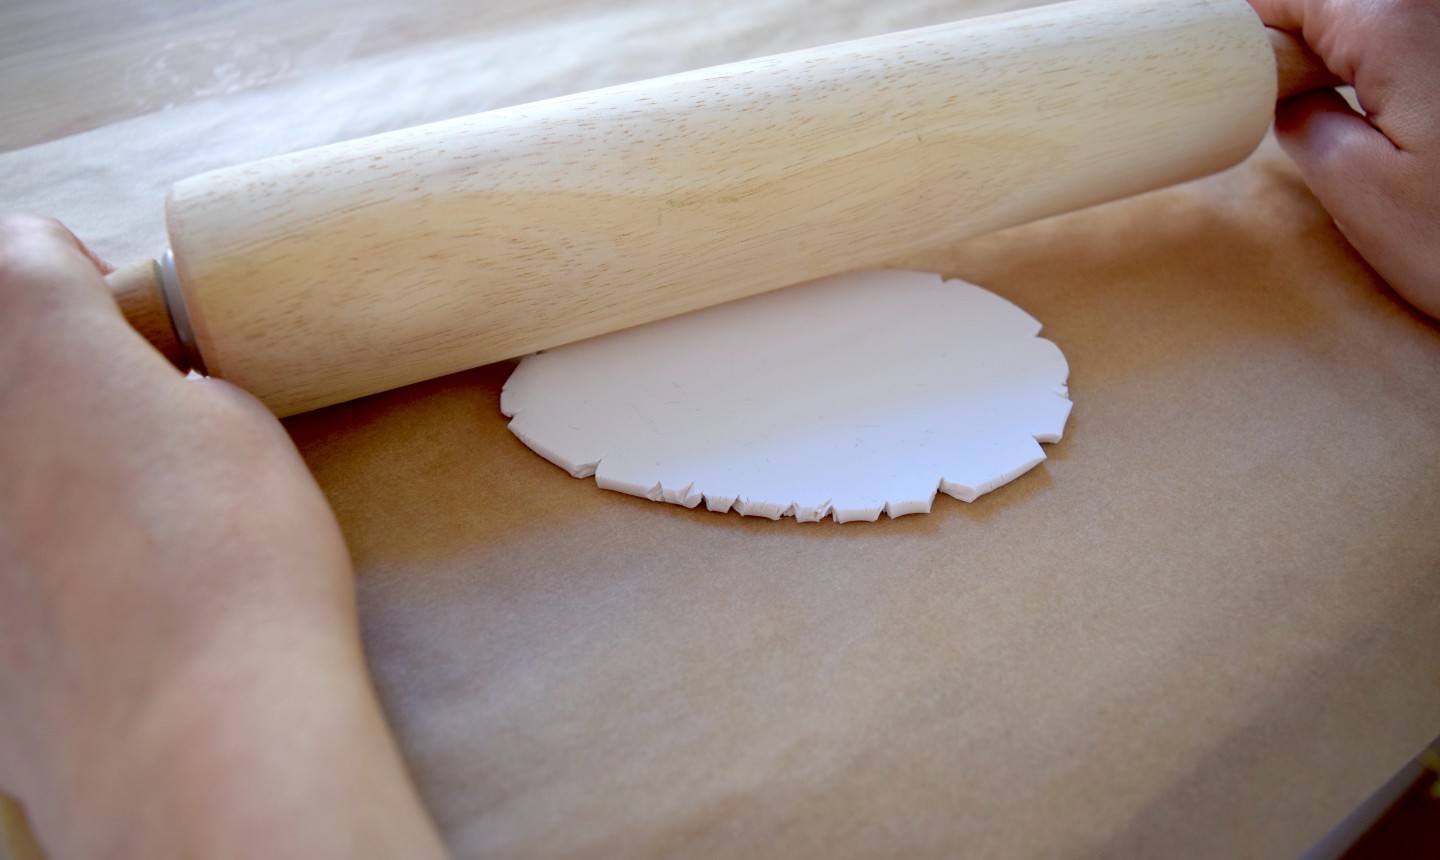
Use a rolling pin to roll out your clay. Roll to half a centimeter thick, or as thick as you want your earrings to be. The thicker and heavier they are, the better you’ll achieve that expensive real stone look.
2. Make Your Terrazzo Flecks
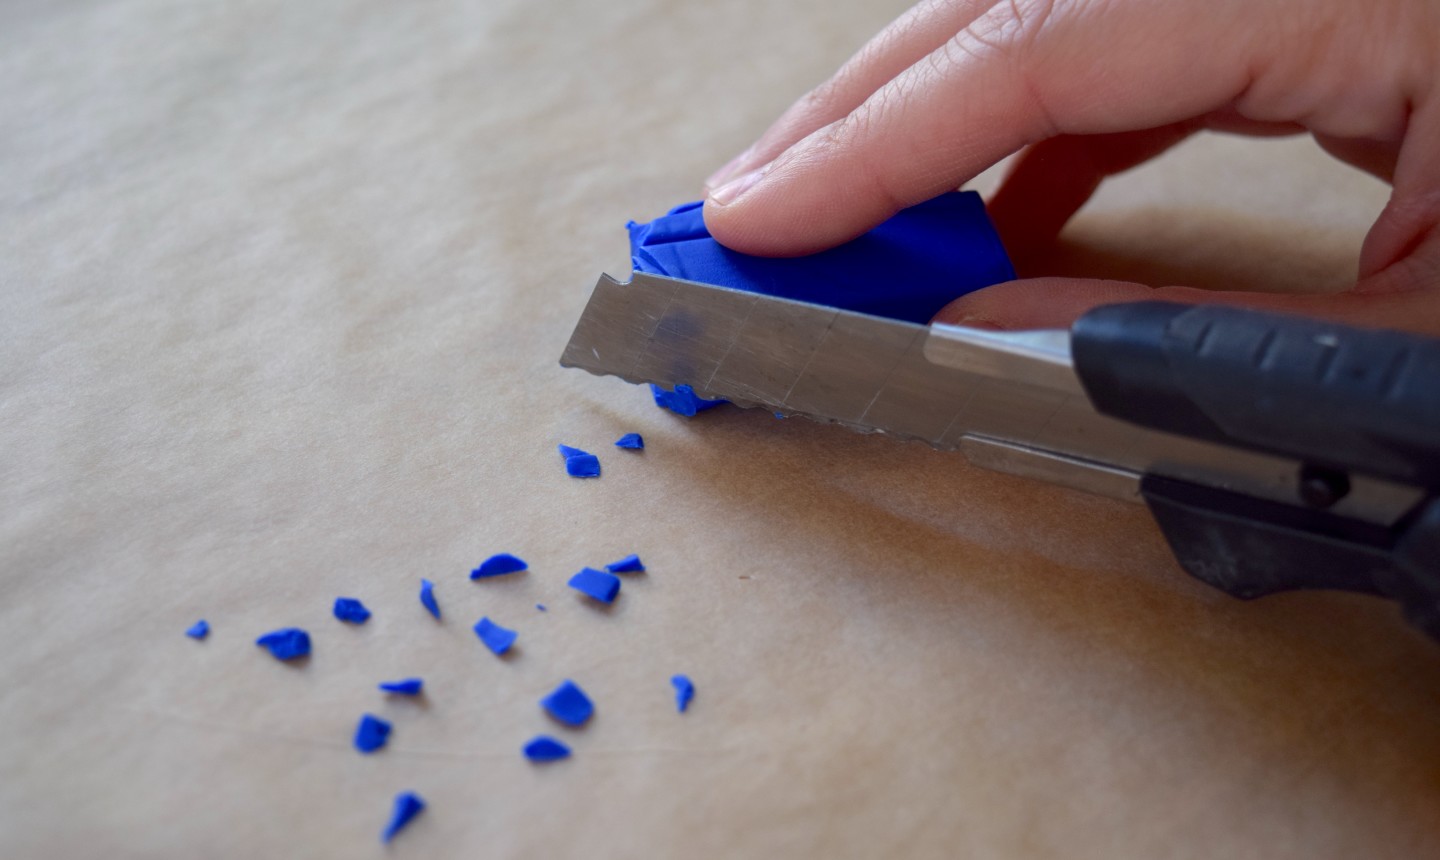
Use your blade to cut tiny pieces of peach, blue and black clay. Each piece should be about the size of a grain of rice (or even a little bit smaller). There’s no real science to cutting the pieces — you can’t mess this up.
3. Place Your Flecks Onto Your Bead Base
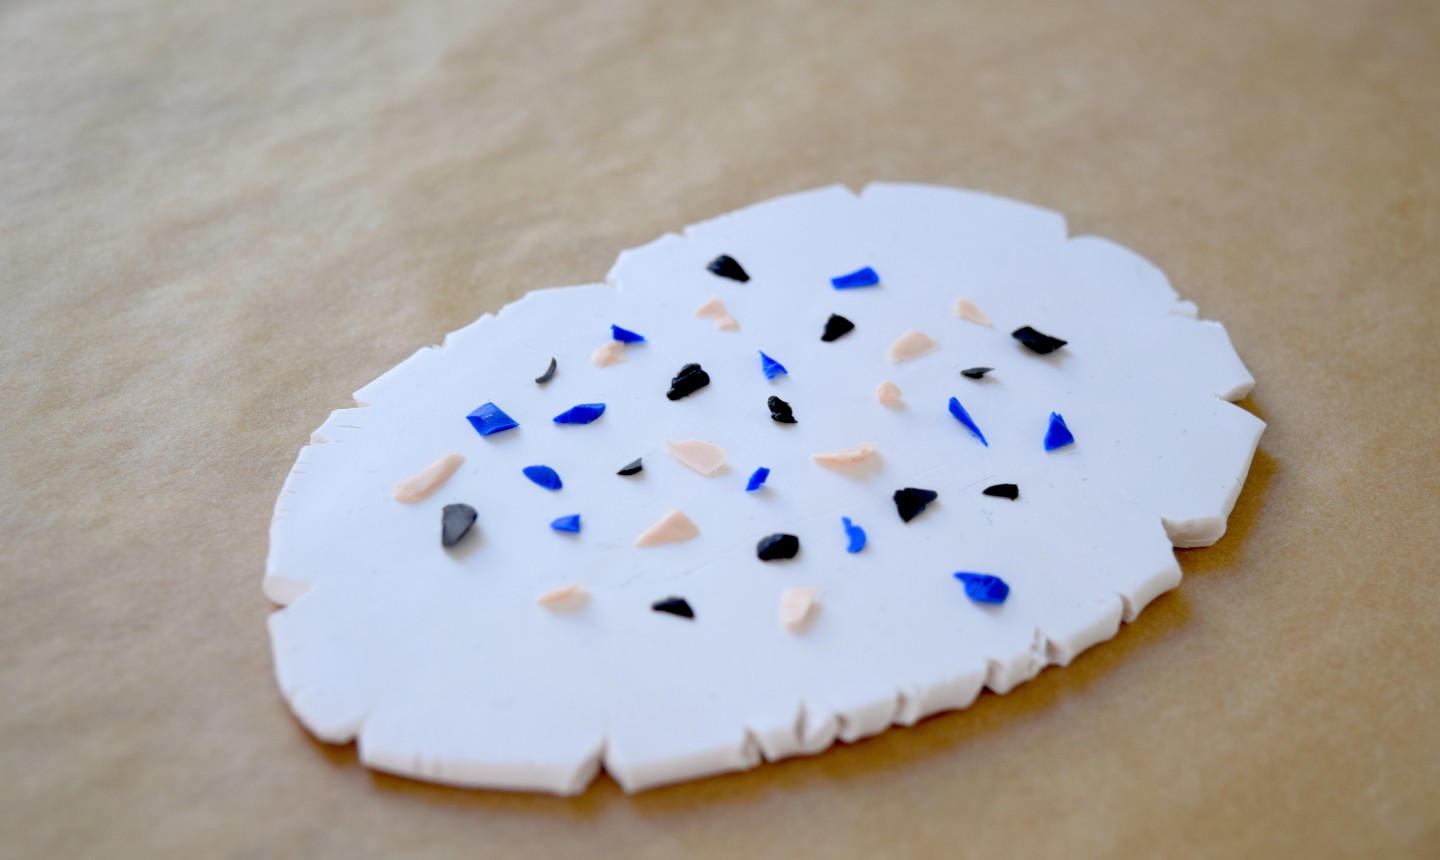
Use your fingers to scatter your clay flecks onto the white bead base. Try to add some variation (don’t clump all blue together or all white together, etc.). That’ll make sure the finished product really mimics a natural stone.
If you accidentally drop two big peach flecks next to each other, no worries. Just use your fingers to pick one up and redistribute. Also, you can use as few or as many flecks as you’d like. If you’re going for a minimalist look, keep the placement strategic and sparse. If you want earrings with a ton of flair, load ‘em up with flecks!
4. Roll Them Out
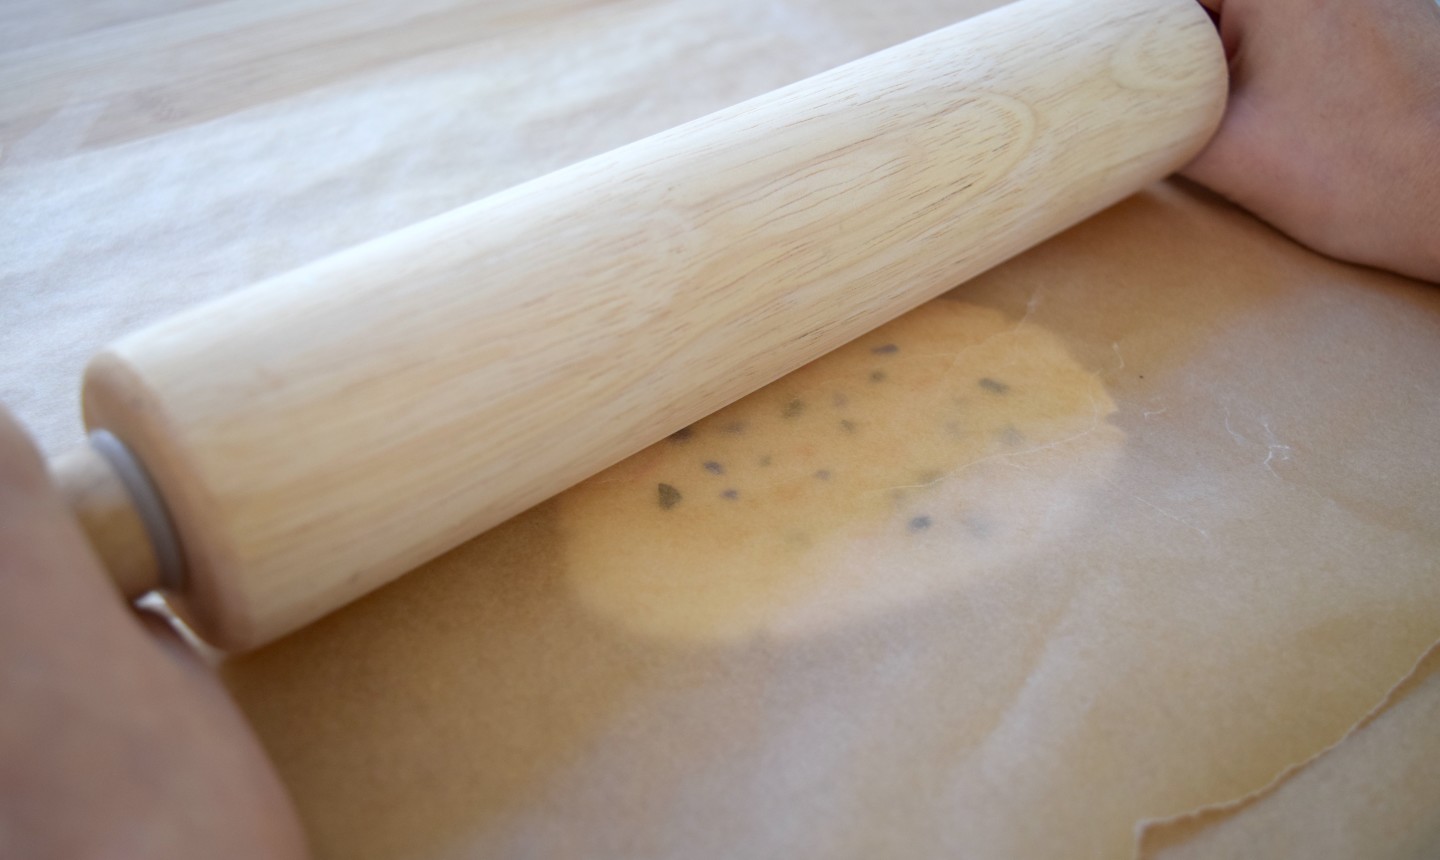
Once you’re happy with your fleck placement, gently cover the clay with a piece of parchment paper. Then use your rolling pin to lightly roll over the raised clay flecks, flattening them. To check that your earring is nice and flat, peel up an edge of the parchment paper and take a look. If the flecks still look a little raised, re-smooth the parchment paper and take another pass at it.
5. Cut Out Flat Beads
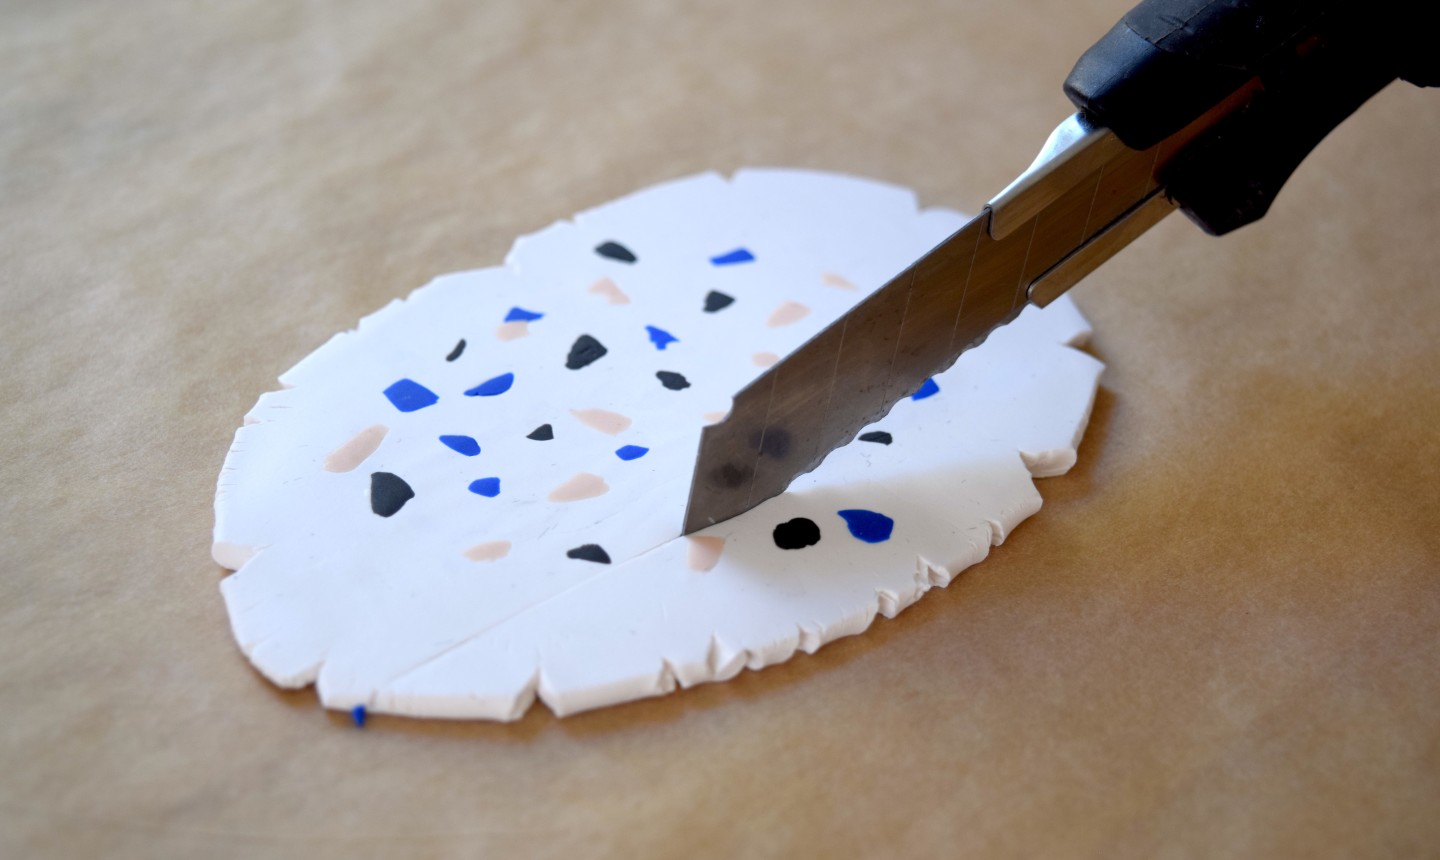
We opted for rectangular earrings (they’re foolproof), but you can make yours any shape you like — circles, trapezoids, arches, etc. Before you cut them out, pick an area of clay where you really like the pattern (maybe it’s super colorful, or the flecks look really geometric). Then use your blade to cut a rectangular shape into that area of clay. Repeat this for your second matching bead.
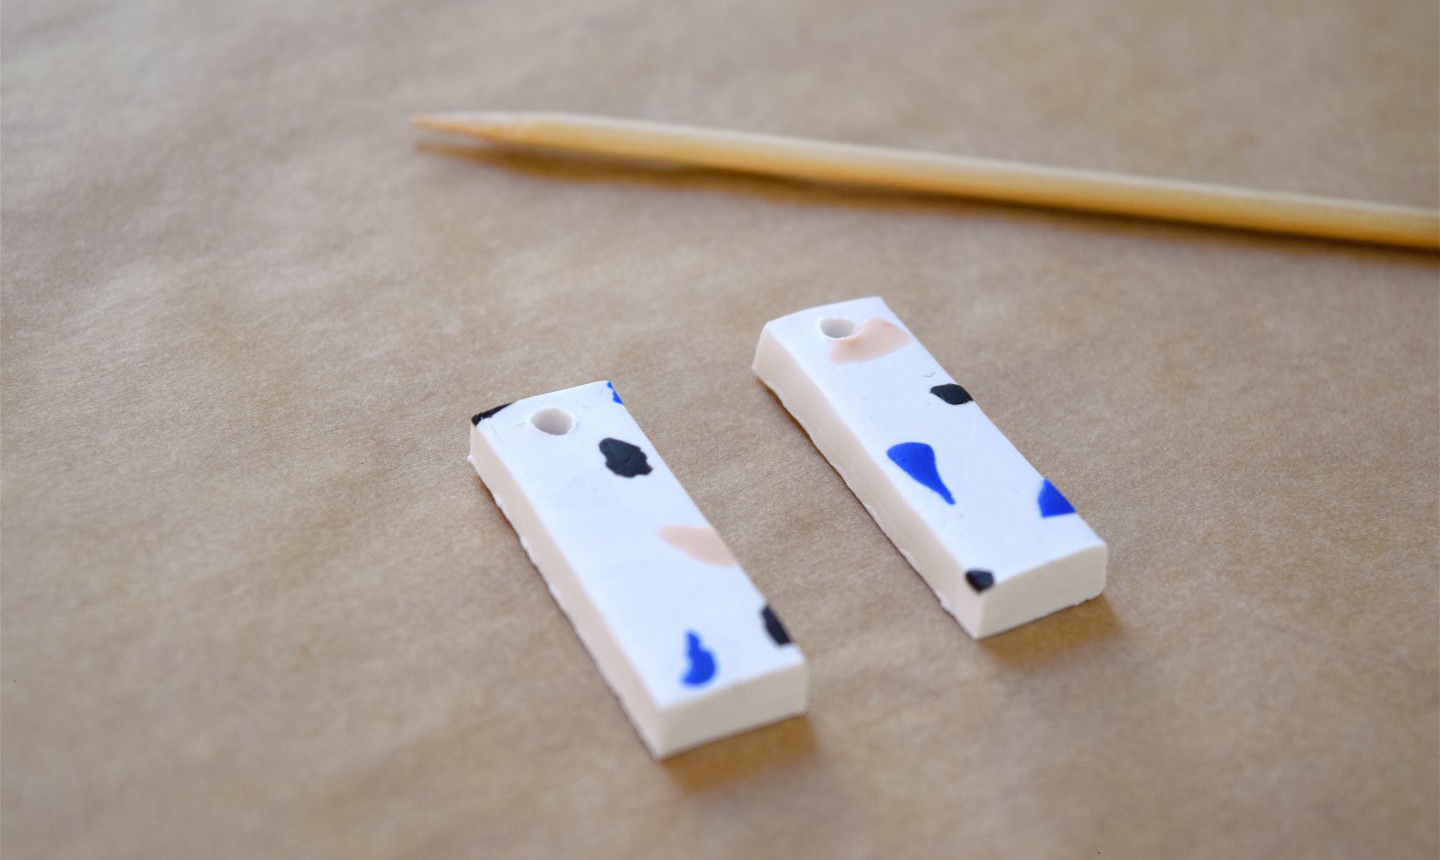
To make the beads ready-to-hang, slowly push a wooden skewer through each rectangle, near the top. This hole is where the earring will dangle from.
6. Make Your Second Bead
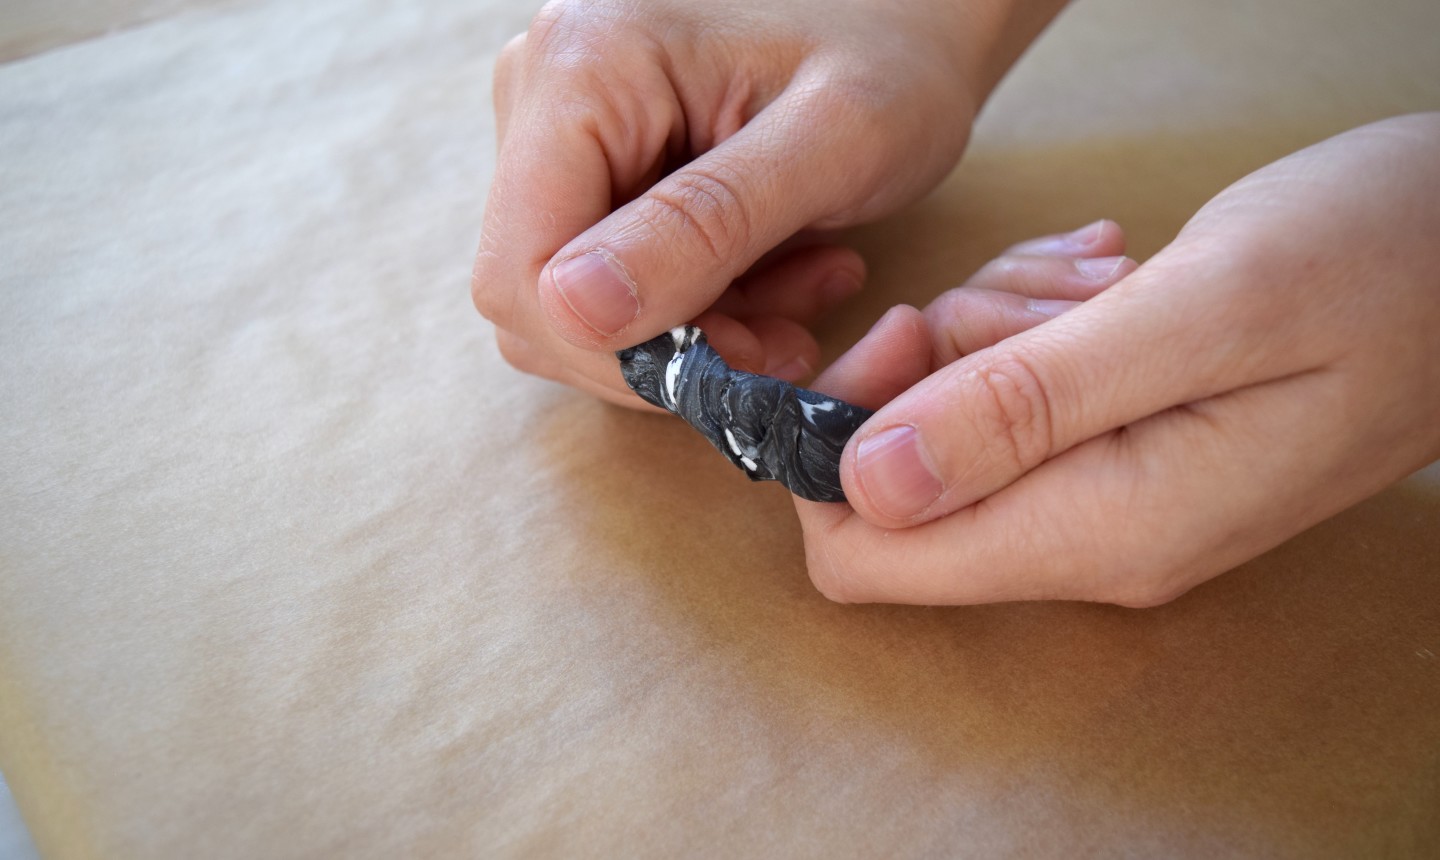
To give the second bead some dimension (without having it compete with the terrazzo), you’re going to create a marbled effect by twisting some white and black clay together. The black clay will serve as your base for this bead, so you want to have a higher black-to-white ratio to make sure those bright white marble streaks really stand out. Twist the clay at least 20 times to blend thoroughly.
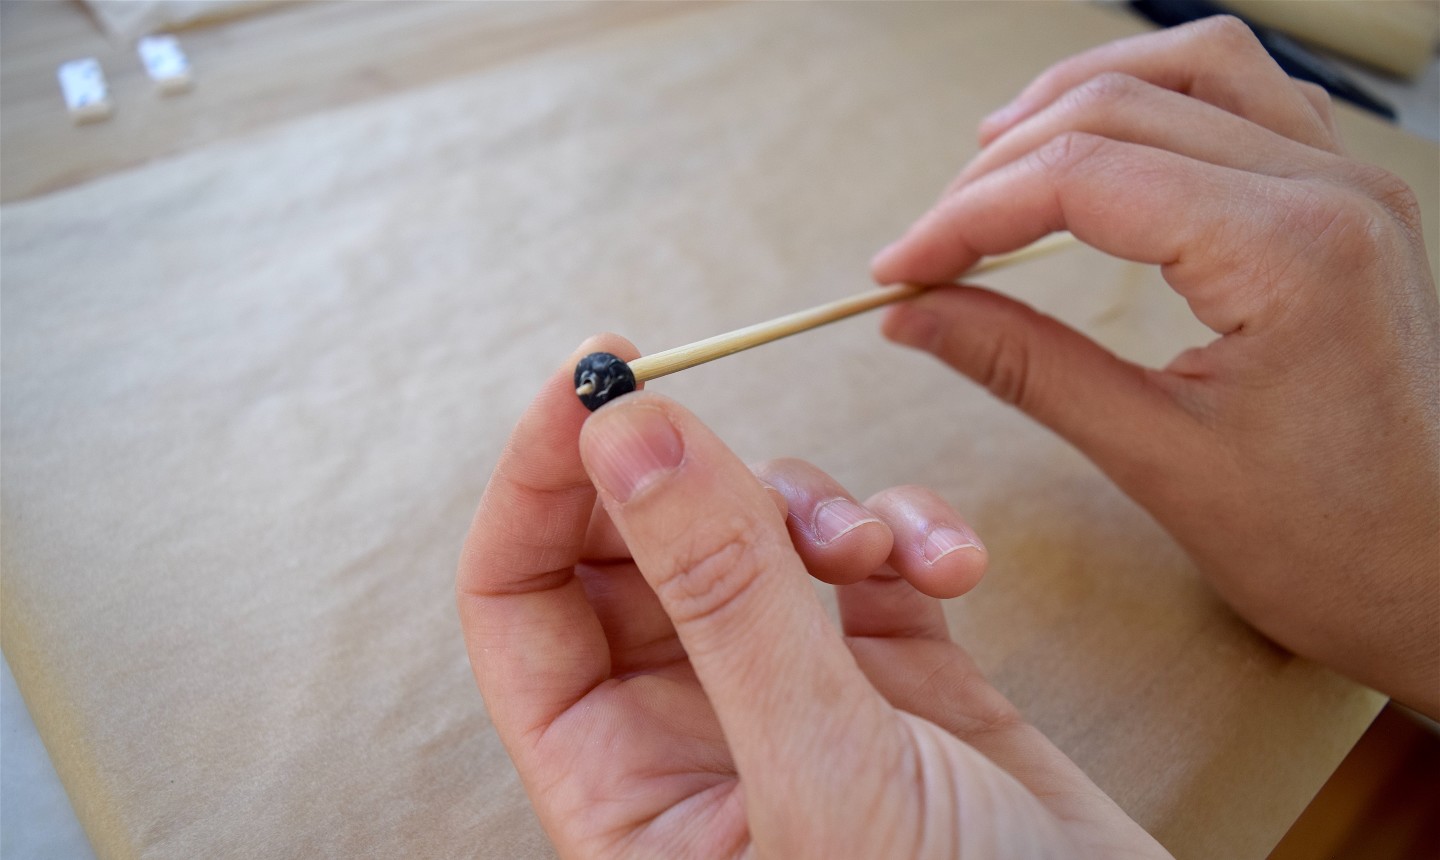
When you’re happy with the clay’s marble streaks, pinch off a piece about the size of a pea and roll it between your palms. Once it’s round and smooth, slowly push a wooden skewer through its center to create your hole (for hanging). Repeat these steps for your second round bead.
7. Bake ‘Em Up
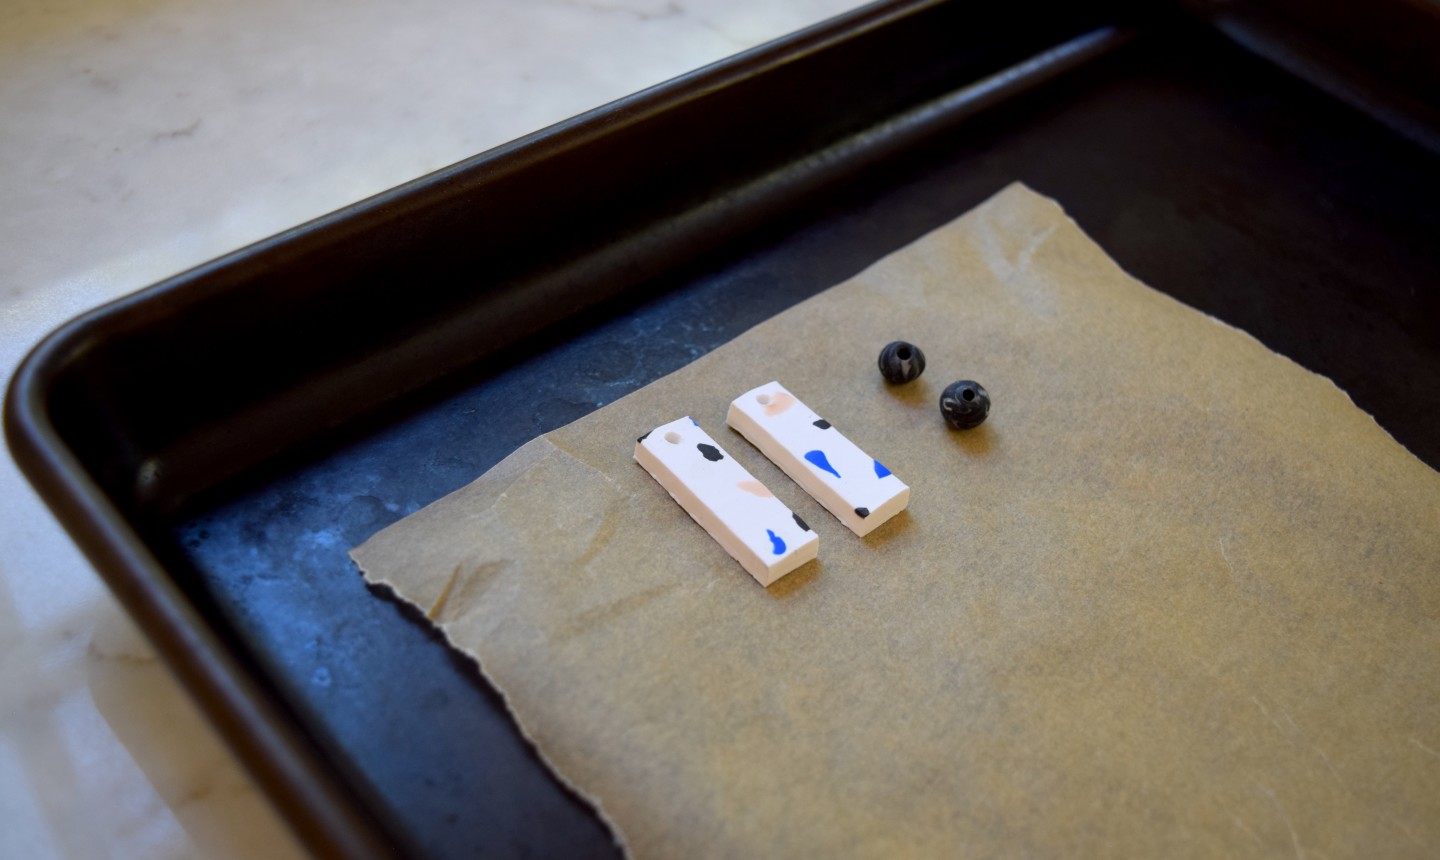
Now your beads are ready to bake! Place your two rectangular and two round beads on a parchment paper-lined baking sheet and bake at 275 F for 20 minutes. Remove and let cool.
8. Bring Your Earrings to Life
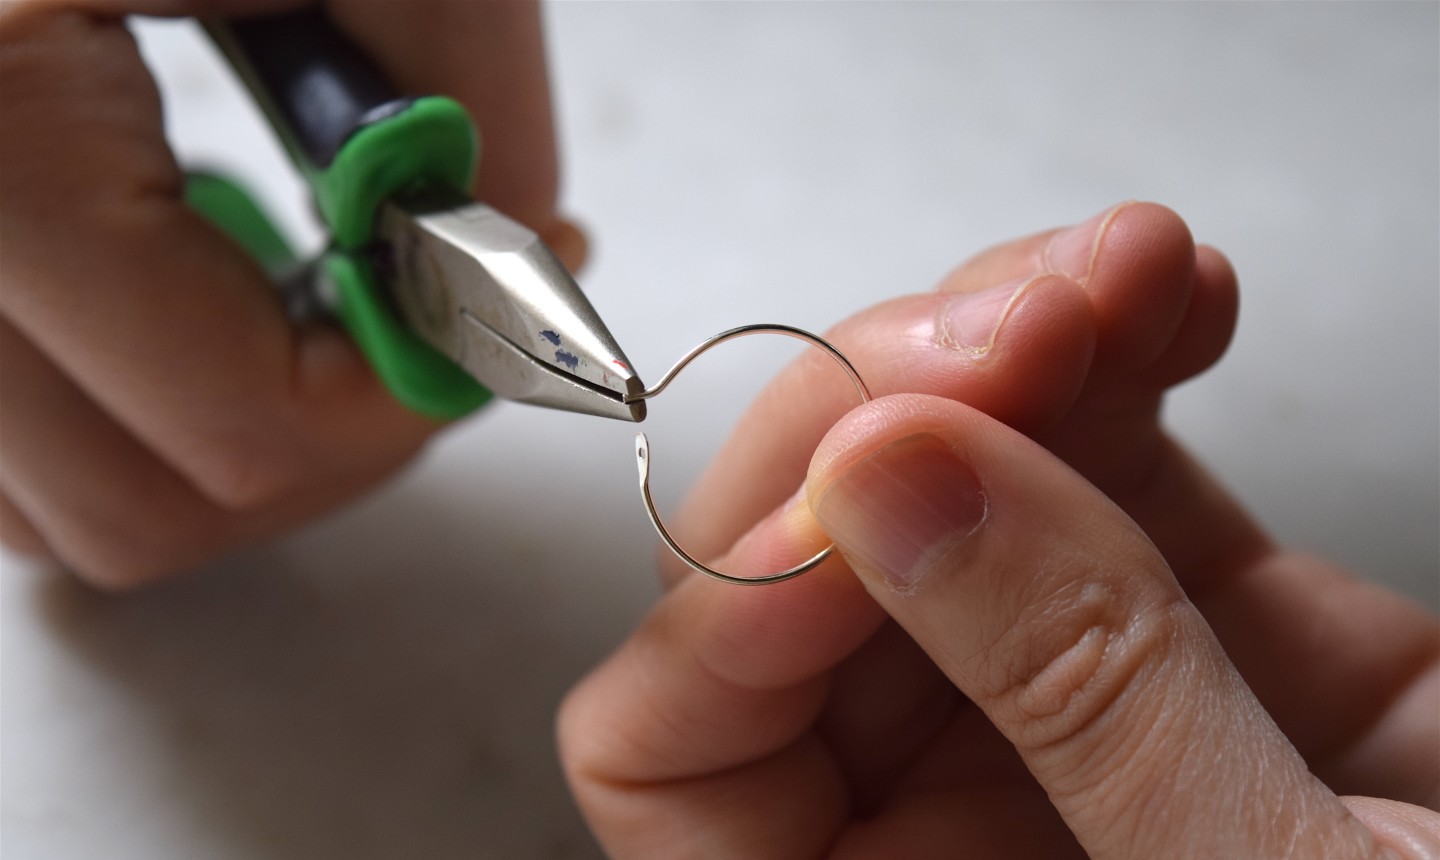
String one rectangular bead and one round bead onto your ear wire so that the round bead sits on top of the rectangular one. Use your pliers to bend the final ⅙mm of wire slightly up (this will help the end of the earring fit into the earring hole and not come unfastened throughout the day).
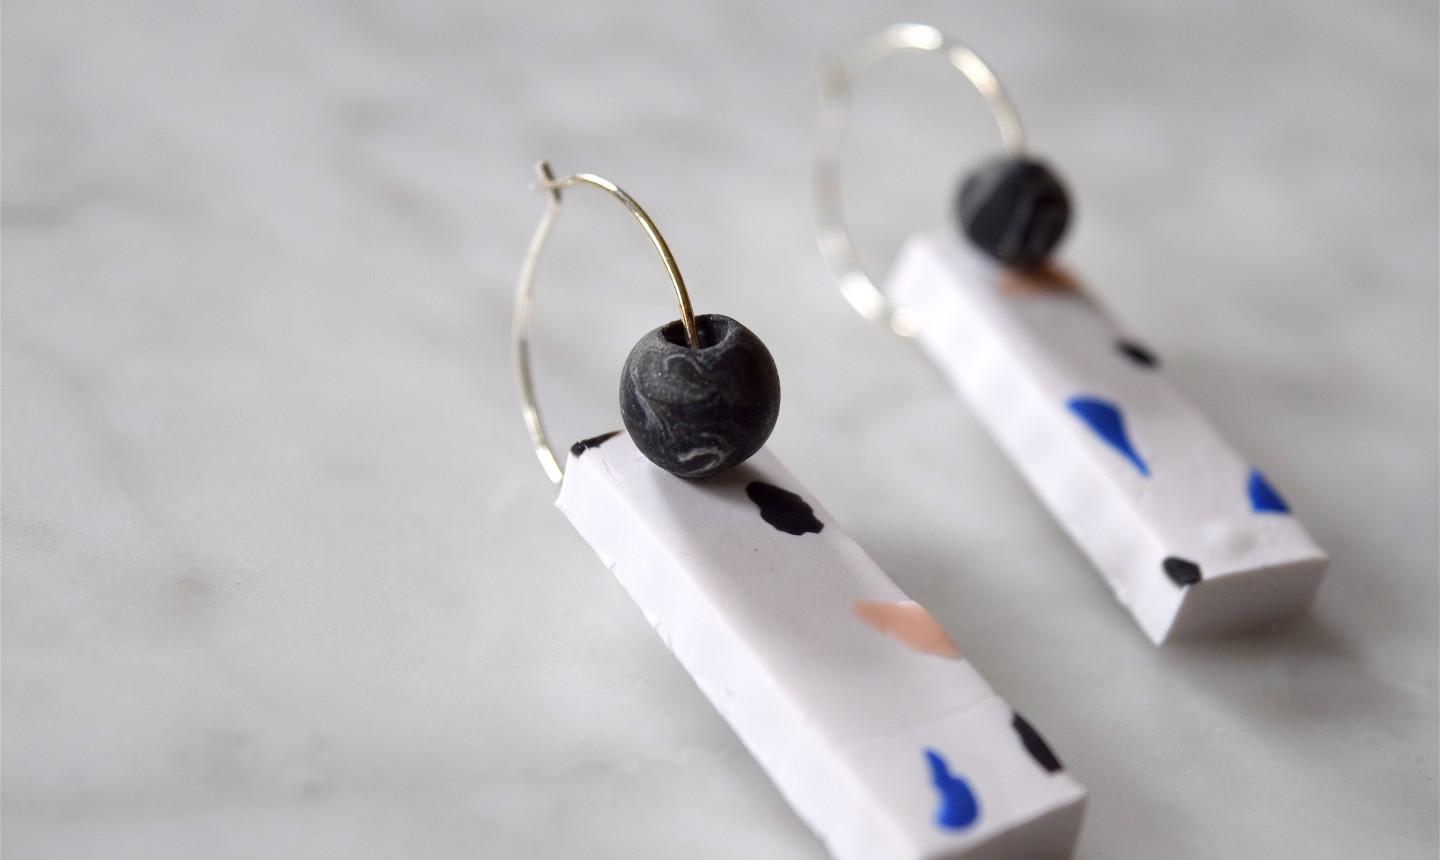
Done. Now put ’em on and make a statement!
Share tips, start a discussion or ask one of our experts or other students a question.
Already a member? Sign in
No Responses to “DIY Gorgeous Terrazzo Earrings for a Totally Custom Look”