
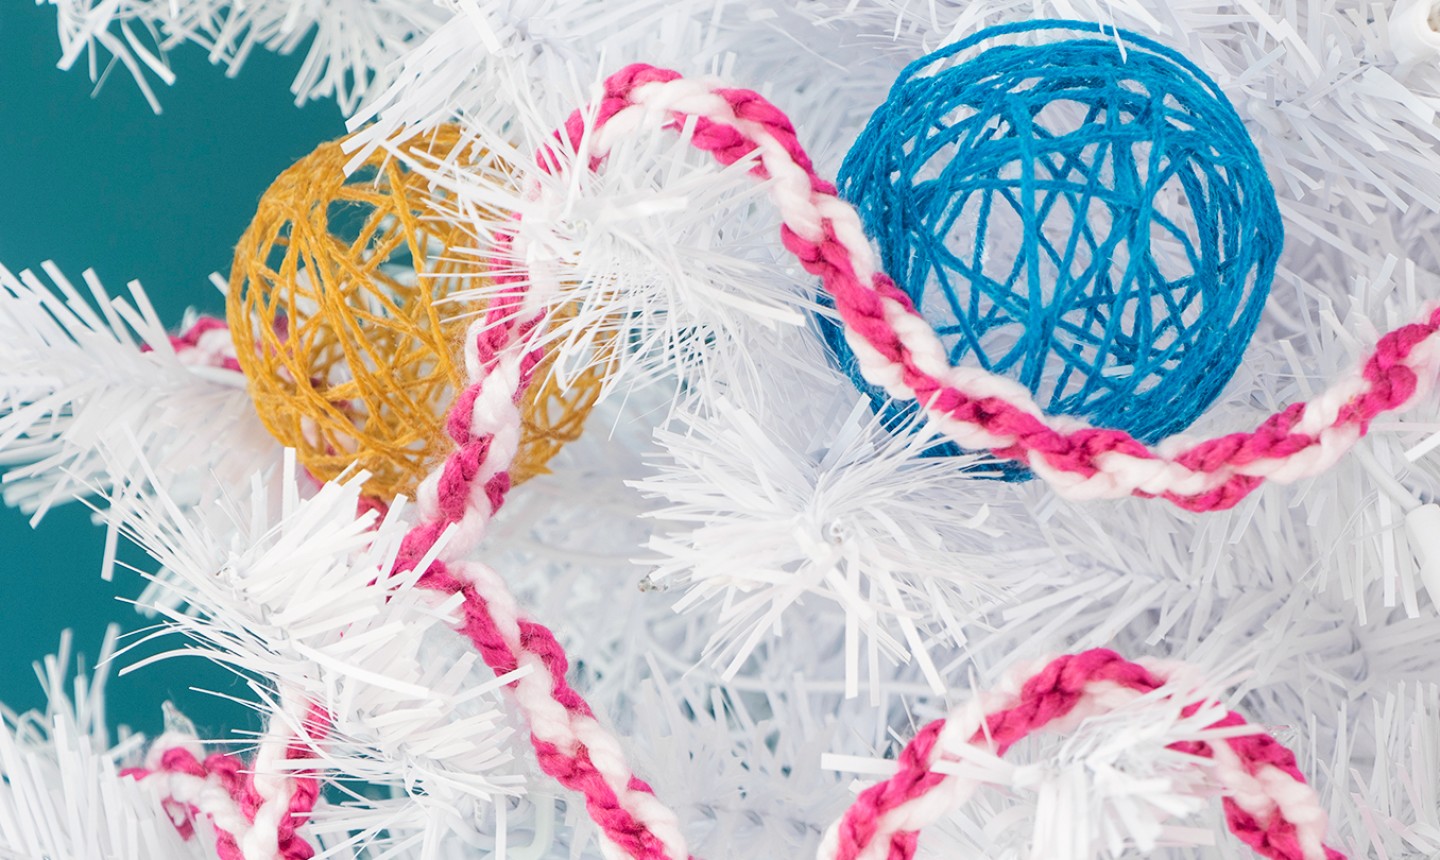
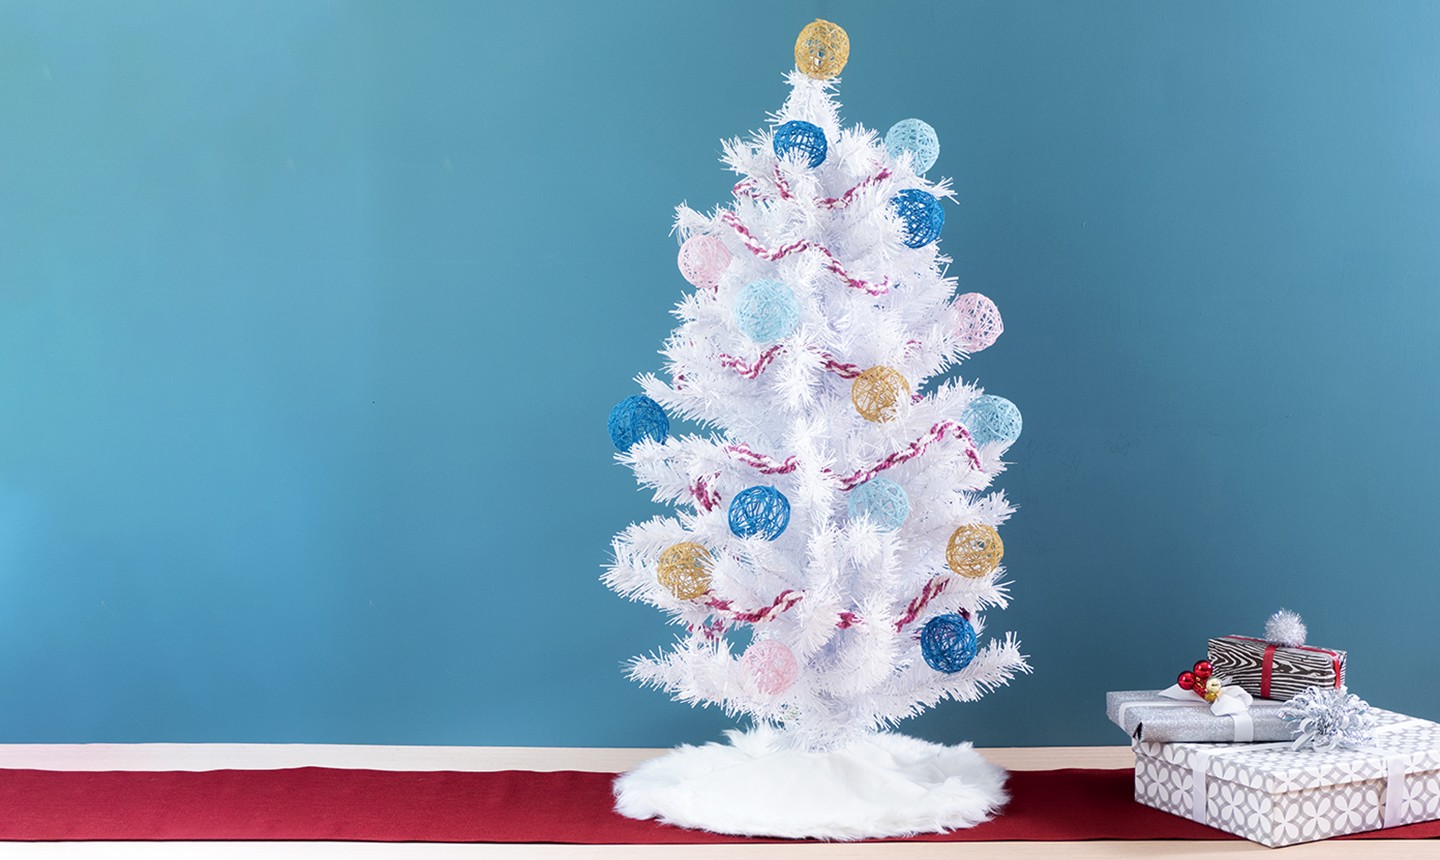
If you’re one of those knitters who can’t bear to part with yarn leftovers, there’s good news: this fiber-friendly tree decor will give those scraps a purpose! You just need to master the technique for one garland and one ornament — both of which are super easy — and you’ll have an adorable yarn-laden holiday statement piece.
Twisted Yarn Garland
Level: Easy
What You Need
Pro Tip: If you want a thicker garland, use more than two strands of yarn in your garland.
Instructions
1. String It Together
Start this project with two strands of yarn at least 20 feet long. Tie the two strands together at both ends.
Pro Tip: If 20 feet seems crazy long, you can also break these garlands up into smaller pieces and then tie your smaller garlands into a super garland.
2. Do the Twist
This project is easier to do with a friend, so make it a craft party! Once you have your friend, you’ll each grab an end and slip a pencil through your knot. If you’re flying solo, attach one end of the garland to a door knob, and slip your pencil through the other end.
Then, it’s time to twist the yarn! If you’re working with a buddy, twist in opposite directions. Keep twisting until it’s nice and tight: if you take a step in and the yarn bounces in on itself, you’re golden.
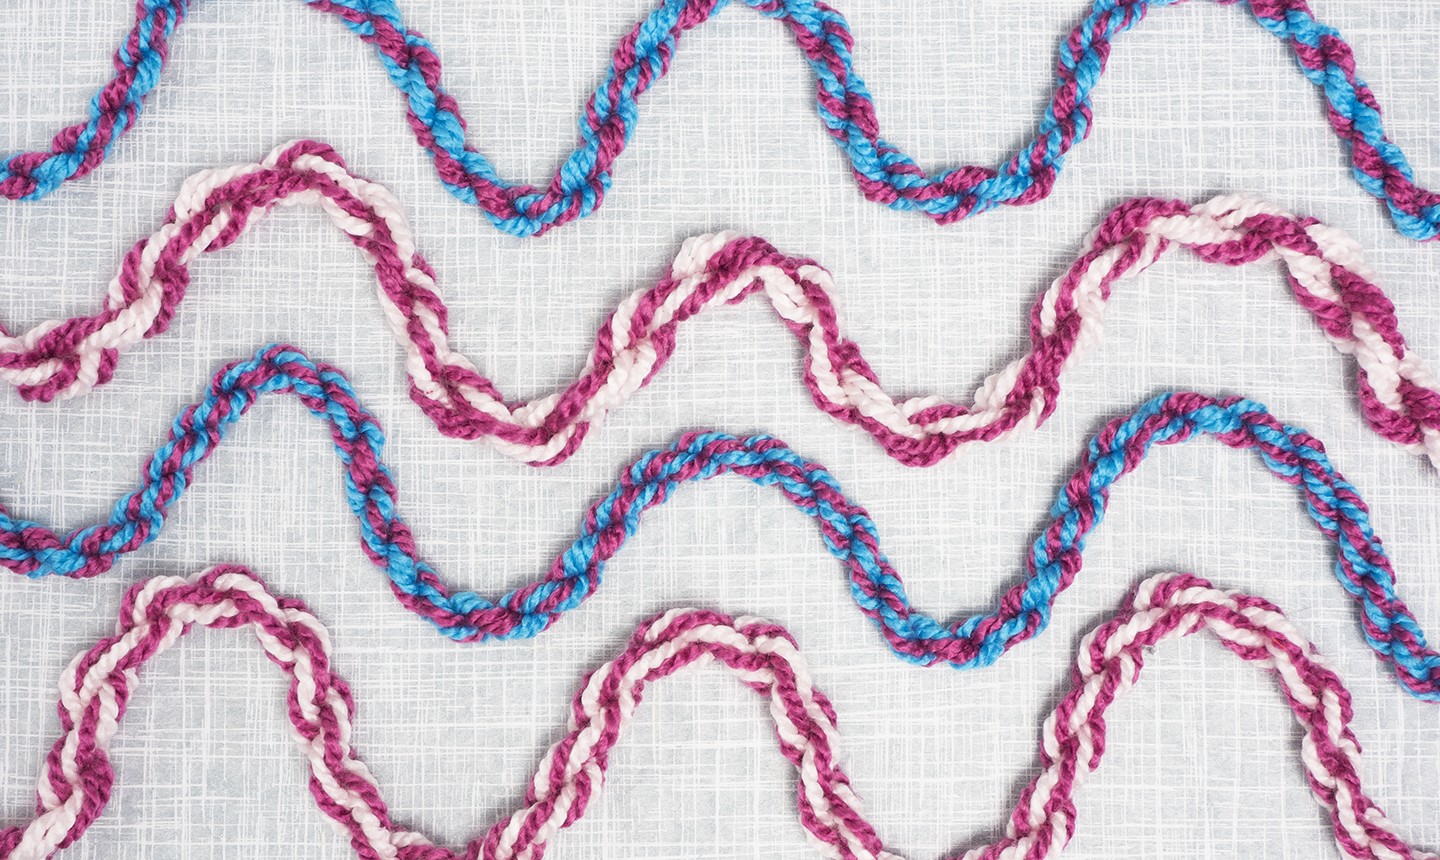
3. Twist Again
Bring the two ends of your twisted yarn together and marvel when it immediately snaps back on itself, forming a thick, twisted rope. Starting at the knotted ends, use your hands to smooth out your garland so all the twisted bits are even.
Stranded Yarn Ornaments
Level: Easy
What You Need
Pro Tip: This project can be messy thanks to the glue. Put down wax paper before you start to protect your work surface.
Instructions
1. Blow Up Balloons
Blow up your balloons until they’re about the same size as a tennis ball. You’ll need one for each ornament.
2. Make the Glue Mixture
In a small bowl or container, combine ¼ cup of water with ½ cup of glue. Mix with your craft stick or a pencil.
3. Wrap It Up
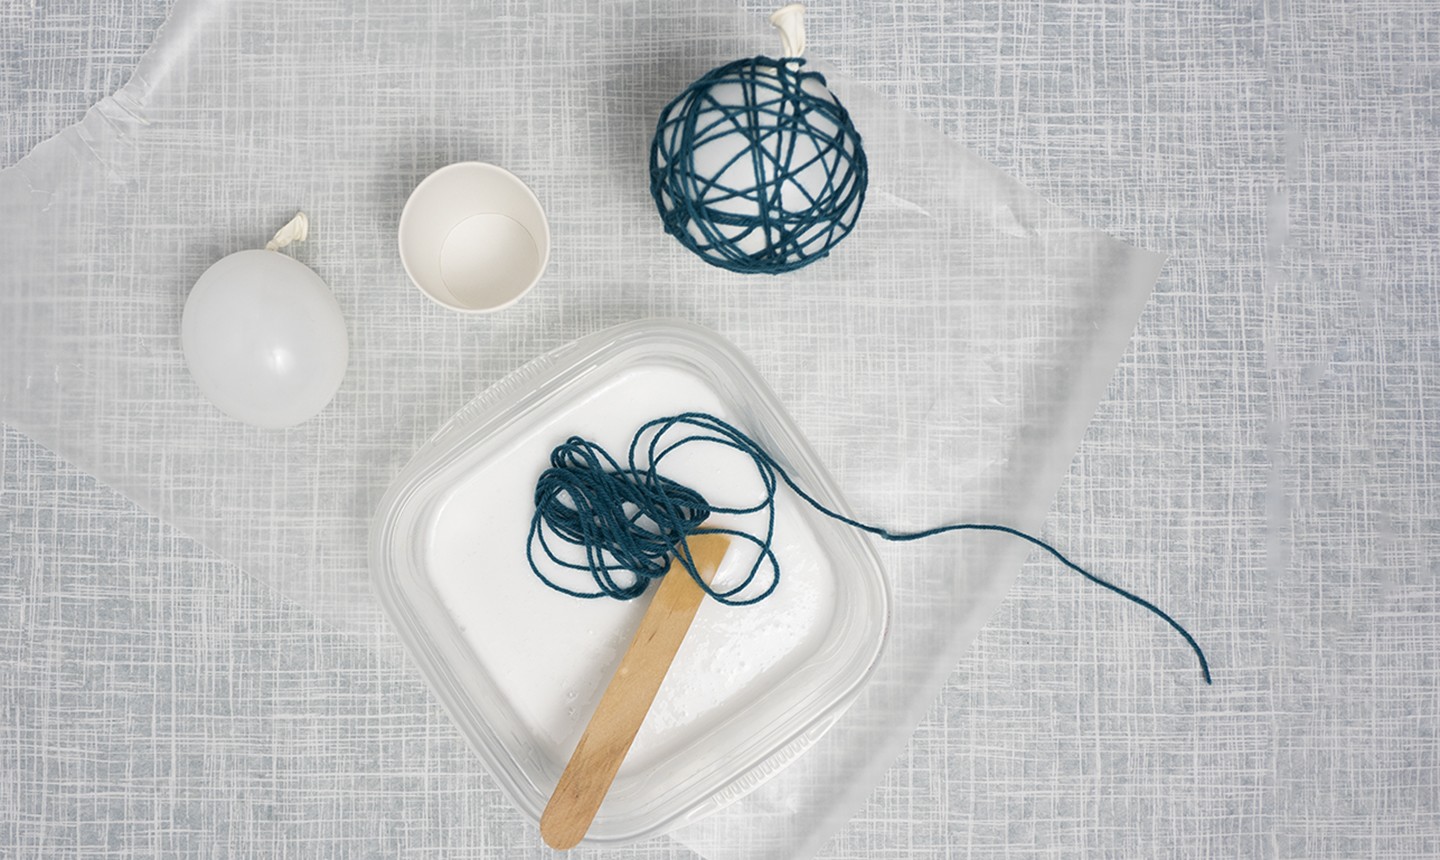
Thoroughly wrap one of your balloons with plain, dry yarn. Make sure to wrap the balloon thoroughly, overlapping in all directions to really capture a circular shape. Once you’re happy with the wrapping, cut your yarn, unwrap the balloon and make a note of the length so you’ll know how much to cut each time.
Dunk your length of yarn into the glue mixture. Make sure it’s fully covered in glue, then pull it out, squeezing the yarn through your fingers to remove the excess glue. Wrap the yarn around the balloon again, the same as before. Set the balloon on a cup to dry. (Make sure there’s some waxed paper underneath to catch any drips.)
4. Make It Pop
Once the yarn is completely dry, pop the balloon with a pin or scissors. Use tweezers to pull out all the balloon pieces. Tie on another piece of string to hang your ornament.
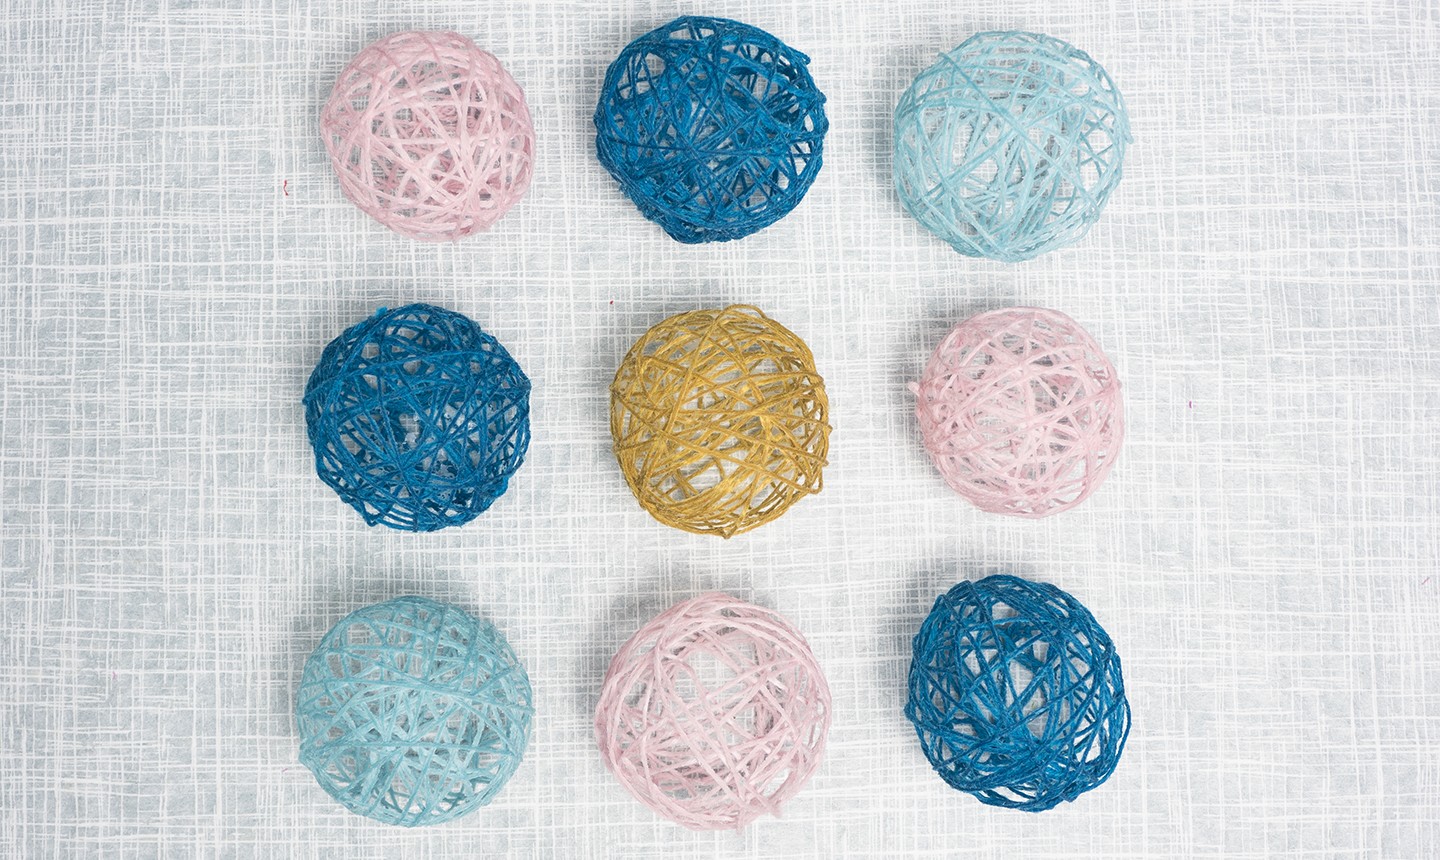
Repeat until you have as many scrappy ornaments as you want!
Looks like fun resulting with unique décor. And not complicated. I love it!
<strong>It's really creative and I started it and it's really blooming