
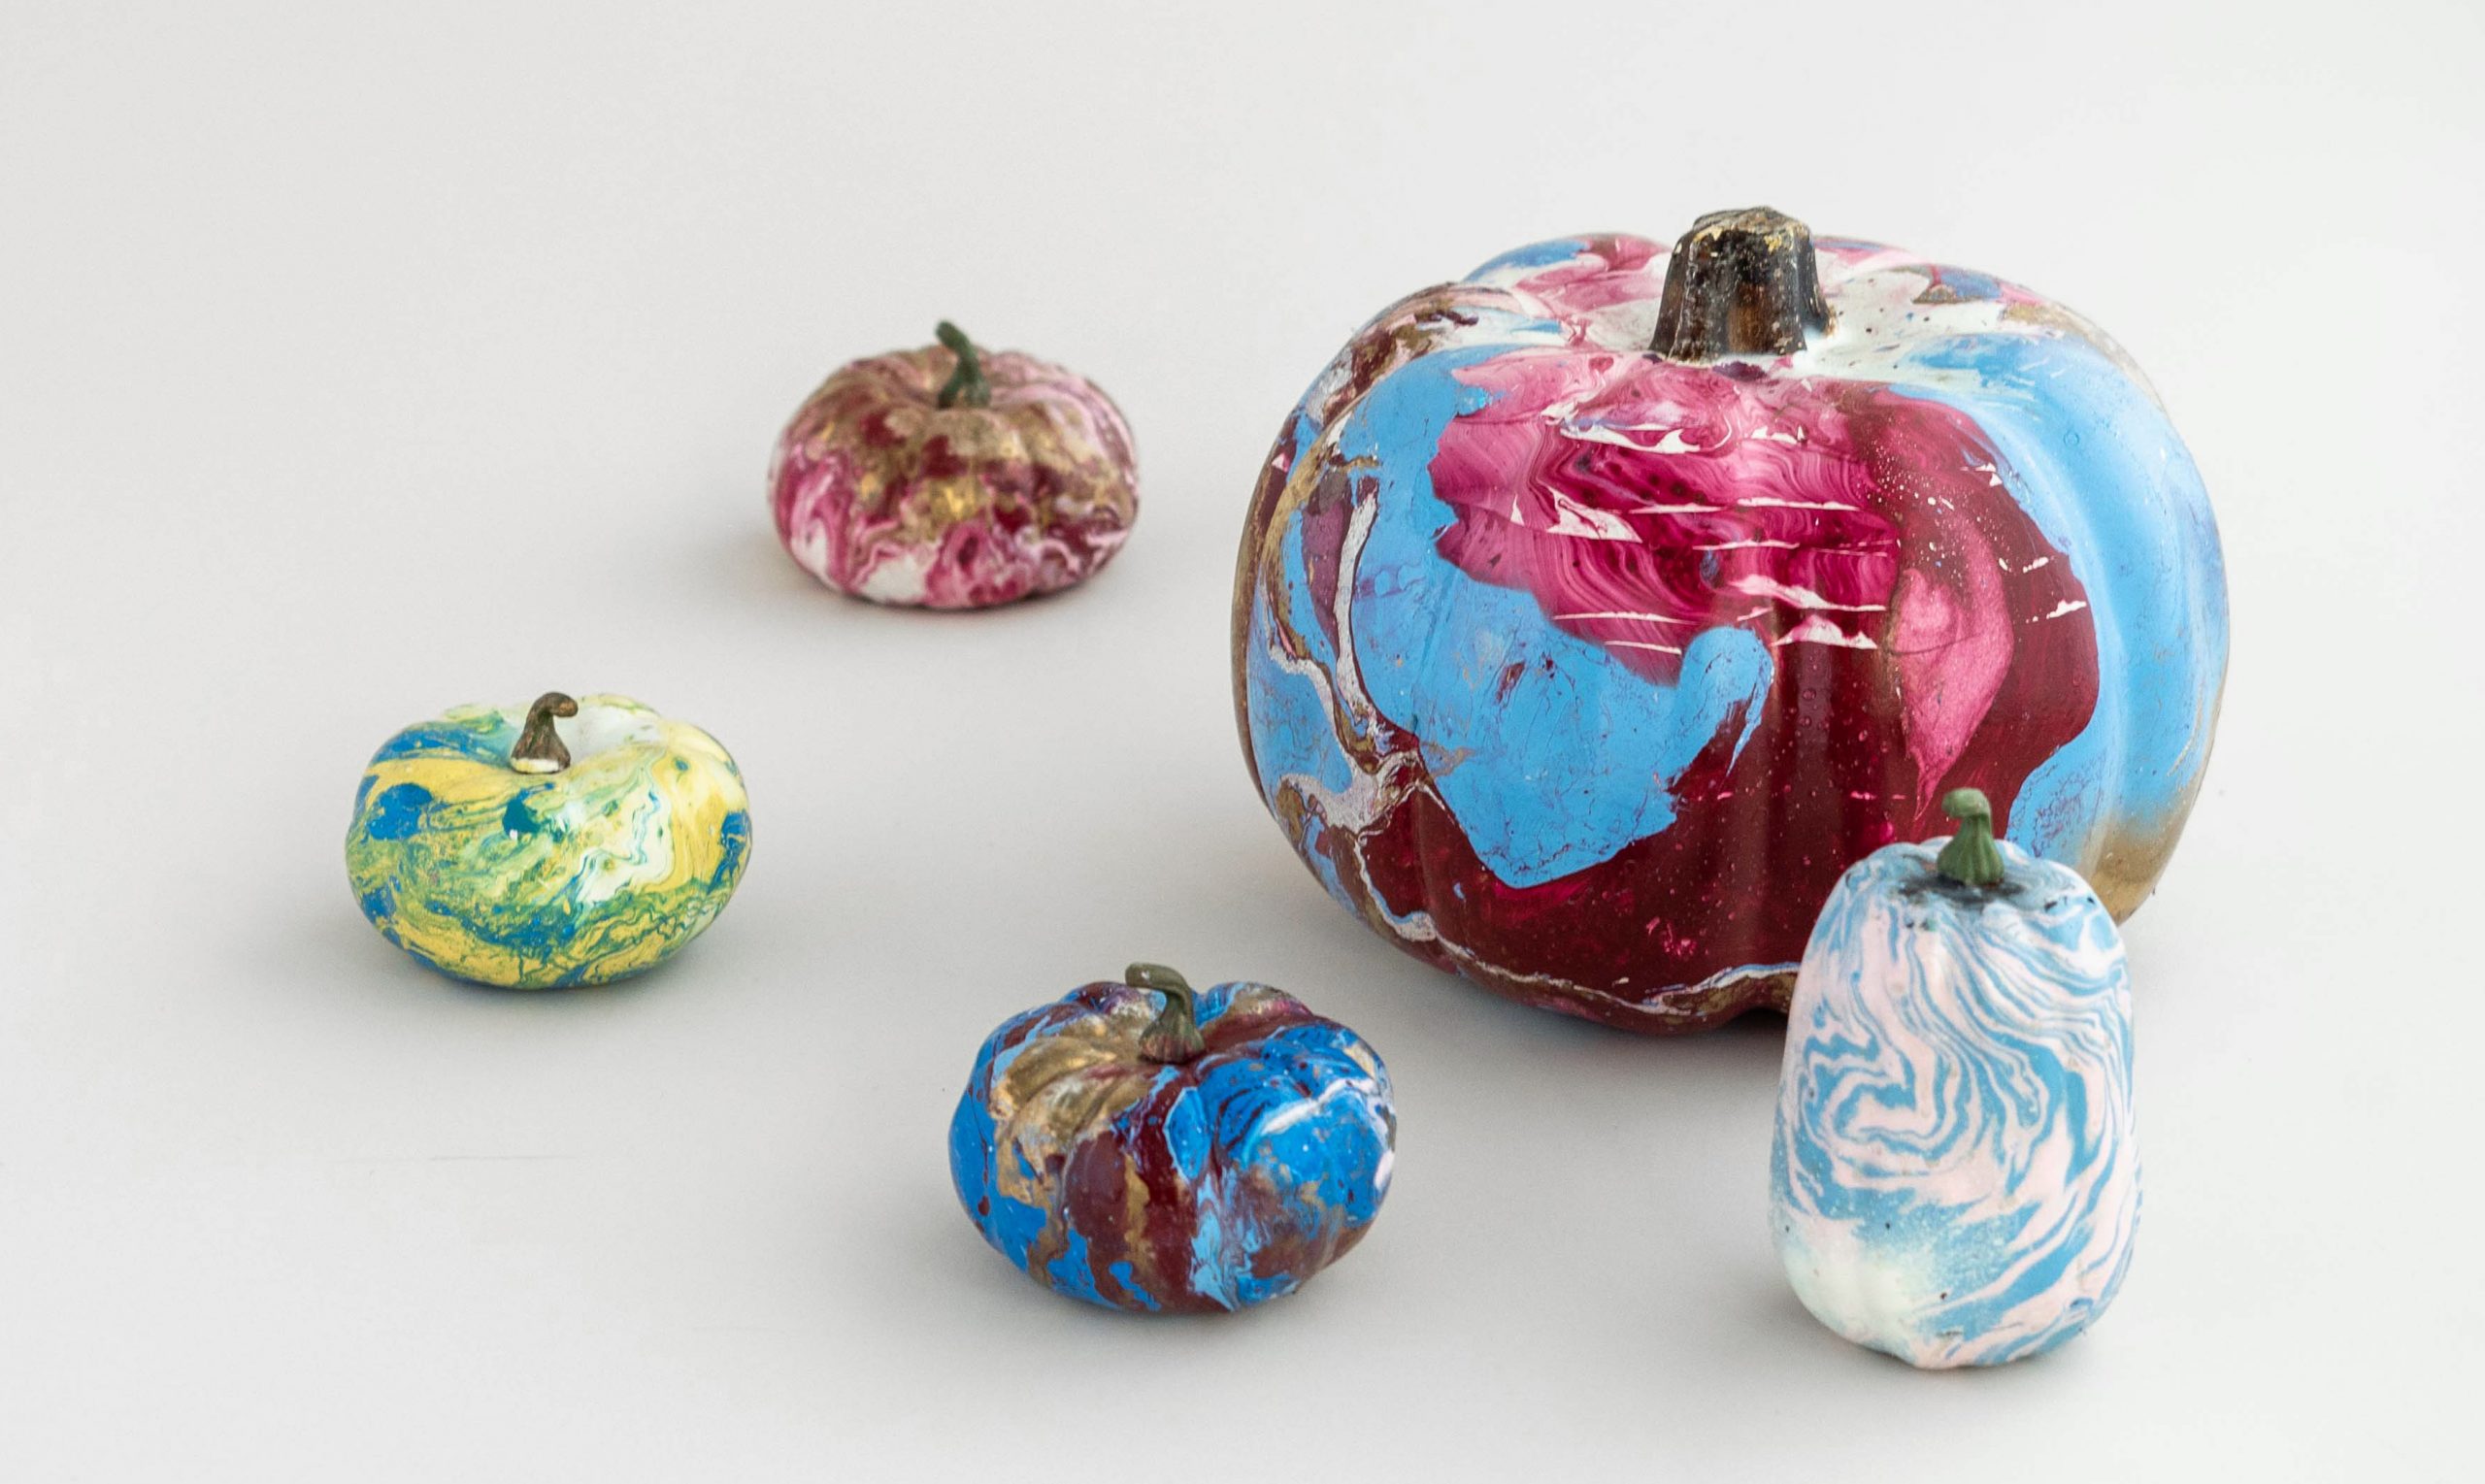
Orange pumpkins will always hold a special place in our hearts, but we’re ready for something a little more original. These faux-marbled pumpkins totally do the job, and they’re incredibly fun to make. Get in there and play around with your color scheme to make a Halloween palette that’s 100 percent fresh.
Faux-Marbled Pumpkins
Level: Easy
What You Need
Instructions
1. Prep the Pumpkin
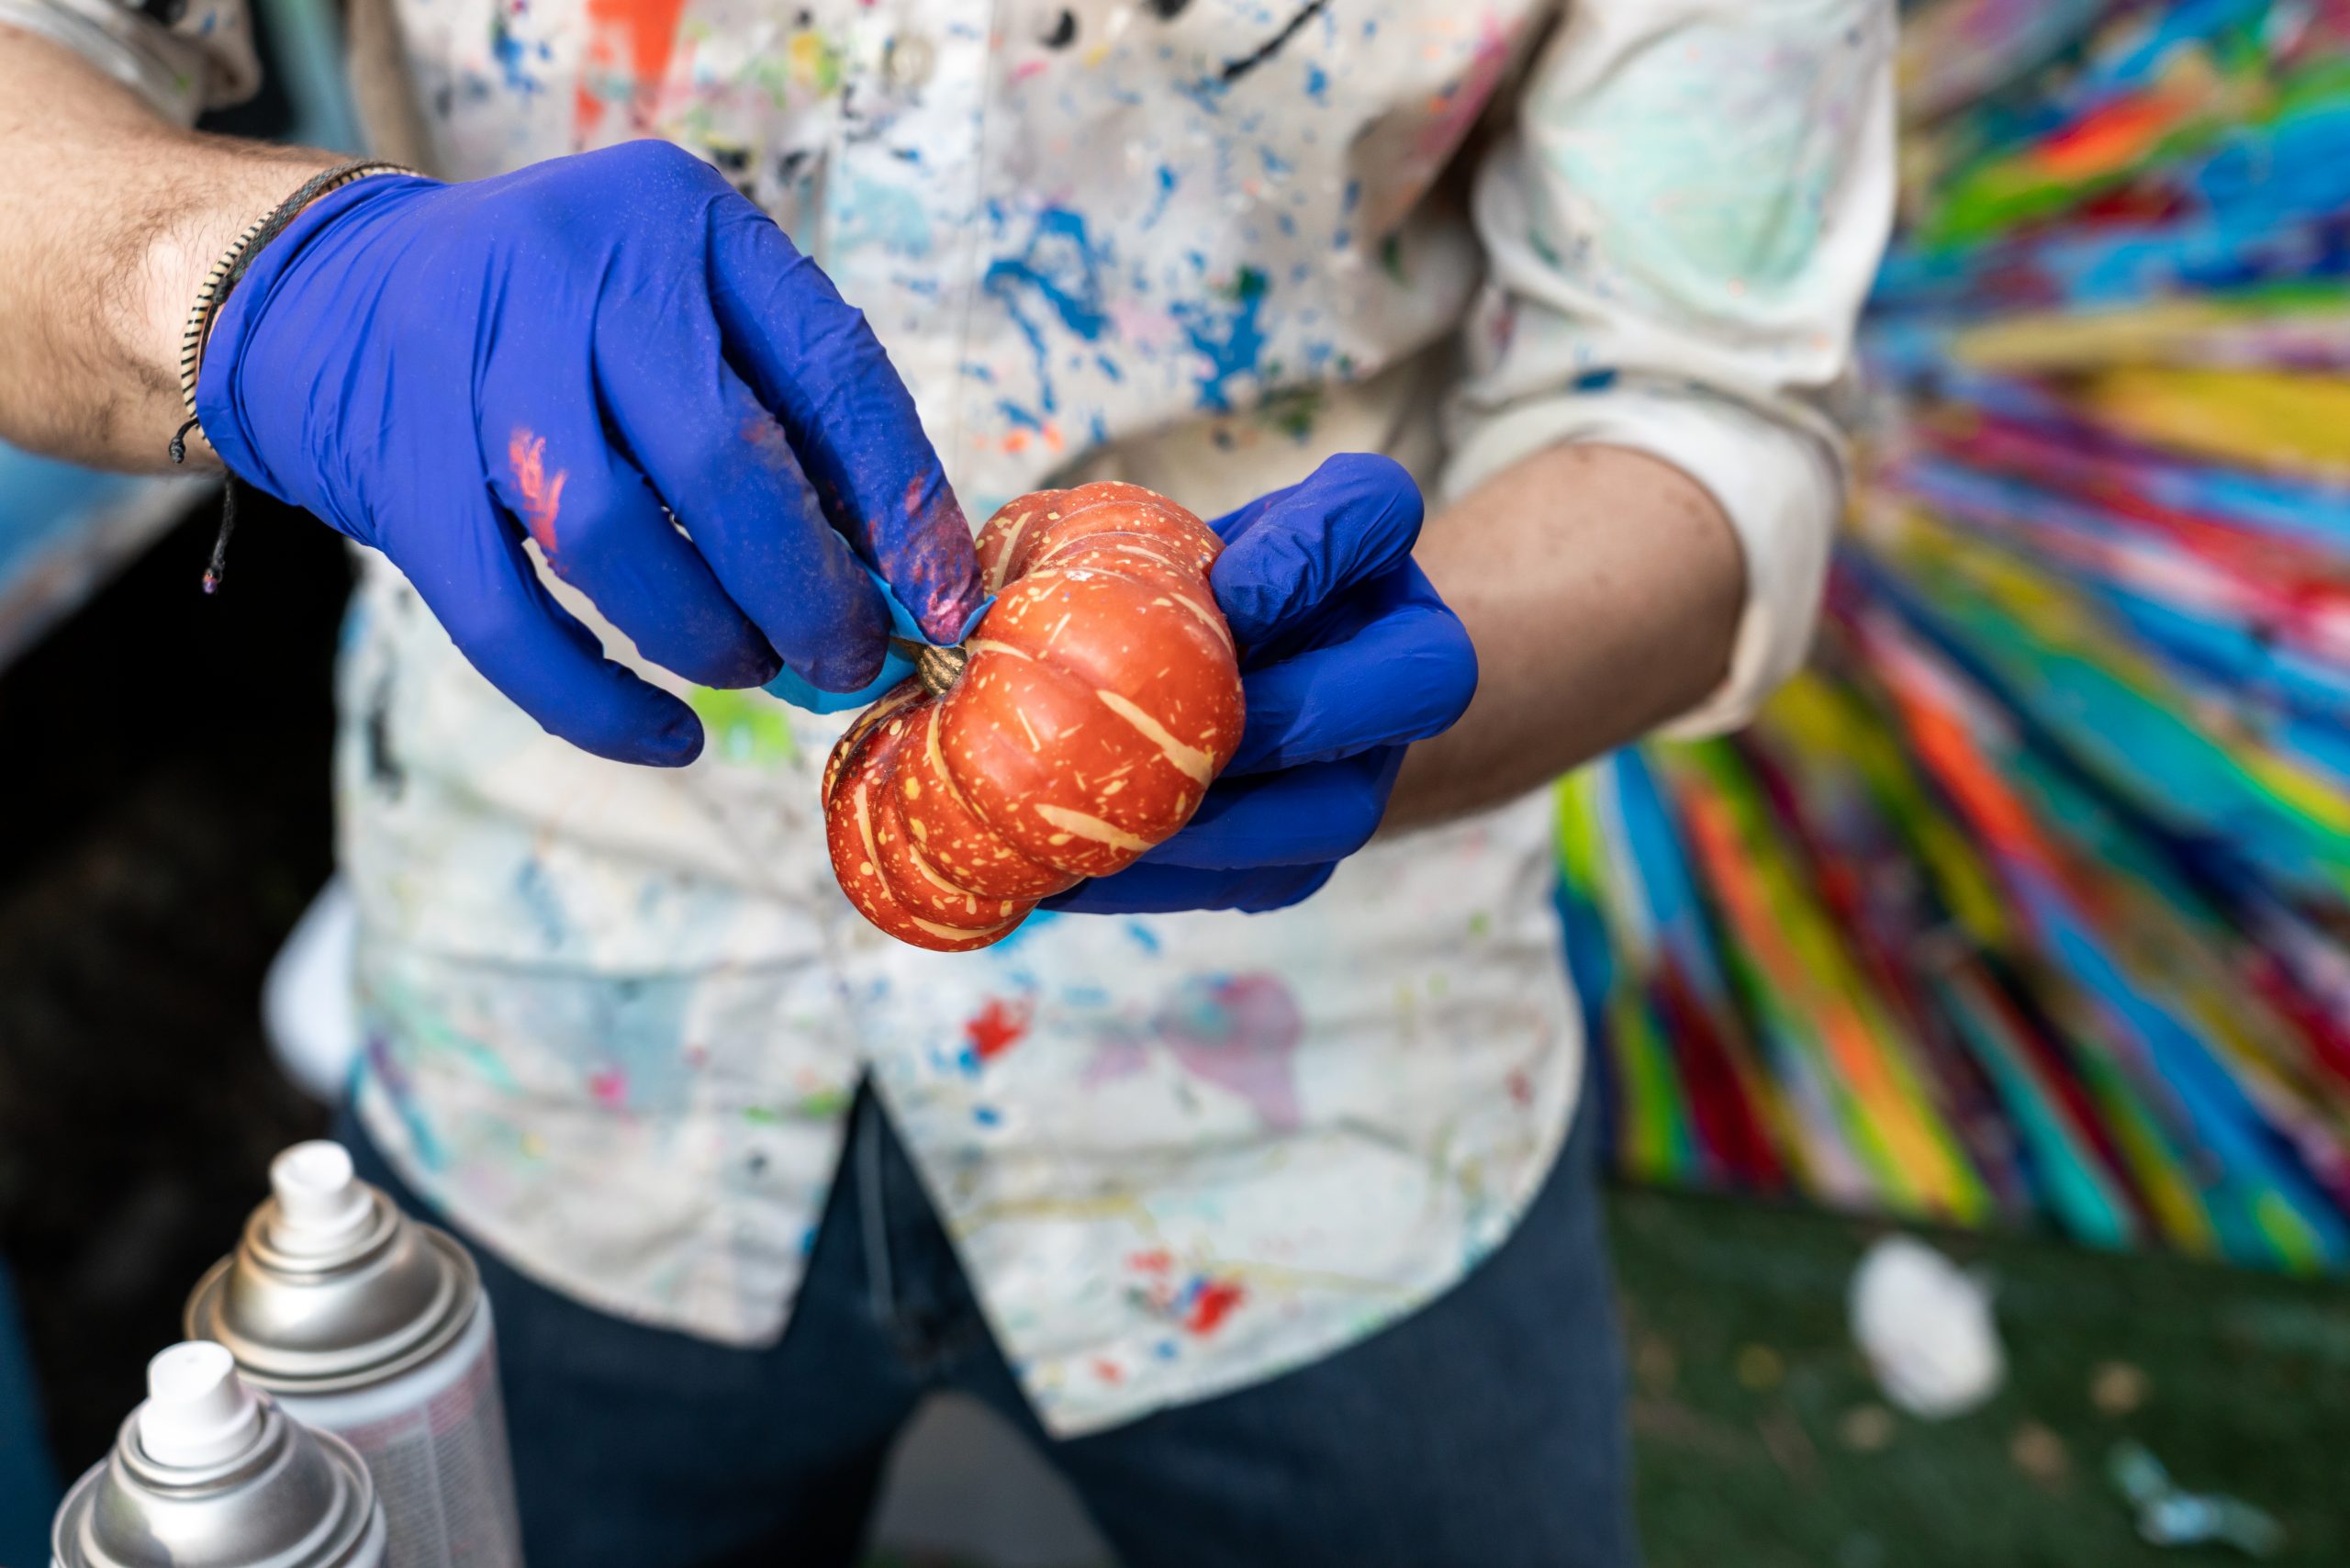
First thing’s first: we’ve got to keep that stem paint-free. Simply wrap the stem with painter’s tape before you begin crafting. This will protect it from any unwanted paint smudges, splatters or specks.

With the stem securely wrapped, cover the pumpkin in a layer of primer and set it aside to dry. You can paint the pumpkin with a brush or apply the primer in spray paint form, as pictured above.
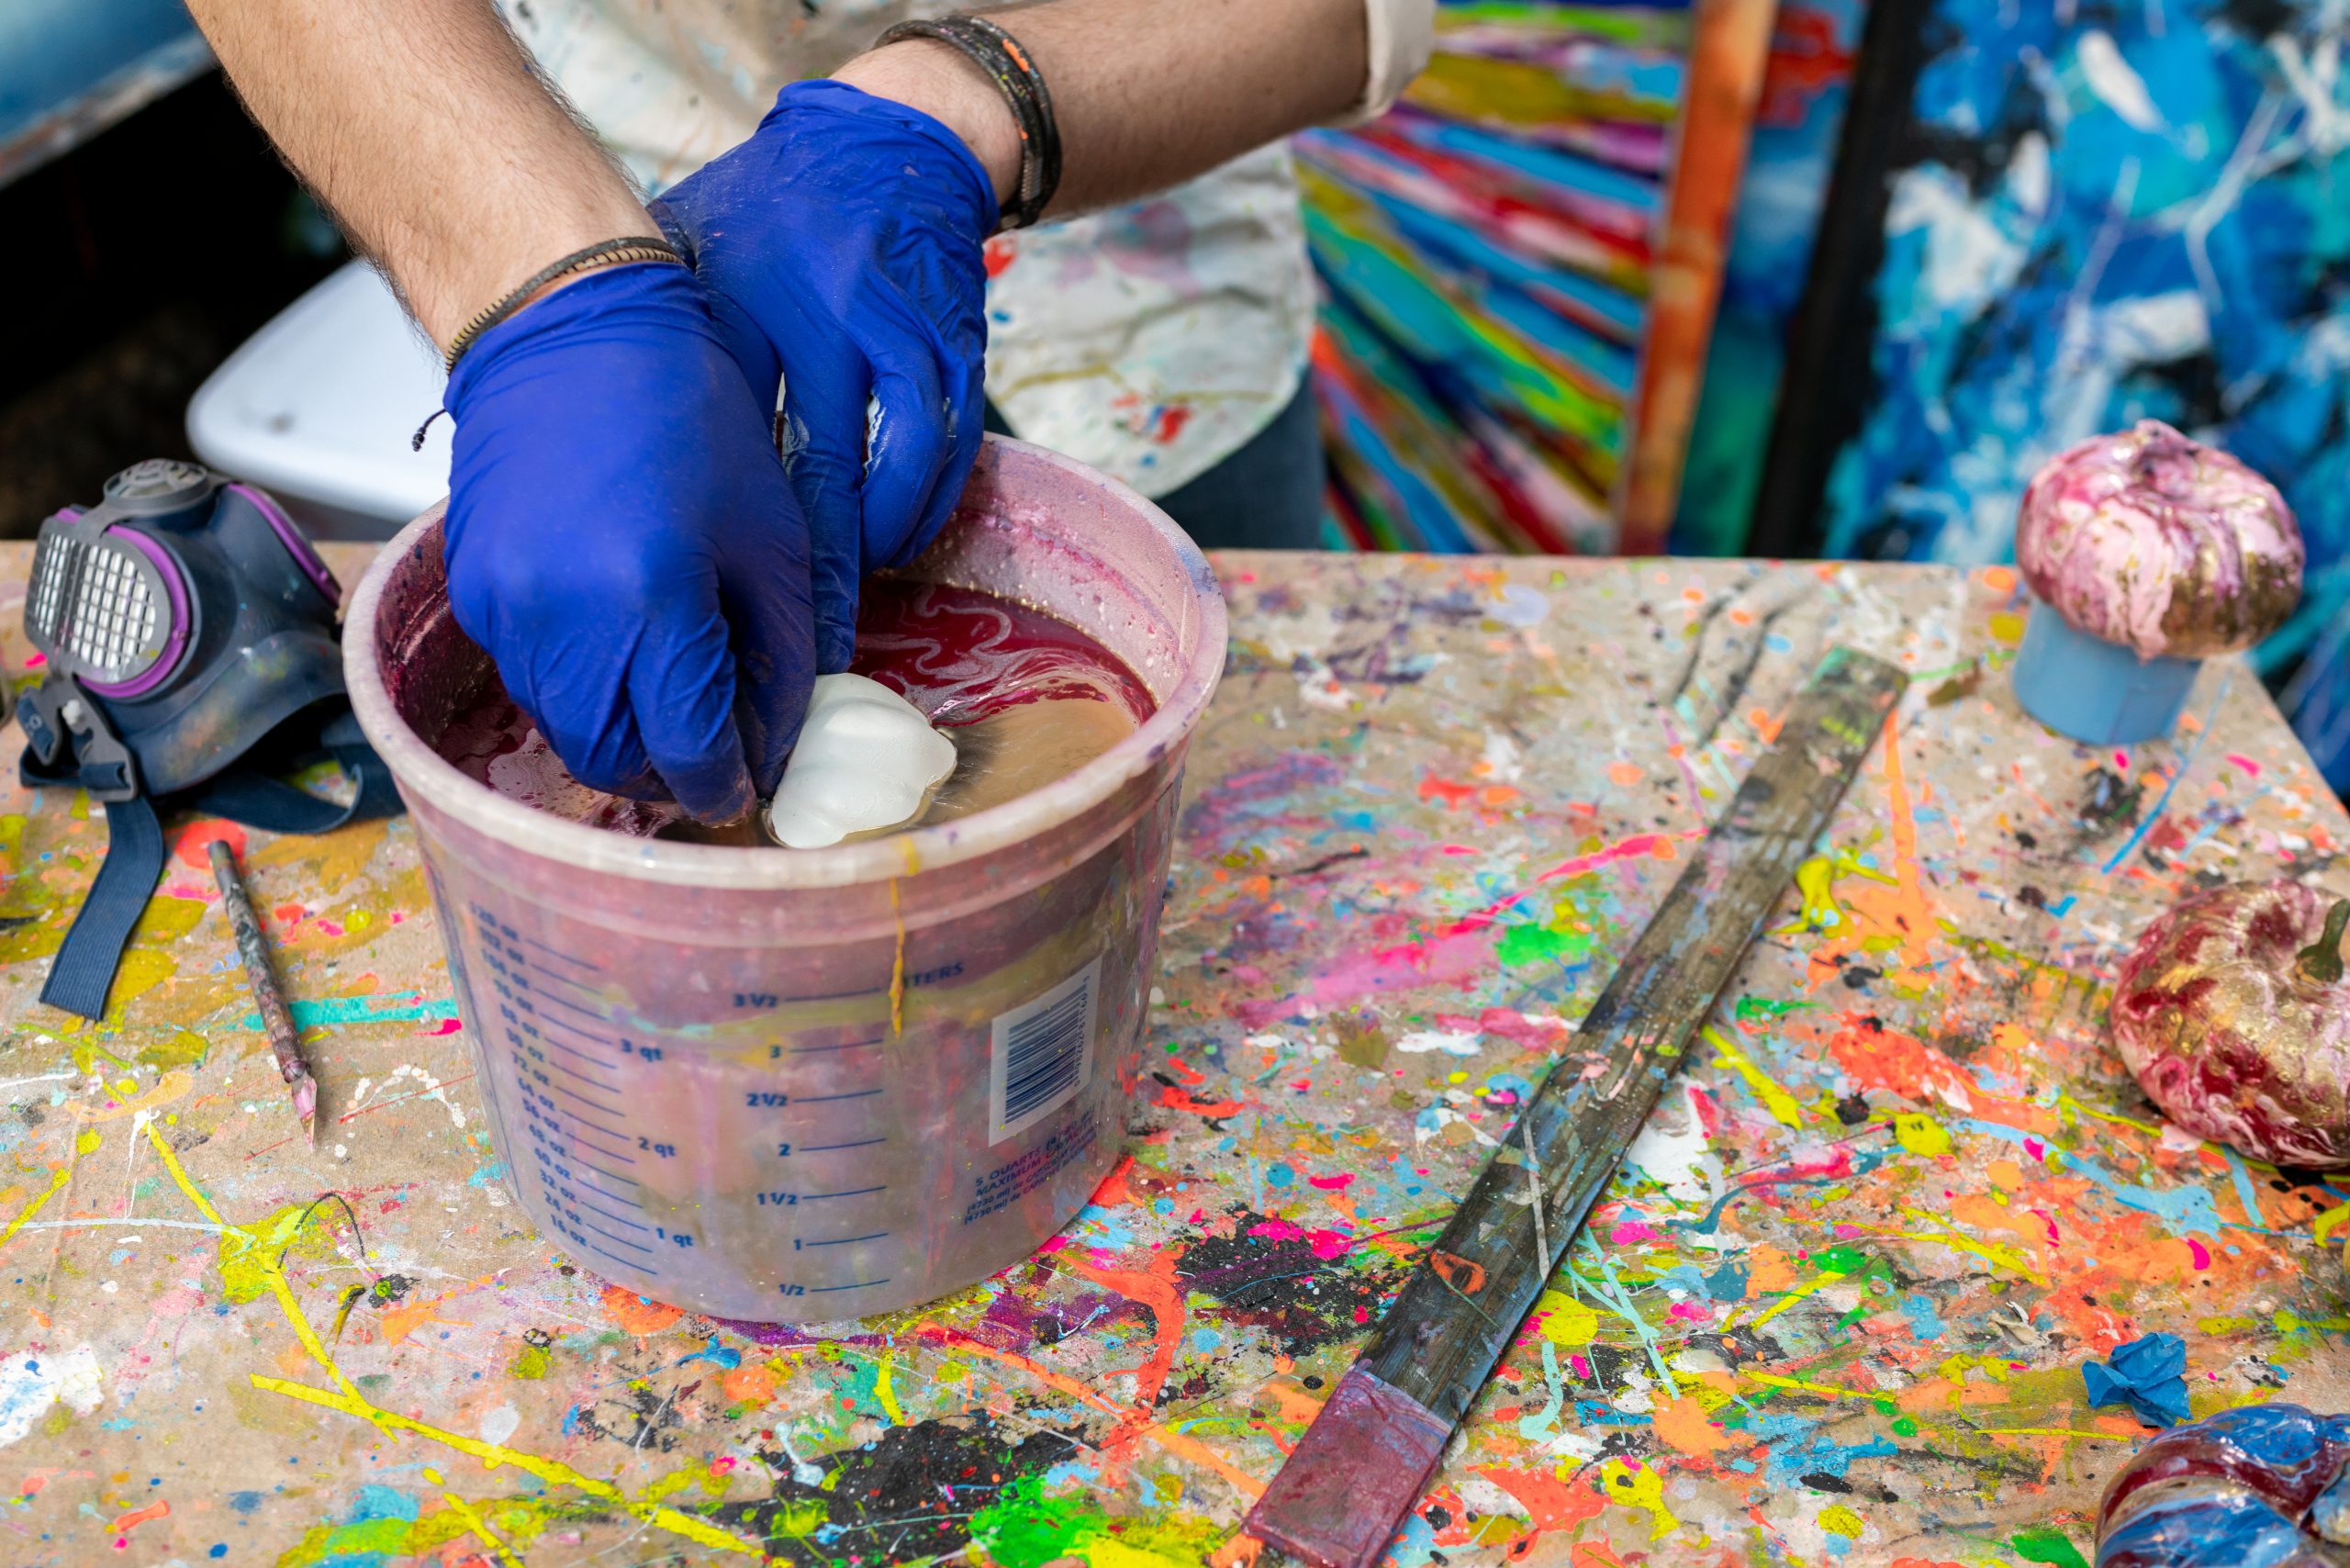
2. Spray Some Layers
Now that your pumpkin is primed and dried, the real creative work can begin. Fill a bucket with water and choose your desired colors of spray paint. Now get to spraying — but not the pumpkin! Instead, spray the surface of the water in the bucket.
Use multiple colors, creating layers of paint on top of the water. Feel free to go crazy with this! And as always, be sure to only use spray paint in a well-ventilated area and follow the safety precautions on the can.
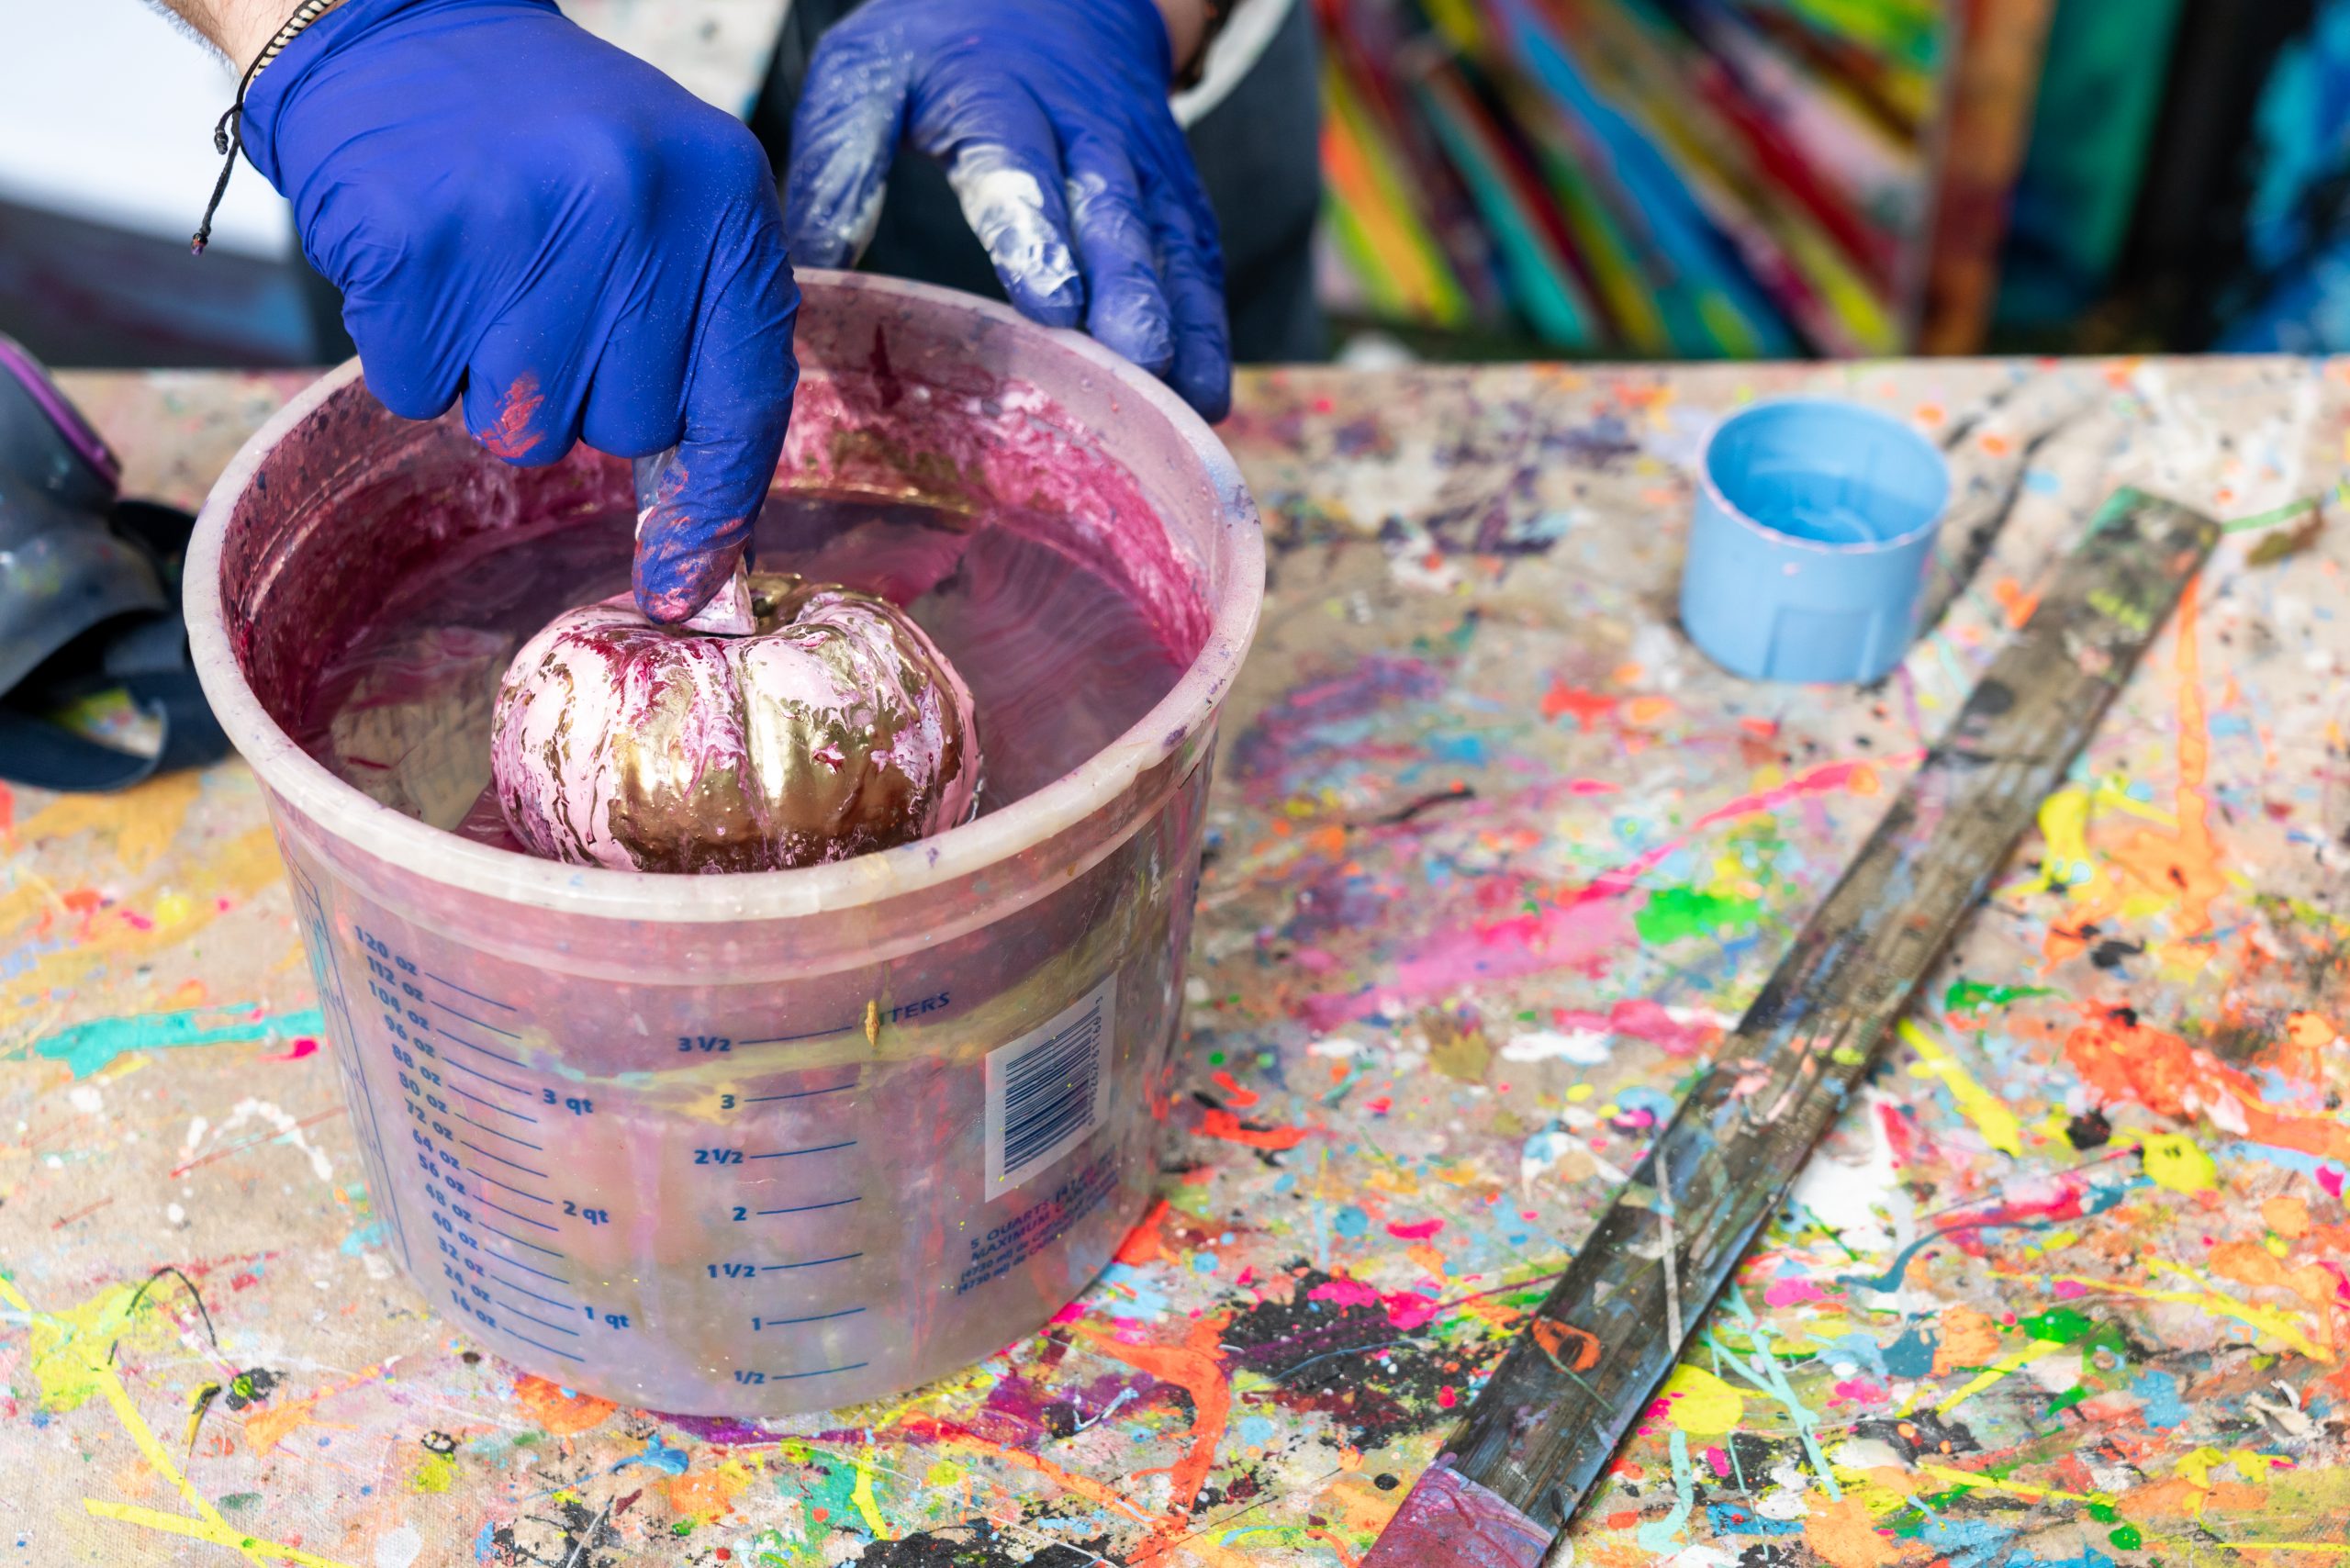
3. Dip
Use a stick, toothpick or other tool to swirl your paint before dipping. This will give your pumpkins a galaxy-esque look. To make sure the pumpkin is completely coated (and free of finger smears in the paint), spear the bottom of the gourd with a fork. Then dip the pumpkin into the bucket at an angle.
Once it’s completely submerged, remove it from the water. You may need to use a stick or paint stirrer to swipe away excess paint clinging to the pumpkin. Now set that colorful beauty aside and let it dry.
Pro Tip: sit your pumpkins on the spray paint lid to dry: it will let the bottom of your pumpkin dry, too.
Repeat this process with all of your pumpkins, experimenting with different dipping angles and colors along the way.
Check out more fall-tastic projects in our class Fall-Ready Decor + Projects.
Share tips, start a discussion or ask one of our experts or other students a question.
Already a member? Sign in
No Responses to “These DIY Faux-Marbled Pumpkins Will Rock Your Fall”