
 Pete Bellis/Unsplash
The last time you saw the price tag on a pair of killer jeans and thought, “Hey, these are a bargain!” was … never? Fabulous jeans are nearly always pricey. It’s a law of physics, and it’s totally unfair.
But you can break the tyranny. You can sew your own jeans (we can teach you how here). It won’t be the simplest sewing project you ever take on, but you can conquer it by dividing it into smaller parts and paying attention to the details. Because when it comes to great-looking jeans, it’s all about the details. The tips here will help you get them right.
1. Pick the Right Pattern
Jean styles vary dramatically, and that’s part of the reason why there’s something for everyone. Spend time sifting through your many pattern options — indie designers and the Big Four pattern companies serve up tons — so you can make a pair of jeans you really want to wear.
2. Schedule a Fitting With Yourself
Fit is everything — everything — when it comes to jeans. No matter whether or not yours are tight or baggy or whether they have all kinds of other flourishes (or not), fit always rules. Run some tests before you start sewing your pair of jeans, to make sure you’re on the right track fit-wise.
Taking the time to make a muslin, or test garment, of your jeans will pay off massively. Make sure you use the same type of fabric for your test copy as you plan to use for the final jeans. If you’re making stretch jeans, for example, you’ll want to use a fabric with the same amount of stretch for your muslin version. Otherwise your fitting will be a waste of time since the fit will end up totally different, or at least different enough to matter.
3. Know Your Fabric
 Bruno Nascimento/Unsplash
Denim is classified by weight: You’ve got your 8-ounce, 10-ounce, 12-ounce and so on. That number refers to the weight of a square yard of fabric, so the higher the number, the beefier the denim. Lightweight denim is usually 12 ounces or less, mid-weight denim will be 12 to 16 ounces, and heavyweight denim is 16 ounces or more. Spandex often gets added to denim for that “comfort stretch,” and usually varies from 1 to 4 percent.
4. Go Tool-Shopping
Whether you’re building a house or making scrambled eggs, you need the right tools for the job. Sewing jeans is no different.
You’ll need denim or stretch needles, sized appropriately for the weight of denim you’ll be using. You can use regular thread for construction, but special topstitching (or jeans) thread will give you a more finished look. Rivets, jean buttons and jean zippers will get you even closer to that designer look you’re going for.
There are lots of other tools you can use when sewing jeans, and you might find yourself also seeking out a hammer, a tailor’s clapper or a “hump jumper.”
5. Run Some Experiments
Take the time to make some samples using scraps of the fabric you picked out. Test the length you want to use for topstitching, and be sure to write it down so you use it consistently the whole time you’re sewing your jeans. Experiment with making a true felled seam, and figure out whether you’d prefer to serge your seams and just apply two rows of decorative topstitching to simulate a felled seam.
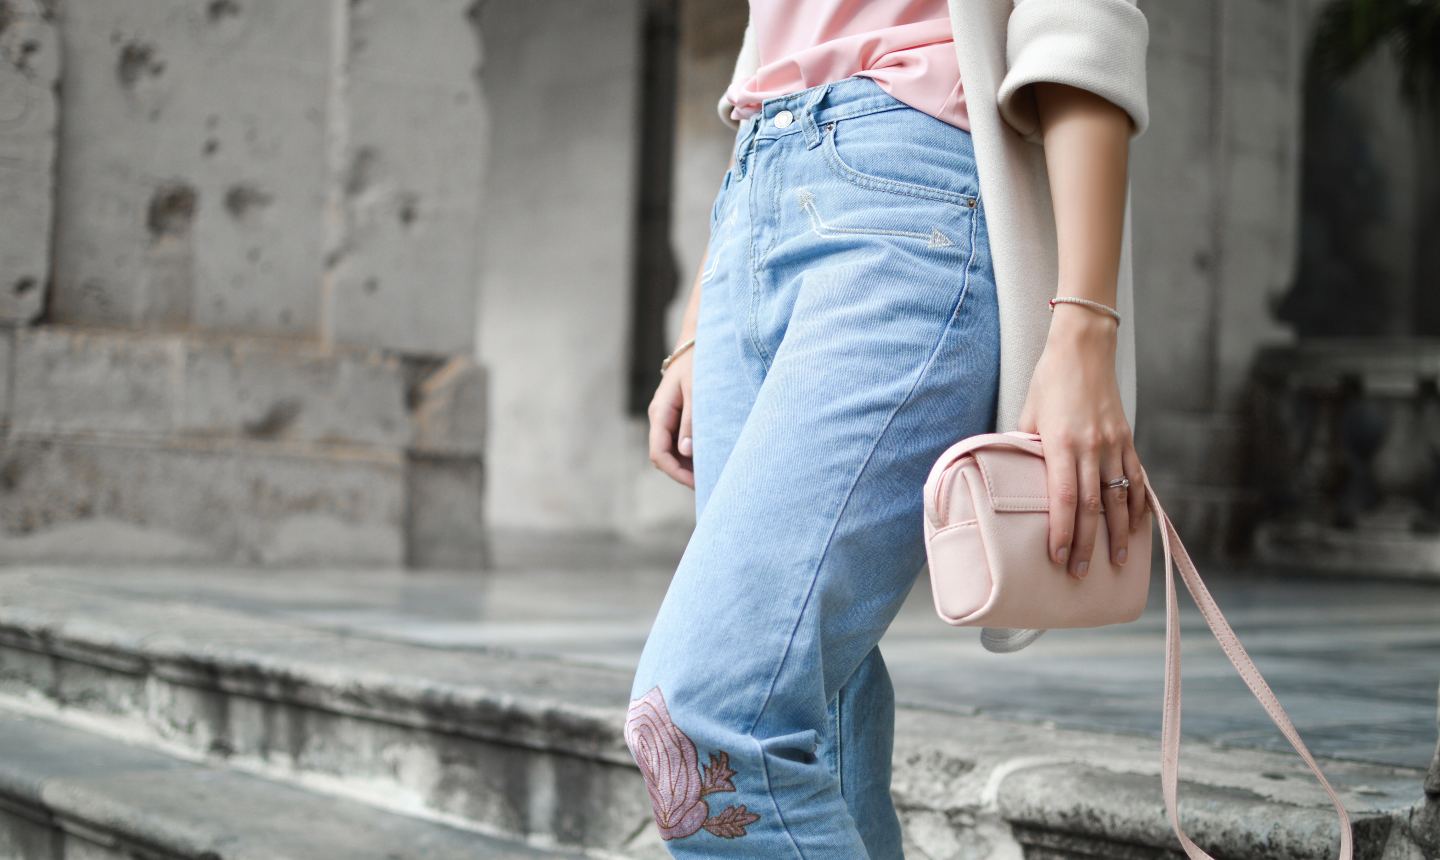
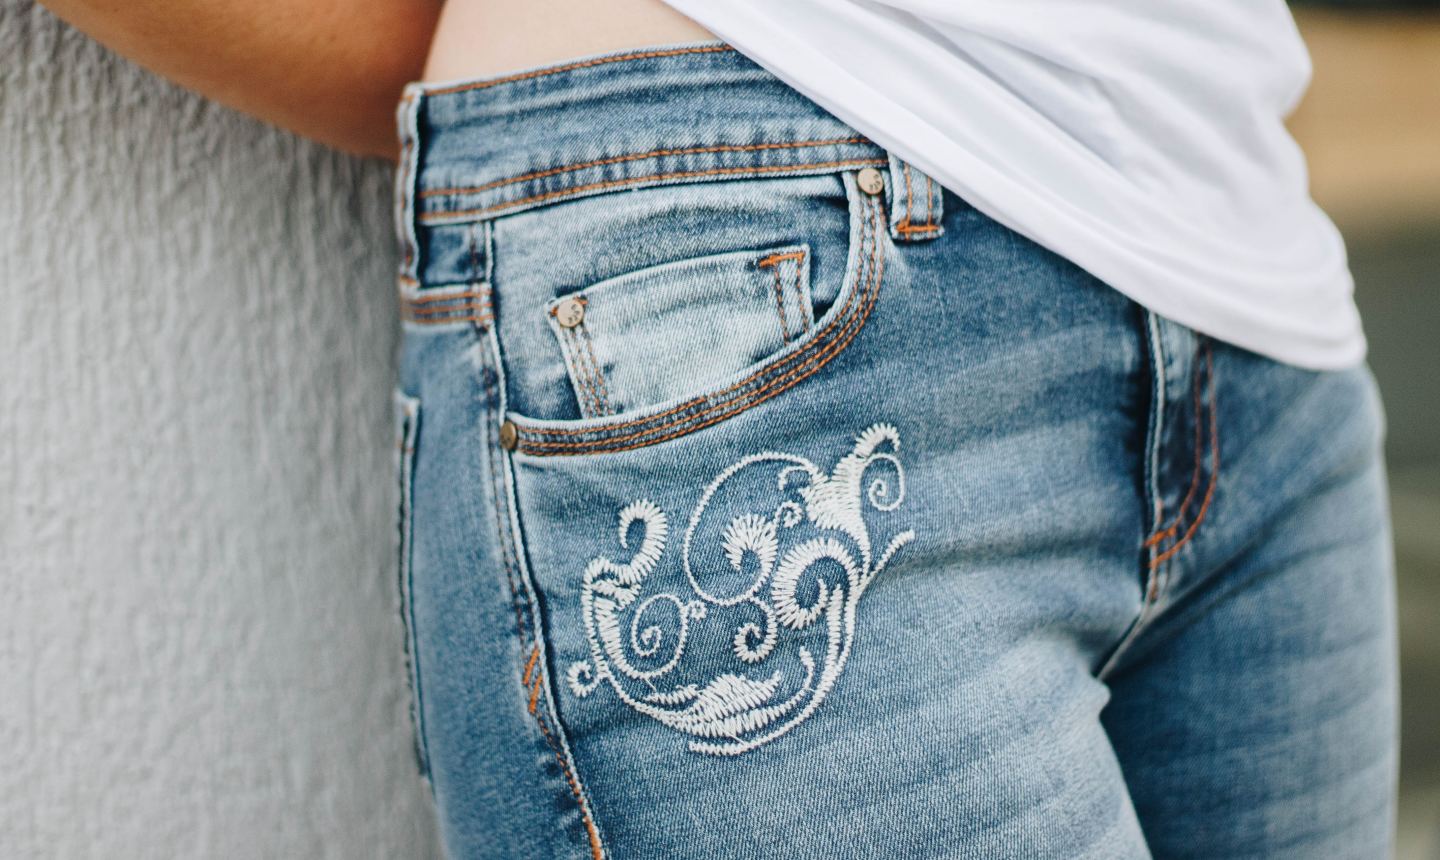
6. Add Design Details
 Isabela Kronemberger/Unsplash
When you start making your own jeans, check out what ready-to-wear designers are doing. One of the best places to look might be in your own closet. Examine the jeans you already own, or do a little snoop shopping, so you can get plenty of ideas on construction techniques and topstitching details that you might want to copy for your own pair.
7. Break It All Down
Once you’ve figured out your pattern, fabric, fit, supplies and extra little details, it’s time to get down to business. Start by cutting out all your pattern pieces and applying any interfacing required by your pattern.
Now you can dive in, focusing on each part of the jeans-making process:
- Embellishing and applying the back pockets, and then attaching the back legs to the back yokes
- Constructing and attaching the front-hip pockets, and if you want, a coin pocket
- Making the front fly
- Joining the front legs to the back legs
- Attaching the waistband
- Hemming and finishing details
Like we said, making jeans isn’t the easiest or fastest project, but it’s absolutely manageable. And believe it or not, it’s also fun and incredibly satisfying. But do yourself a favor and don’t expect your first pair to be perfect. Trust that after you get the hang of it, you’ll be on your way to winning at jeans — and never having to flip out at those crazy price tags again.
I want to start my own jeans brand
Want to have jeans like we had in 60's. They were very heavy denim, even stiff when new, and after many wishes. Everything now, rubbish. CANNOT get anybody to make same, willing to pay. Just very plain simple, rugged, tough old-fashioned jeans.
If I send through a few photographs of an old/treasured pair of coloured jeans that the backside was worn right through, can you duplicate them?