
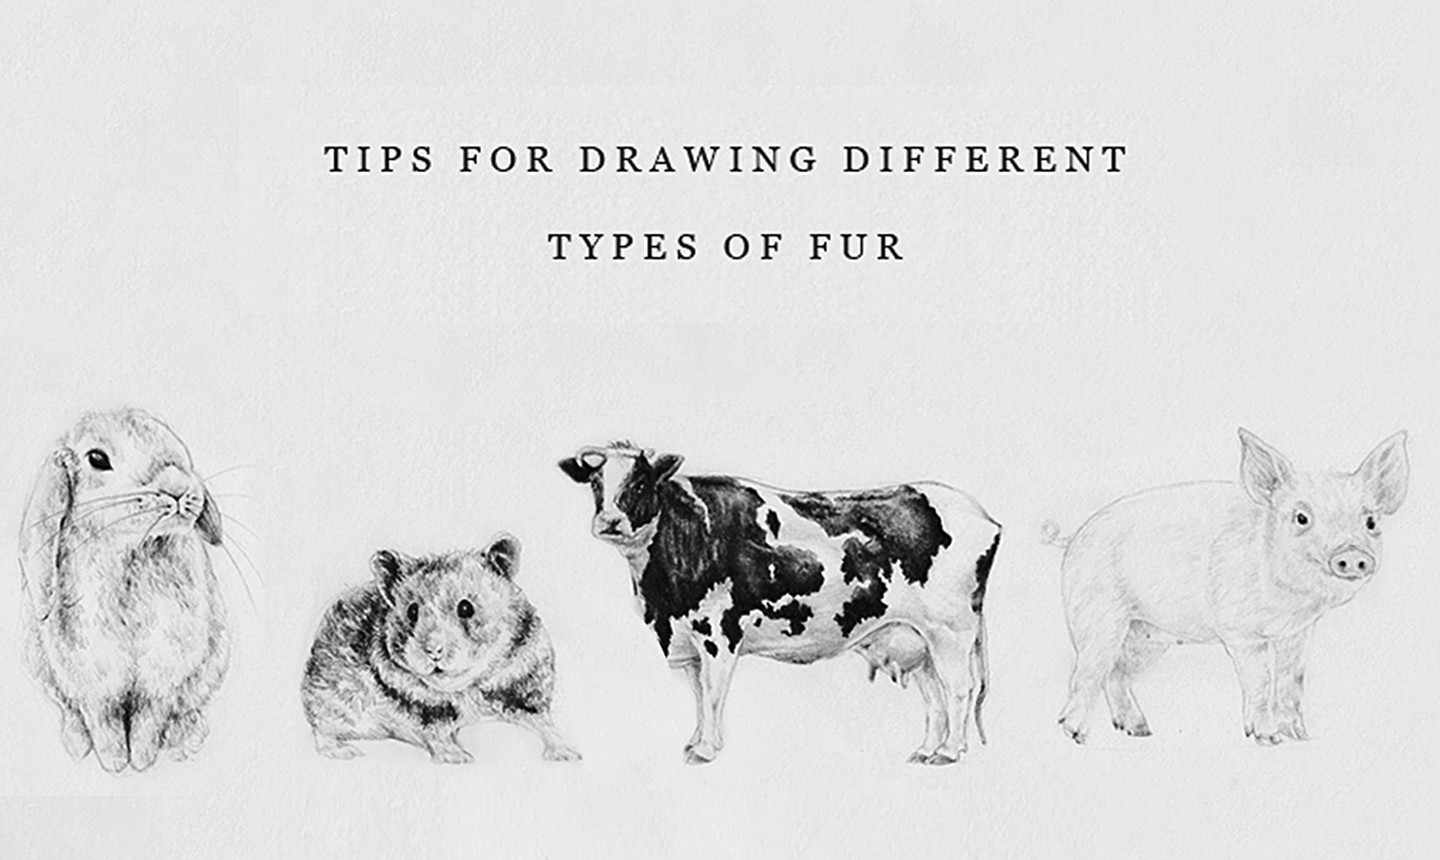
Fur can seem like a very challenging subject to draw given that it presents a plethora of detail to draw. Even hair in general can be very an intimidating thing to draw.
The key to drawing fur is to focus on the fur as a whole and how it is affected by lights and shadows instead of trying to draw every single strand of hair. Doing so will make it easier and faster to depict the fur while still maintaining a realistic look at the same time.
Check out these examples and learn how to draw realistic fur.
The most important thing to consider when drawing fur is the direction of the strands of hair. You don’t need to draw every single hair on the animal. You don’t even need to draw one hair. This is because what you need to do is shade sections of fur in their appropriate direction, and the pencil shading will innately give the impression of hairs. So, forget about trying to draw strands of hair and instead think of it as shading shapes.
Spots and Short Fur:
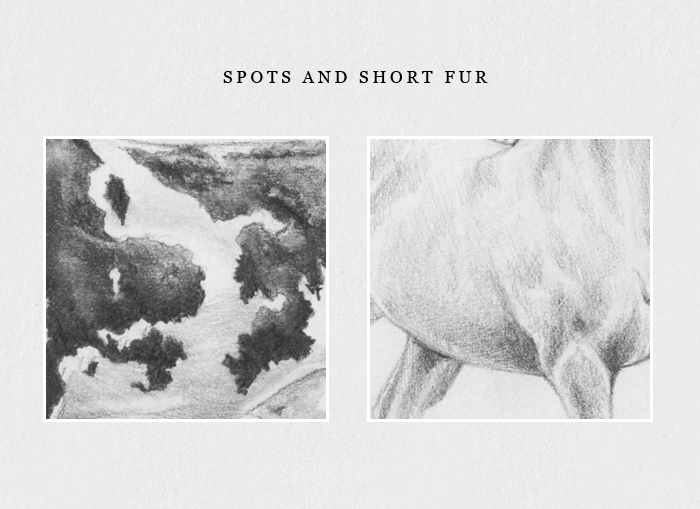
How to draw spotted fur:
For spots, it is best to begin by drawing a faint outline of their shape and where they will be located, in order to have a clear sense of proportions before we spend more time developing fine details and shading.
In the case of a cow, for instance: Yes, their spots are black, but you will notice above that there are different variations in the tonal value throughout the black spots. The lighter areas of the spots are where the light hits the cow’s skin and the hair reflects some of it.
Keeping this in mind and applying it while drawing will ensure that your work looks much more realistic than if you were to shade all the spots in just one tone of black. The different tonal values enhance the realism of your drawing, and they also give it more dimension and depth.
How to draw short fur:
In the case of short fur with no spots (like the horse in the second example above), simply shading the areas in shadow will suffice when rendering it.
Fluffy Fur:
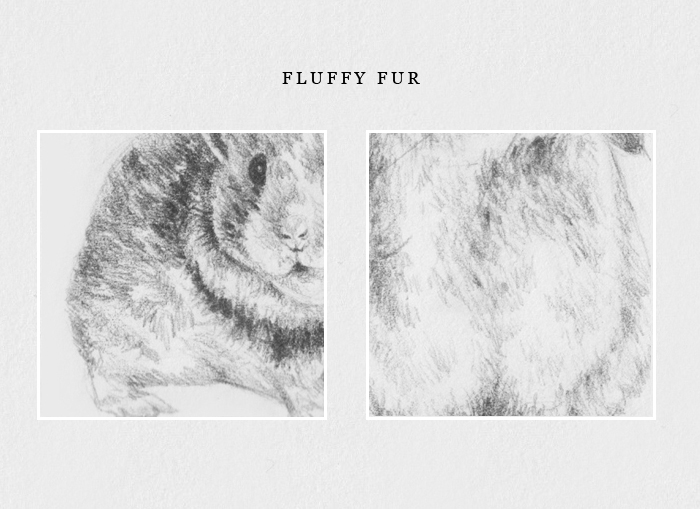
This type of fur will, most likely, look homogeneous or “flat” in certain areas (like on the white areas on the second close-up above) and there will be few perceivable hairs and strands. The hairs will begin to be more noticeable in areas where the animal is creasing or bending. This is why the fur will look darker where there are folds (for example, the first close-up above). In this case, it is helpful to shade while drawing small lines and “V” shapes to suggest the look of hairs.
Light Fur:
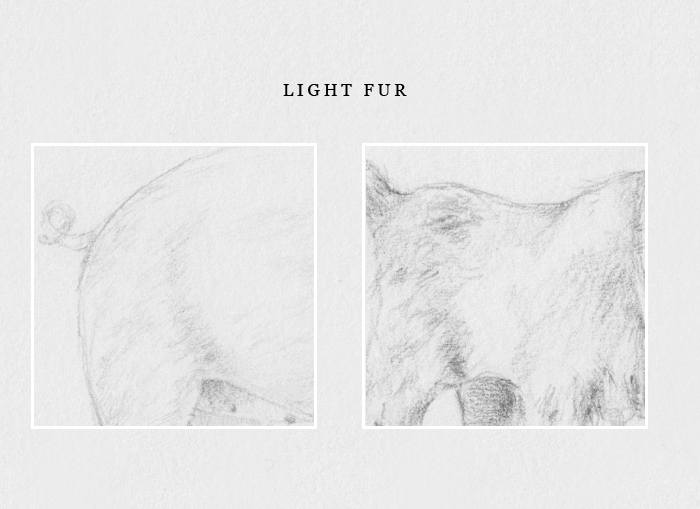
Many animals have a very thin layer of fur. To realistically depict the animal, you need to create that texture on their skin. As you can see in the examples above, it’s fairly simple to render light fur because it’s barely noticeable. Just some quick and simple shading will give the look of a pig’s skin or a goat’s white fur.
I want to draw cats from my book series can you show me or post another one Books(warrior cats)fyi
Shabash..excellent way of te