The first time you came across the term I-cord in a pattern, you probably had two questions. First, how do I knit I-cord? And second, what does the “I” stand for? If a more experienced knitter told you the “I” stood for “idiot,” you probably didn’t believe her. But, yes, the “I” really does stand for idiot! The inventor was making a statement that this cord is so easy an idiot could make it.
Sometimes, instead of knitting a flat surface, you want something more like rope. That’s where I-cord comes in. I-cord creates a long, curling, round project that, as the name suggests, looks like a cord.
How to knit I-cord

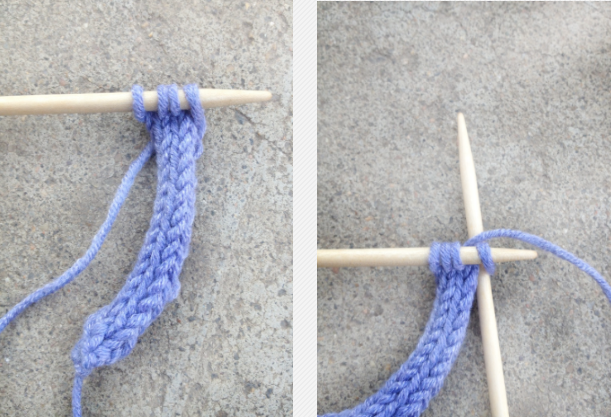
Knitting I-cord is really quite simple. First, you will need two double-point needles. I-cord generally uses somewhere between 3-5 stitches. After you’ve cast on, knit your first row of stitches, but then don’t turn your work. Instead, slide your stitches to the other end of the needle they’re on. (This is why you use double points.)
Now you’ve got the right side facing you and the working yarn at the left-most stitch on your left hand needle. Knit into the right-most stitch on your left hand needle, pulling the working yarn across the back of your stitches to begin the next row. This is the action that creates the closed-in cord appearance. Just keep repeating that process until your cord is the length you want it to be. Then bind off as usual.
How to knit an I-cord bind-off
You can also use I-cord technique to make a thicker bind-off edge. To knit an I-cord bind-off, start your bind off row by casting on two stitches (or more for a thicker cord). Then slip those two stitches from the right hand needle onto the left hand needle. Now to begin the bind off, knit a stitch, then do a slip, slip knit with the next two stitches. (However many stitches you knit before the decrease will be one fewer than you cast on at the start of the row.)

After the decrease, slip your stitches from the right hand needle back to the left purlwise and repeat the process. The I-cord bind-off can get a bit tedious, but the result is well worth it. For the bag pictured above (just a simple stockinette piece knitted in the round), using the I-cord bind-off makes a sturdier surface for the handles to connect to. It gives the top edge of the bag a little more structure.
How to use I-cord
I-cord has many potential uses in knitting such as the handles on a bag, shoulder straps on a tank top, or ties on a baby hat.

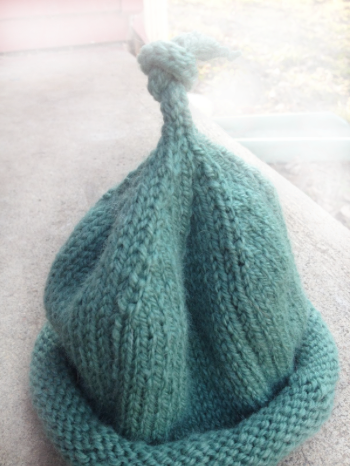
Or you could create super cute necklace or make a decorative addition to any project using I-cord, like this baby hat.

And then there’s the coolest thing I’ve ever done with I-cord: this knitted Christmas tree. My knitting club made yards and yards of I-cord to cover every branch of this little tree (after a dutiful husband stripped all of the fake leaves off the branches, leaving us bare wire we could slip the I-cord over).
Now that you know the basics of how to knit I-cord, you can add it to anything. What knitting project will you add I-cord to?

Is binding off always necessary? Or do you only bind off when the pattern directions say so?
How do you change to a new color on I-cord