
If you’ve got serious cake goals, it’s time to make friends with piping gel. What is piping gel? Most people know it as thickened corn syrup. In fact, it’s exactly the same thing. And it’s one of the best things to ever happen to a cake.
Best part: you can buy piping gel at craft or cake decorating stores, or you can DIY a batch at home. You probably already have the ingredients in your pantry!
How to Make Piping Gel
Yield: ½ cupIngredients
Instructions
1. Combine the Water and Cornstarch
In a heat-proof container, combine the cold water and cornstarch. Whisk until the lumps in the cornstarch are gone. Then whisk in the corn syrup, until combined.
2. Heat and Cool the Mixture
Microwave for 2 to 3 minutes on high, stopping every minute to stir. The mixture will bubble up and boil, then start thickening until it has the same consistency as hair gel.
Allow the mixture to cool to room temperature before adding any flavoring or color.
3. Adjust the Consistency
If the piping gel gets too thick, add water in tiny amounts until you get the consistency you want.
Store in an airtight container and refrigerate for up to three months.
How to Use Piping Gel
1. Make Edible Glue
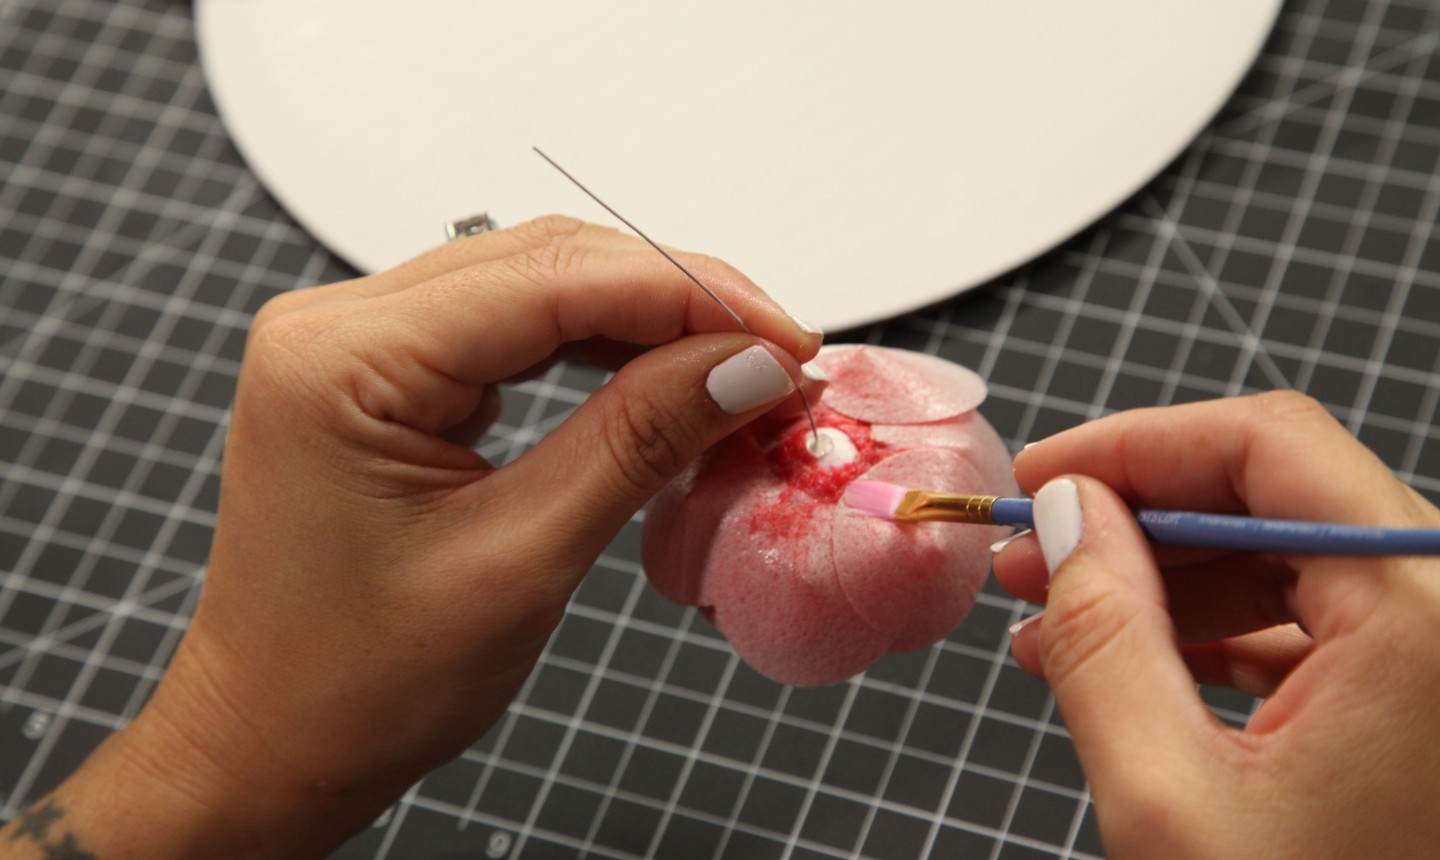
As you’ll notice right away, piping gel is extremely sticky — so it works perfectly as an edible glue when you’re, say, mounting cake (or cupcake!) toppers. Bonus: Piping gel takes a long time to dry, so you have more flexibility if you want to reposition any decorating elements before it sets.
Another reason to use piping gel as glue: It’s clear, unlike royal icing or chocolate, so it’s more discreet. And you can easily tint it to match the color of the items you want to stick together.
Oh, and if you’re working with wafer paper, you’ll definitely want piping gel on hand. You can use it to glue flower petals together; to stick cut paper elements onto a fondant-covered cake; or to create a beautiful flower arrangement.
2. Keep Buttercream From Crusting
Adding a small amount of piping gel to buttercream that’s about to crust will help make the frosting smoother — and will keep it from crusting as much or as quickly as it would otherwise. This trick is especially handy when you’re piping intricate patterns or buttercream flowers.
3. Add to Fondant for Extra Shine
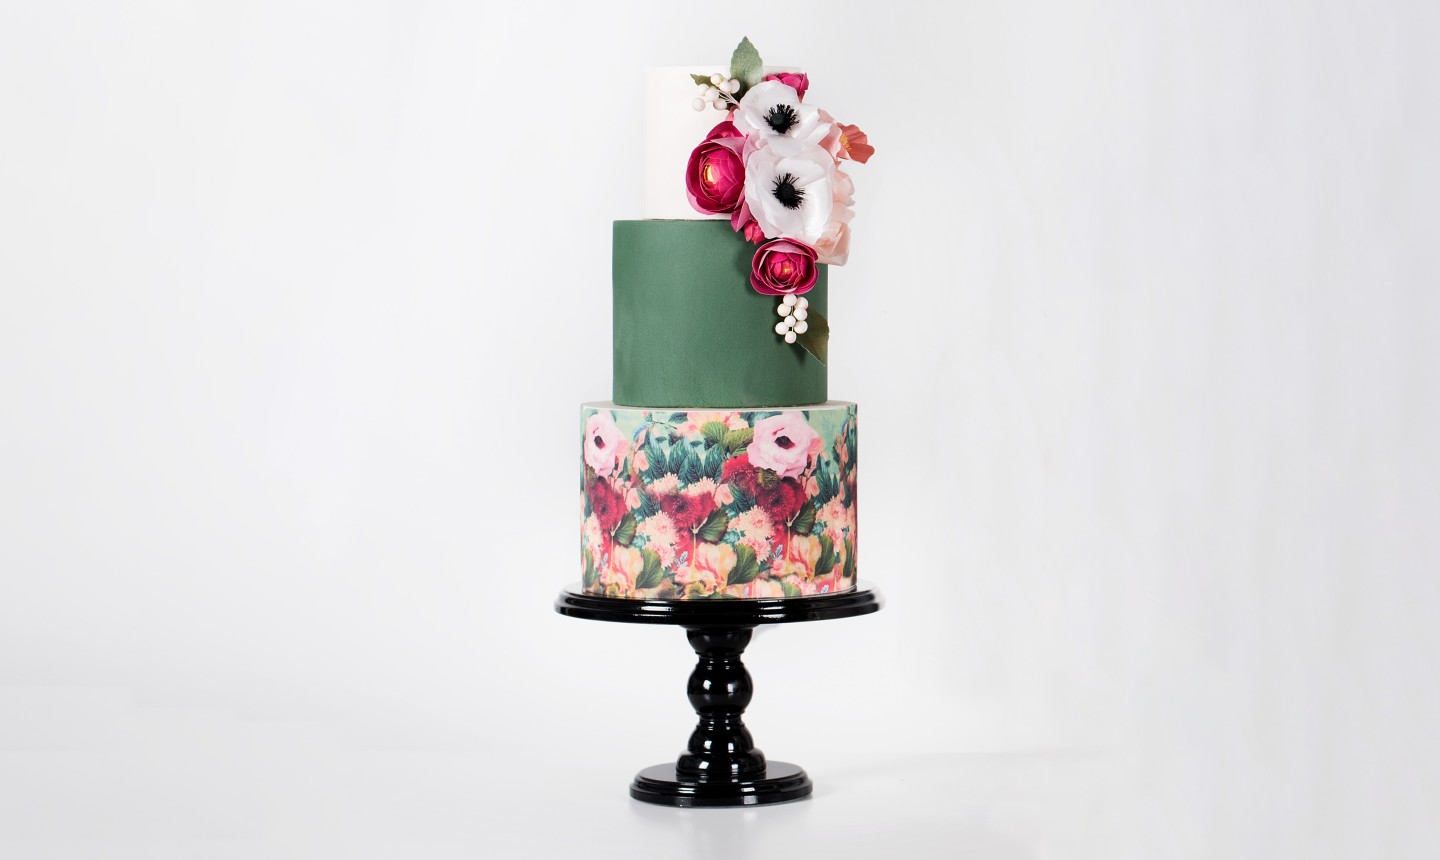
Piping gel gives your fondant-covered cakes or decorations an added shimmer. You can use it as is, or thin it down with a little vodka before brushing it on. (This’ll give your work a more even shine, and makes brush strokes less visible.)
Piping gel works perfectly on fruit tarts, too: Flavor some with clear vanilla extract or lemon juice, then brush it onto the cut fruit. The gel not only makes the fruit look all shiny; it also helps preserve it, so your tart stays fresh longer.
4. Pipe On As Decoration
You can tint the gel and use it to pipe lines, dots, or messages onto a cake design. It’s also an excellent medium for adding “water” to a pool or beach cake.
5. Mix In As a Stabilizer for Whipped Cream
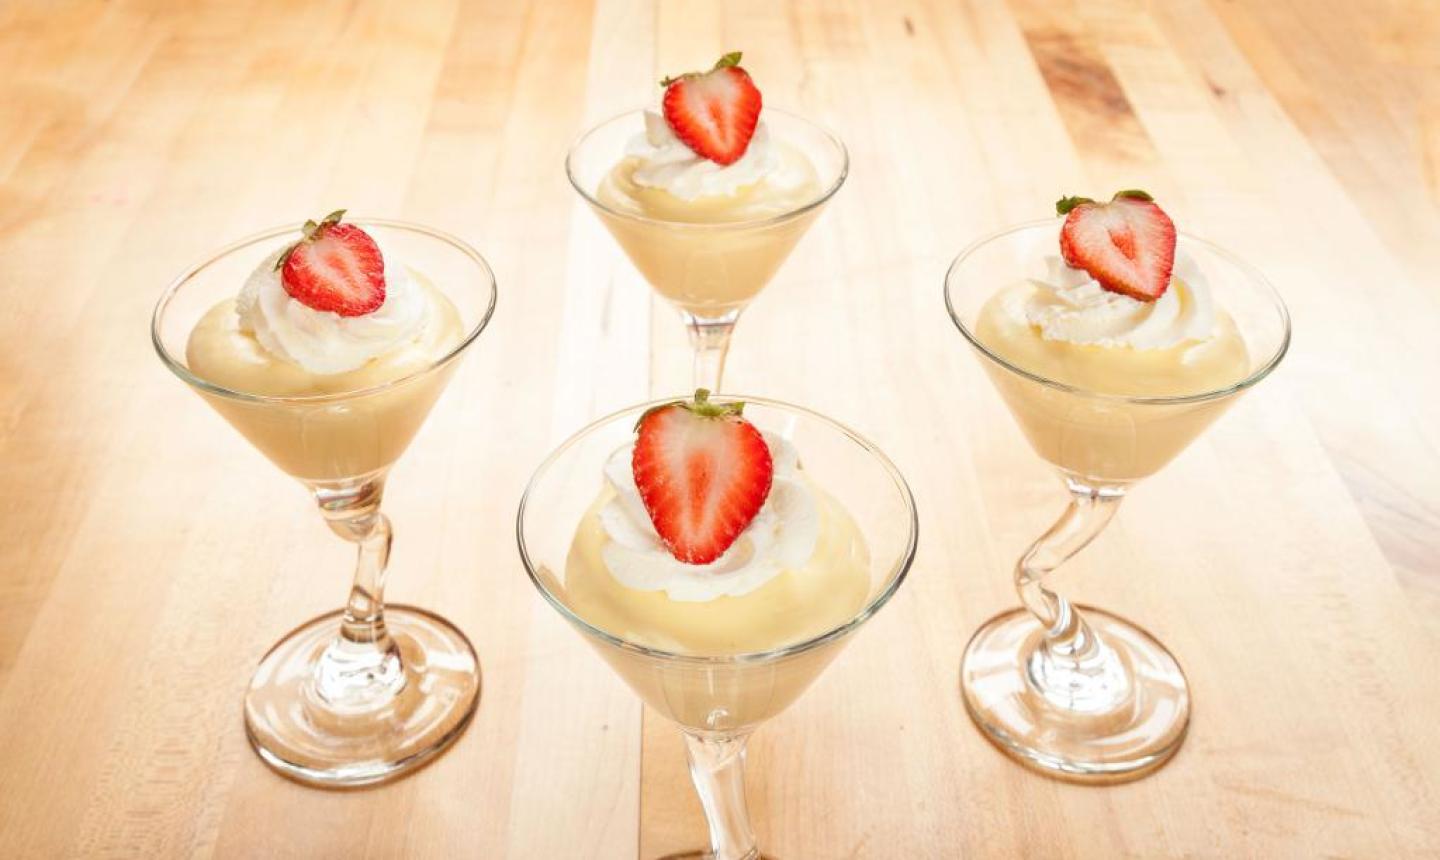
After you’ve whipped heavy cream and sugar to soft peaks, add two tablespoons of piping gel for every four cups of heavy cream you’re using. The cornstarch in the piping gel will help keep the room-temperature whipped cream stable for longer.
Looking to learn cake decorating? Check out our Startup Library: Cake Decorating now!
Share tips, start a discussion or ask one of our experts or other students a question.
Already a member? Sign in
No Responses to “How to Make (and Use) Piping Gel So Your Cake Looks Next-Level Good”