
It’s cold outside and there’s nothing like a warm and comfy throw to take the chill off. And while you could always buy a cozy blanket, making your own is simple and fast, so you can start sewing in an afternoon and have it ready for that night’s movie. Keep reading to learn how to see a fleece blanket.
Fleece Blanket
Level: Easy
What You Need
- Fleece
- Quilting cotton
- Thread
- Iron
- Ruler or measuring tape
- Sewing pins
- Fabric marker
- Rotary cutter
- Rounded object, like a plate (optional)
Pro Tip If you plan to wash your blanket after it’s sewn, always pre-wash your fabric. Pre-washing will prevent shrinking and misshaping.
Instructions
1. Cut the Fabric
The amount of fabric you need depends on the size of your blanket. Here are some standard dimensions to cut to:
- Crib blanket: 45″ x 60″
- Twin bed: 66″ x 90″
- Full/double bed: 80″-85″ x 90″
- Queen bed: 90″ x 90″
- King bed: 90-100″ x 108″
Pro Tip If you don’t have a single piece of fabric big enough to sew your blanket, piece it beforehand. This works best with two-layer blankets.
Stack the fleece and quilting fabric on top of one another, right sides together. Pin them in place.
2. Round the Corners
If you want your blanket to have square corners, you can skip this step.
To make rounded corners, place a rounded object (like a plate) on top of one corner so the sides of the object touch the edges of the fabric. Trace the round shape onto the quilting cotton with your fabric marker. With a rotary cutter, cut along that line. Repeat for any other corner you want rounded.
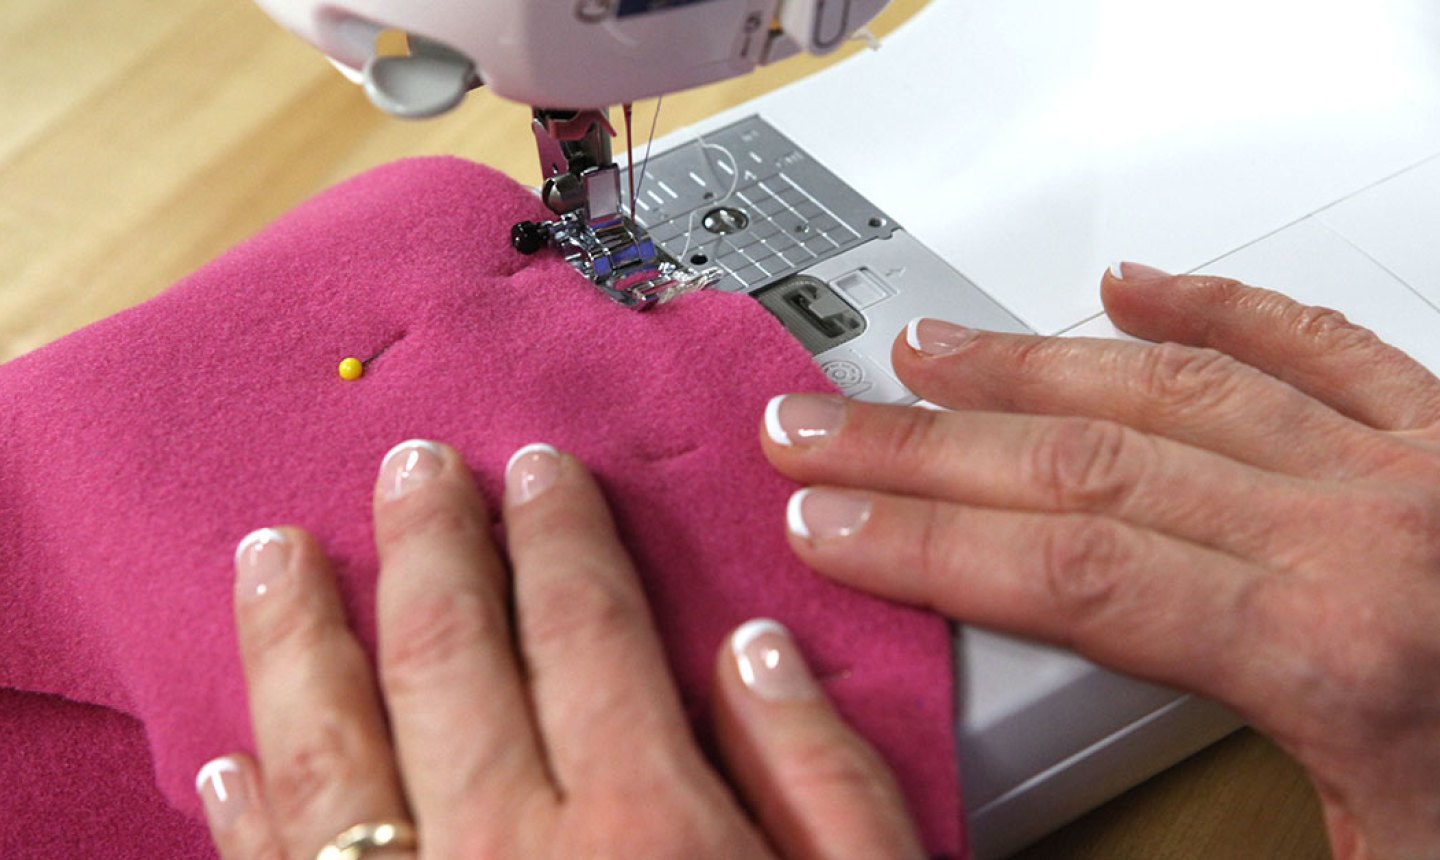
3. Stitch
Start in the middle of one of the long sides and backstitch. Then, sew around the perimeter of the blanket with a ½” seam allowance. Use your machine’s throat plate to keep the stitches straight.
When you approach a square corner, stop with the needle down at ½” before you reach the end of the fabric. Lift up the foot and pivot the fabric around the needle. Lower the foot and begin stitching the next side of the blanket with a ½” seam allowance.
When you approach a rounded corner, slow down your sewing speed and keep a consistent seam allowance.
As you reach the point where you began sewing, stop about 5-10″ before the beginning of your stitching and backstitch.
Pro Tip If you’re sewing a large blanket, leave a bigger gap. A good rule of thumb is to leave an opening ¼-⅓ of the long side length.
4. Trim and Press the Seams
Trim the seam allowance and notch the corners to reduce bulk. For best results, clip as near as you can to the seam, but never cut through the stitching. Press the seams open.
Pro Tip A point turner, tailor’s clapper or sleeve ironing board will give you a tiny flat surface to press the seams without stamping on the fabric below.
5. Turn Right Side Out
Turn the whole blanket right-side out. For square corners, use a point turner to help square them so the blanket lays flat. For rounded corners, use your fingers to get the seam right in the fold, so it doesn’t show on either side.
6. Finish Stitching
Fold in the seam allowances into the gap and secure the two edges together with pins to make sure they’re perfectly aligned. Topstitch the blanket all around, ⅛”-¼”from the edge, closing the gap.
To help the two layers to stay together, sew a little cross right in the middle of the blanket. Sew back and forth a couple of times in each direction.
Finishing the Edges
Topstitching is just one way you can finish the edges of your blanket. Depending on your personal style, you can finish the blanket in any of these ways.
Use a Serger
Using a serger is one of the fastest and easiest ways to finish the edges. Both a 4-thread or 3-thread overlock stitch will do the job well. Set the width and length to the largest settings and practice on a scrap of fabric to test tension settings before finishing your blanket.
Decorate With Machine StitchesYour sewing machine can perform some stunning stitch work. From the simple zigzag stitch to a more decorative feather stitch, your edges could have a seriously impressive finish.
Hand Stitch
Hand stitching gives the throw a personalized overall finish. Though the process will take longer, the result is worth it — especially if you are giving the throw as a gift. In spite of the added time, many hand stitches, like the blanket stitch, are easy to do and look especially nice on materials like fleece.
Use Embroidery Thread
If you’re making a colorful fleece blanket, adorning the edges with equally colorful embroidery thread is a total win. It gives your edges a more defined finish.
Crochet the Edges
Multifaceted crafters can flex their yarn skills with a crochet finish. It’s a quirky detail, and once you prep your fabric it’s a fast finish.
Add Bias Tape
You might know bias tape from the quilting world, but it has a whole array of uses — including finishing your blanket. This is a good way to add a color to complement your fabric, but if you don’t have any bias tape on hand ribbon works just as well.
I have a bunch of dress shirts and t shirts I simply don't use. Can I sew them together to make a blanket for my dog, I am a beginner sewing enthusiast.
Good day! I could have sworn I’ve been to this website before but after checking through some of the post I realized it’s new to me. Anyhow, I’m definitely delighted I found it and I’ll be bookmarking and checking back frequently!
What is best thread for sewing fleece