

The log cabin quilt block is one of the most iconic quilt designs around. It’s a traditional block that’s built from the center out, adding longer pieces with each step. It’s truly a must-know in the quilting world, so if you haven’t quite mastered it yet, now’s the time!
Log Cabin Quilt Block
Level: Easy
Size: 10½” unfinished (10″ finished)
What You Need
Cutting Instructions
Good to Know: All seams require a ¼” seam allowance.
Instructions
1. Sew the First Squares
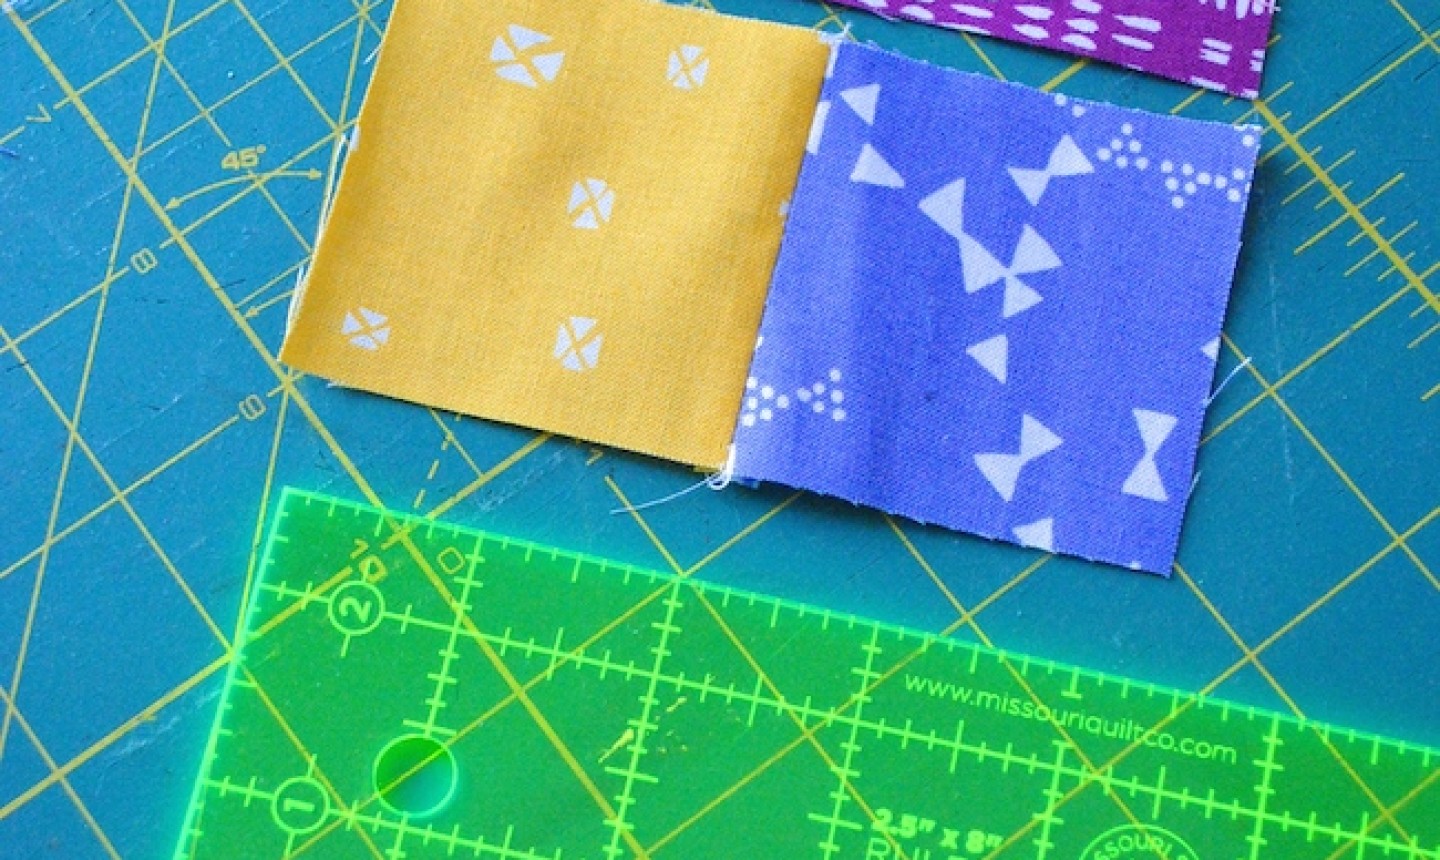
Sew the two 2½” squares together, with right sides together. Press the seam open or to one side.
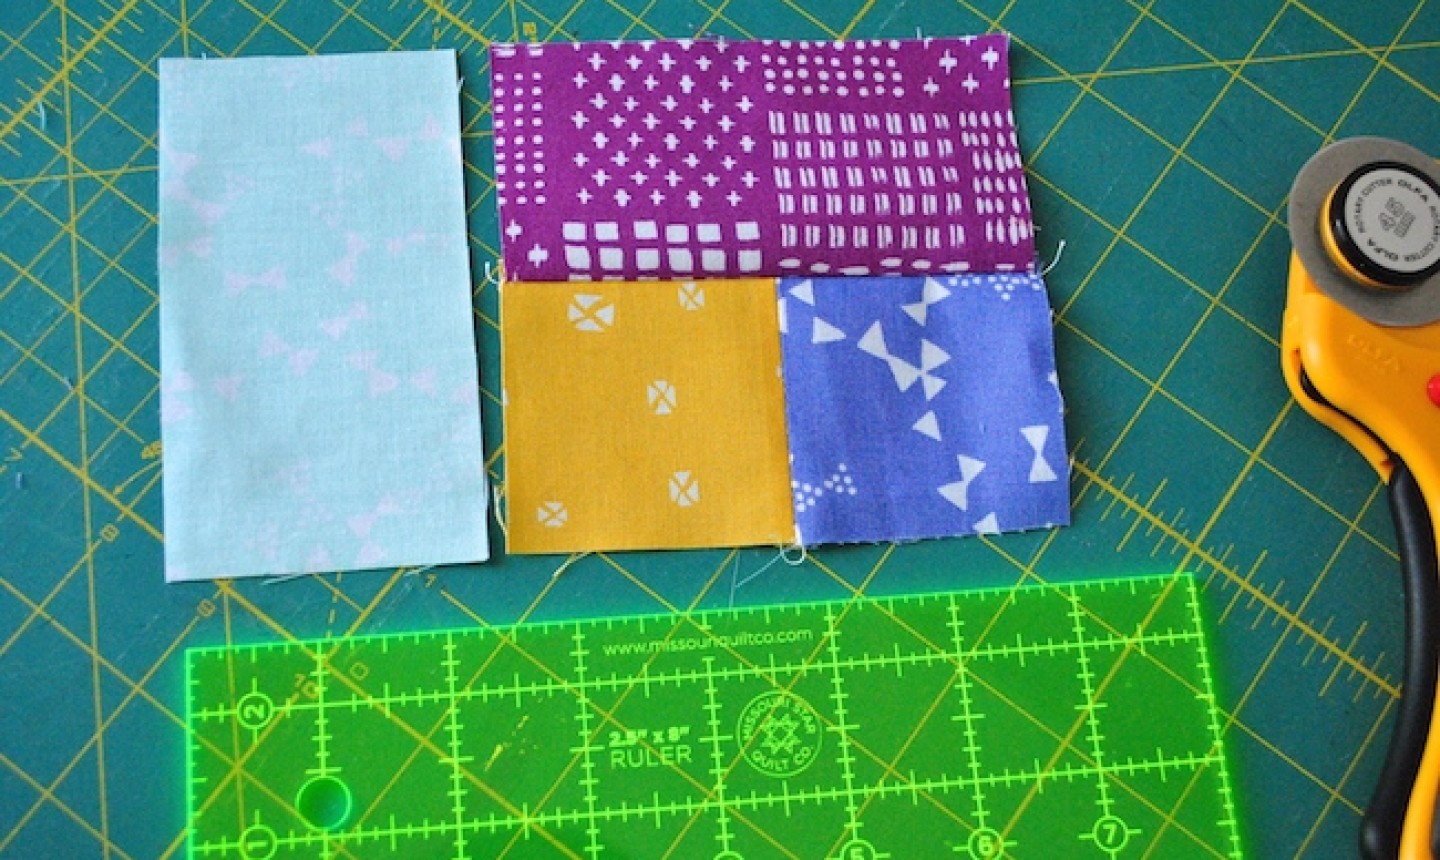
2. Add a Strip

Decide which of the first two squares will be the center of your log cabin quilt block, and place it on the left. Next, add a 4½” strip to the top of your previous block, then sew the right sides together with the two-square unit.
Press the seam toward the new fabric (always sewing away from the side with more seams to reduce bulk). Return this block to your cutting mat.
3. Build Out the Block
Place the next 4½” strip along the left side of the block you’ve just sewn. Stitch these sections right sides together, and press toward the new fabric. Return this block to your cutting mat.
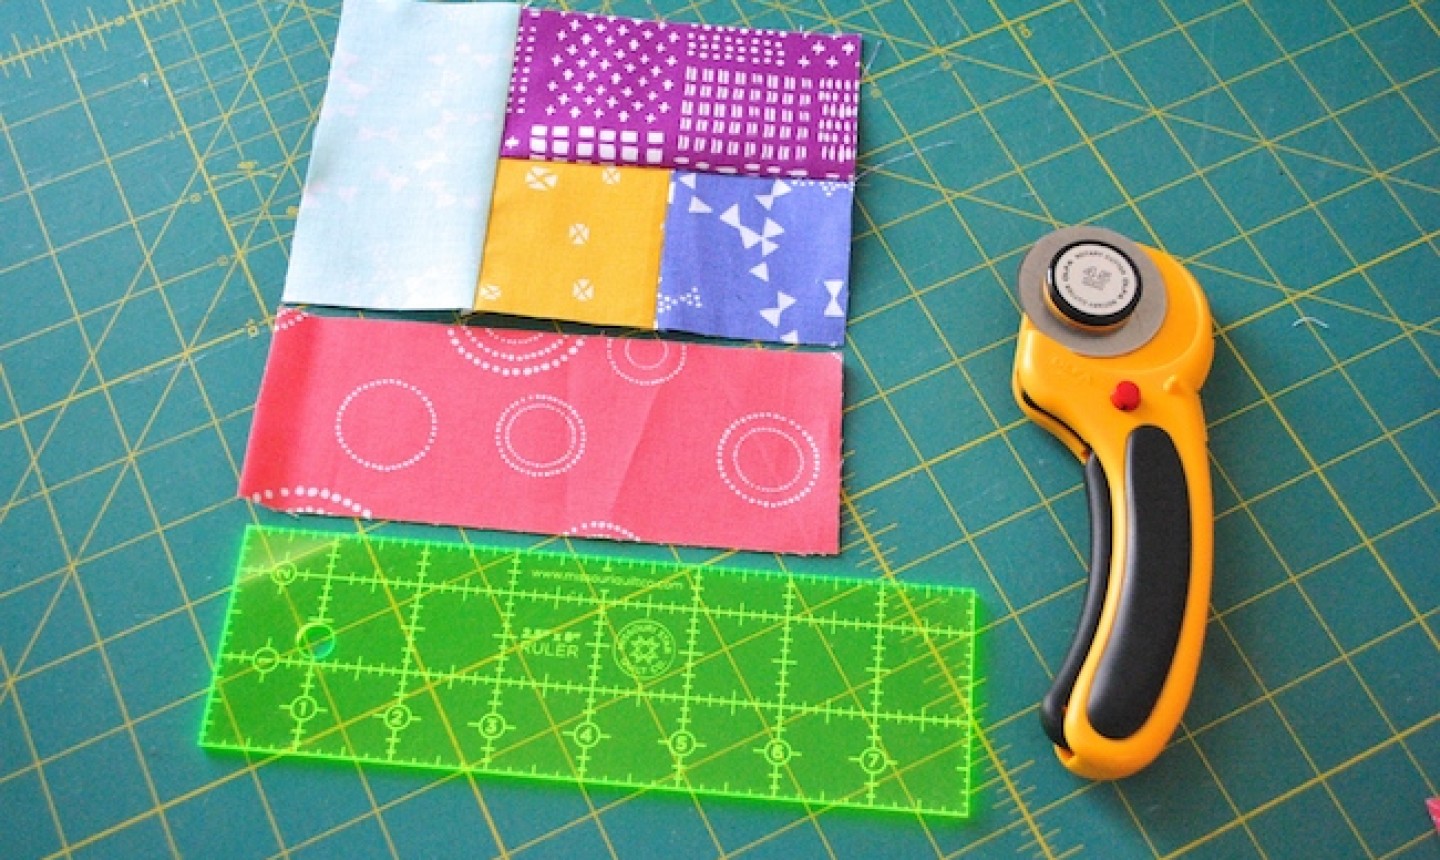
Place a 6½” strip on the bottom of your block. Sew the strip to the block, right sides together. Press the seam toward the new fabric, then return this block to your cutting mat.
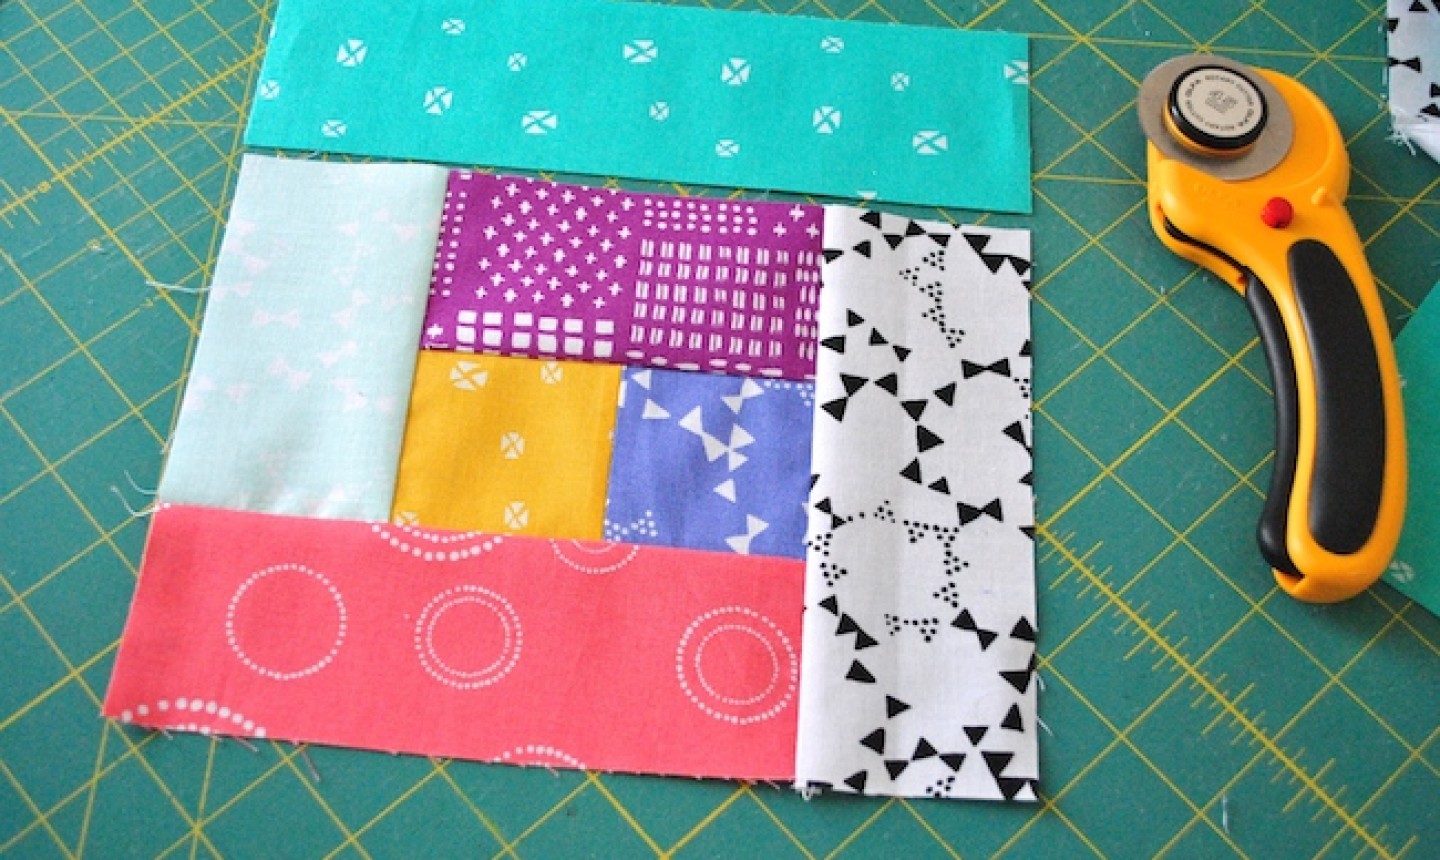
Getting the hang of it? Let’s add two new strips!
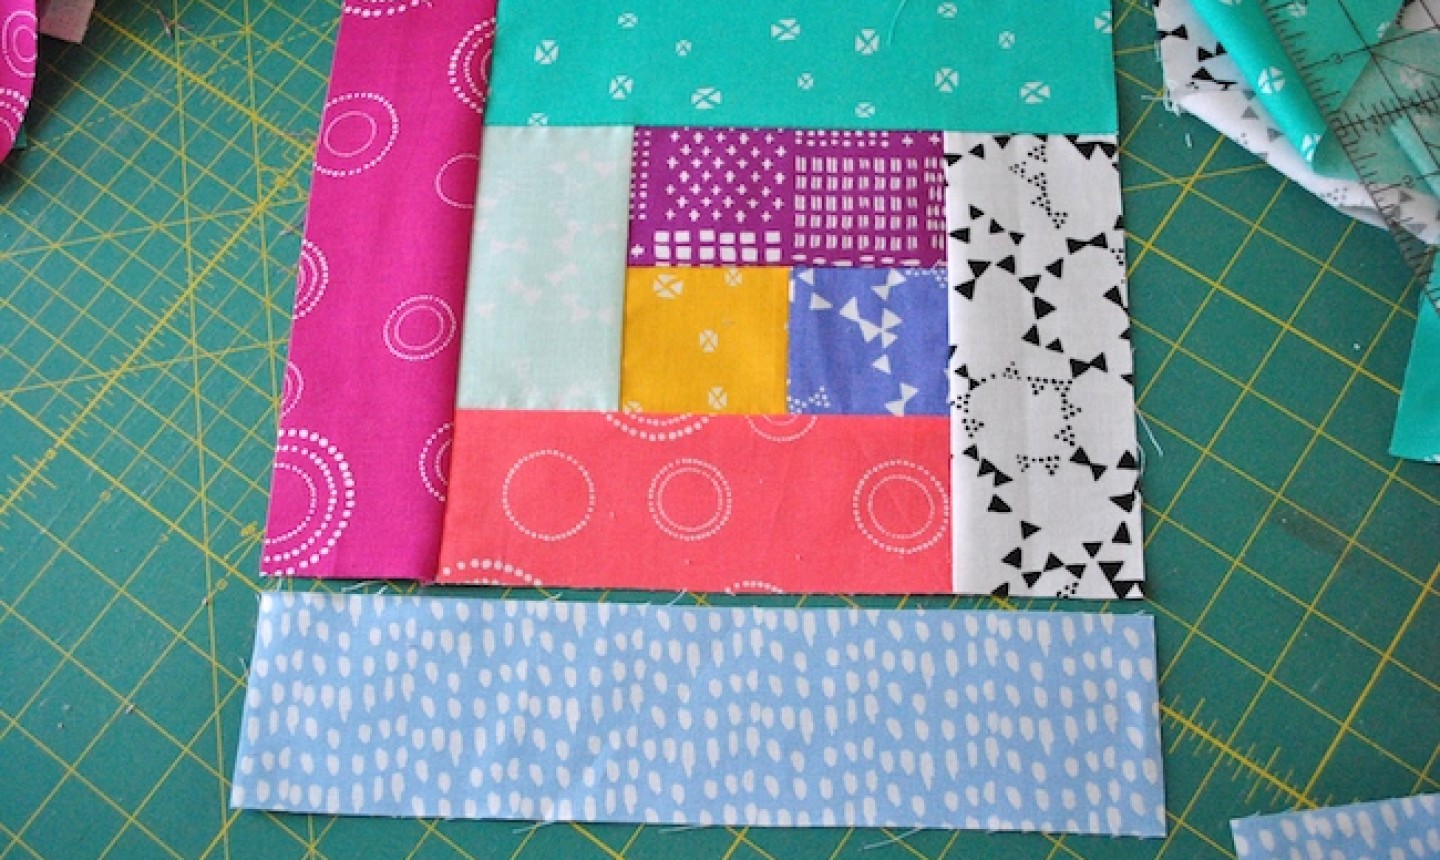
Place a 6½” strip (my white fabric) to the right of your block, and sew it to the block right sides together. Press the seam toward the new fabric, then return this block to your cutting mat.
Place an 8½” strip to the top of your block, and sew it to the block right sides together. Press the seam toward the new fabric, then return this block to your cutting mat.
4. Add the Final Strips

Place an 8½” strip to the left of your block and sew it to the block right sides together. Press the seam toward the new fabric, then return this block to your cutting mat.
Place a 10½” strip to the bottom of your block, and sew it to the block right sides together. Press the seam toward the new fabric, then return this block to your cutting mat.
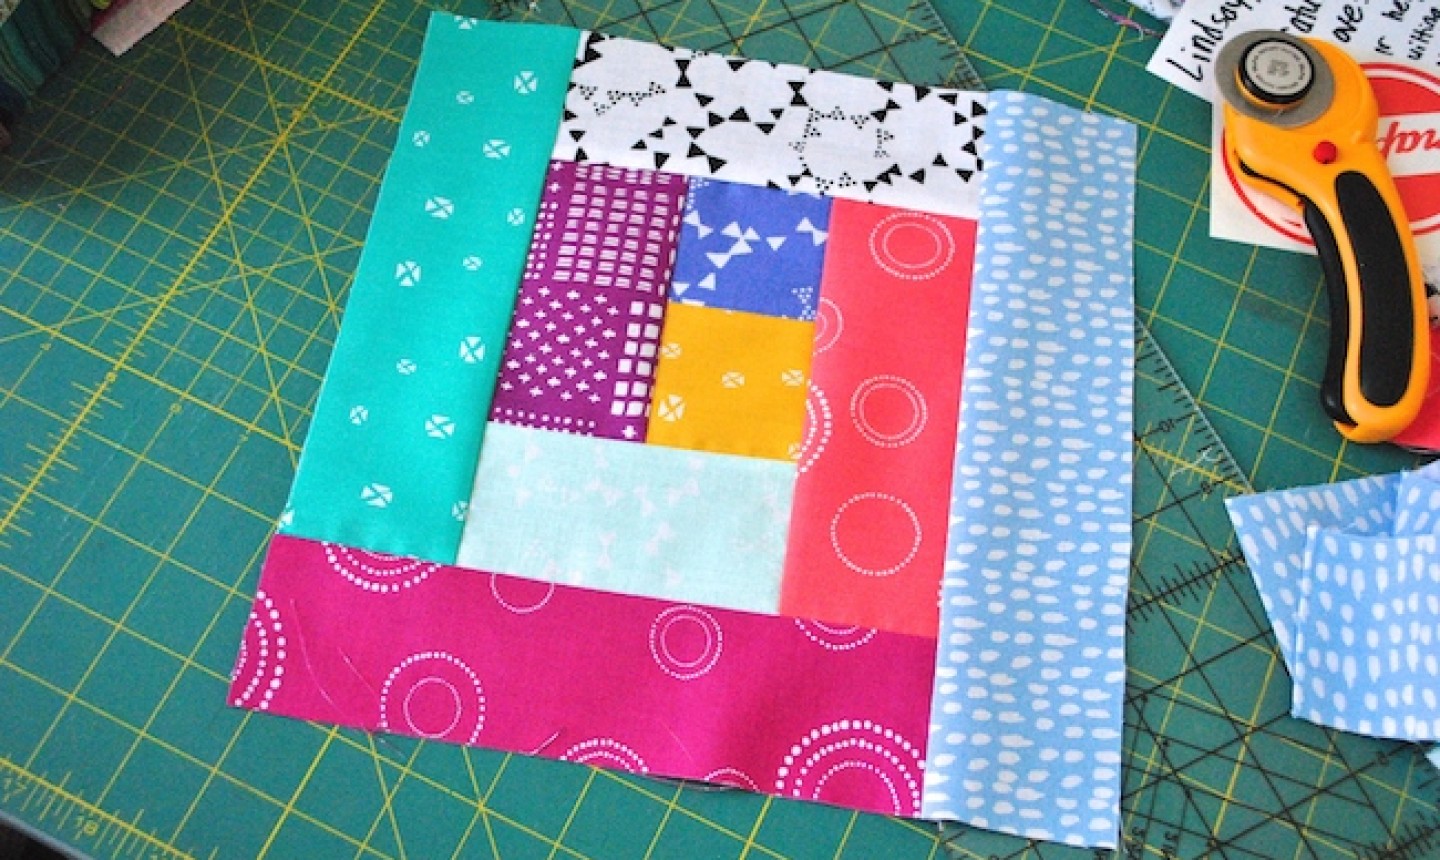
Give your block a final press, and trim to 10½” square if needed. At this point, you can continue to sew log cabin layers onto the block, or start a brand new one.
If you find yourself with lots of 2½” pre-cut strips leftover from other projects, use them to make log cabin blocks for your next quilt!
Share tips, start a discussion or ask one of our experts or other students a question.
Already a member? Sign in
No Responses to “Quilting Basics: How to Sew a Log Cabin Block”