
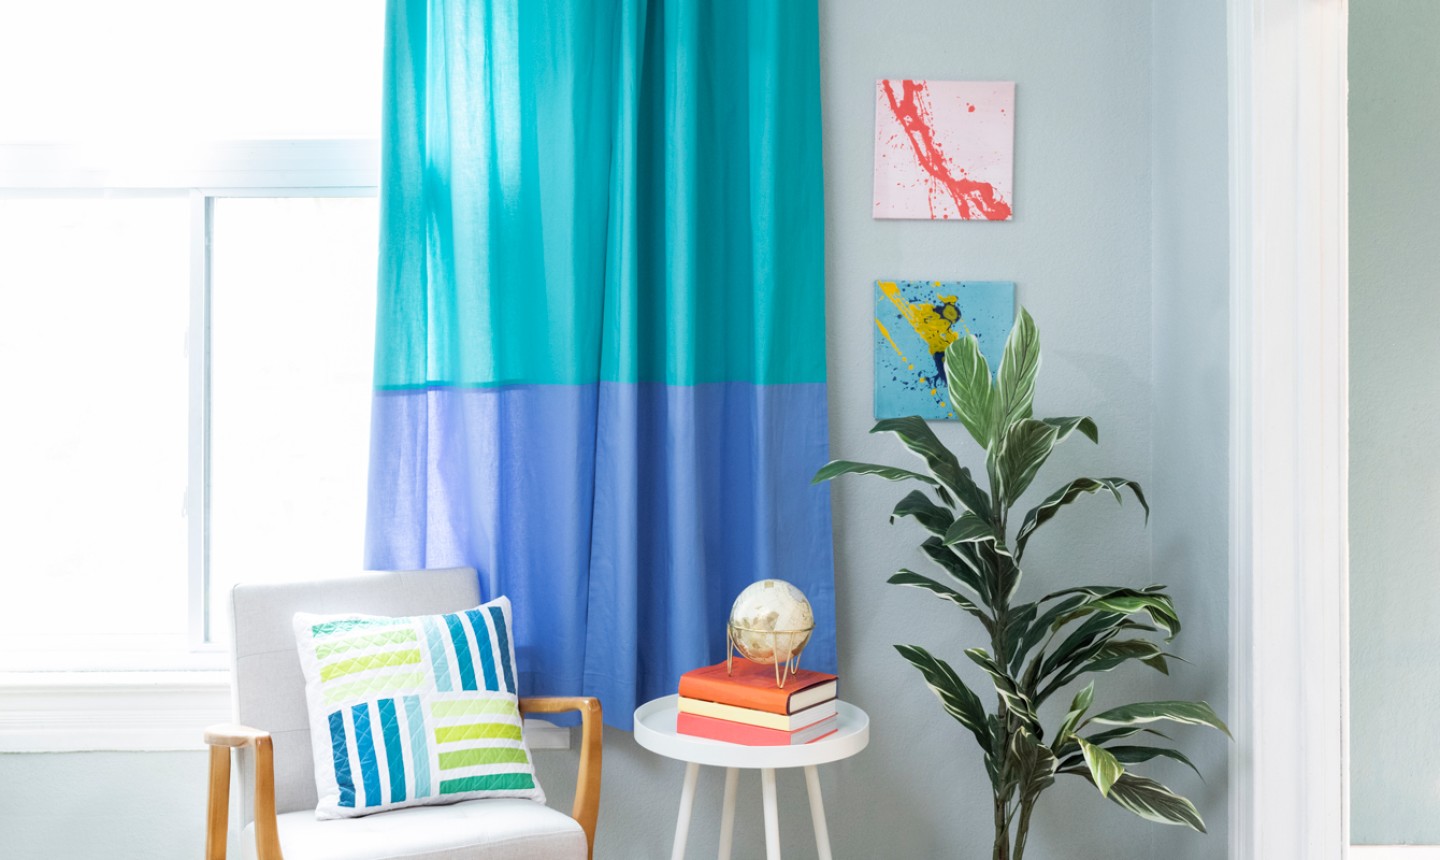
A major reason to fully line your curtains: lined drapes block out way more light than their unlined counterparts, meaning your room stays nice and dark — and you (or your kids!) get plenty of zzzs. But that’s not all: lining also protects the main fabric of your curtains from fading in the sunshine, and adds an extra touch of elegance that makes the whole curtain look more polished.
This how-to covers standard, single-fabric curtains, plus an easy adaptation to achieve the color-blocked effect in our photo. Make sure to read all the way through the cutting instructions and determine your approach before cutting into your fabric!
Simple (or Color-Blocked!) Lined Grommet Curtains
Level: Easy
What You Need
Prep Work
1. Calculate Your Width Measurement
Measure the width of your window from side to side. A traditional curtain is 1.5 times the width of the window itself, so multiply your measurement by 1.5. This will be measurement A.
Figure out how much extra fabric you would like on the left side of the window, and add that amount twice (for both the left and right sides) to measurement A.
Determine the hem allowance you would like on the left side of the window and add that amount four times (for the left and right side of each panel) to measurement A.
Divide measurement A in half. Now you have the width of your two panels.
Here’s an example:
Window width = 30”
Multiplied by 1.5 = 45”
Add 3″ to the left side, multiplied by two = 6″
Add 2″ to the left hem, multiplied by four = 8″
45 + 6 + 8 = 59″ total width
Divide 59″ by 2 = 29.5″ width per panel
2. Calculate Your Length Measurement
Measure the length of your window from top to bottom. This will be measurement B.
Measure how long you want your curtain to hang below the window frame. This can be just a bit to cover the molding, or extended to the floor. Add that amount to measurement B.
Add 4″ for the bottom hem, and 1” for the fold on the bottom hem.
Determine how far above the window frame you want the curtains to hang. Add that amount to measurement B.
If you’re making a grommet curtain (like we did), add 4″ for the top hem, plus a 1” fold. Now you have the total length you’ll need per panel.
Here’s an example:
Window length = 50″
Length below window frame = 20”
Add 4″ for the bottom hem
Add 1″ for the bottom hem fold
Add 3″ for height above the window
Add 4″ for the top hemAdd 1″ for the top hem fold
50 + 20 + 4 + 1 + 3 + 4 + 1 = 83″ length per panel
Instructions
1. Cut Your Curtain and Lining Fabrics
Cut your curtain fabric(s) according to the final measurements in your prep work.
Pro Tip: We color-blocked our curtains, meaning two different curtain fabrics were sewn within each panel. To do this, divide the panel length measurement into thirds. (This can change based on where you want the color break to be — we used one color for the top ⅔ of the curtain, and another for the bottom ⅓.) Add a ½” seam allowance to each side, then cut. Place your two fabrics right sides together and pin. Stitch using a ½” seam allowance. Press the seams open. Repeat for each panel piece, then continue with the instructions as written.
Cut your lining fabric to the same measurements as your curtain fabric(s). Once it’s cut, trim off 2” in length and 4” in width.
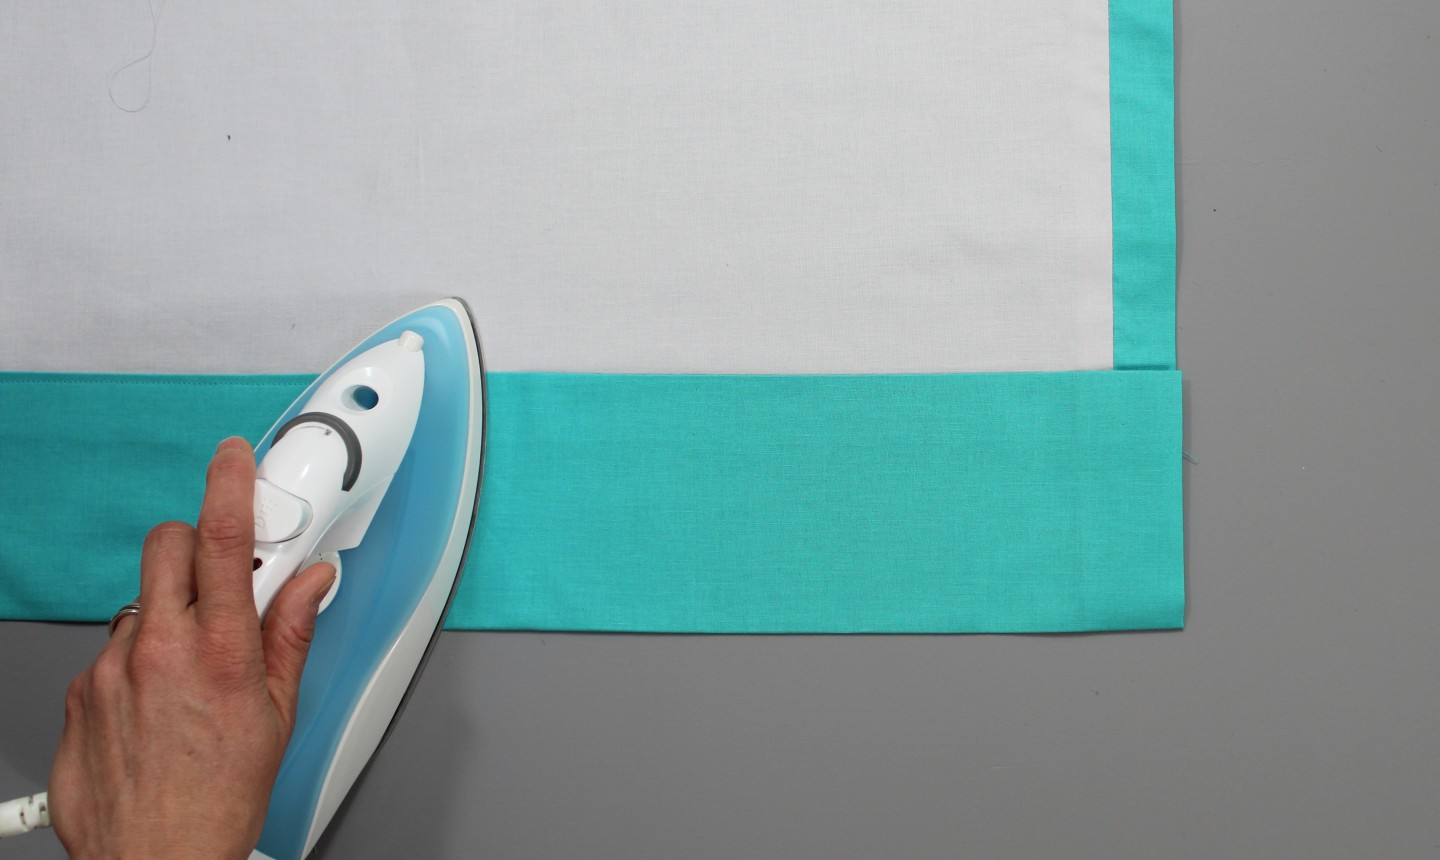
2. Prepare the Hem
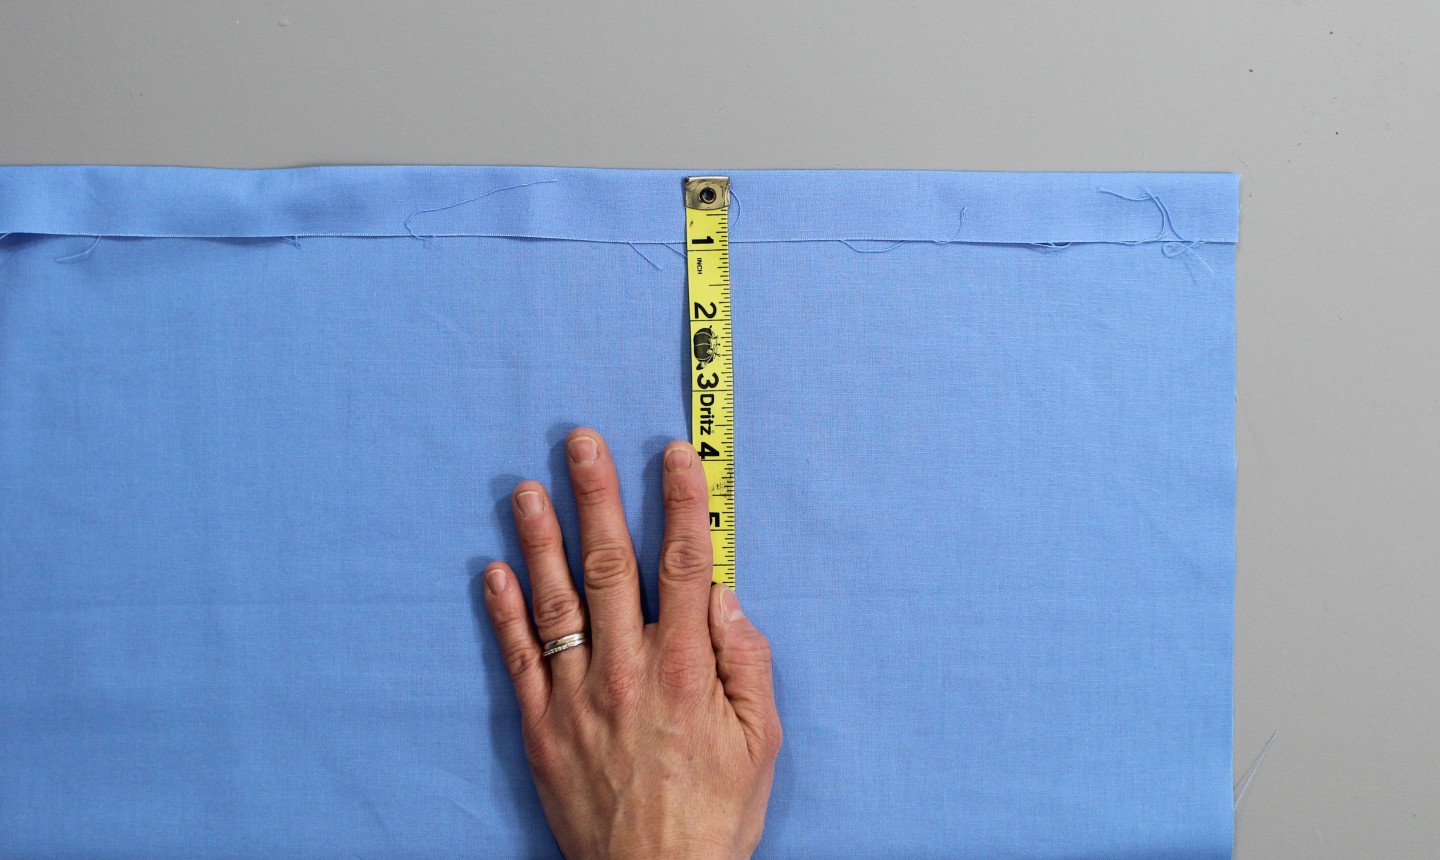
With measuring tape, a quilting ruler or seam gauge, fold the hem of the curtain fabric down 1” and press. (Make sure your iron is set to the appropriate heat for your fabric.)
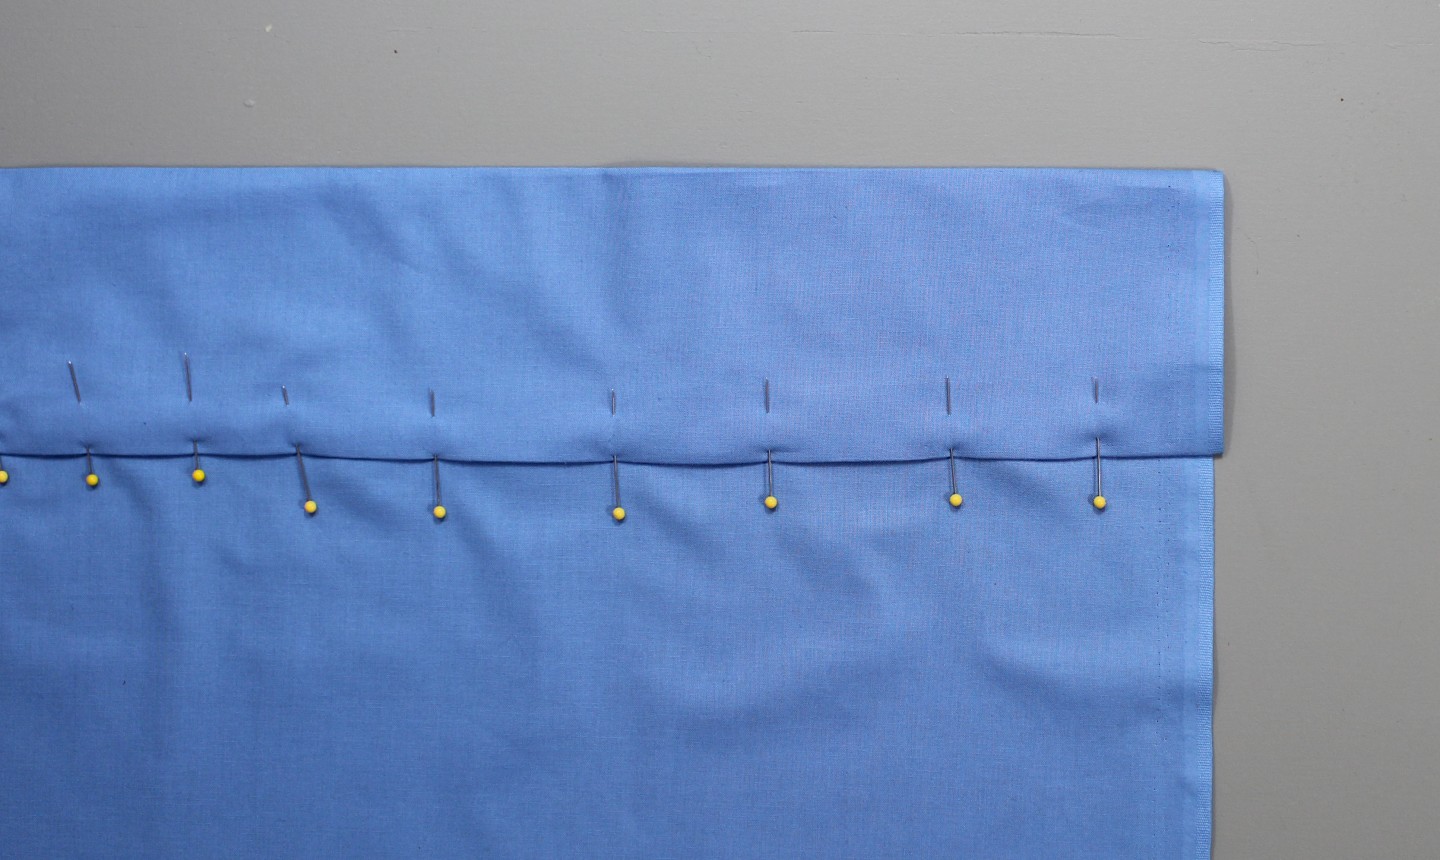
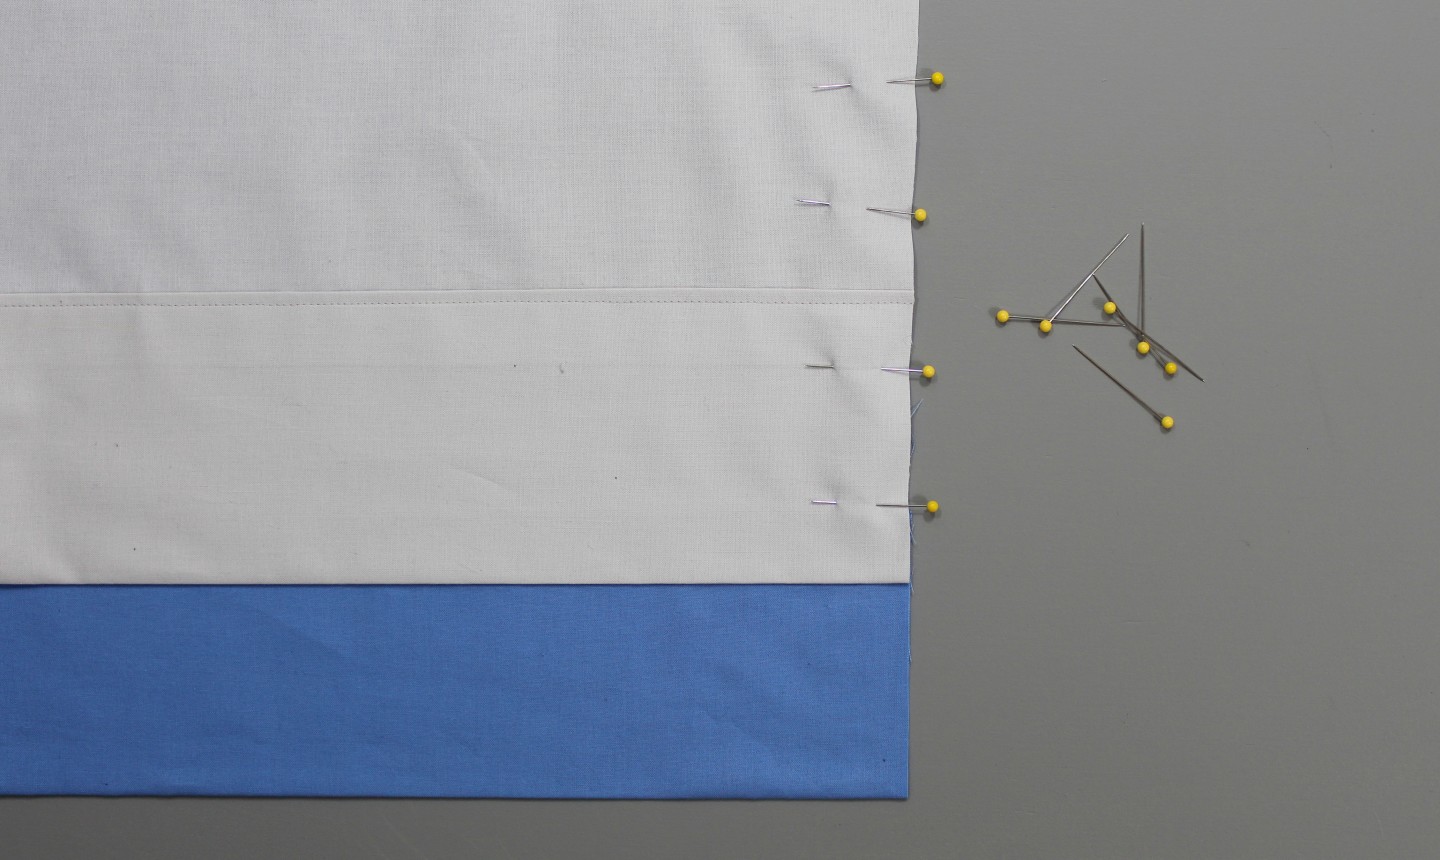
Fold the hem 4” and press. Pin the hems in place as shown, with the heads of the pins facing away from the edge.
Pro Tip: As you move your work to your machine to start sewing, make sure the excess fabric is to the left of your needle, not all bunched up in the throat of your machine.
3. Sew the Hem
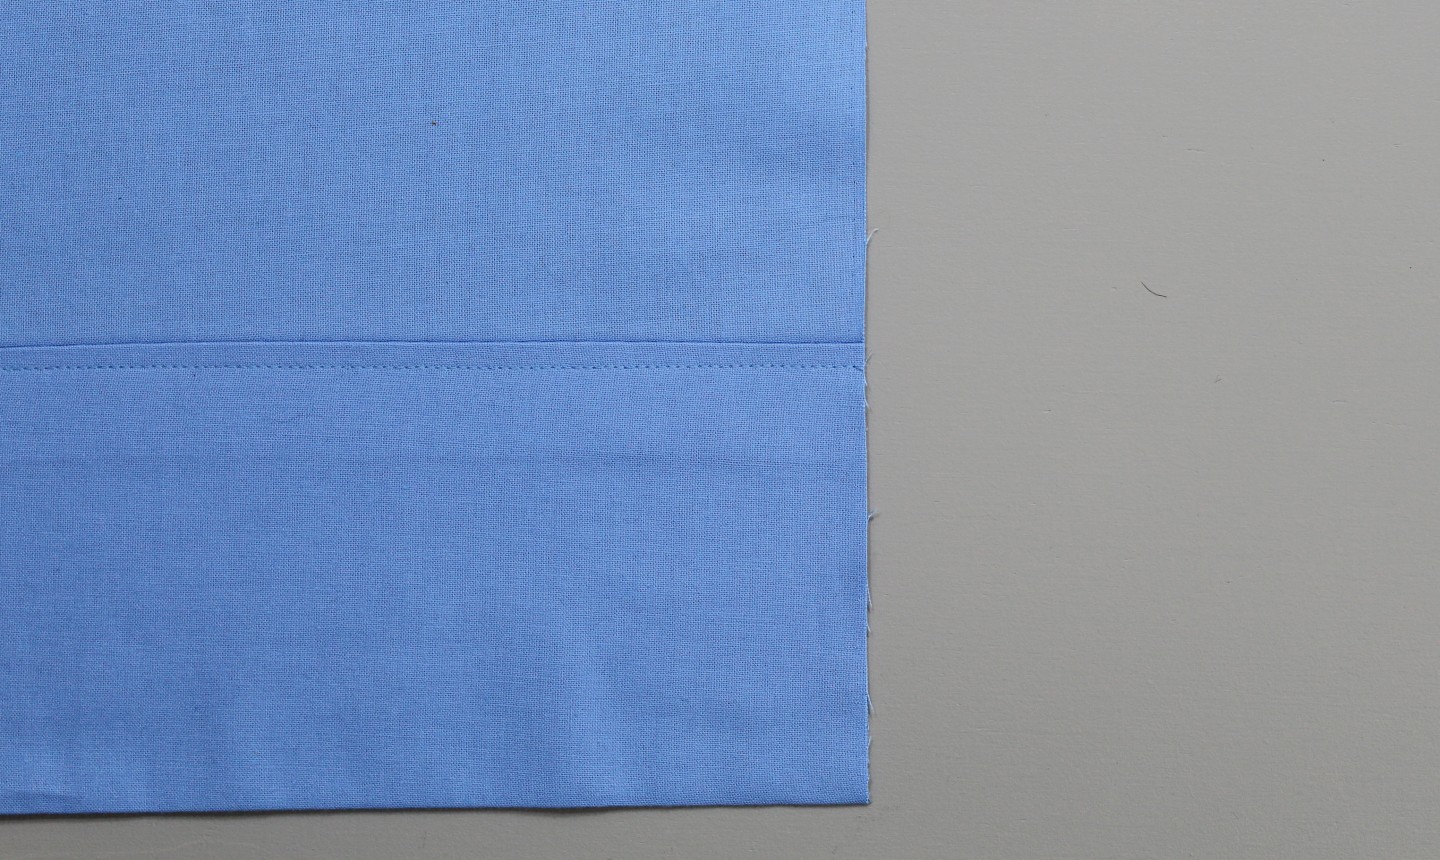
Edgestitch the hem of the curtain, sewing close to the fold. (Remember, you’ll see these seams on the right side of the curtain — if you want an invisible hem, hand sew this step.)
Pro Tip: The easiest way to edgestitch the hem is to align the needle ⅛” away from the seam ditch. Lower the needle into the fabric, and find a spot on the presser foot to follow. As you stitch the seam, keep your eye on this spot — it’ll help keep the stitches straight and even.
Repeat steps 1-3 for the second curtain panel and your lining fabric.
4. Prepare the Panel Pieces
Place one panel of curtain fabric on a flat surface, right side facing up. Lay the lining fabric on top of it, right side down, so the fabric panels are facing each other. Line up the top edges and one of the side edges. (The opposite side and hems won’t line up, since the lining is narrower than the main fabric.)
Pin along the side seam that’s lined up. (Include a pin along the top and bottom edges to help secure the lining.)
5. Sew the Side Seam
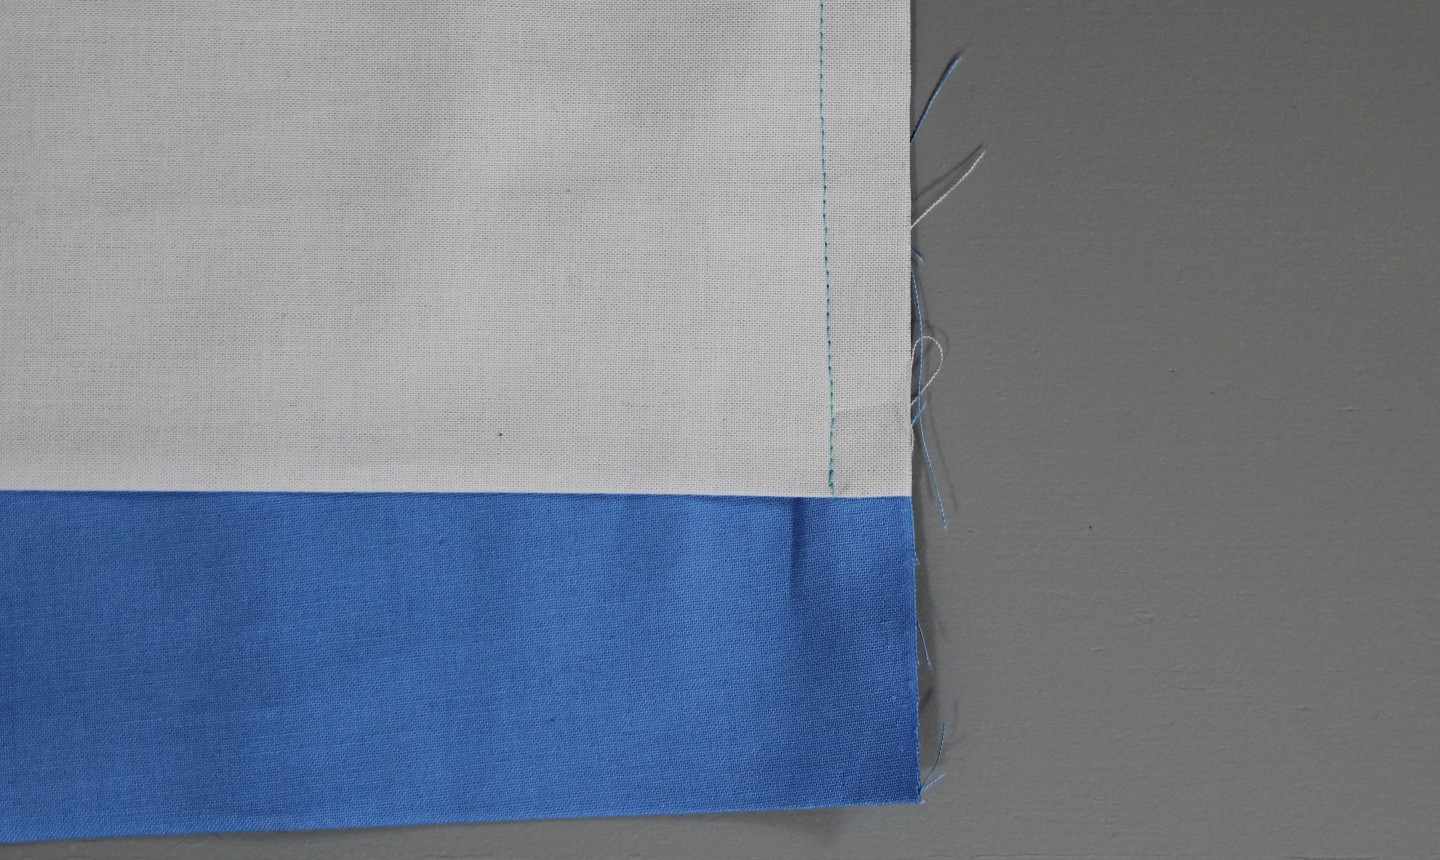
Stitch along the pinned side seam with a ½” seam allowance, removing pins as you go. Backstitch at the bottom of the lining hem; do not continue onto the main curtain fabric.
6. Pin and Sew the Other Side Seam
Lay the curtain flat again, this time lining up the fabric and lining on the opposite side. (Because the lining is narrower than the curtain, this step will pull the sewn seam beyond the stitch line.) Pin, then stitch using a ½” seam allowance.
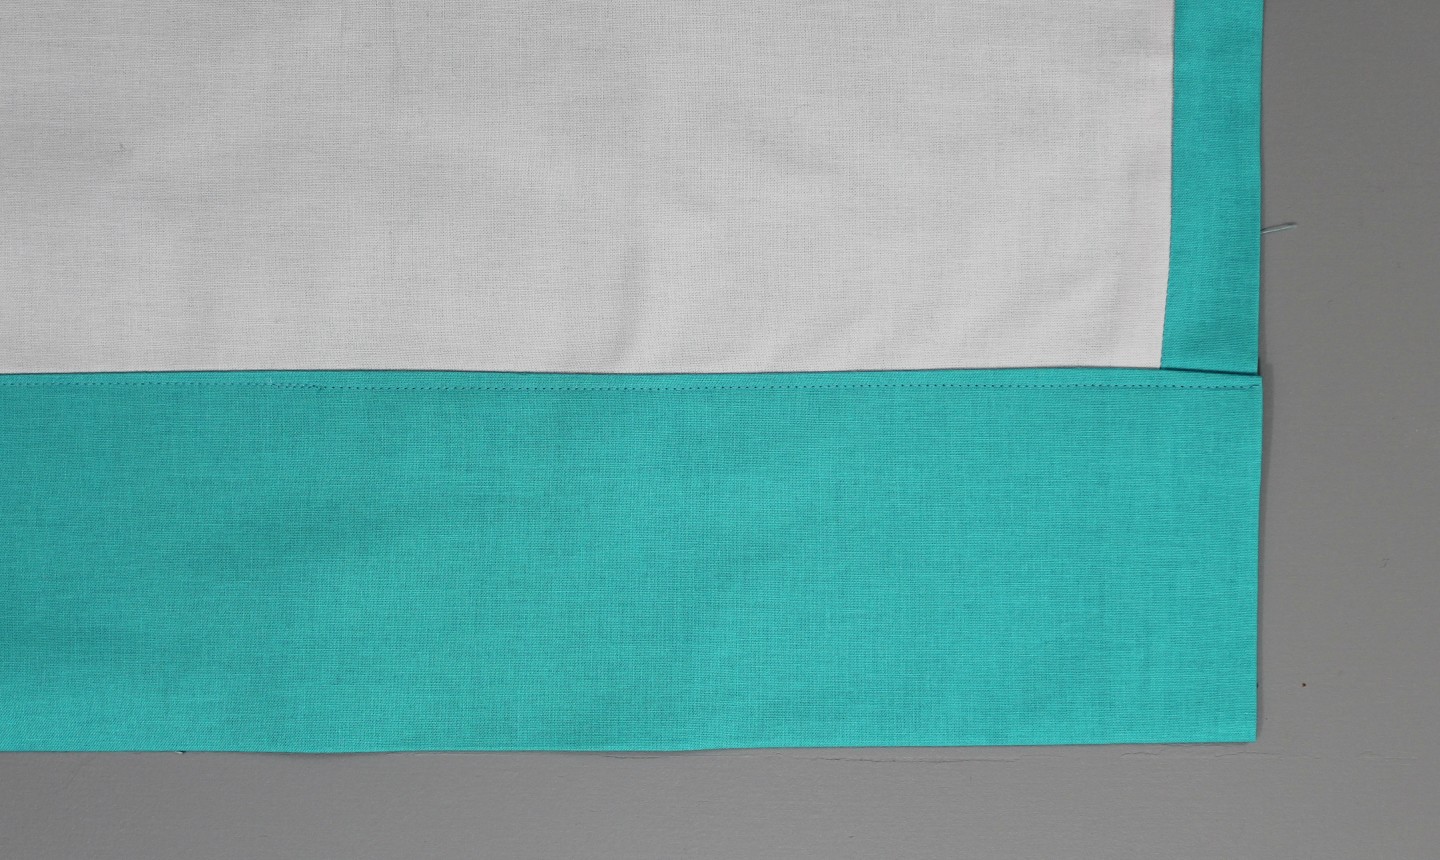
7. Press and Flip
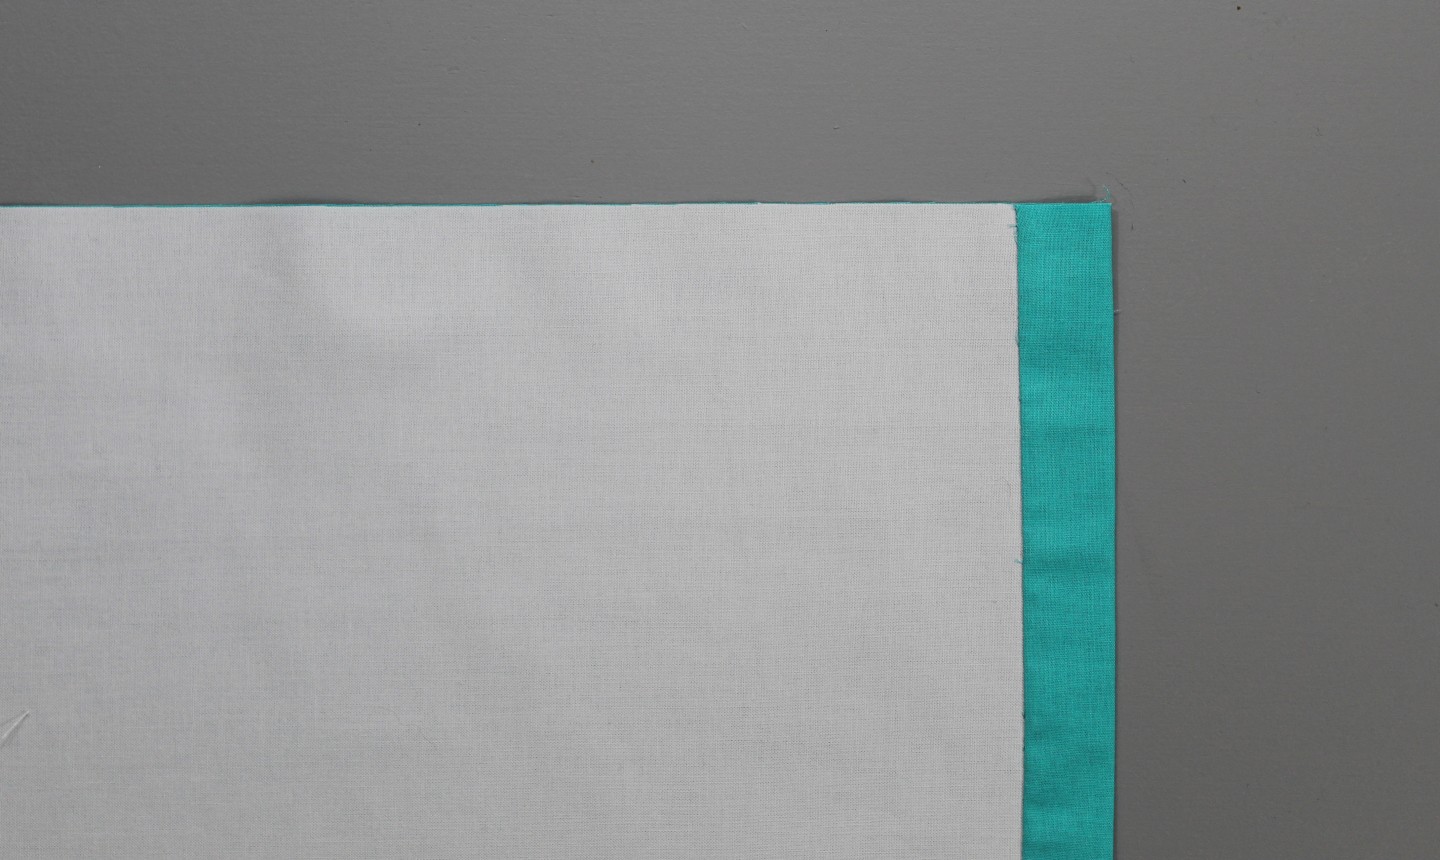
Press the side seams. Turn the tube of fabric right side out, so the wrong sides of the lining and curtain fabrics are facing each other. The lining will naturally roll 1” of the curtain fabric to the wrong side, keeping the lining away from the edge. Press that 1” of fabric into place.
Repeat steps 4-7 with your second curtain panel. At this point, you should have two curtain panels, each with their right sides facing out.
8. Prepare the Top Hem
Place one curtain panel on your work surface; finger press any wrinkles out. Make sure the raw edges of the curtain and lining fabrics match along the entire top edge. Fold the top hem of the curtain fabric under 1” and press.
Turn and fold the top hem 4” and press. Pin in place.
9. Sew the Top Hem
Edgestitch along the top hem, sewing close to the fold.
10. Prepare the Grommets
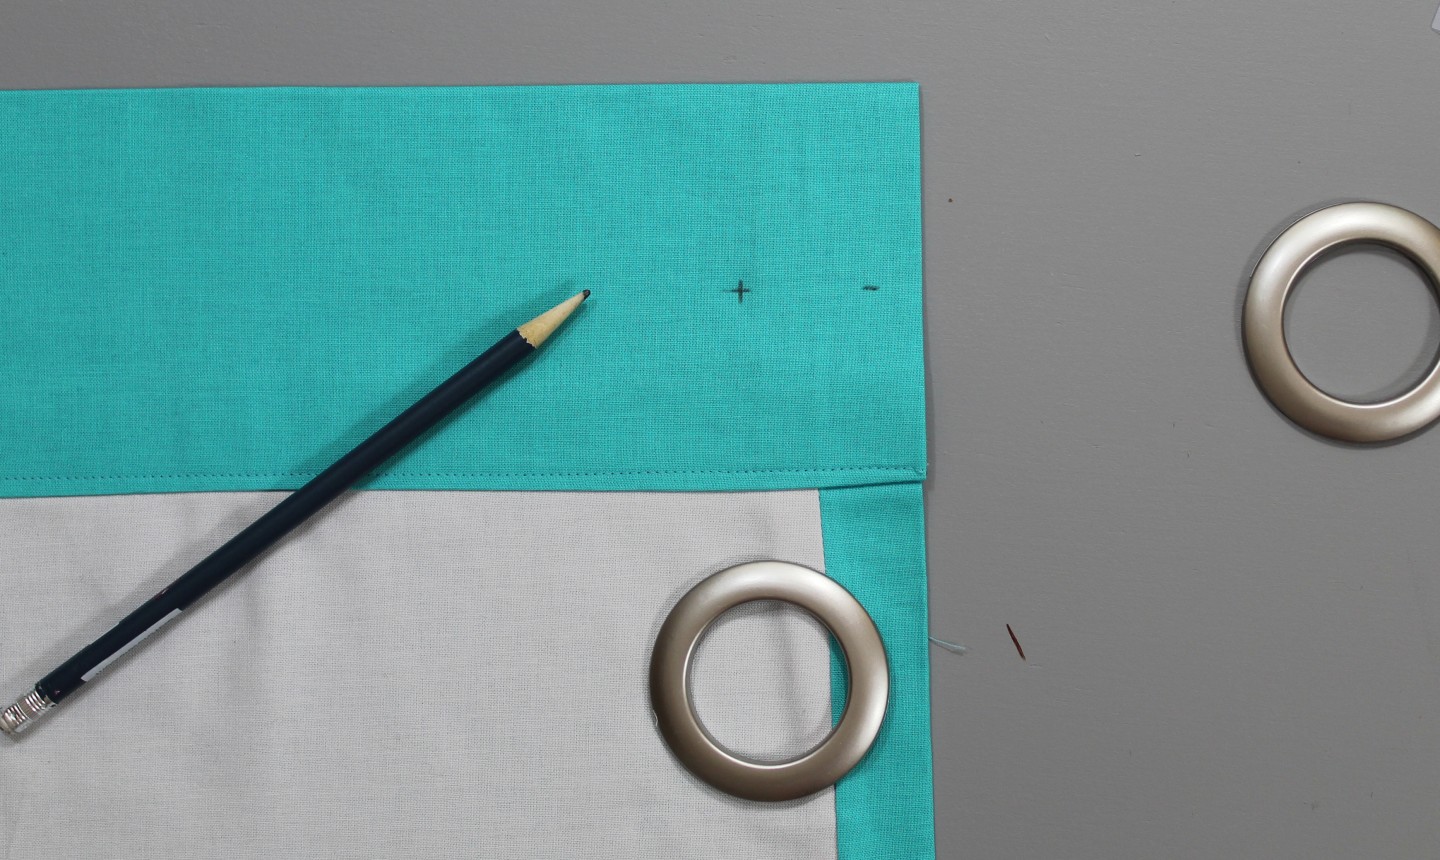
Measure 2” down from the top edge and ½” in from the side seam. With a pencil, mark a small +. This will be the center of the grommet. Repeat along the top edge, marking all the grommet centers.
Pro Tip: Read the package instructions for your curtain grommets, as it will expand on grommet installation and give additional information for how to measure for placement.
11. Trace the Grommet Guide
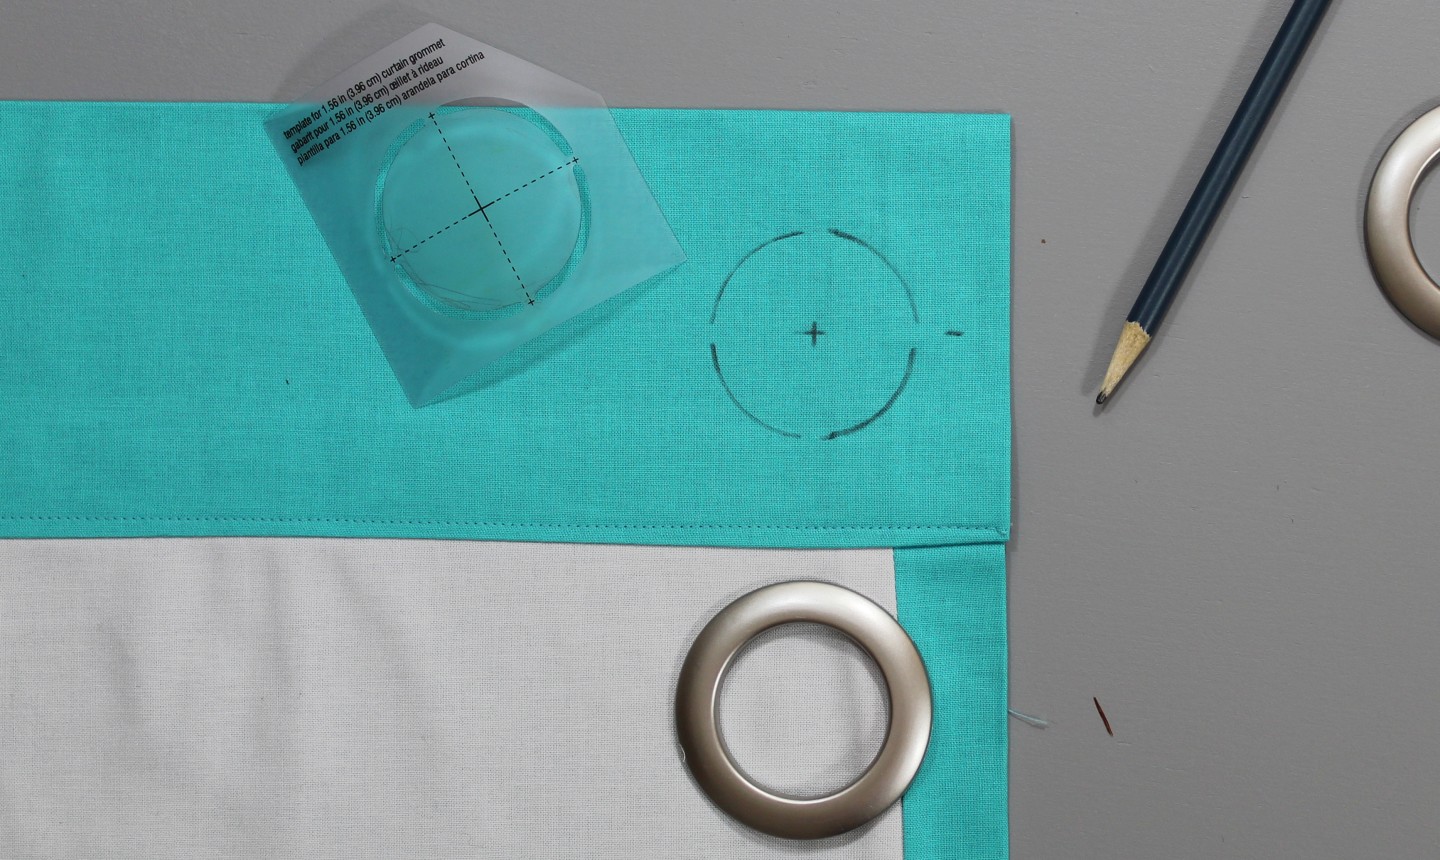
Place the grommet guide (that comes with your grommets) on top of the + and trace around the guide with a pencil. Continue along the entire top edge.
12. Cut the Grommet Holes
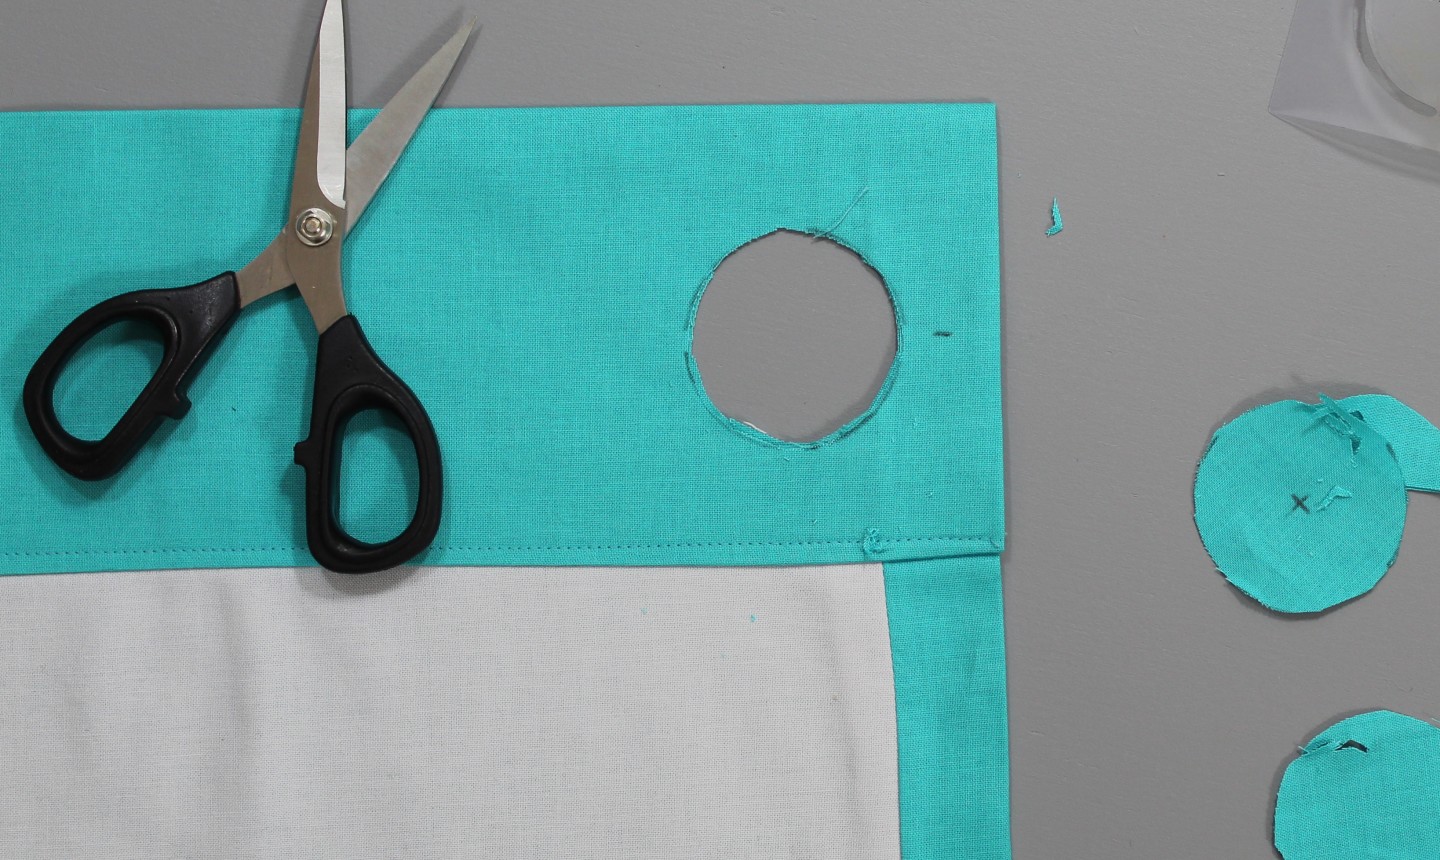
Cut a hole in the center of the circle — either fold the fabric and cut with scissors, or use a small rotary cutter and mat to cut an X in the center. Slowly work your way around the pencil circle. Repeat for all grommet placements.
13. Insert the Grommets
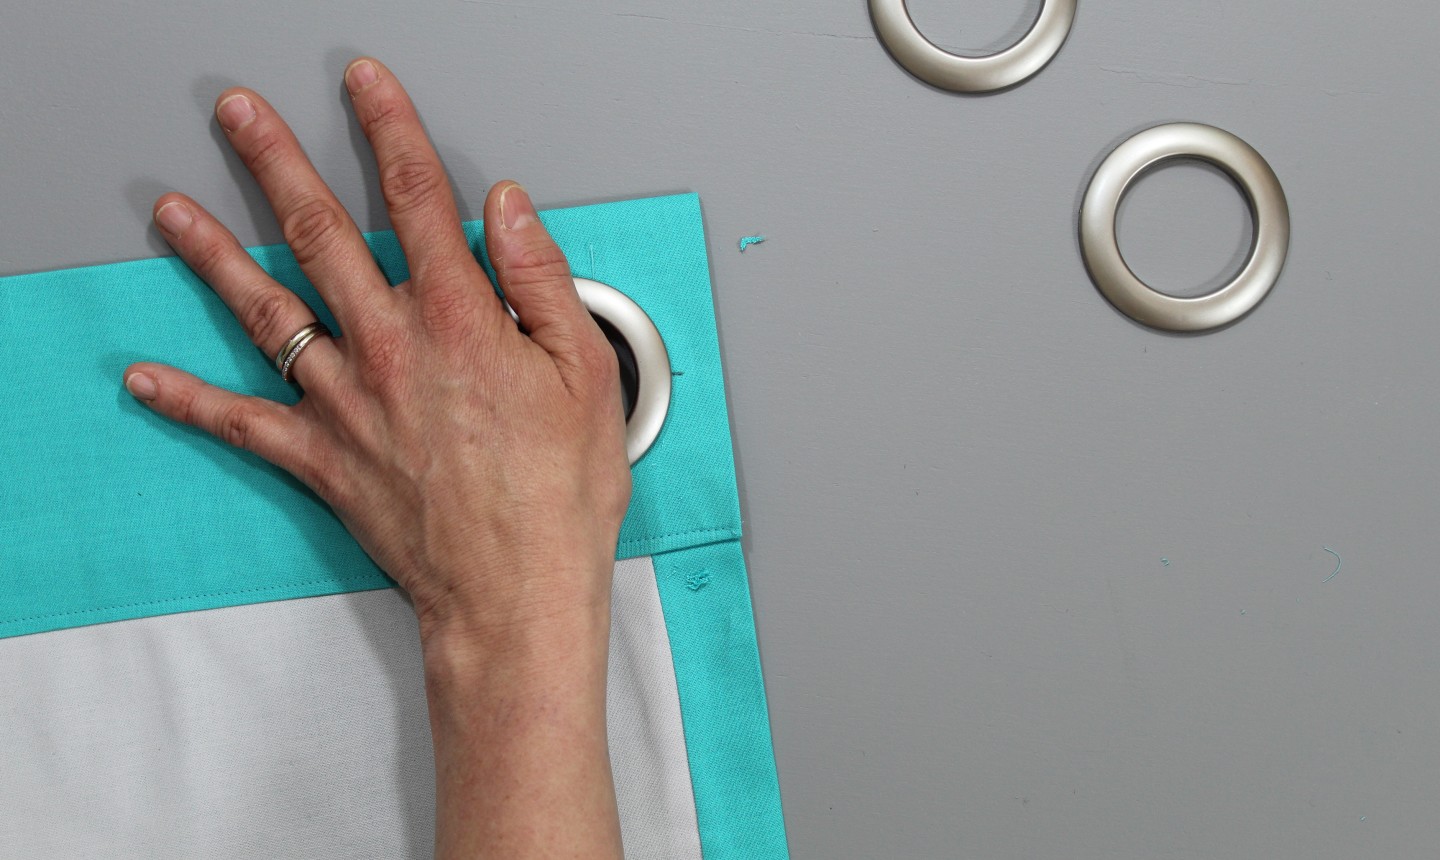
Place one side of the grommet under the cut circle, then the other on top. Carefully snap into place. Repeat for all of your grommets.
Once your first panel has all of its grommets placed, repeat steps 8-13 on the second curtain panel.
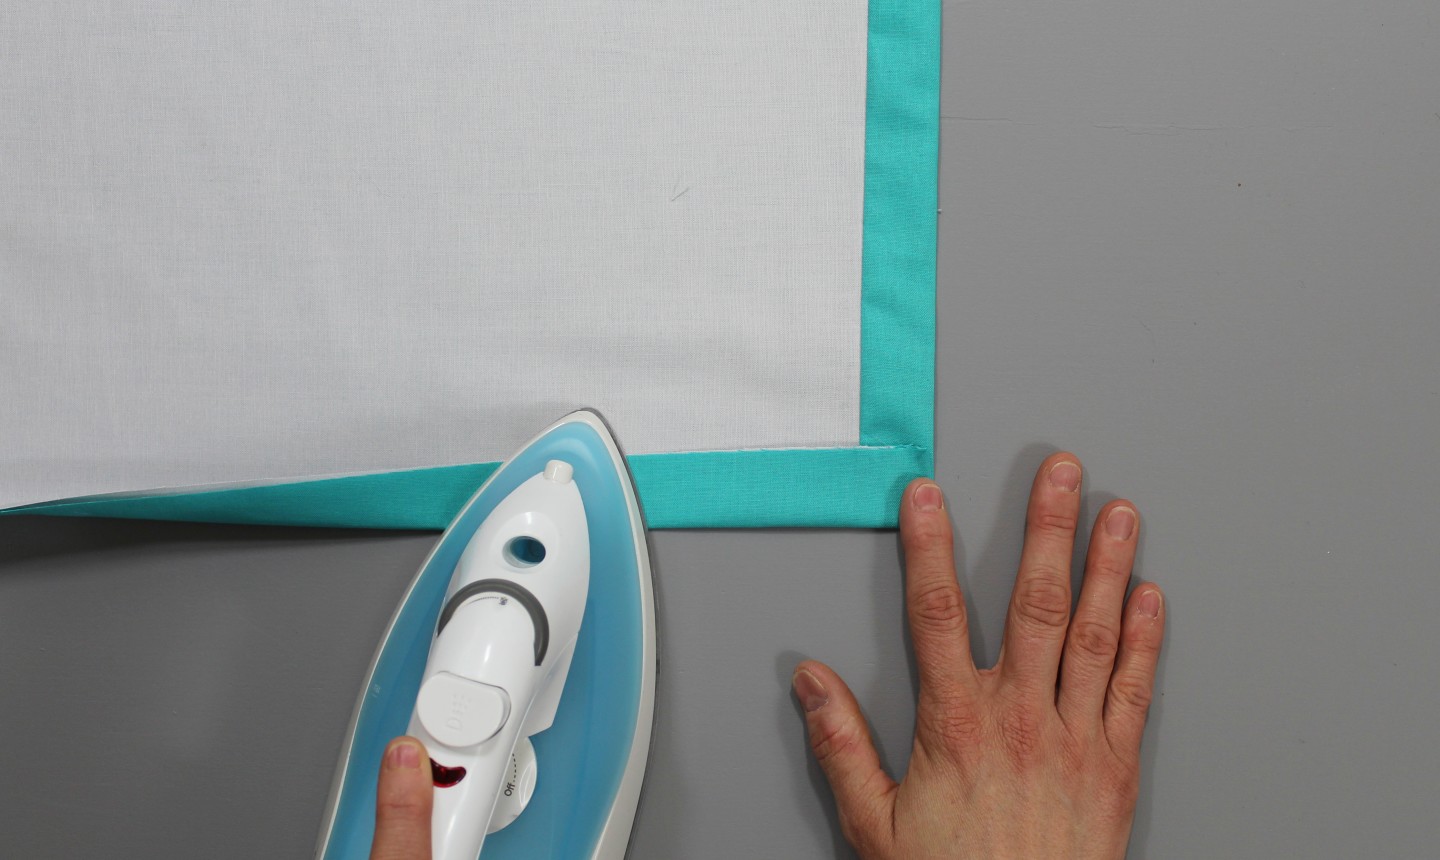
14. Prepare the Lining Hem
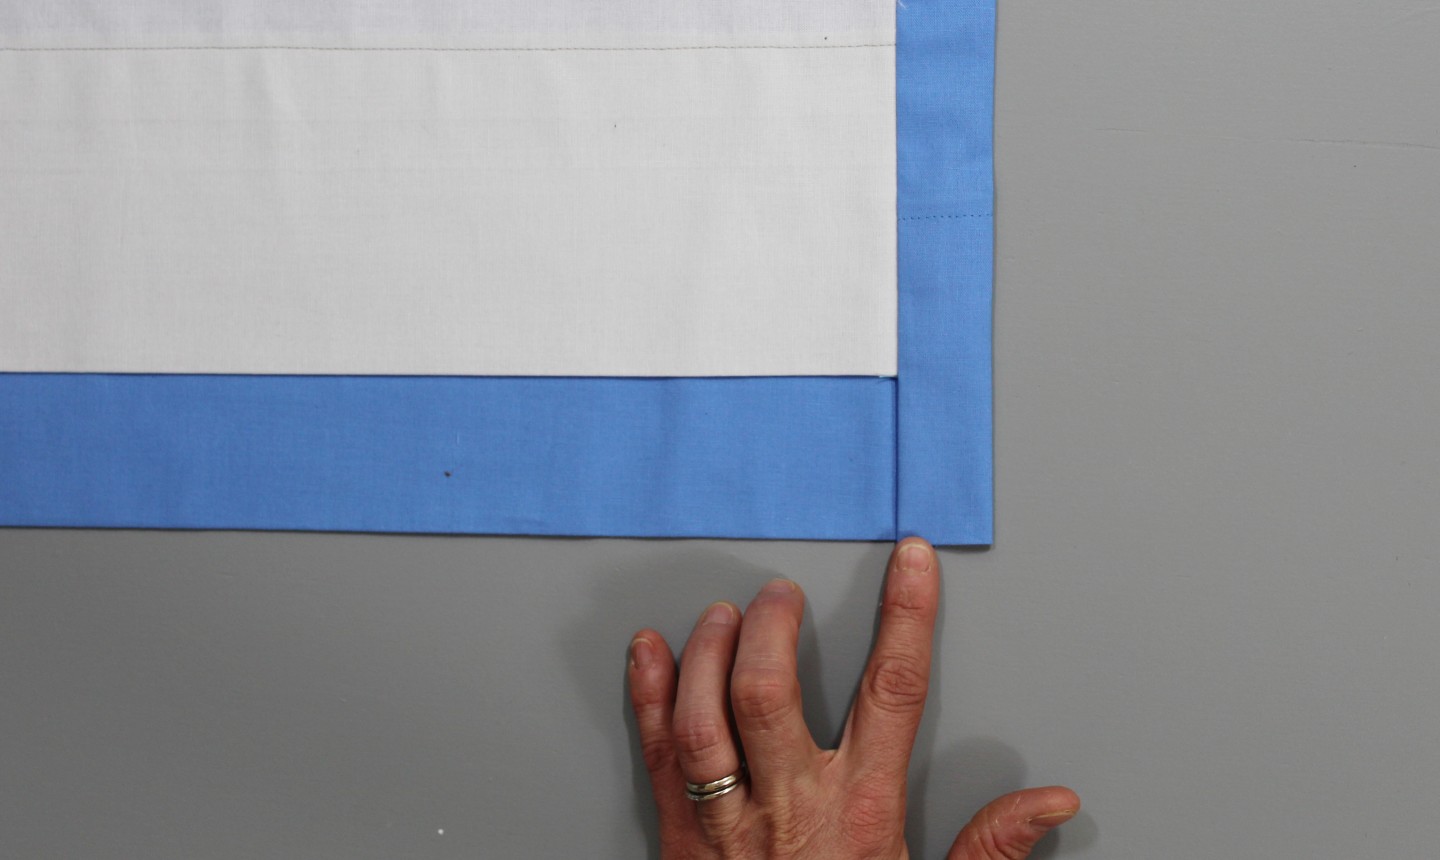
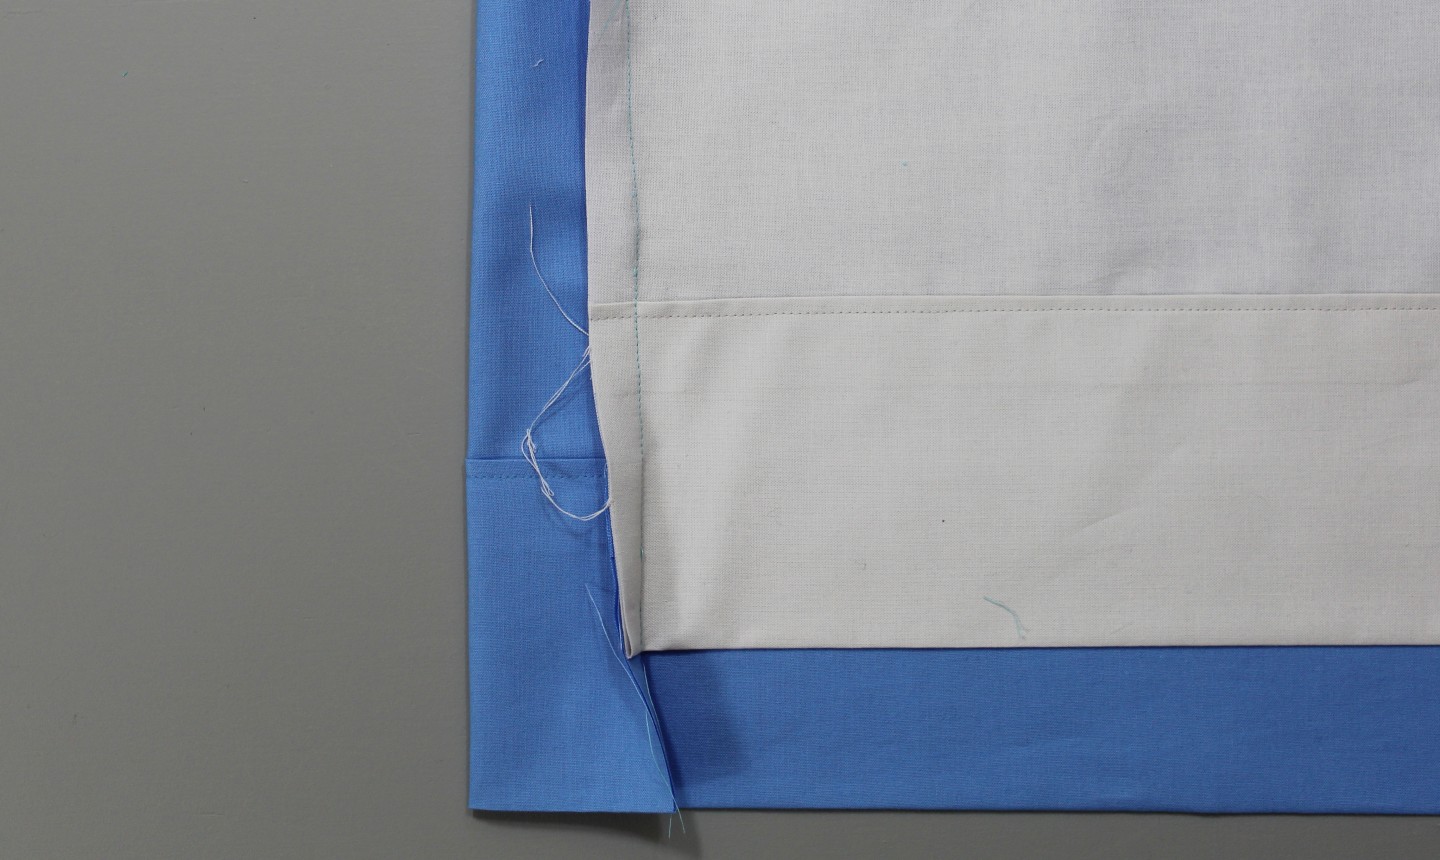
Lay one curtain panel on your work station. At the bottom corner of the main fabric, turn and fold under the raw side seam edges, tucking them inside and underneath the fold. Press the fold.
15. Hand Sew the Lining Hem

Hand sew the fold in place with an invisible stitch. Repeat steps 14 and 15 on the other corner of the hem.
Lay the second curtain panel on your work station. Repeat steps 14 and 15.
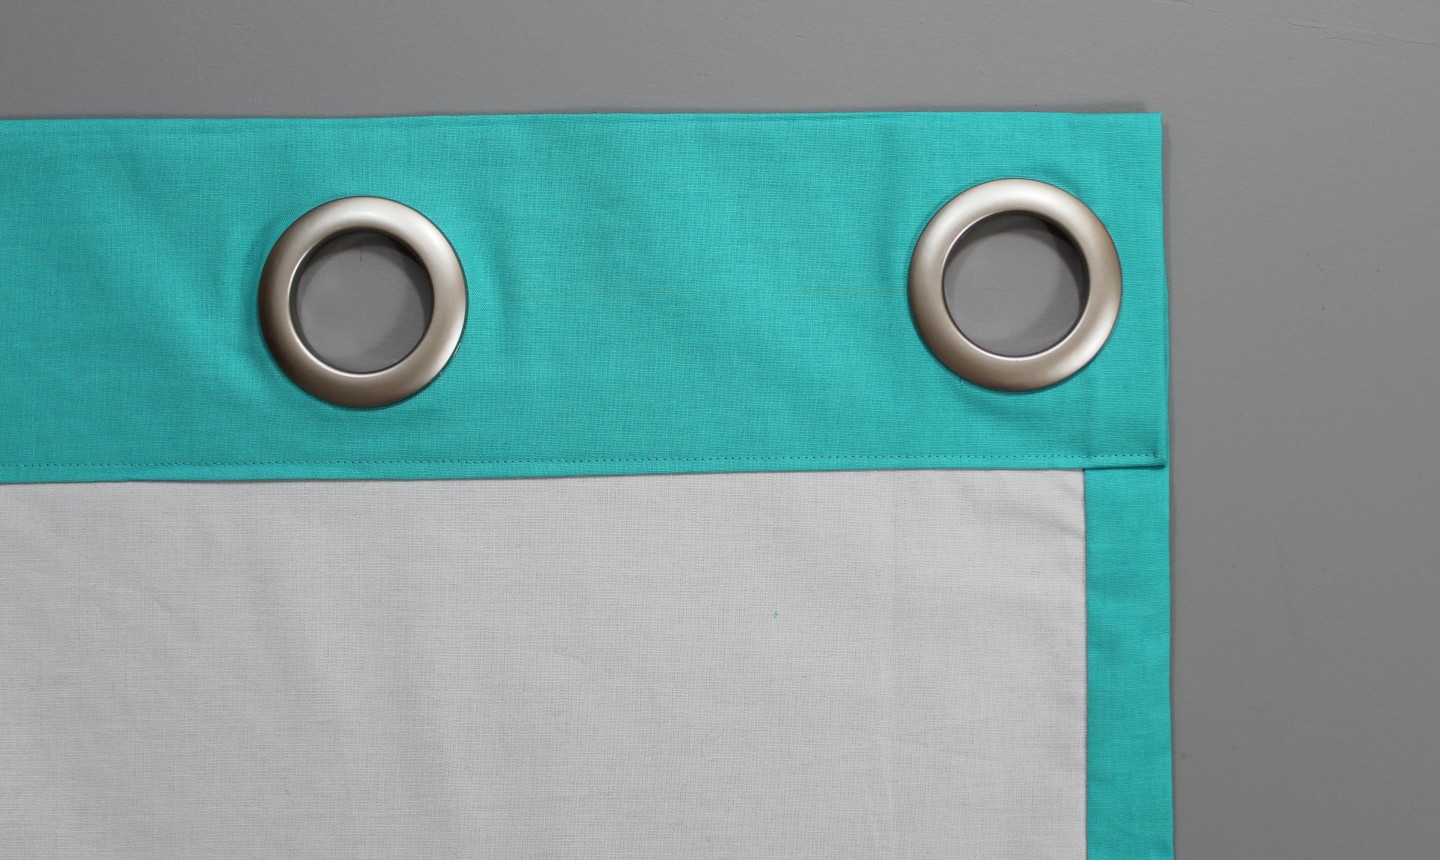
Voila! You now have gorgeous lined curtains that are ready to hang!
Photos by Marni Weaver
Share tips, start a discussion or ask one of our experts or other students a question.
Already a member? Sign in
No Responses to “Sew These Lined Curtains and You’ll Never Lose a Wink of Sleep Again”