
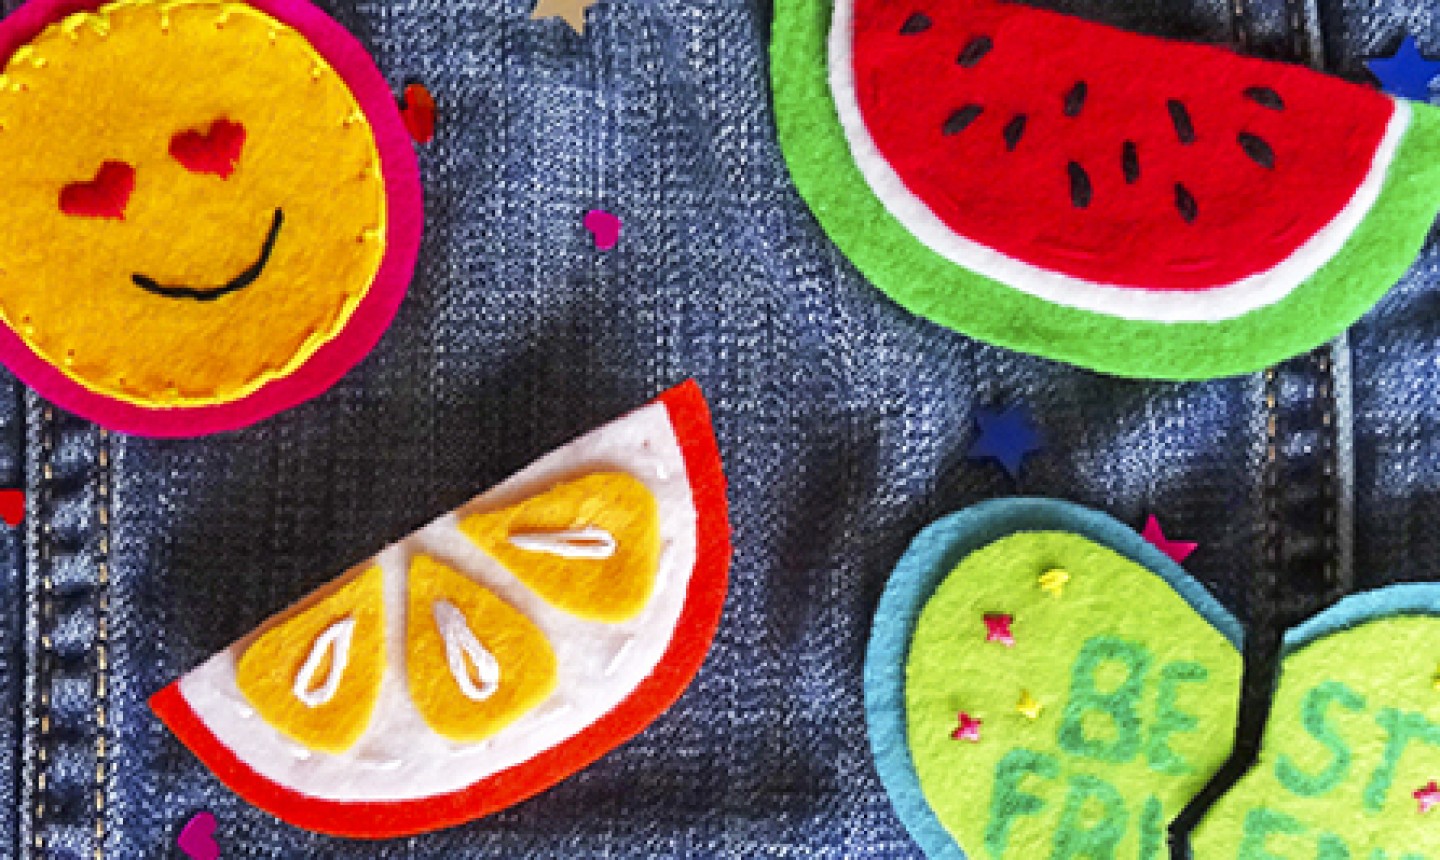
 Clothing and accessories are an awesome way for kids — and everyone, really — to express their creativity. But instead of buying new stuff, help your little fashionistas upgrade what they’ve got with some cool DIY felt patches. They’re easy to make and look great ironed on everything from backpacks to jean jackets.
Iron-On Felt Patches
Level: EasyWhat You Need
- Pencil and paper
- Scissors
- Felt scraps (wool is best because it’s thick, durable and heat-resistant)
- Water-soluble fabric marker
- Fabric glue
- Embroidery floss
- Embroidery needles
- Fusible web or bar pins
- Squeezable fabric paint or pens (optional)
- Glitter (optional)
- Beads (optional)
- Sequins (optional)
Instructions
1. Design Your Patch
Help your kids sketch out what they want the patch to look like with pencil and paper. Simple designs are best, like a two-part BFF heart, a fruit slice, a favorite emoji, or the first letter of their name.
2. Cut the Felt
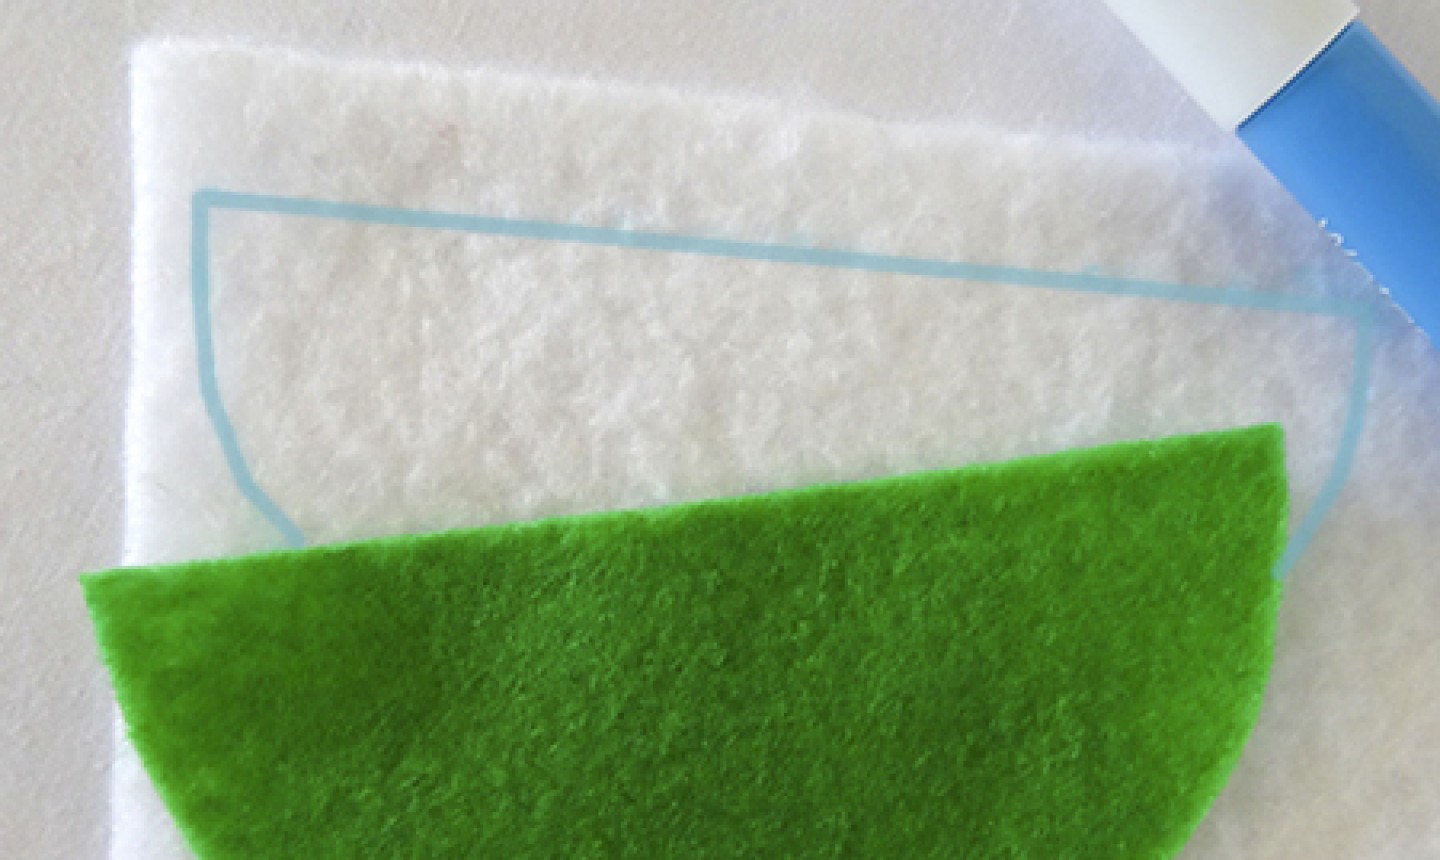
Trace each shape included in your sketch onto the felt using a water-soluble fabric marker (a washable craft marker could work, too). This should include the main base of the patch, as well as any additional felt elements that will be layered on.
Carefully cut out all the shapes with scissors.
3. Add the Details
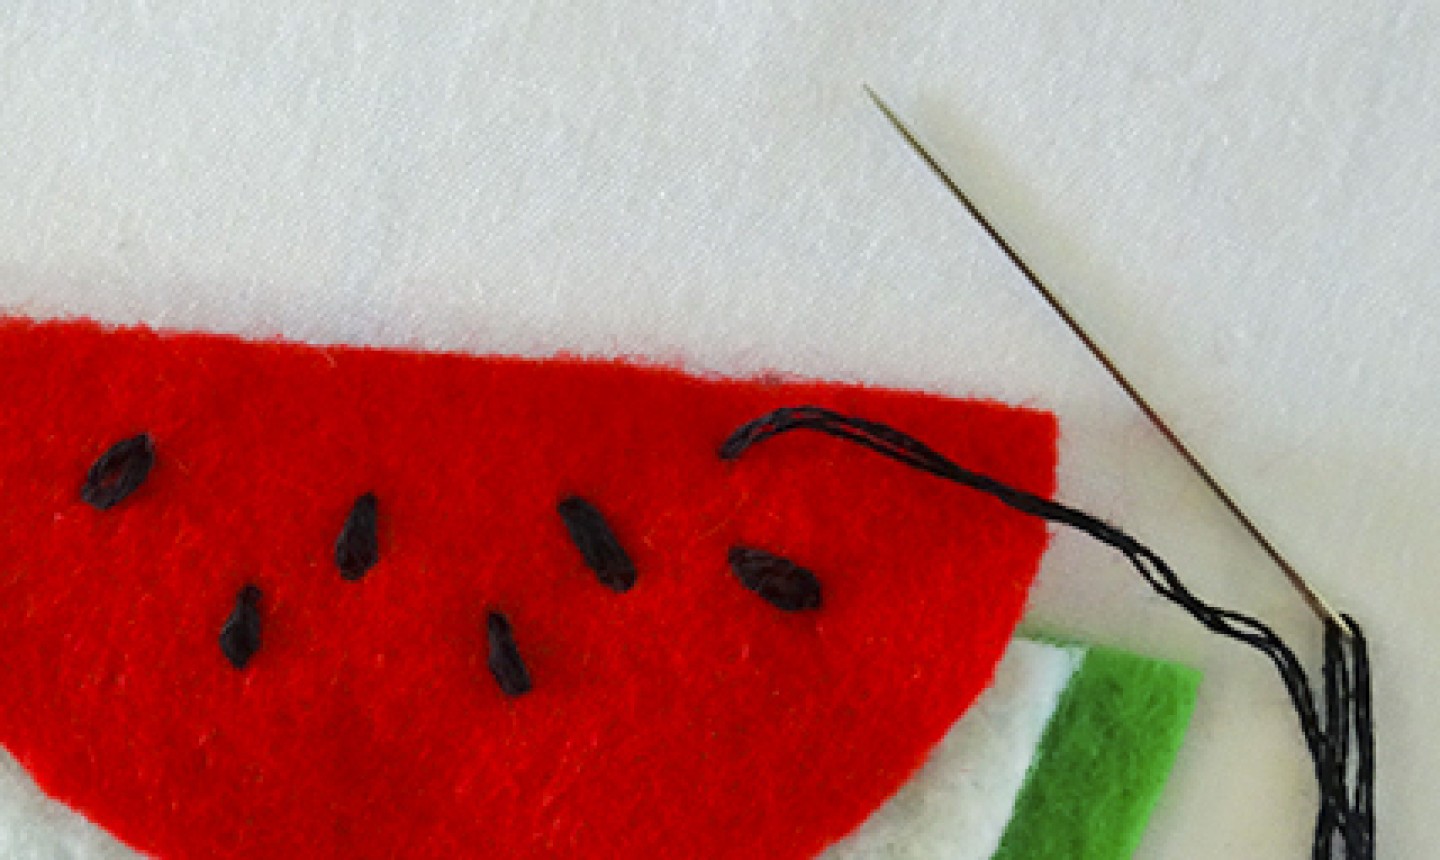
Add embellishments, like the watermelon seeds pictured above, with embroidery floss. (A few other ideas: small X shapes that look like sparkles, satin stitch for emoji eyes and backstitch for the mouth.)
Embroider around the edges to make your patch look more authentic.
Draw any other small details you want with squeezable fabric paint or pens. Let dry.
Pro Tip: Use popular hand-embroidery stitches to help you create your design details.
4. Secure the Layers
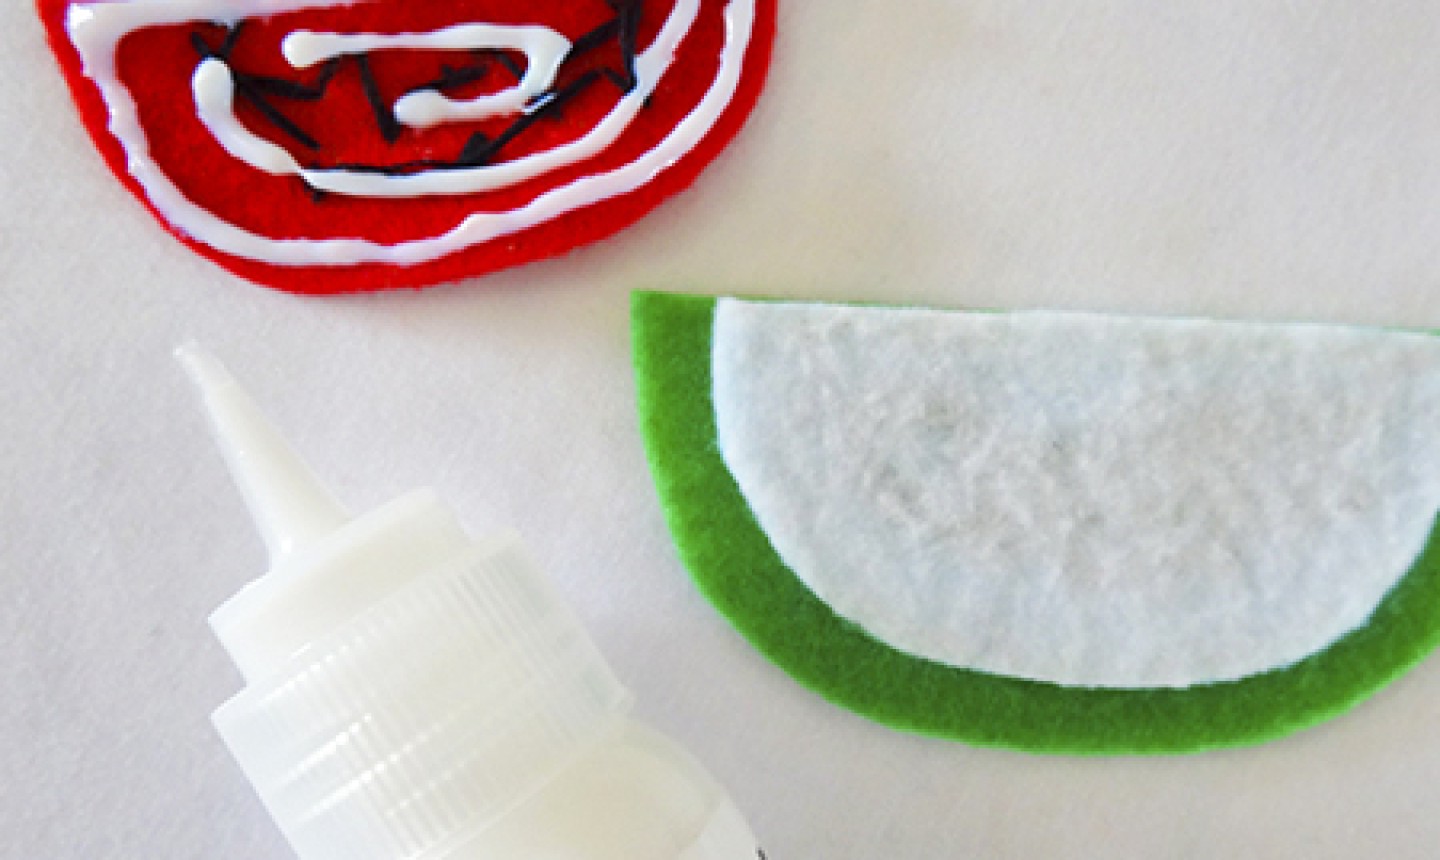 Stack each layer in the correct position, then use fabric glue or fusible web to attach them. Glue an extra layer of felt to the back of the patch to create a thicker finished product.
Pro Tip: If using fusible web, make sure the glue or webbing extends all the way to the edges so that the layers don’t curl up.
5. Attach Your Patch
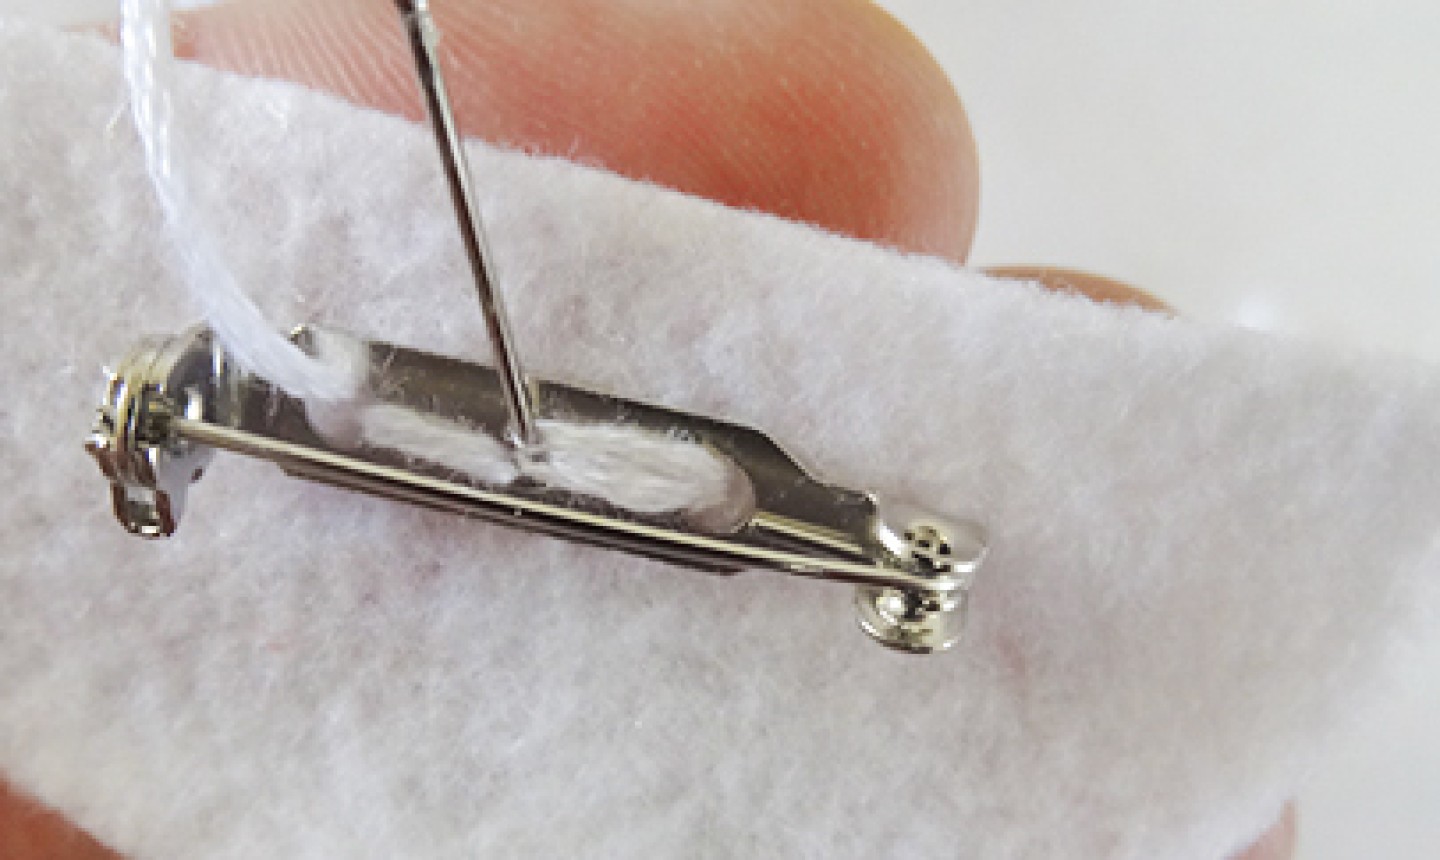
If you want to attach the patch to your kid’s gear with a pin, simply stitch the bar pin on about ⅓ of the way down the backing fabric.
You can also cut out a piece of fusible webbing and attach it the the back of the patch. Then iron the patch onto the clothing according the the package directions.
Lovely idea and wool felt looks much nicer too. Why isn’t wool felt used on the examples ?
What a wonderful idea! My granddaughter will love this -- she is very artistic and is always filling her sketchbook with images that could easily be translated to wool felt. Thank you so much for this post.