

Remember paper chains? Well there’s an even better way load up your tree with bold, bright, beautiful paper. And once you get the hang of the folds, they’re easy to DIY.
Origami Ornaments
Level: Easy
What You Need
Instructions
1. Make the First Folds
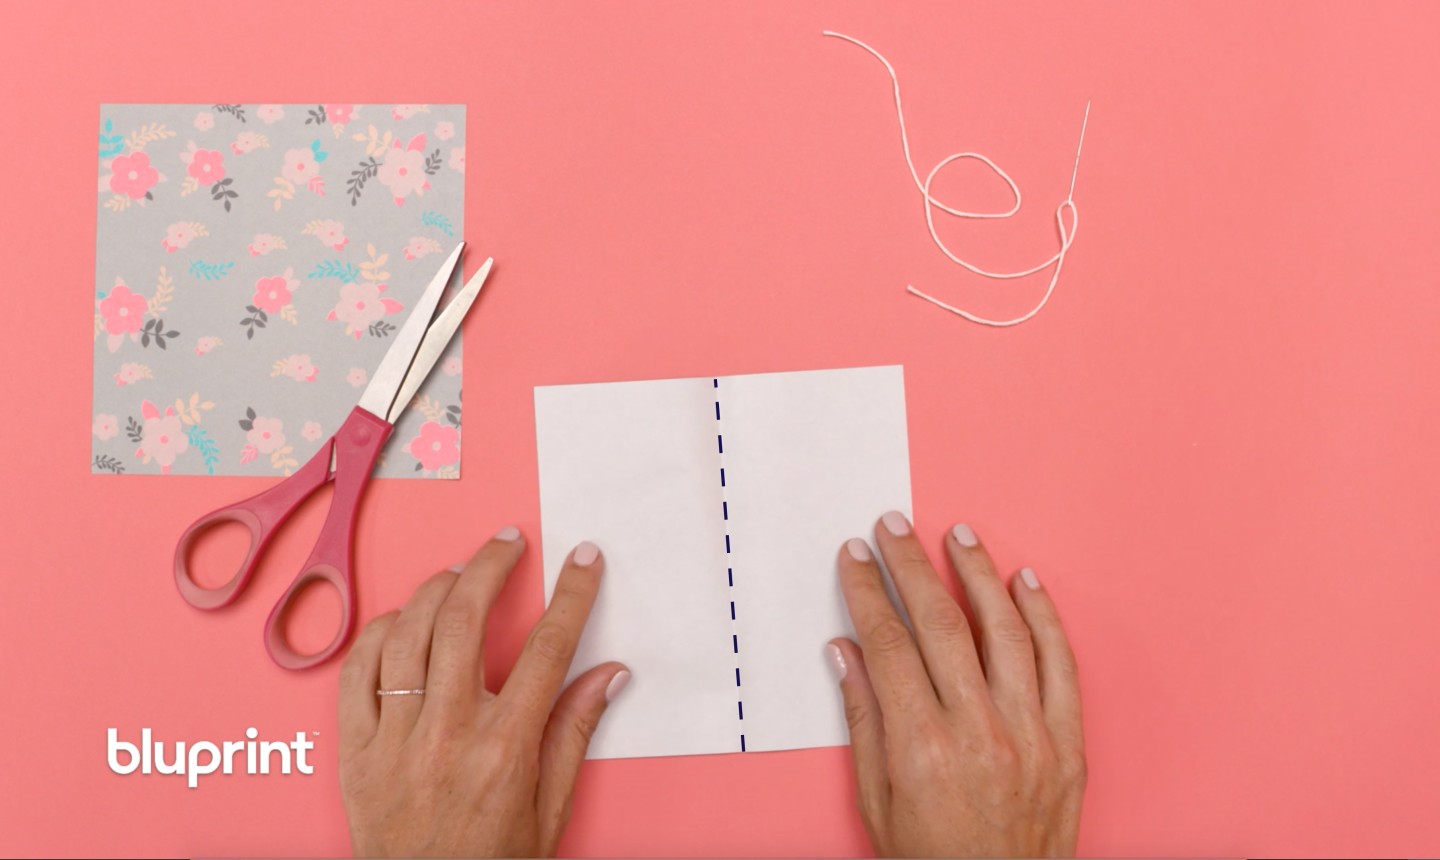
Start with a square piece of origami paper. Fold it in half and crease.
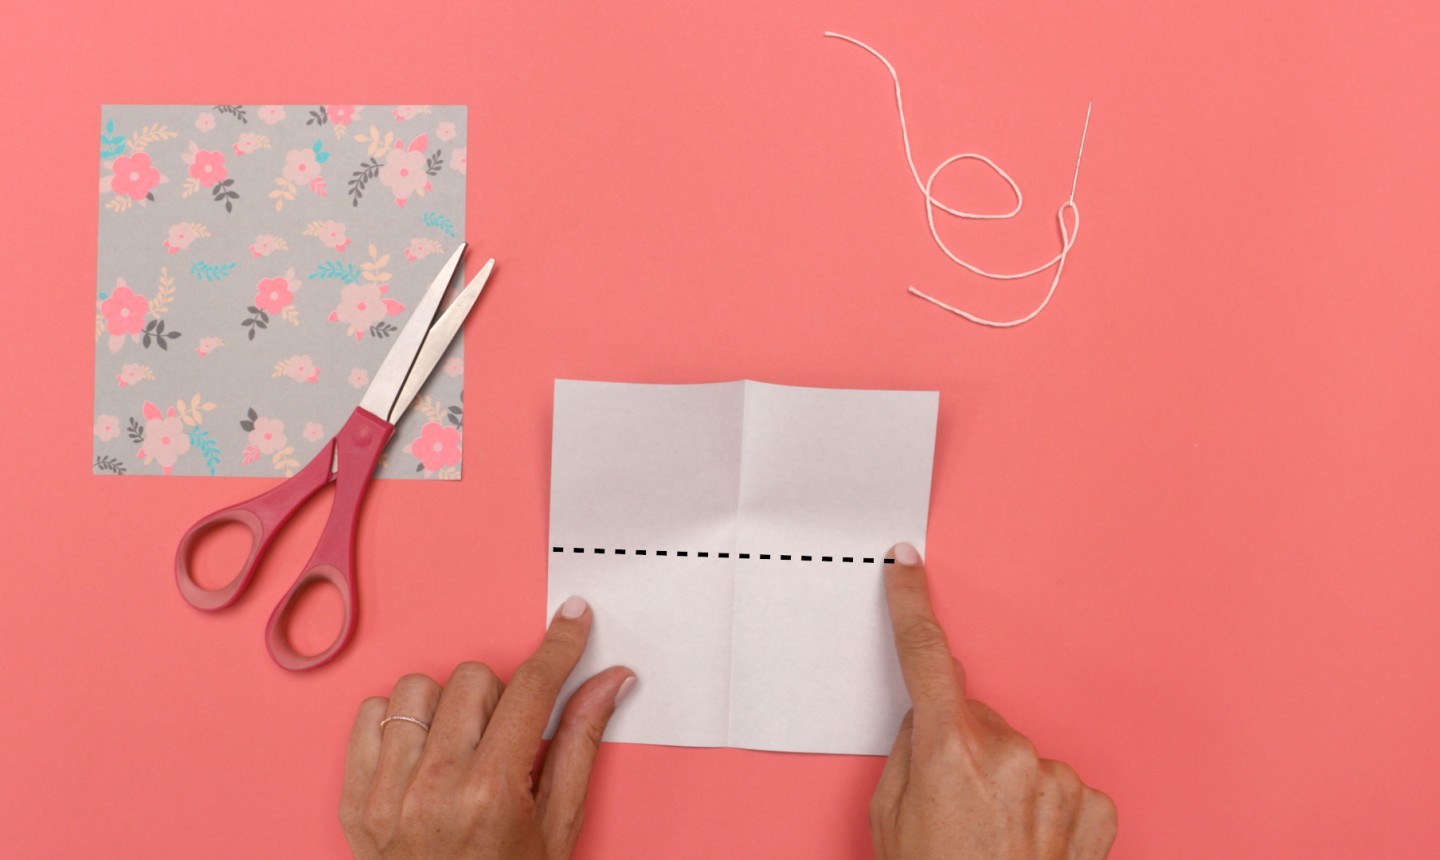
Open it back up and fold it in half the other way. Then, open it up again.
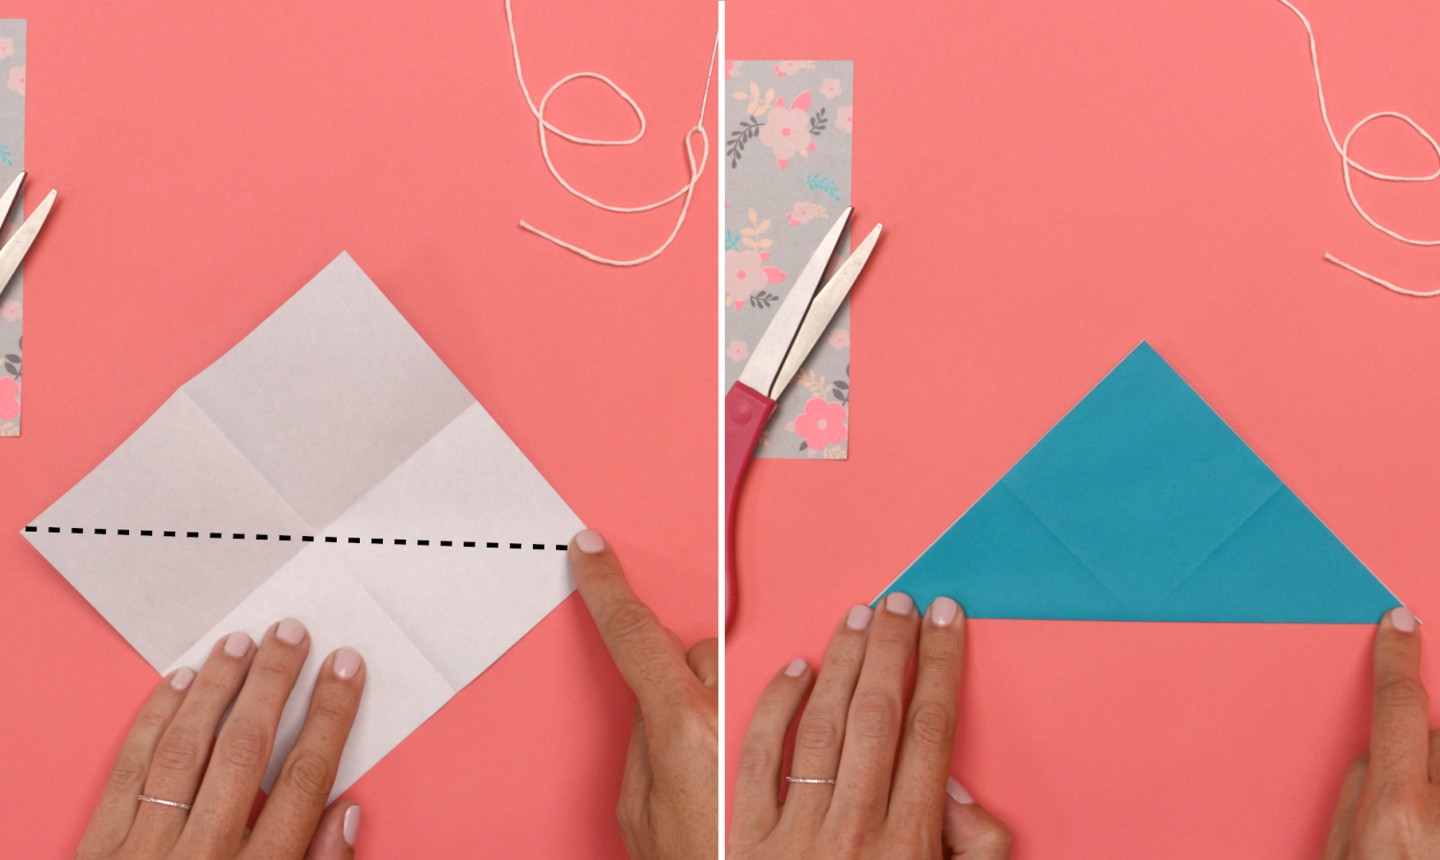
Fold the paper in half diagonally and open it back up. Then fold the remaining opposite corners together. This time, keep the paper folded into a triangle.
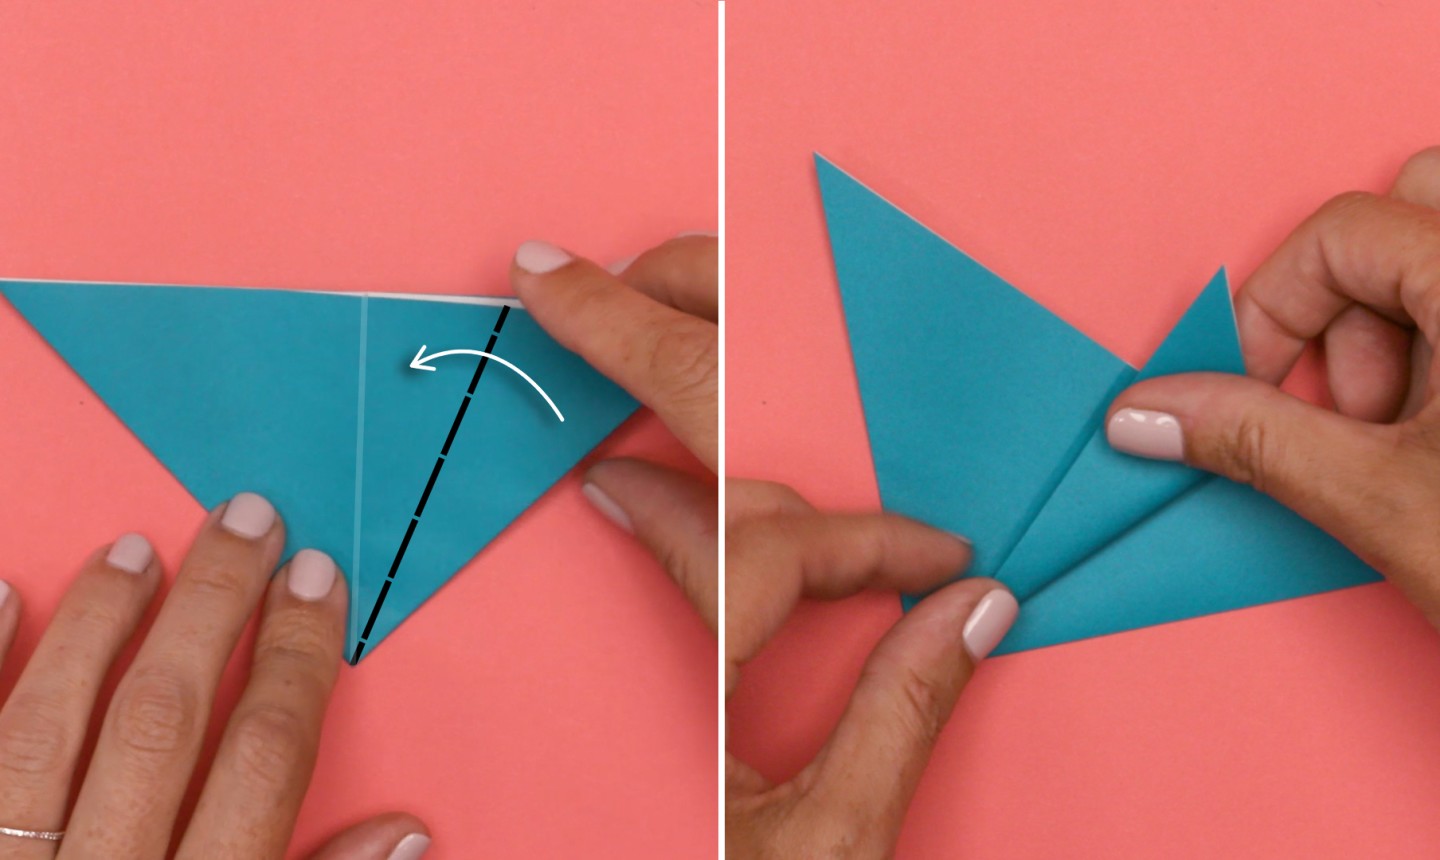
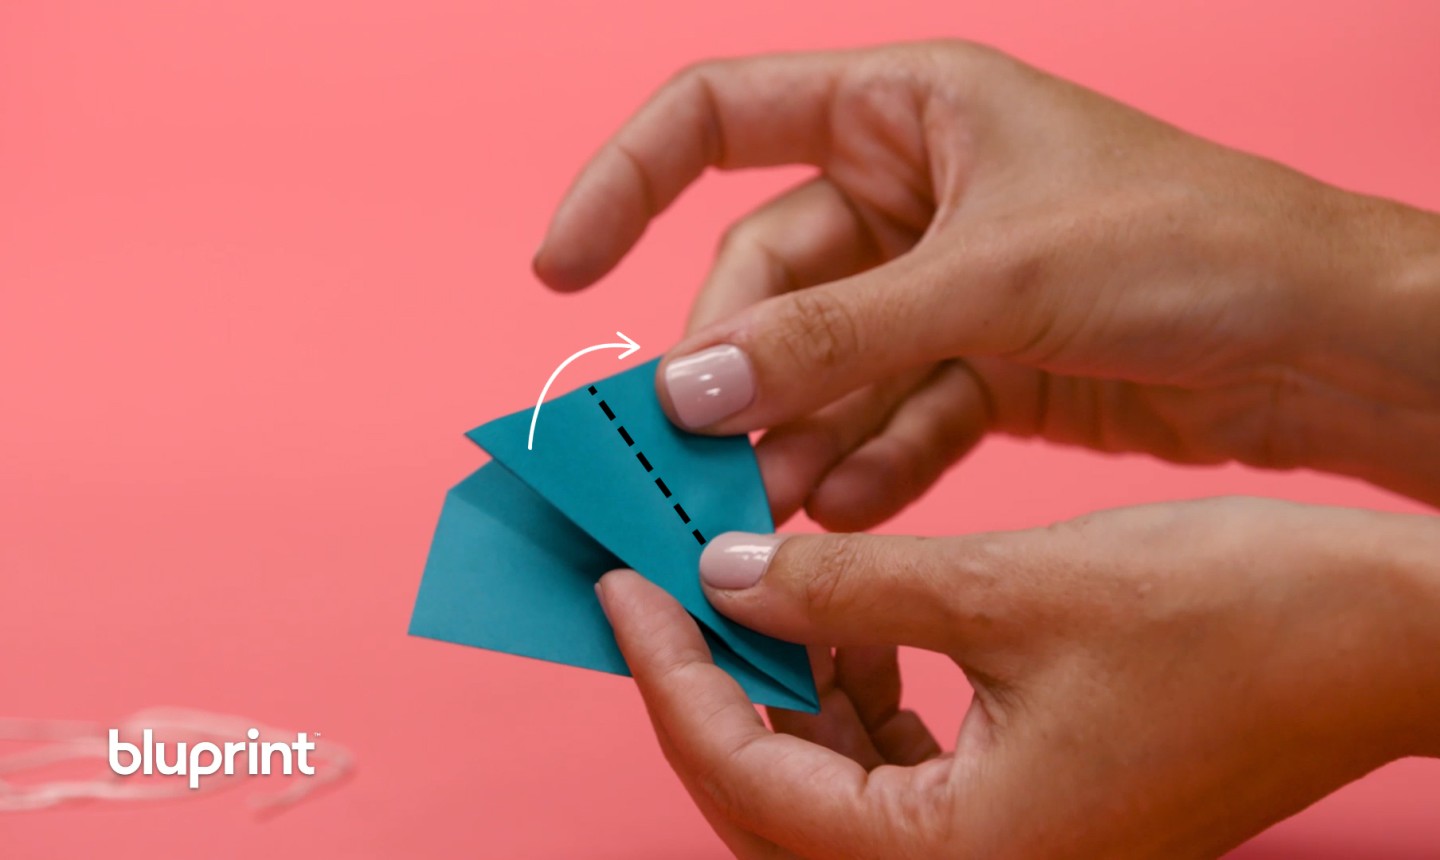
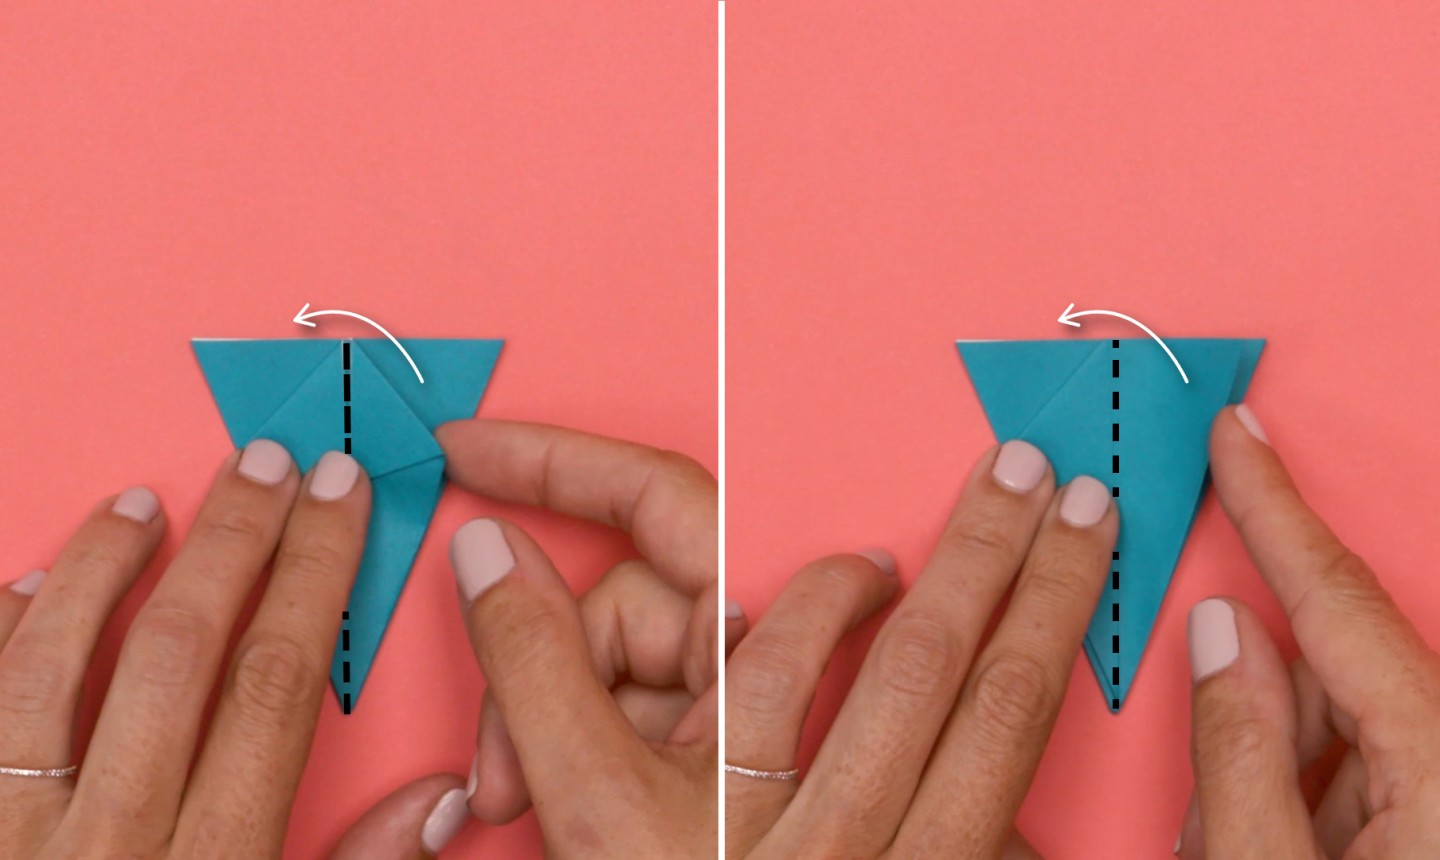
2. Shrink the Triangle
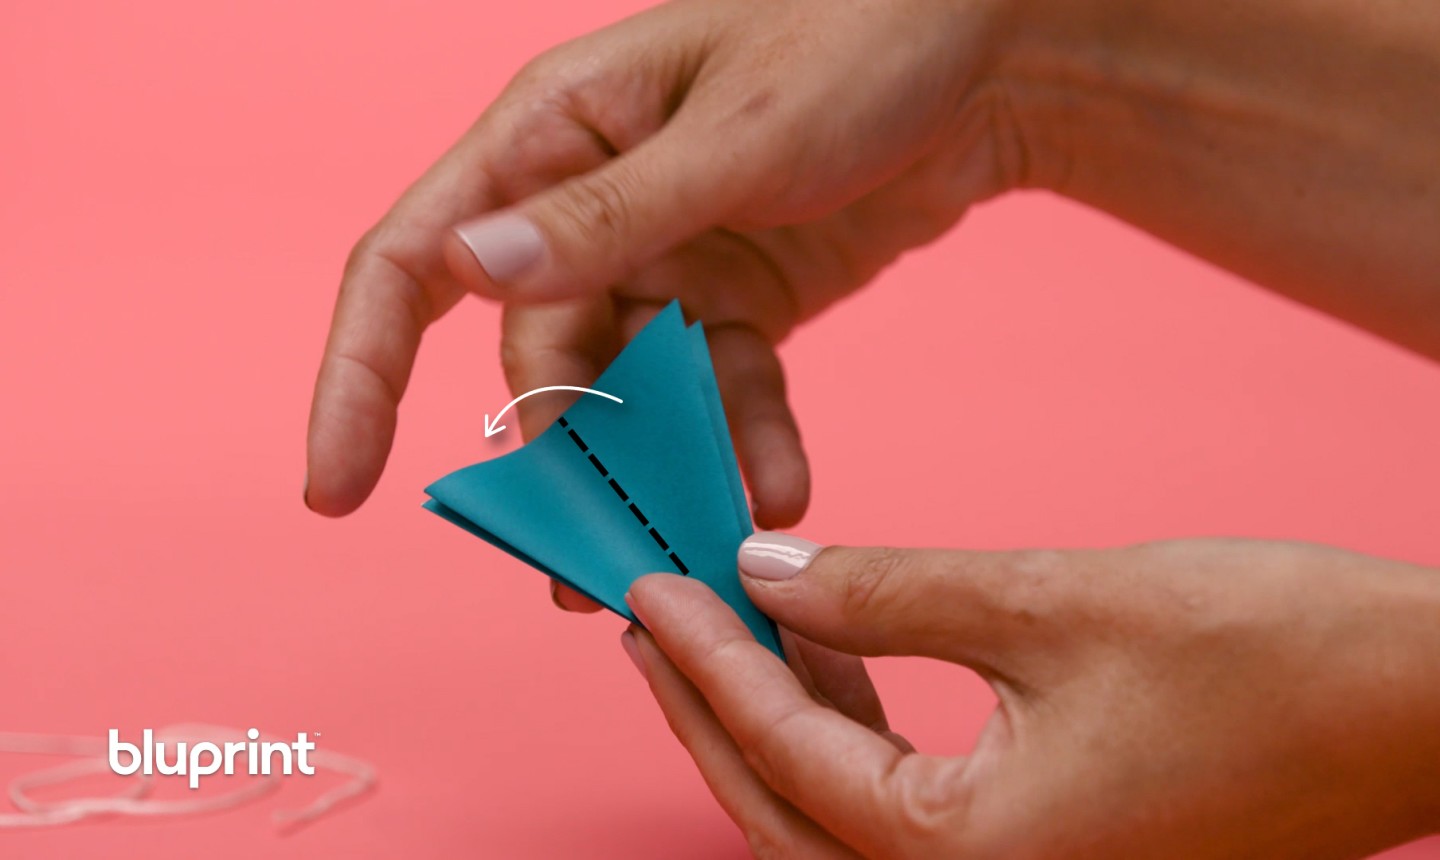
Take the top point and fold it down to the left as shown above.
Push the outer corner in on itself. You should now have a smaller triangle.
3. Fold to the Center
Take the right top corner of the triangle and fold it toward the center, as shown above.
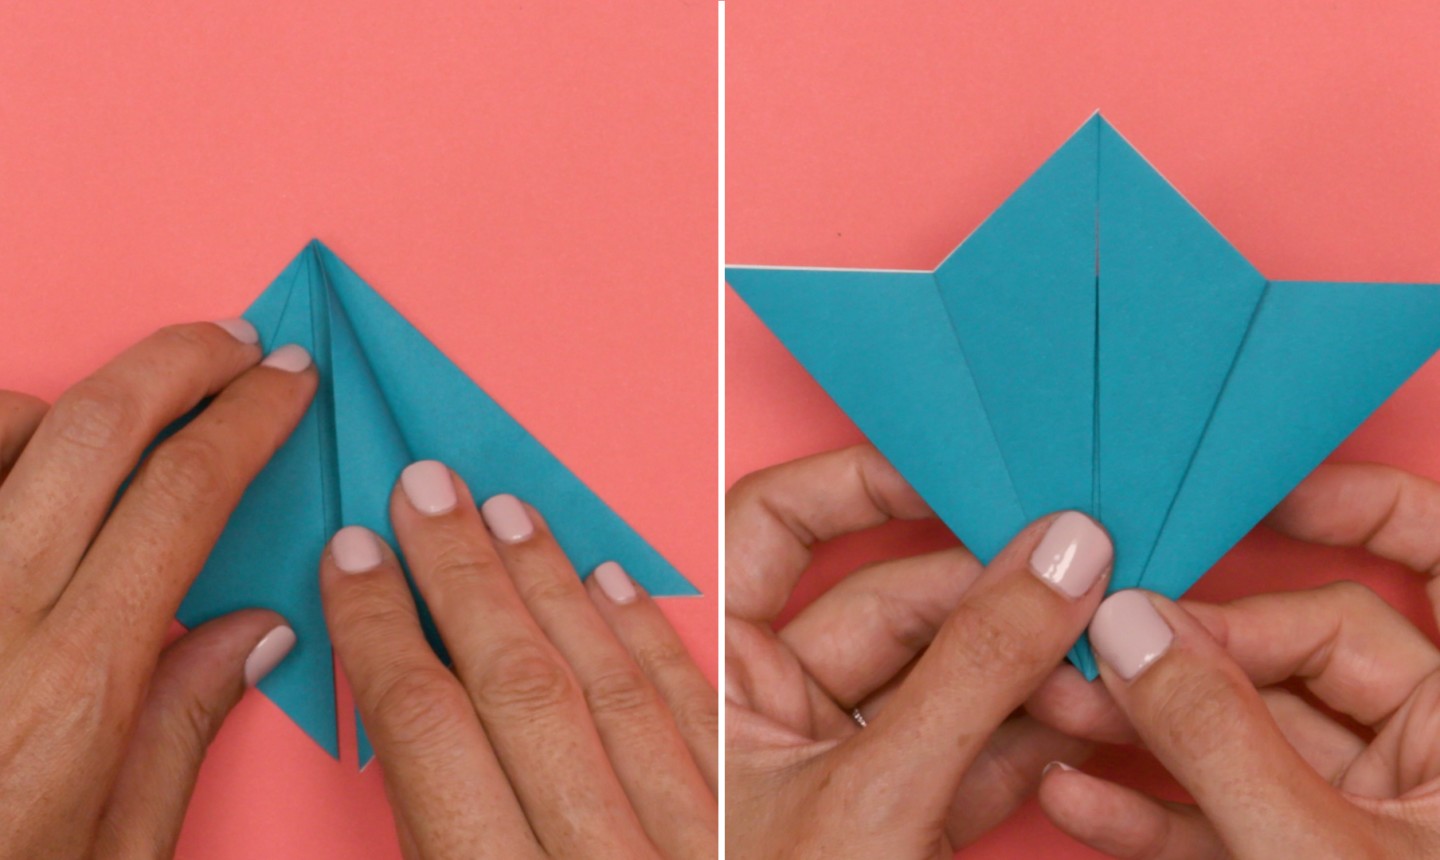
Repeat this step on the other side.
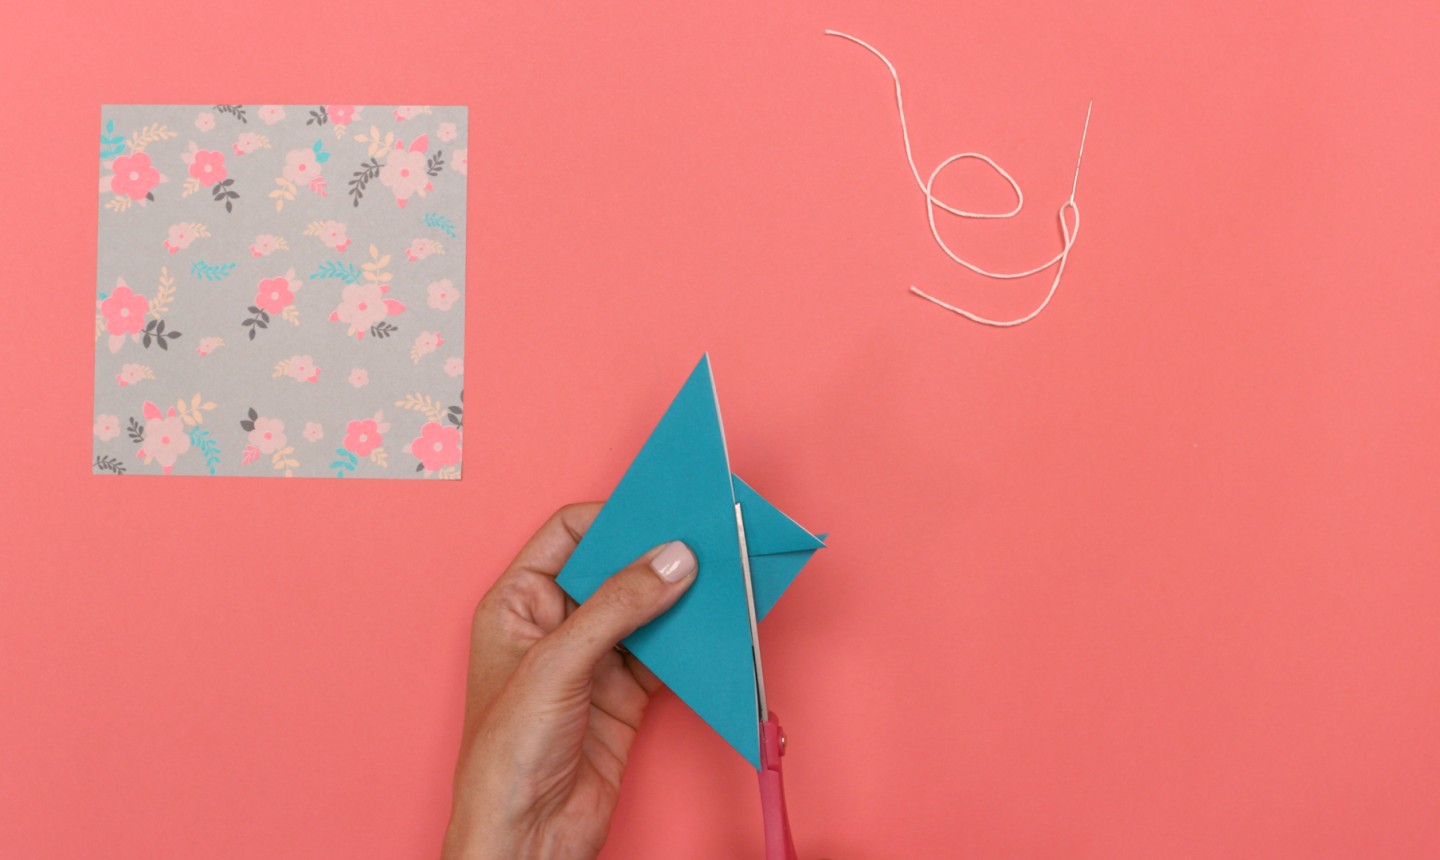
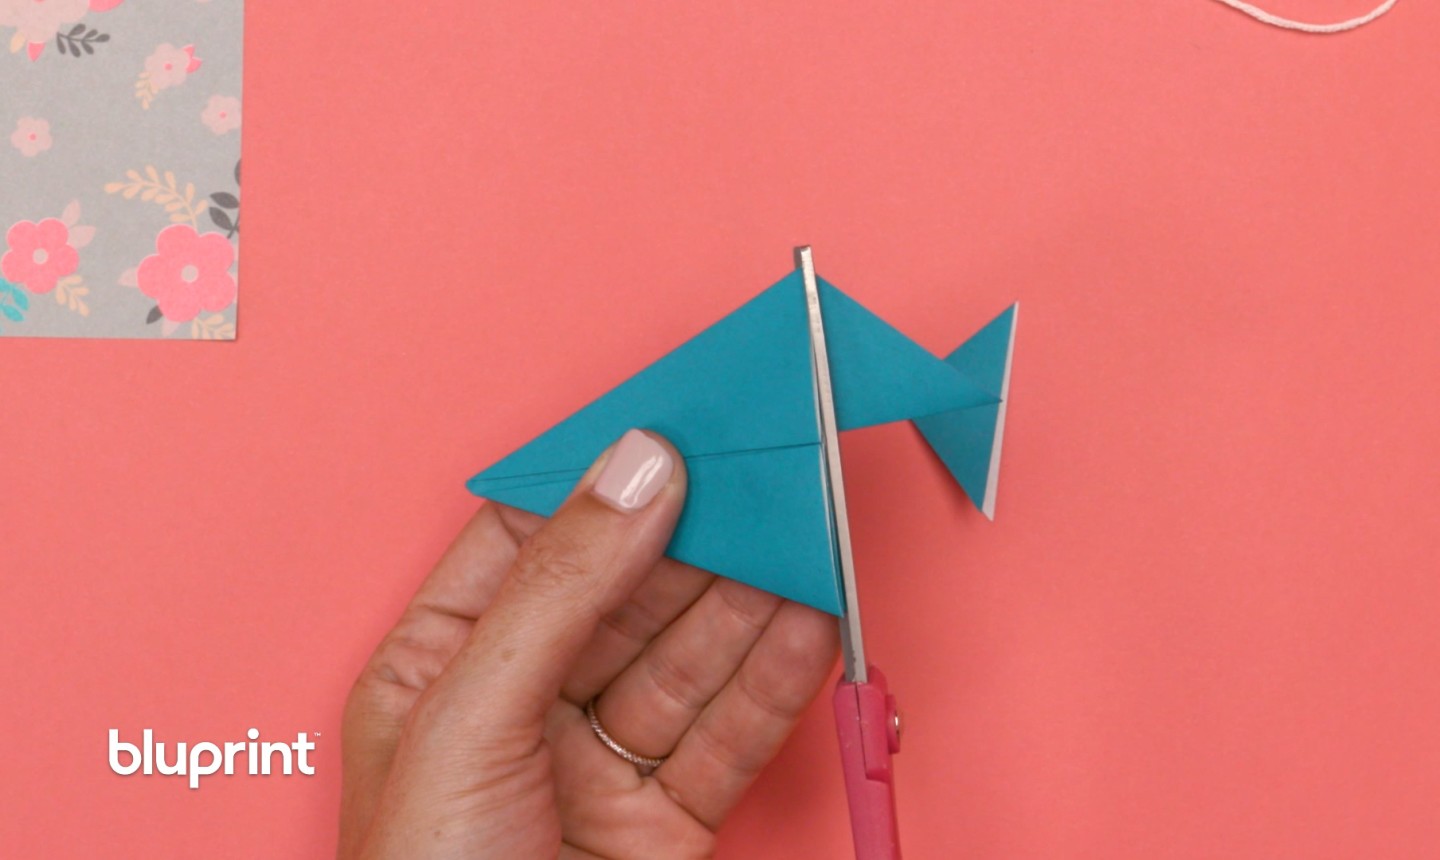
Flip the paper over and trim off the two projecting tips. You’ll have yet another triangle shape.
4. Repeat
With your paper still flipped, repeat the previous step.
Once again, trim off the excess.
5. Unfold
Unfold the flaps you just made so you have a wide diamond shape.
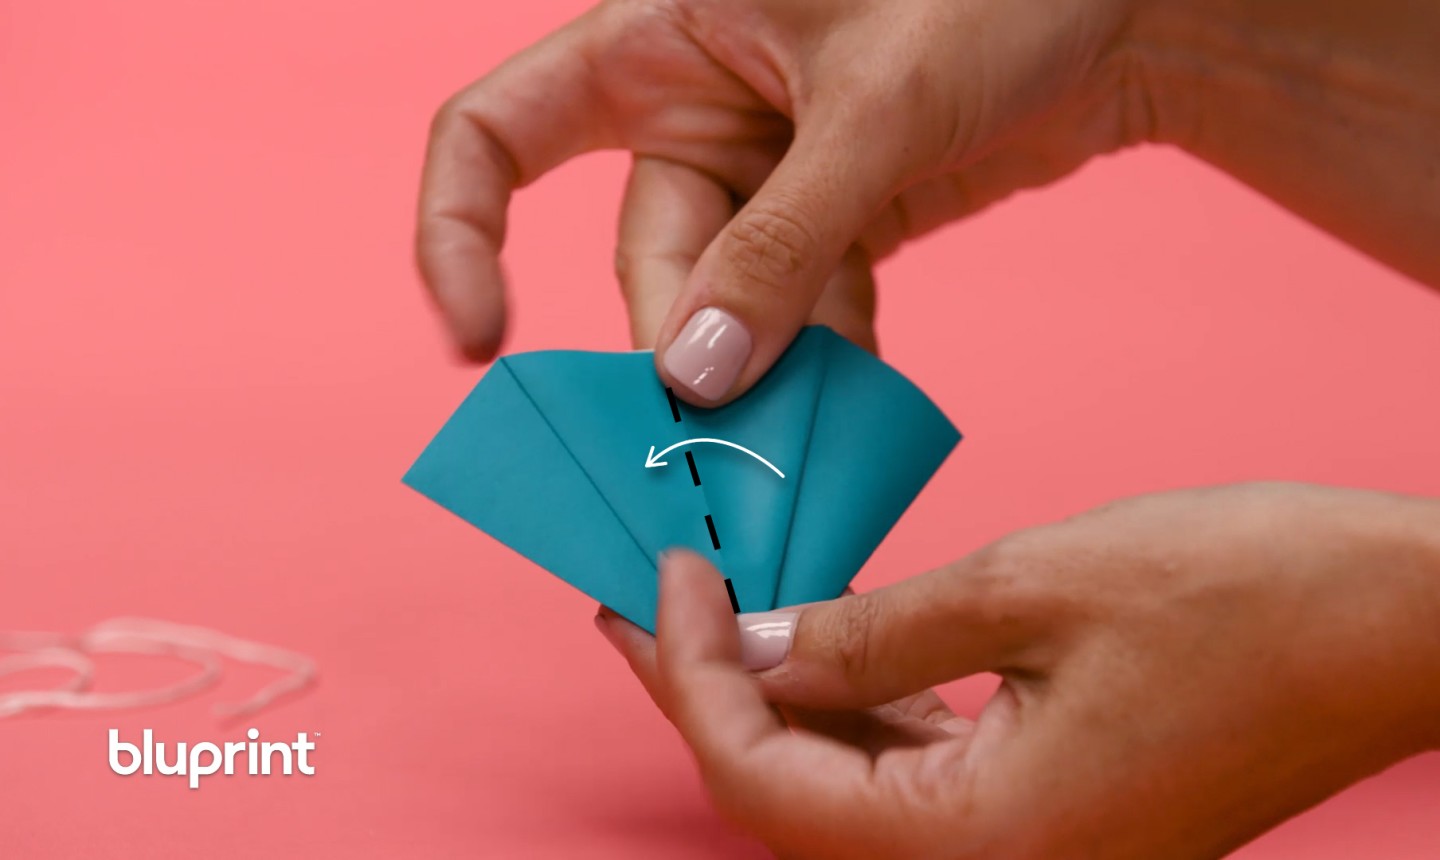
Fold the right flap in toward the center and crease it flat, as shown above.

Then, flip the left side of this flap over to the right and crease.
Repeat this step on the opposite side.
Flip the right flap over to the left at the center.
Flip the whole thing over and repeat all these steps on this new side.
Keep folding!
Once everything is folded, you’ll have a small triangle.
6. Fold the Corners

Fold the top corners of the triangle down.
Then, flip over the right side twice, so you have the small triangle again.
Fold down the corners here as well.
Turn the triangle to the opposite side and fold down these corners.

Just as before, flip the right side over twice and fold down the corners.
7. Open It Up
Unfold the paper completely.
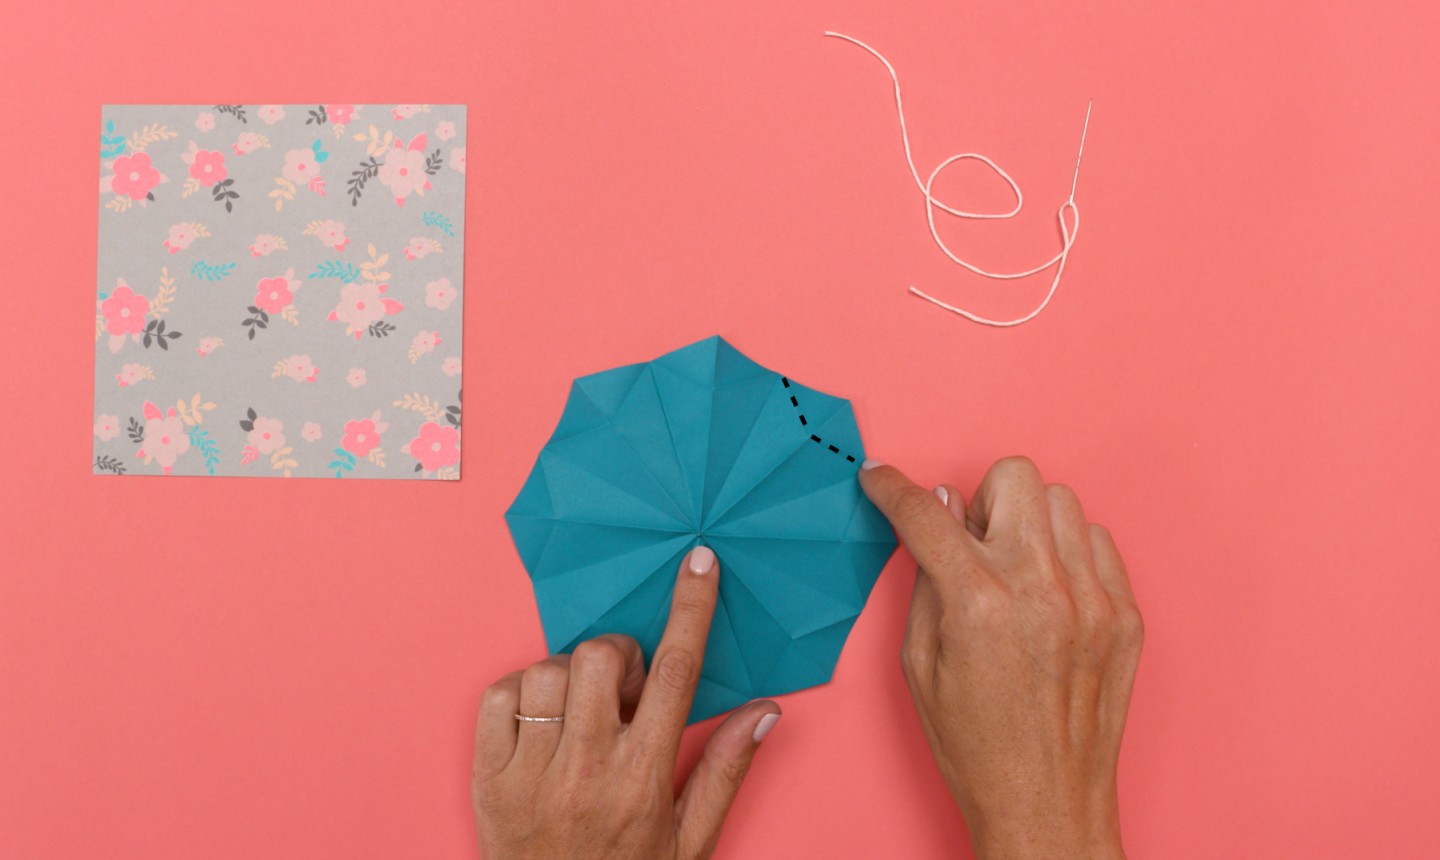
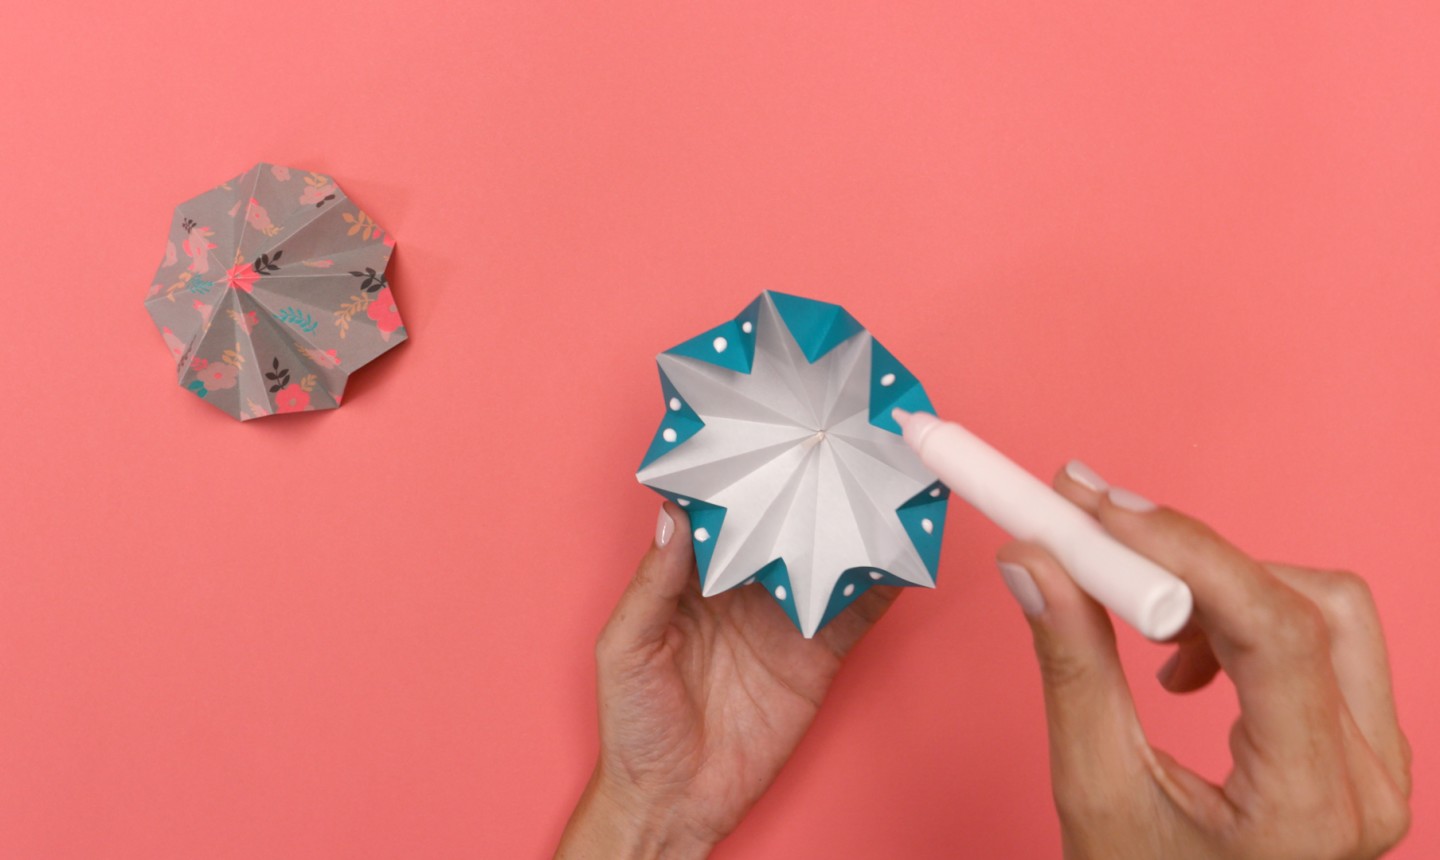
Fold each point down as shown.
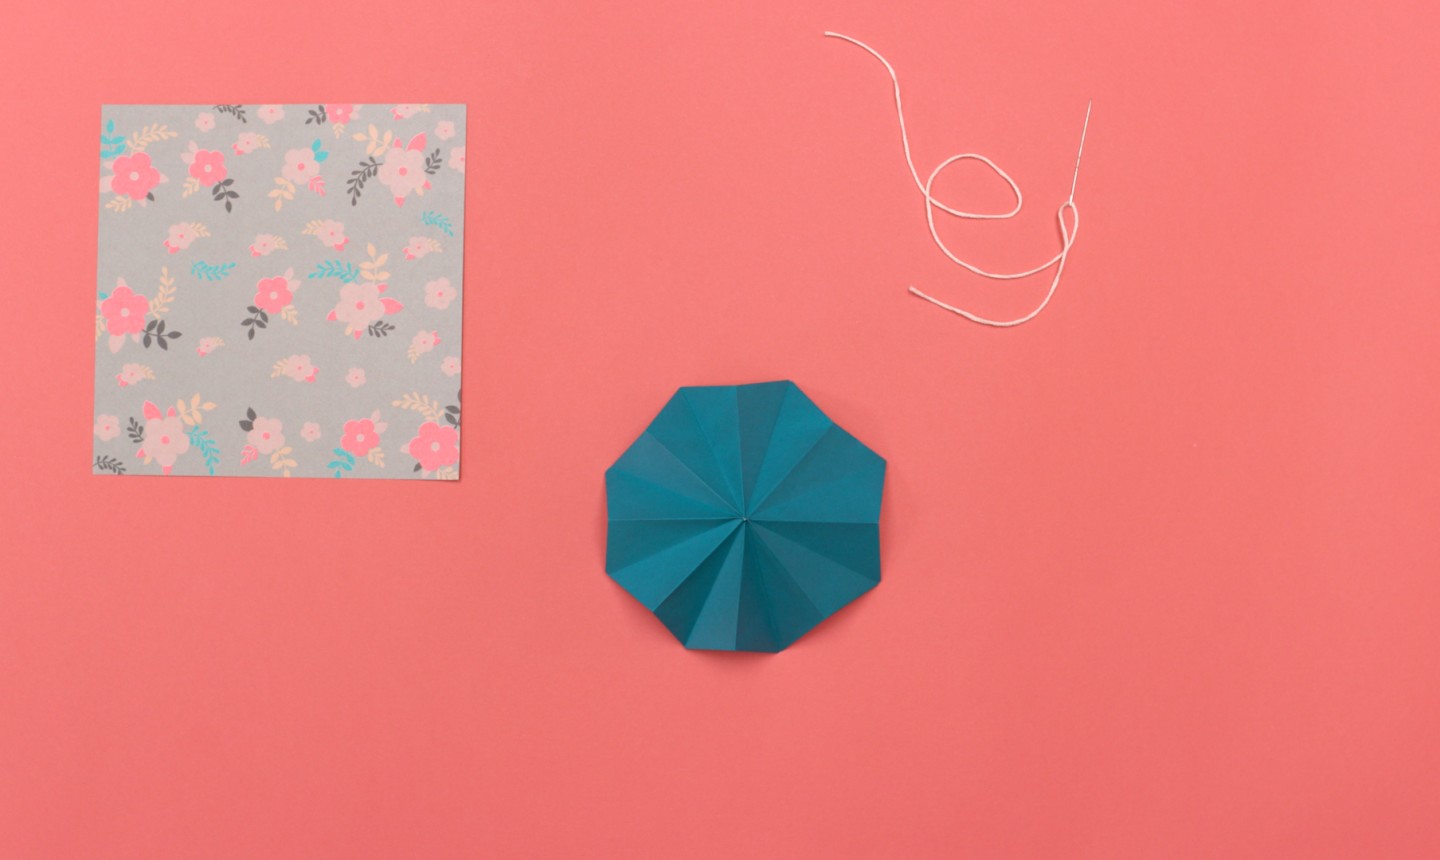
It should now look like this.
8. String It Up
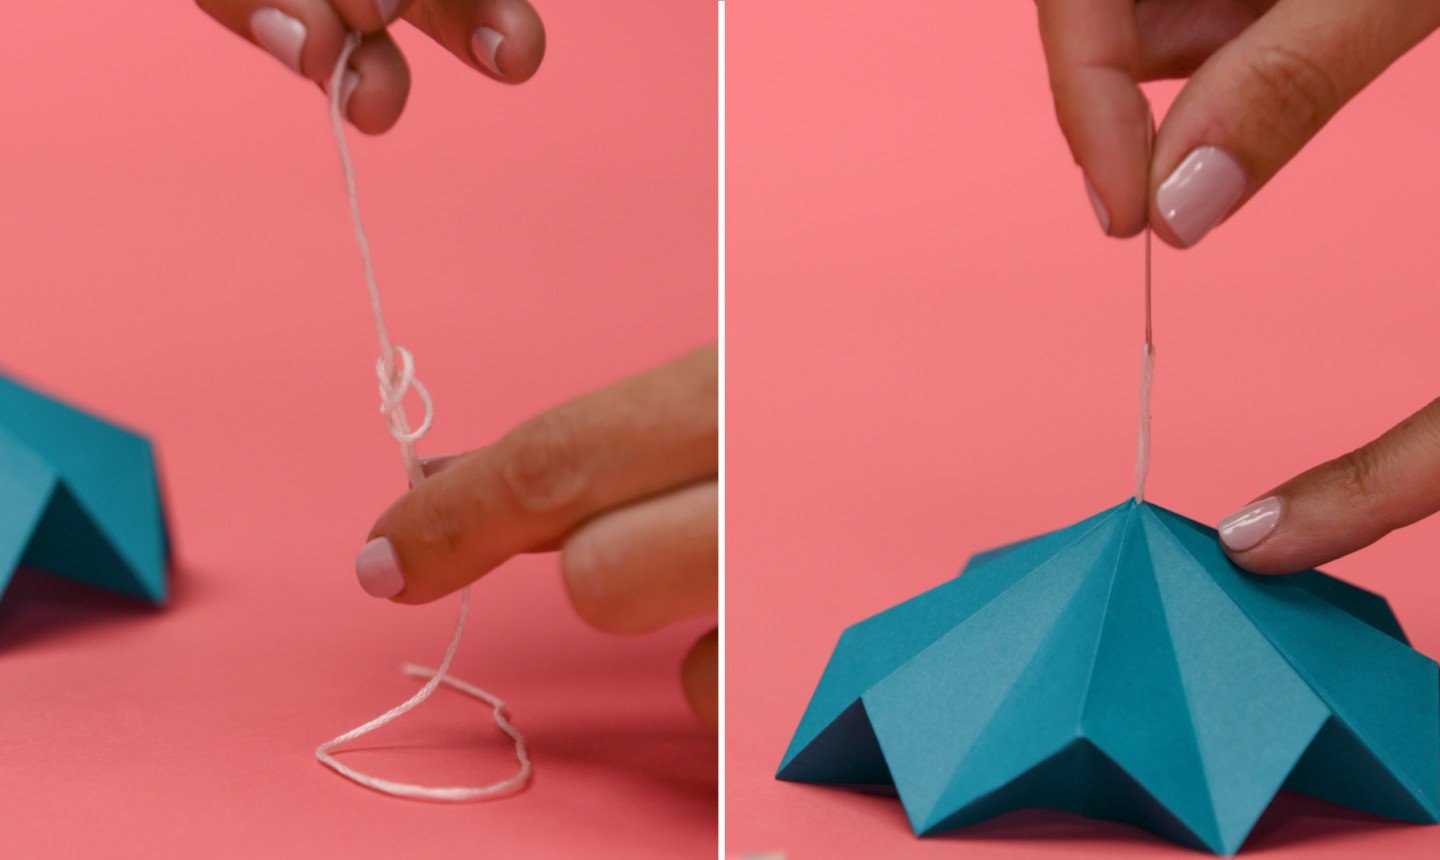
Thread your string, make a knot and poke it through the very center of your origami.
Repeat all of these steps on another piece of paper, add some dots of glue to your folds and stick ’em together.
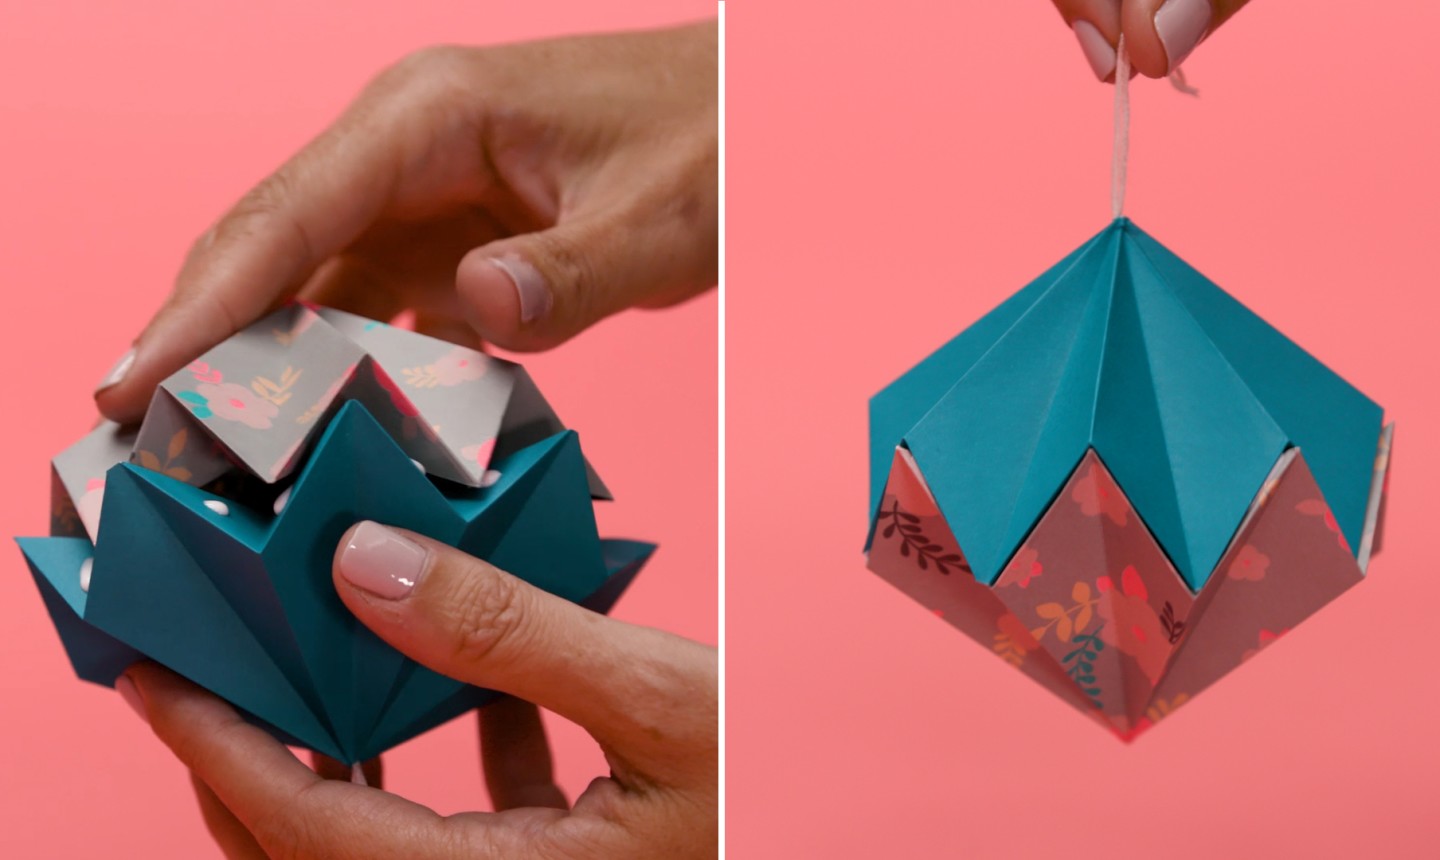
Then hang them on your tree!
Great
The gifs are hard to follow
would like to see more origami
I look forward to trying this.