
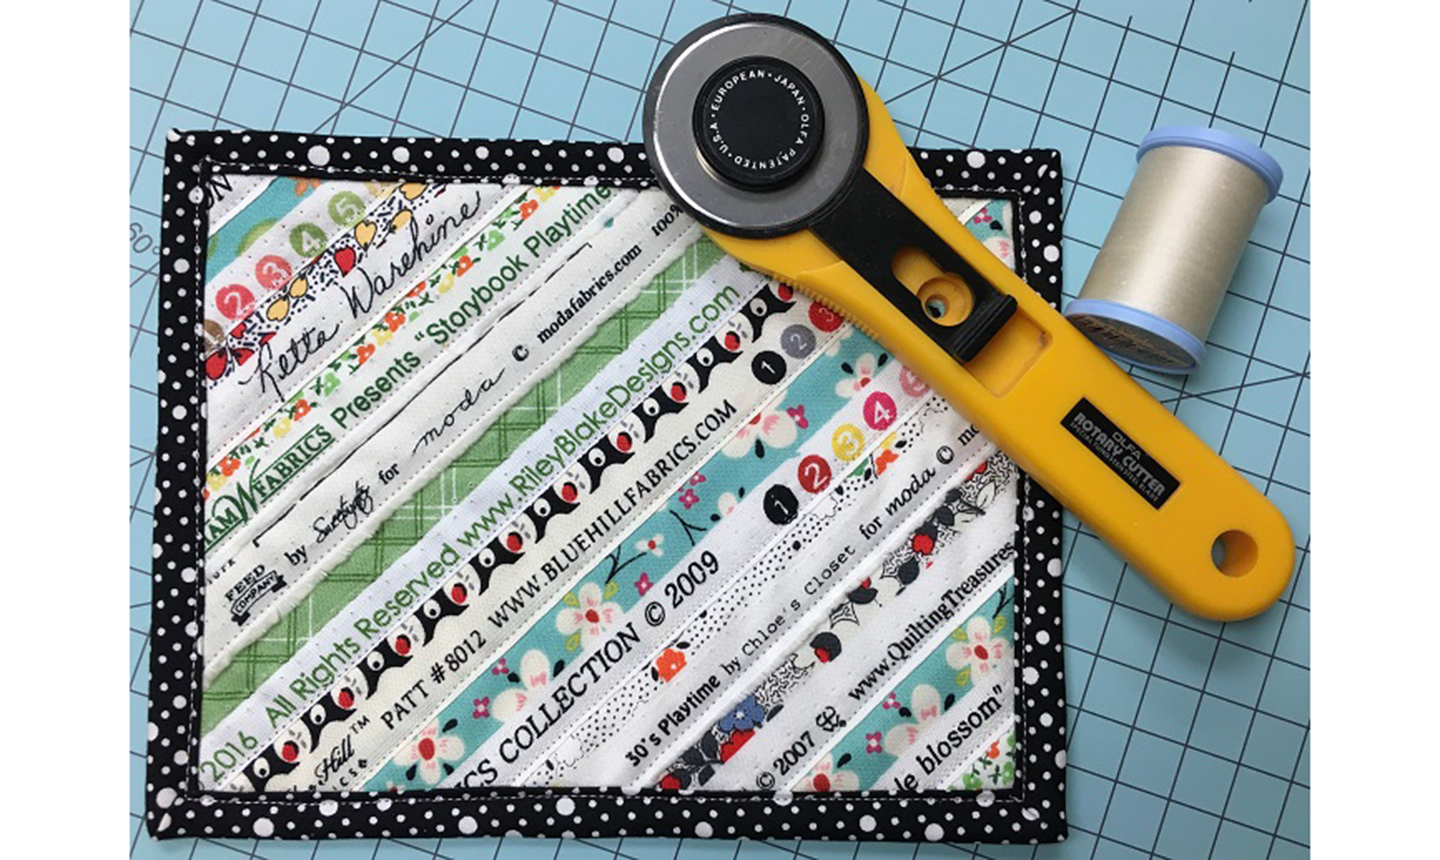
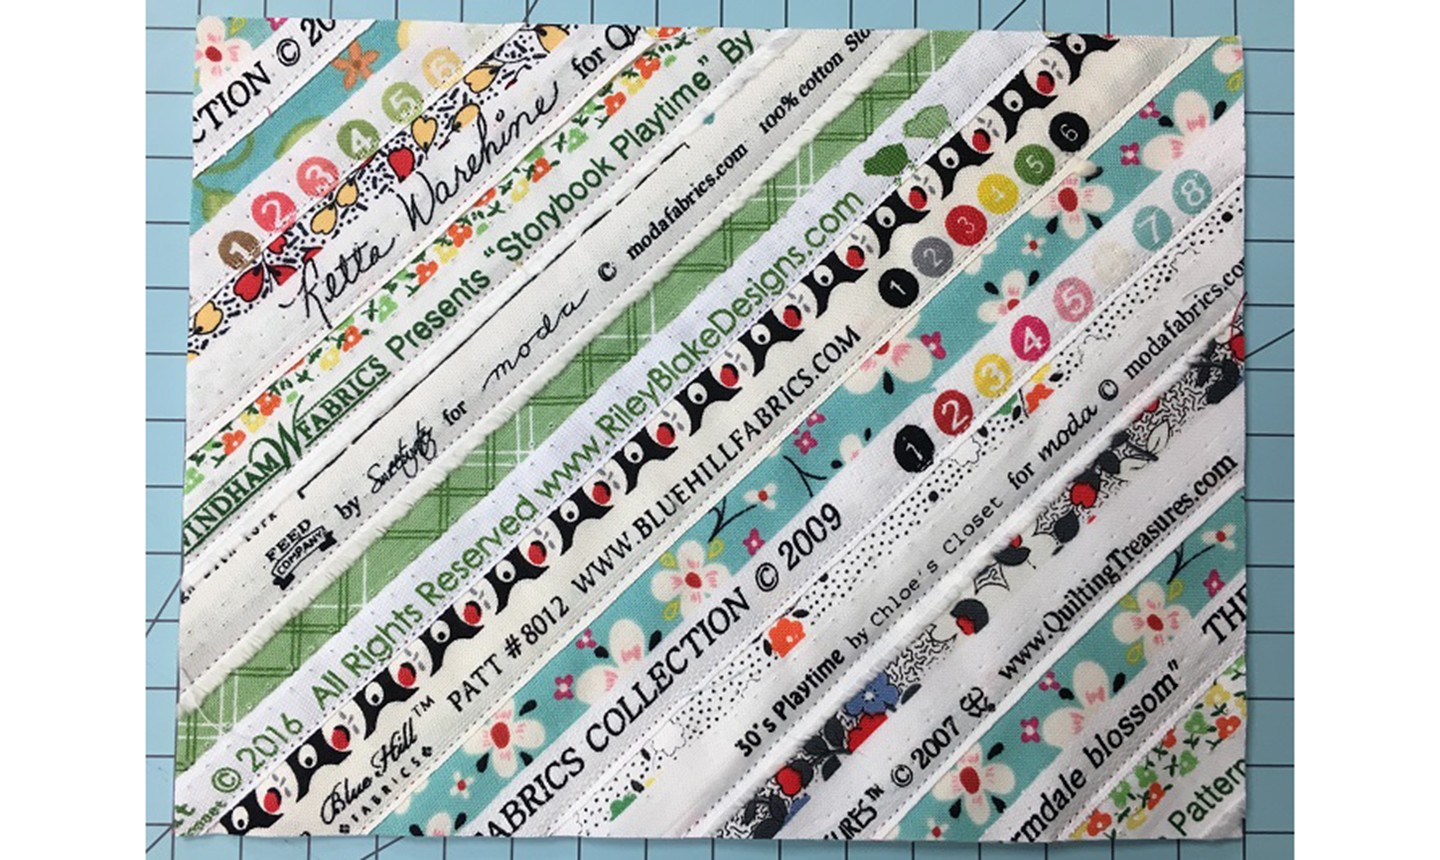
Don’t throw out those selvages! Save ’em from your fabric so you can transform them into a scrappy mug rug that commemorates your crafts.
Selvage Strips Mug Rug
Level: Easy
Finished size: 6½” x 9½”
What You Need
Pro Tip: In addition to the selvage, the 10″ strips should have ¼” to 1½” of the printed fabric included.
Instructions
1. Mark the Angle
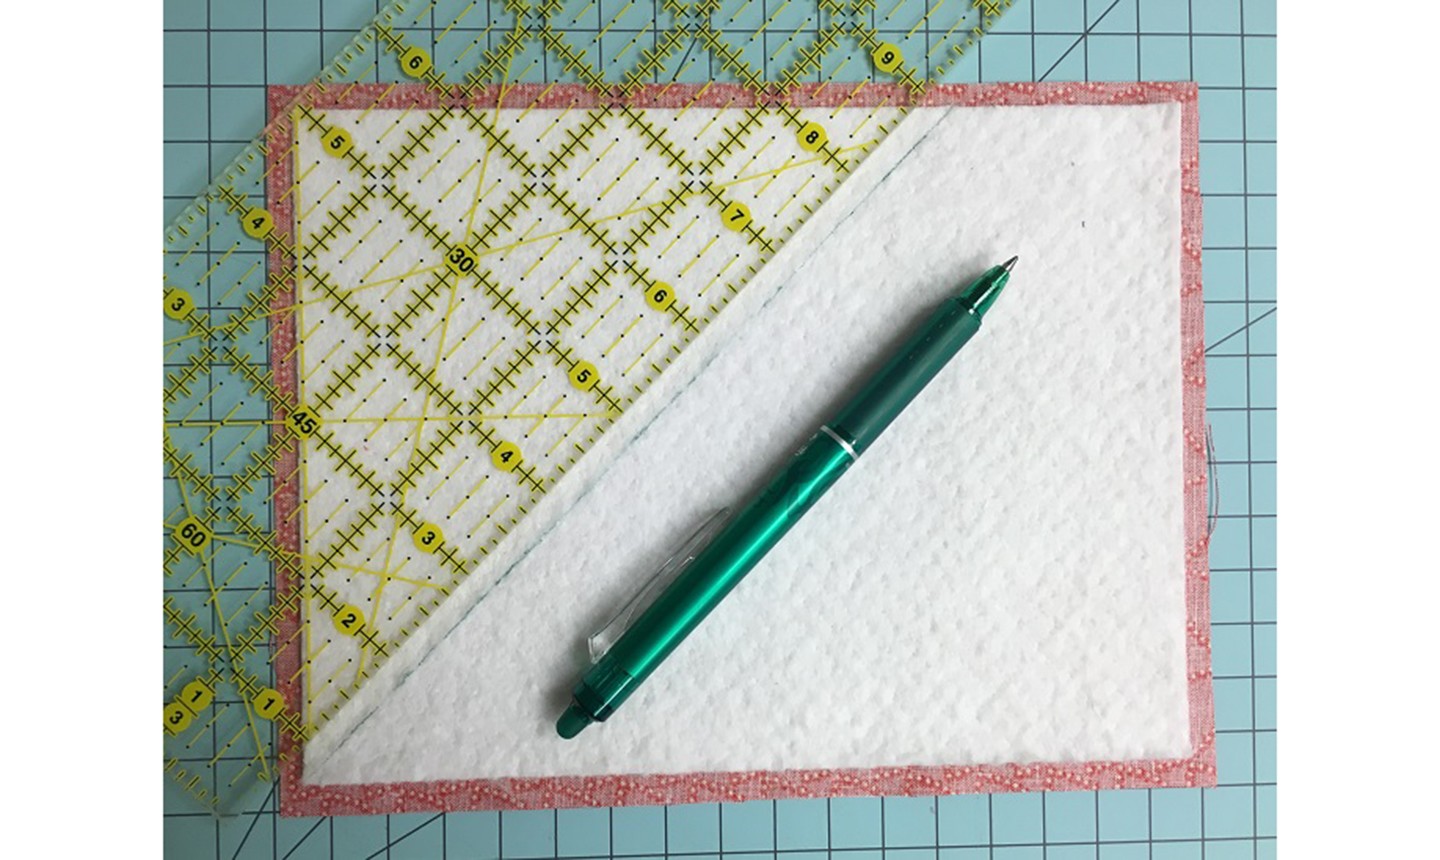
Layer the batting on top of the backing fabric, with the fabric’s wrong side facing up. Using your ruler’s 45-degree marker, draw a line onto the batting, starting in one corner.
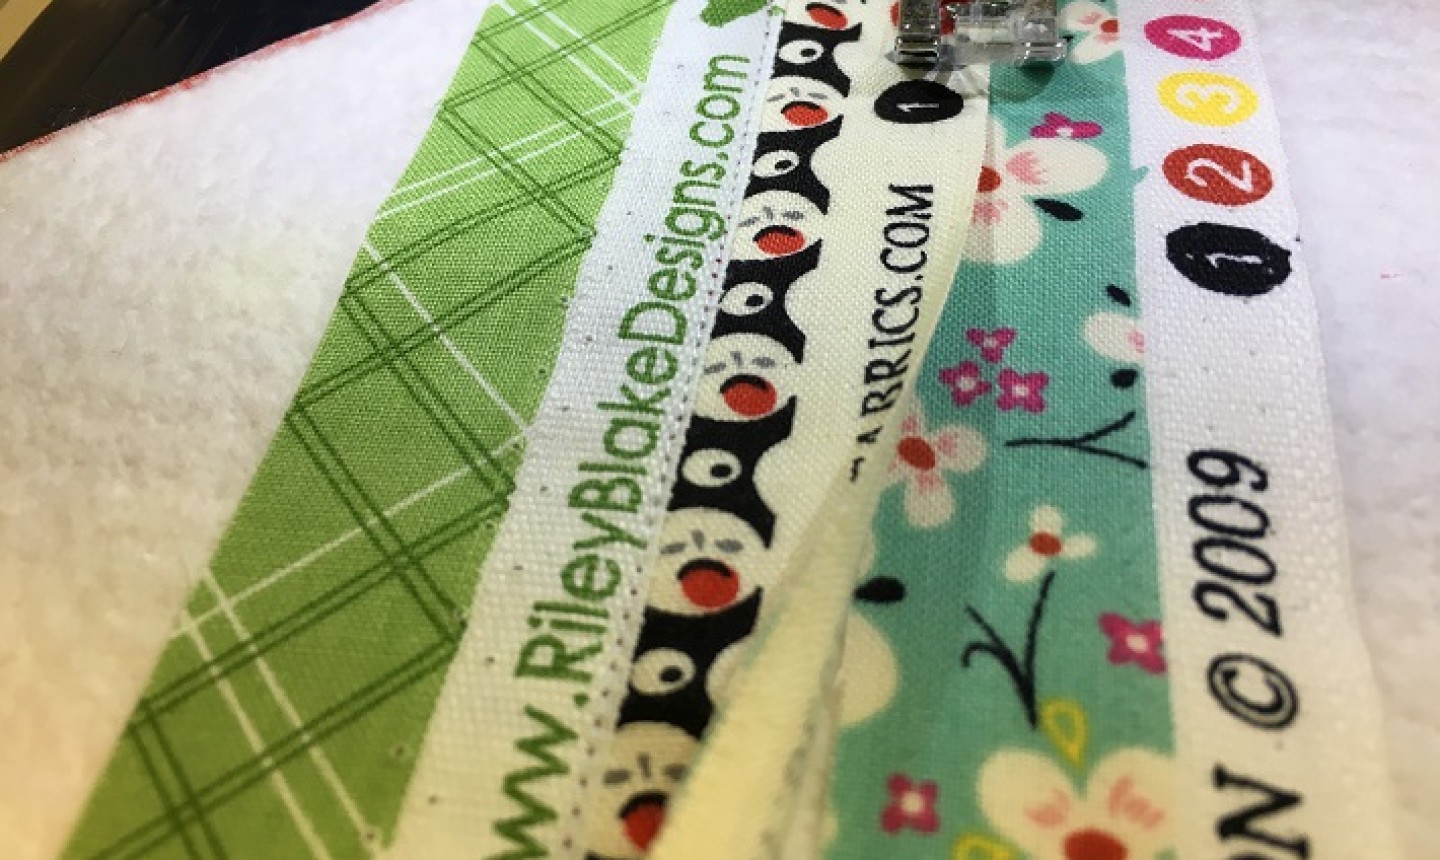
2. Place the Selvage Strips
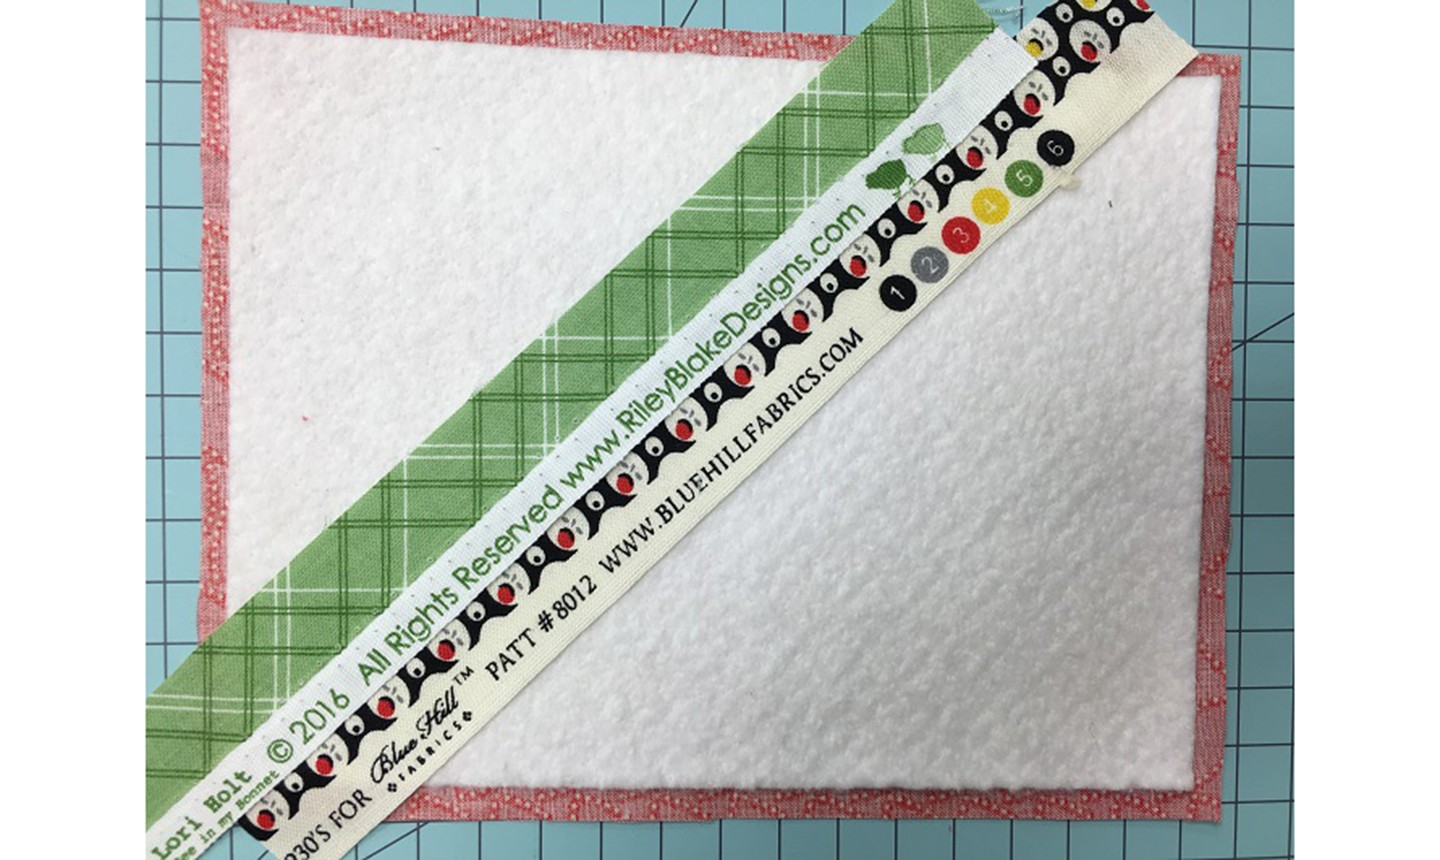
Layer the first selvage strip on the batting with the raw edge aligned with the angle mark. Layer the second selvage on top of the first, overlapping the raw edge by at least ¼”. The raw edge should be tucked underneath the bound edge of the second strip.
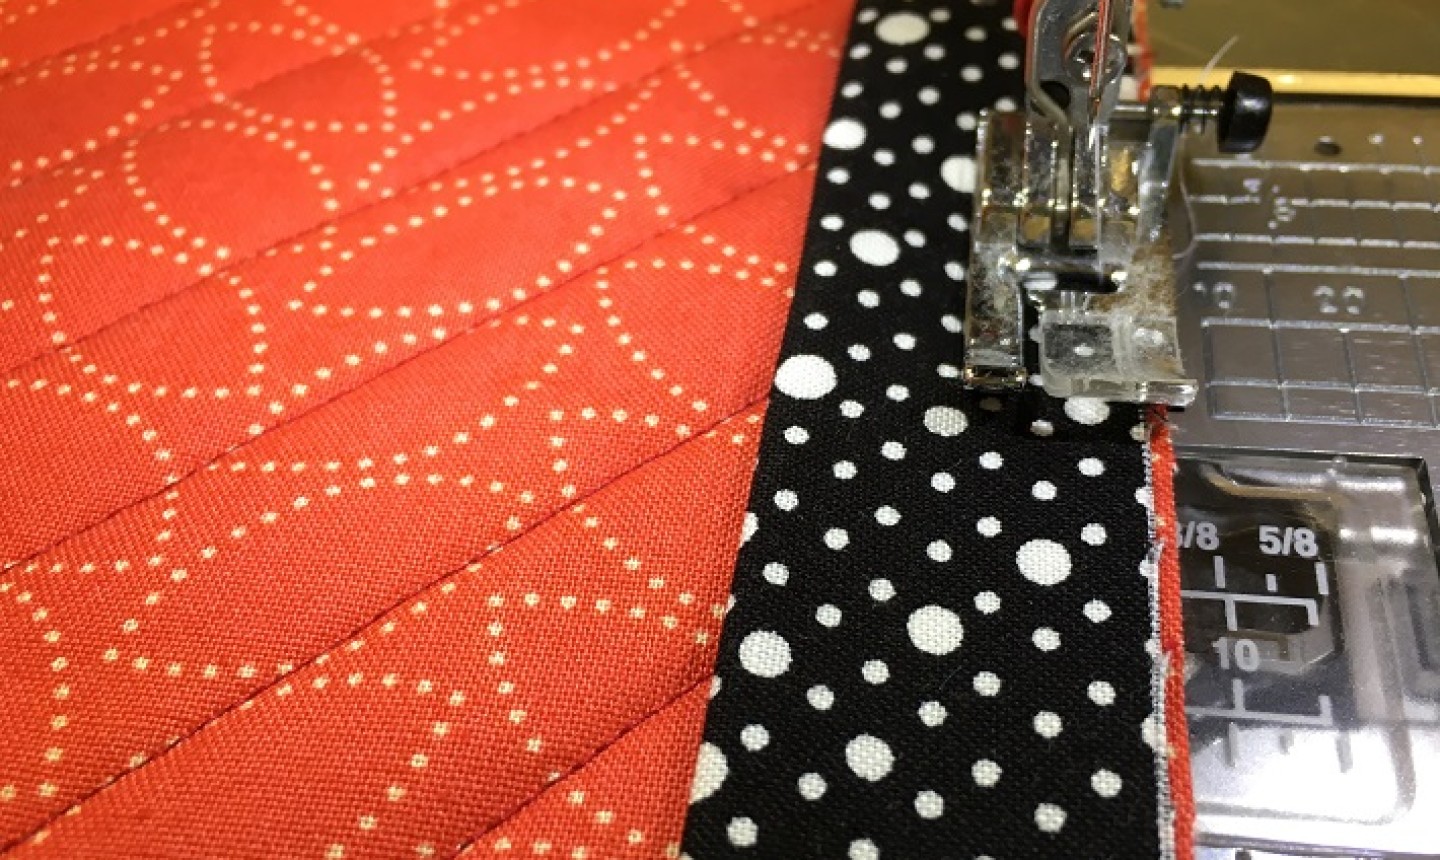
3. Sew
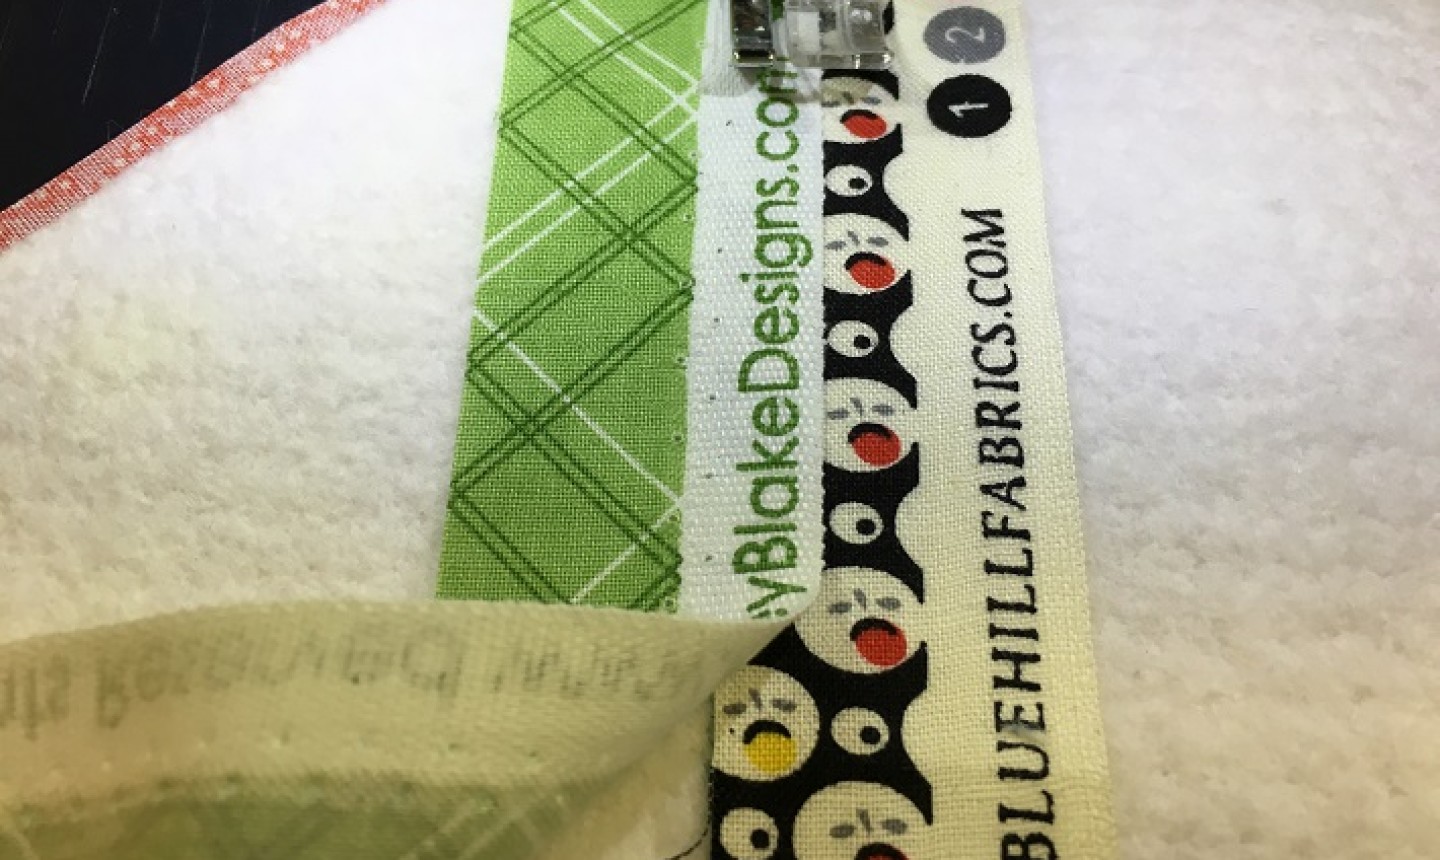
Sew about 1/16″ to ⅛” from the edge the bound edge of the second strip. This line will piece and quilt, all in one step.
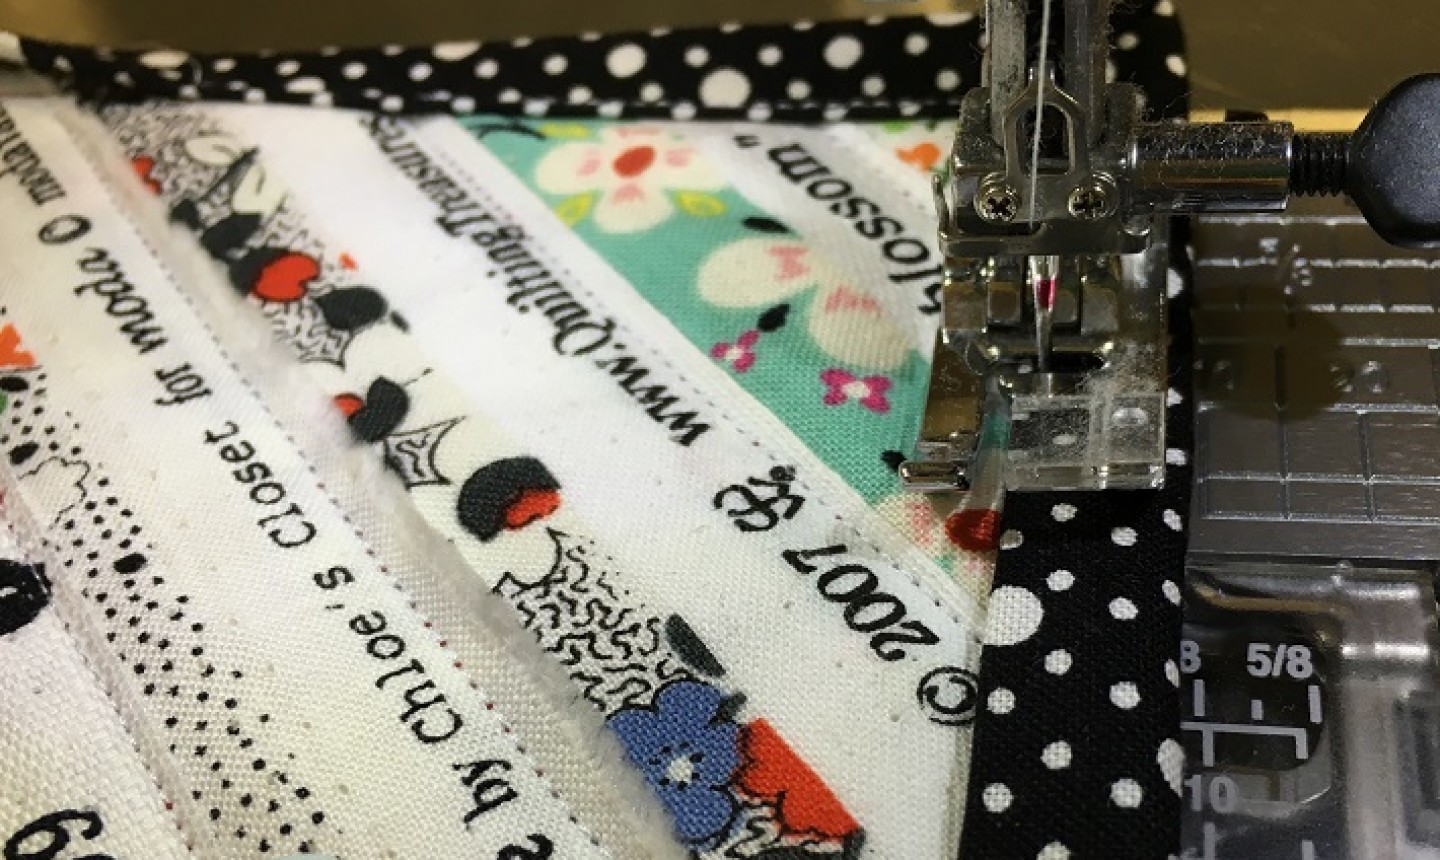
4. Repeat
Continue layering selvages and sewing along the bound edges. Always check to make sure the raw edge is at least ¼” underneath the selvage strip on top.
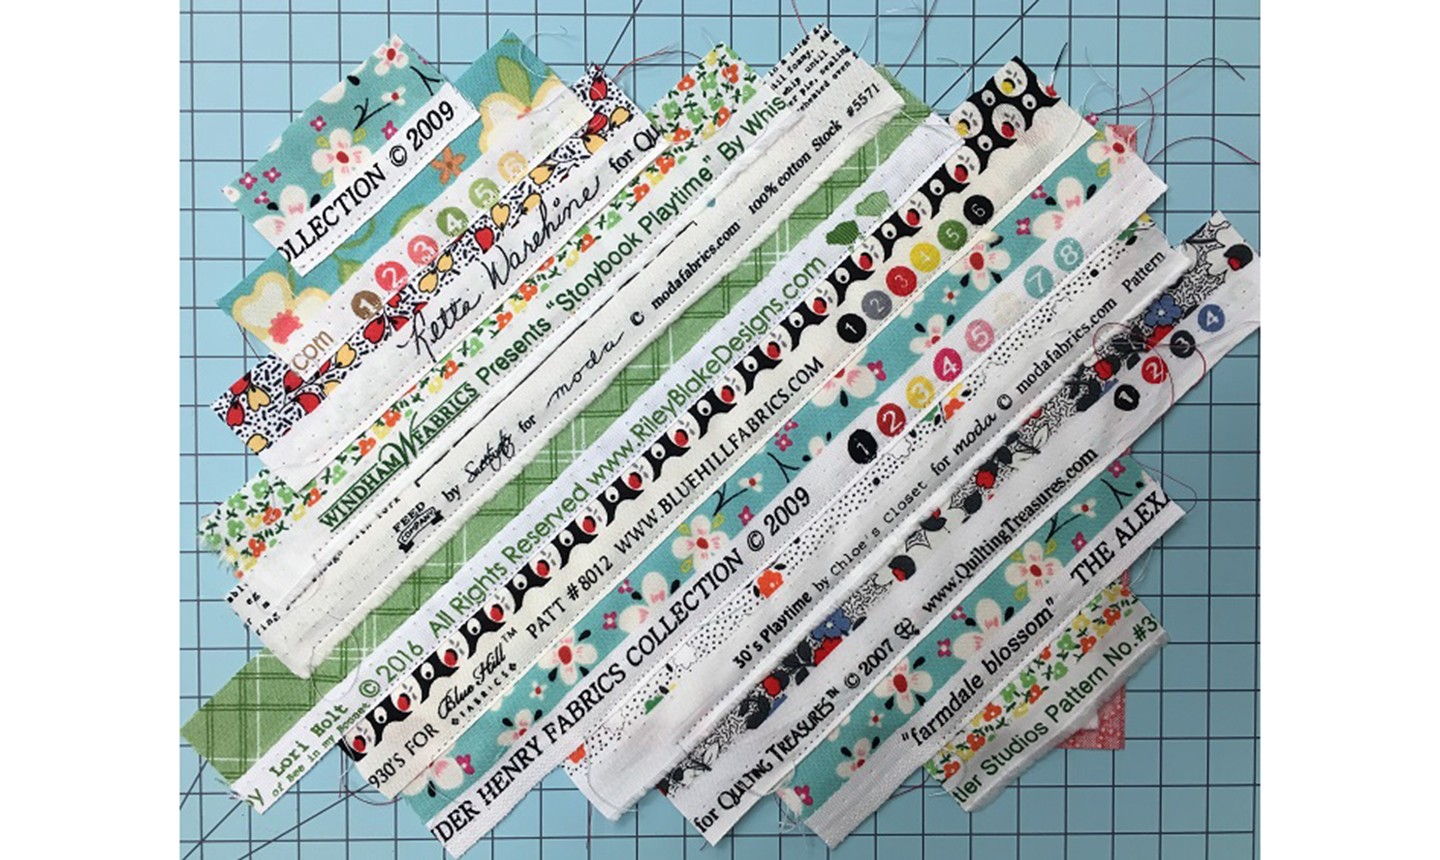
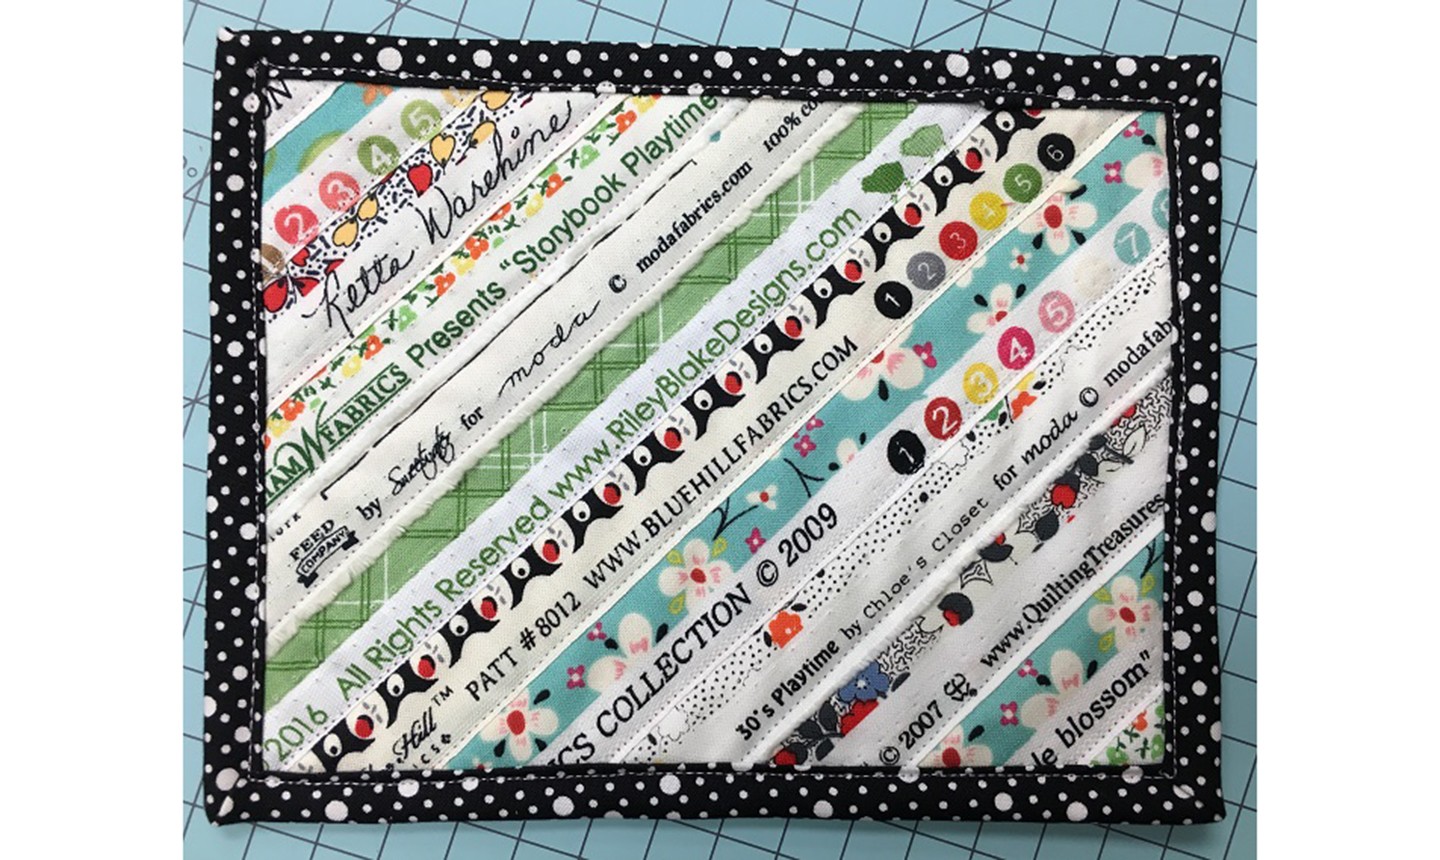
Once all strips are sewn, your mug rug will look like the photo above. It might look messy, but all sewing lines should begin and end at the edges of the backing fabric.
5. Trim the Edges
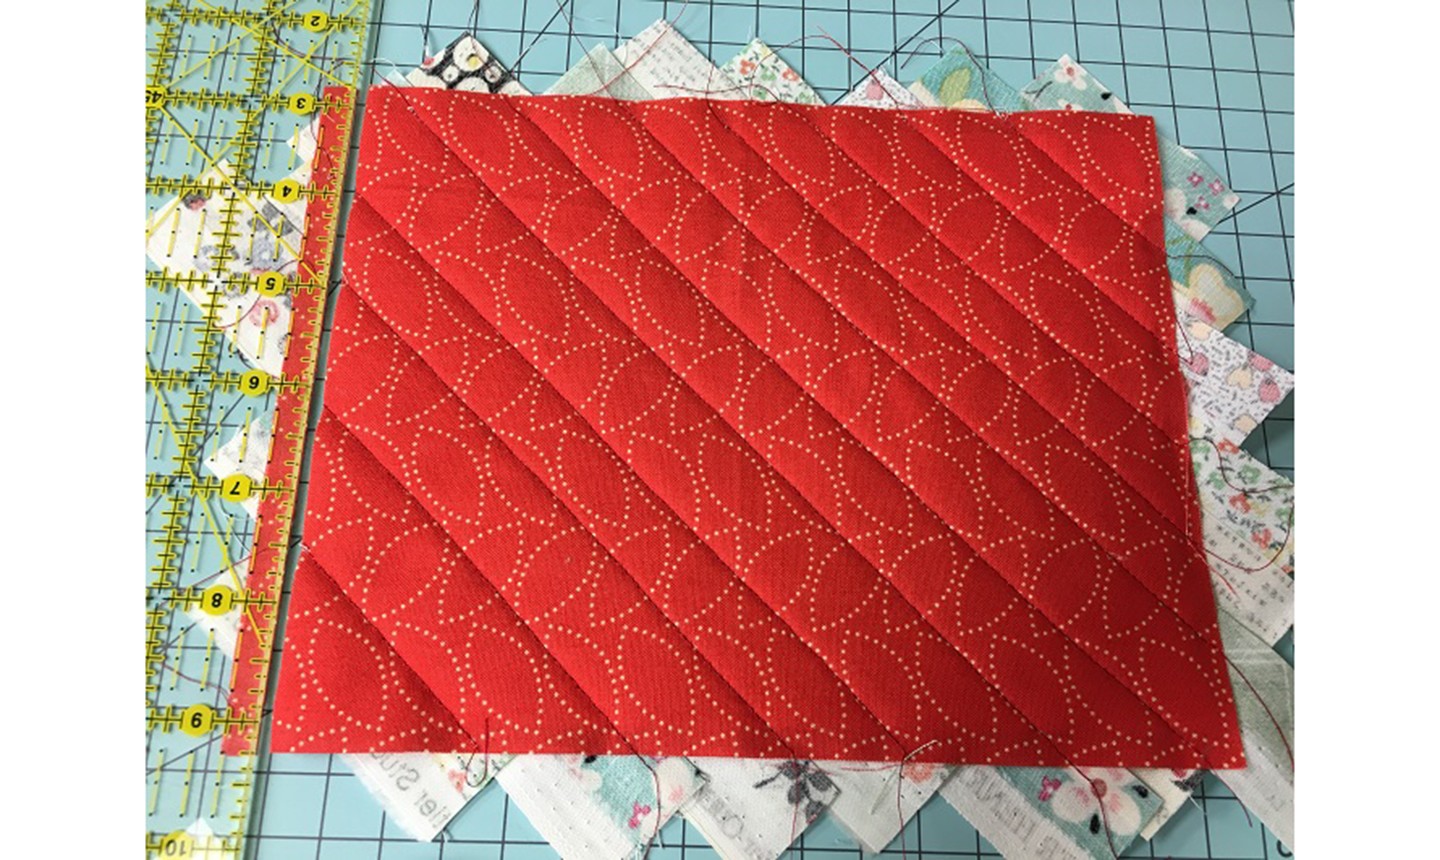
Turn the mug rug over so the backing faces up. Trim the edges ¼” inside the backing fabric on each side.
Now your mug rug is 6″ x 9″, fully quilted and ready for binding.
6. Bind the Mug Rug
Fold the binding strip lengthwise, wrong sides together. Layer the binding along the edge of the backing. Notice the edge of the mug rug will peek out from under the binding strip — this will allow a slightly wider strip on the front for finishing.
Sew the binding strip using a ¼” seam allowance. Stop sewing ¼” before the corner, fold the strip to the right at a 90-degree angle and finger press the crease. Fold the binding down along the next edge, creating a folded flap in the corner. Continue sewing the binding all the way around the mug rug.
7. Topstitch
Once the binding is sewn to the back, fold the strip over to the front. Press it into place and topstitch with a ¼” seam allowance. You can use a straight stitch, zigzag stitch or decorative stitch. This will secure the binding on the front without sewing through the binding on the back.
When you flip the mug rug over to the back, the topstitch seam will be close, but not on top of, the binding.
You’re done! Sewing with selvages has never been more fun — or cute.
great way to use up some scraps
Brilliant! I love that I'm using every bit of cloth!
Made my version with Christmas fabric selvages. So cute! Thank you for the inspiration:)
Can wait to make this. Love the pattern and easy instructions to follow