
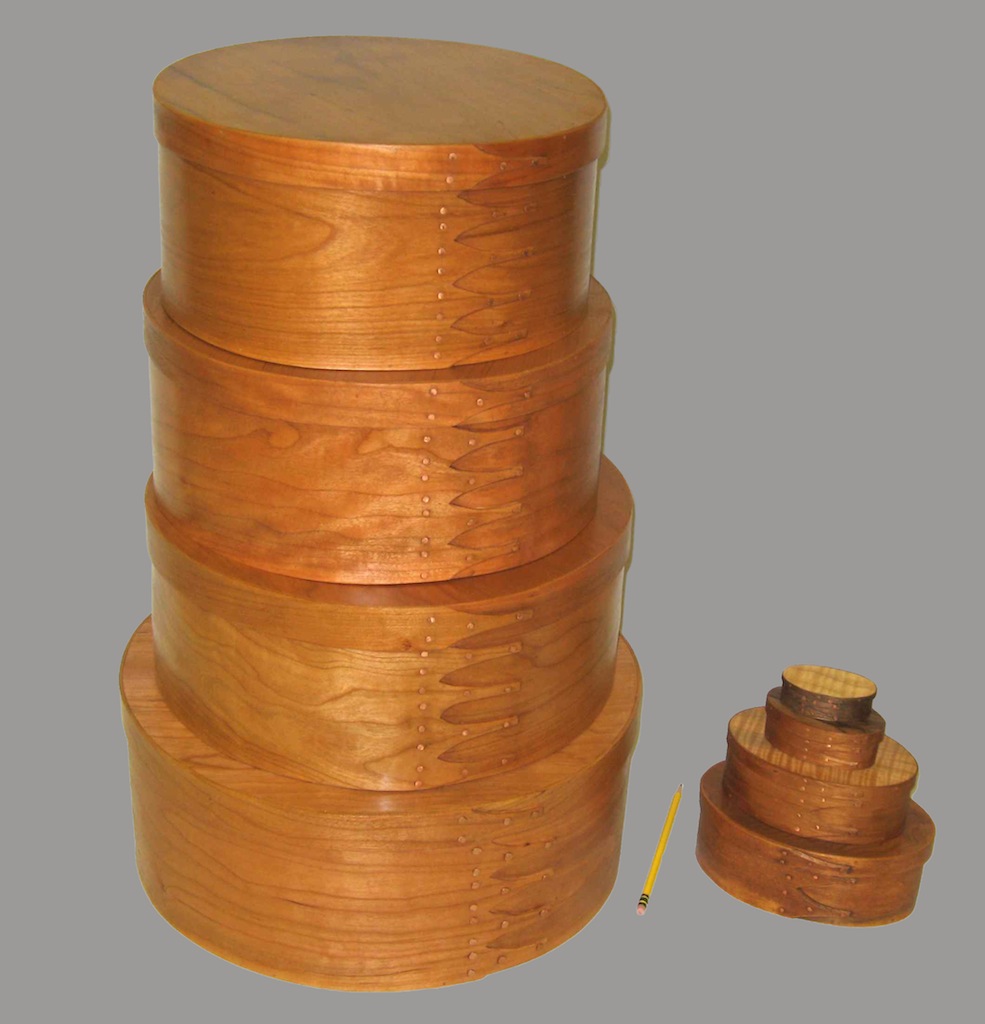
The theory behind making Shaker boxes is easy, but it takes practice to make the graceful lines of a traditional box. Fortunately practicing woodworking is half the fun, so let’s dive in!
Photos via Wooden-Box-Maker.com
Follow along to learn how to make your own Shaker boxes:
You will need:
- Wood for bands
- Container for heating water (long enough to hold bands)
- Solid core forms for wrapping the heated bands
- Top and bottom cores with drilled finger holes
- Templates of swallow tails
- 5/64″ drill bit and drill
- Copper tacks
- Mat knife or coping saw

If you need supplies check out the people at Shaker Oval Boxes. They are knowledgeable and carry everything you need for making Shaker boxes (I’m not affiliated with them, I just like their products).
Prepping and soaking the wood
Start by milling or buying wood for your bands. I like to sand the wood a bit before beginning. You will need to do a final sanding when your box is finished, but it is much easier to get milling marks out while the band is flat.

Once your wood is prepped you need to soak it in hot water for ten to twenty minutes (you can steam the wood if you prefer). You don’t need the water to boil, but you want it to be good and hot. And please, be careful with burners in your shop!
Cut the swallow tails
The wood should be good and flexible when it comes out of the hot water. Now, use the templates to trace the traditional swallow-tail shapes on the end of the band. Then cut along the lines you just drew.
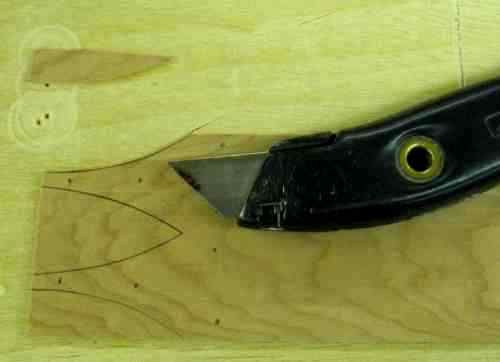
I use a mat knife and hold it at a very slight angle to chamfer the edge of the swallow tail. It works best if you can make the entire cut in once graceful swoop.
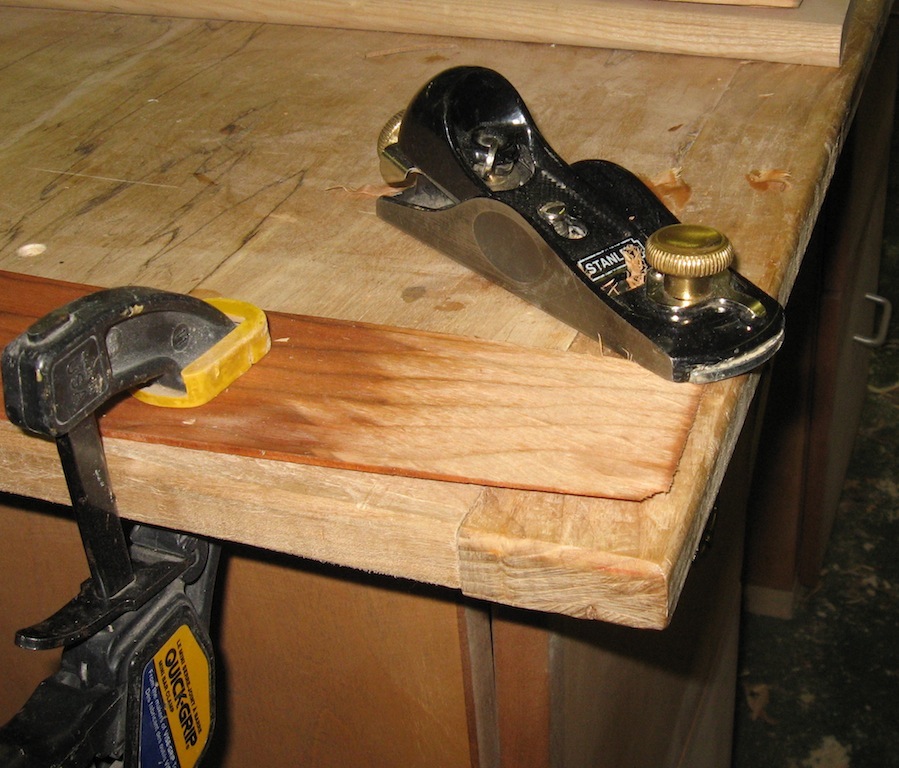
You should use a fresh blade in your knife and watch that the knife doesn’t catch the grain and take you off your line. Now is also a good time to plane a taper on the end of the band where it will overlap. This allows your band to lay flat at the overlap.
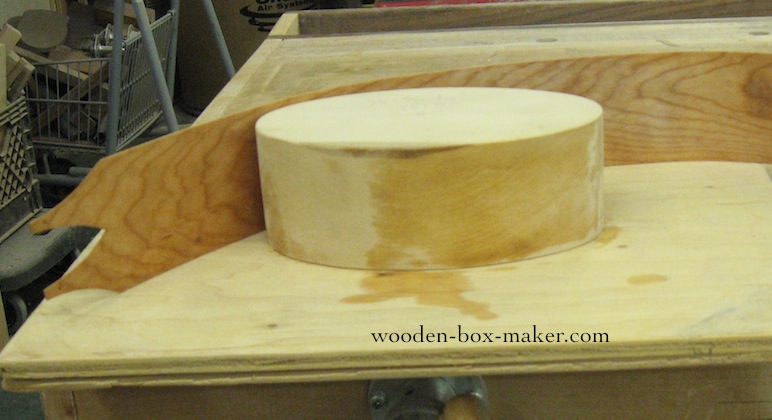
Bend the bands
Once the tails are nicely shaped, I briefly return the band to the hot water to reheat a bit. Then carefully wrap the band around the core form. Watch that the swallowtails don’t split as you do this.
Use your whole hand to smooth the hot band around the form. Once it’s snug around the core, hold it in place and mark where the band overlaps. Then remove the band from the form and reshape it by hand so that your pencil mark lines up.
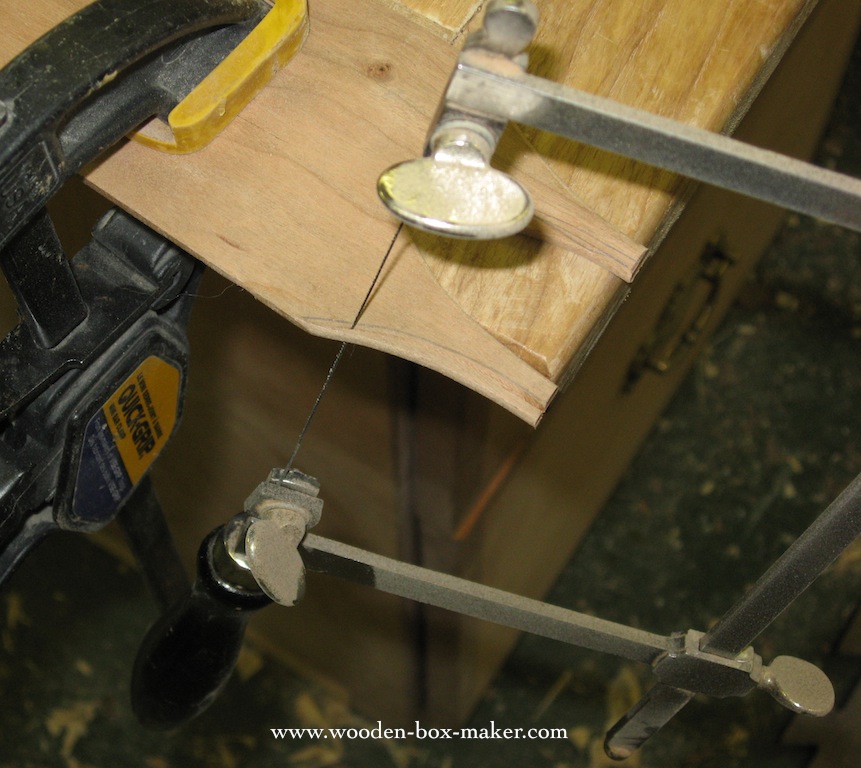
Tack in place
Keep a tight hold on your band so you retain its shape. Carefully drill a hole for each tack through the swallowtail and the overlapping band behind. Then, using a hard surface, cinch the tacks in place by bending over the point on the inside of the band.

Let it dry
Once your tacks are in place, put the top and bottom forms in the band. These will keep the box in shape as it dries. Now, take the top band out of the hot water and repeat the process, except instead of wrapping the top band around the form, wrap it around the band that you just finished.

Now leave everything to dry overnight, then check back for part two of this blog!
[box type=”shadow”]
[one_half_last]
Build a Shaker nightstand that showcases your craftsmanship and learn to create a versatile, practical and beautiful table in Bluprint’s The Shaker Nightstand class.
[/one_half_last]
[/box]
Share tips, start a discussion or ask one of our experts or other students a question.
No Responses to “Making Shaker Boxes: Bending the Wood”