
Stanislav Samoylik/Shutterstock / Stanislav Samoylik
Stitch in the ditch may sound like an extracurricular activity at Hogwarts, but it’s actually a quilting technique that many patchwork pros love. Why? You’re about to find out.
What Is Stitch in the Ditch?
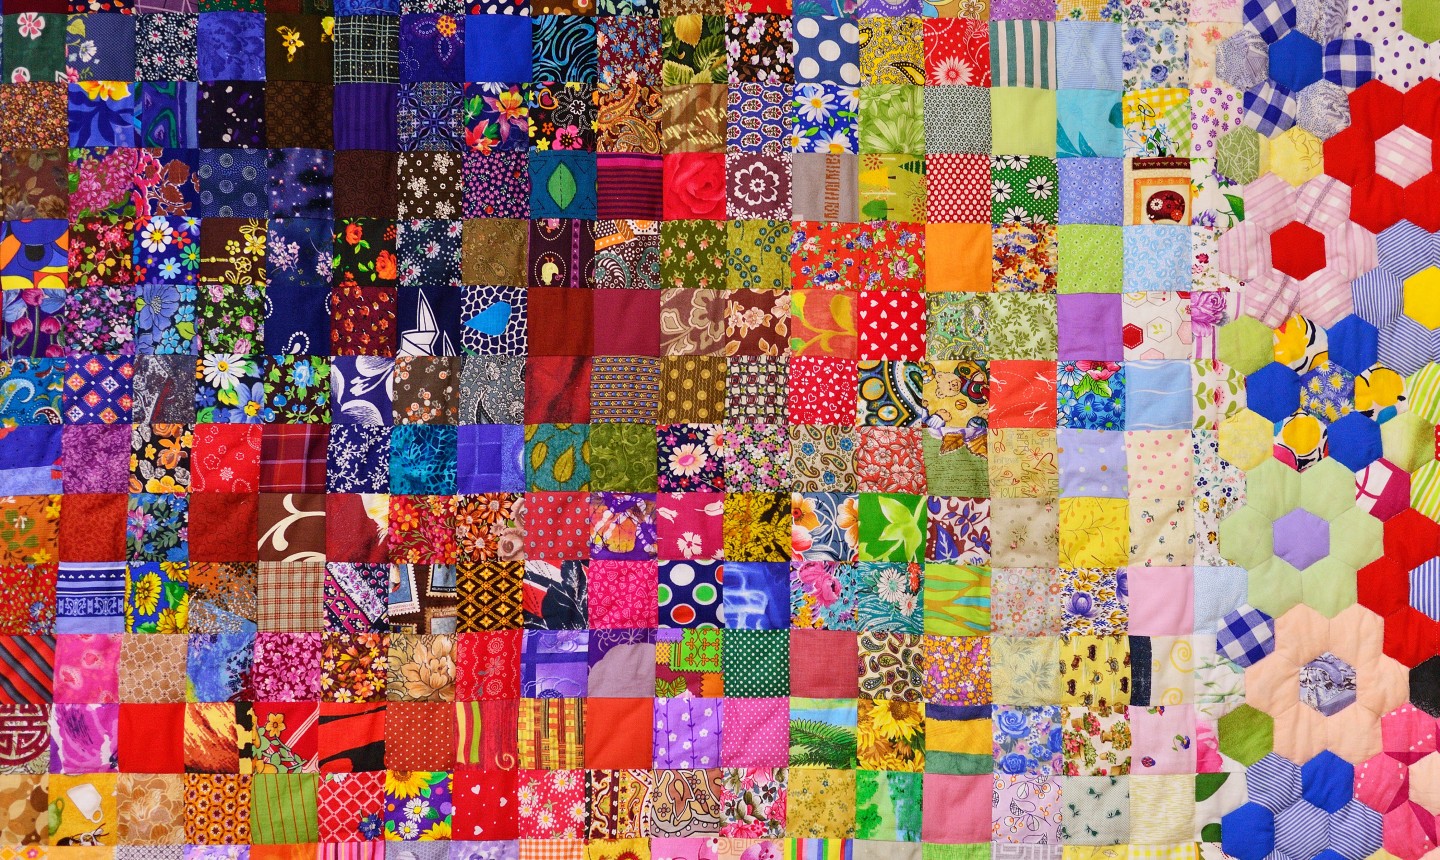
Stitch in the ditch means that you quilt by following along the patchwork seam lines. So, say you’re doing a patchwork quilt top that’s made of square blocks. To stitch in the ditch, you’d stitch along the seams that join those square blocks — aka the ditch — which creates a square quilting grid. If the blocks themselves are pieced, you would also quilt along those internal seam lines.
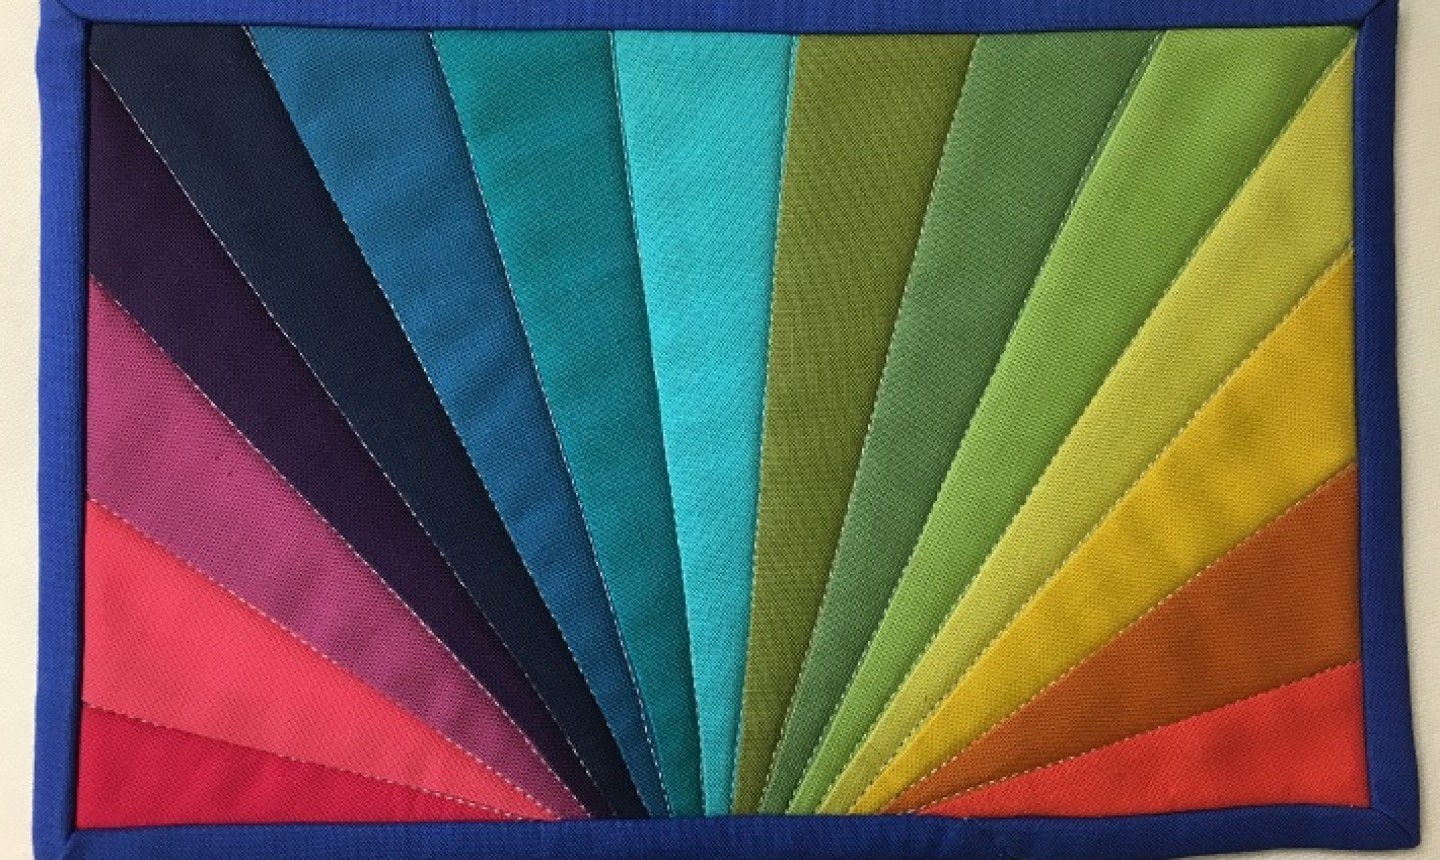
This mug rug, for example, uses stitch in the ditch. The quilting lines separating each color have all been stitched along the seam.
So, Why Should I Do It?
Oh, let us count the reasons.
1. It’s quite easy, especially for beginners. You already have seam lines, so that gives you a clear — and usually straight — path to follow. This means you don’t have to mark lines before quilting, so you’re even saving yourself a step (and time).
2. It gives you an automatic design choice. Many quilters struggle to choose a quilting design for their patchwork. Stitch in the ditch delivers a ready-made plan that’s automatically scaled for your project.
3. It adds durability. If you’re making a tiny patchwork quilt, you want to make sure the stitching on your pieces holds up to wear and tear. Think of stitch in the ditch like an extra safety feature — nothing is coming apart!
4. It gives your piecing visual oomph. By following the patchwork designs, you’re enhancing and emphasizing the lines and angles of your blocks, making them that much more interesting visually. It’s also great for when you don’t want your thread color or stitch lines to compete with your patchwork piecing, or when you’ve chosen bold, showy prints that you want to shine!
Wait, Where Do I Stitch?
Good question, because there are actually two schools of thought here. First, you could stitch literally right in the ditch that’s created by your patchwork seam — the needle should pass between the patchwork pieces. When you quilt this way, it makes the lines nearly invisible from the right side of your material. (And yes, the quilting will still compress the batting, creating that quilty, three-dimensional texture.)
Just note that this style of stitch in the ditch won’t work for seams that have been pressed open. Only when your seams have been pressed to the side can you stitch in the literal ditch and still secure the quilt top to the batting and backing.
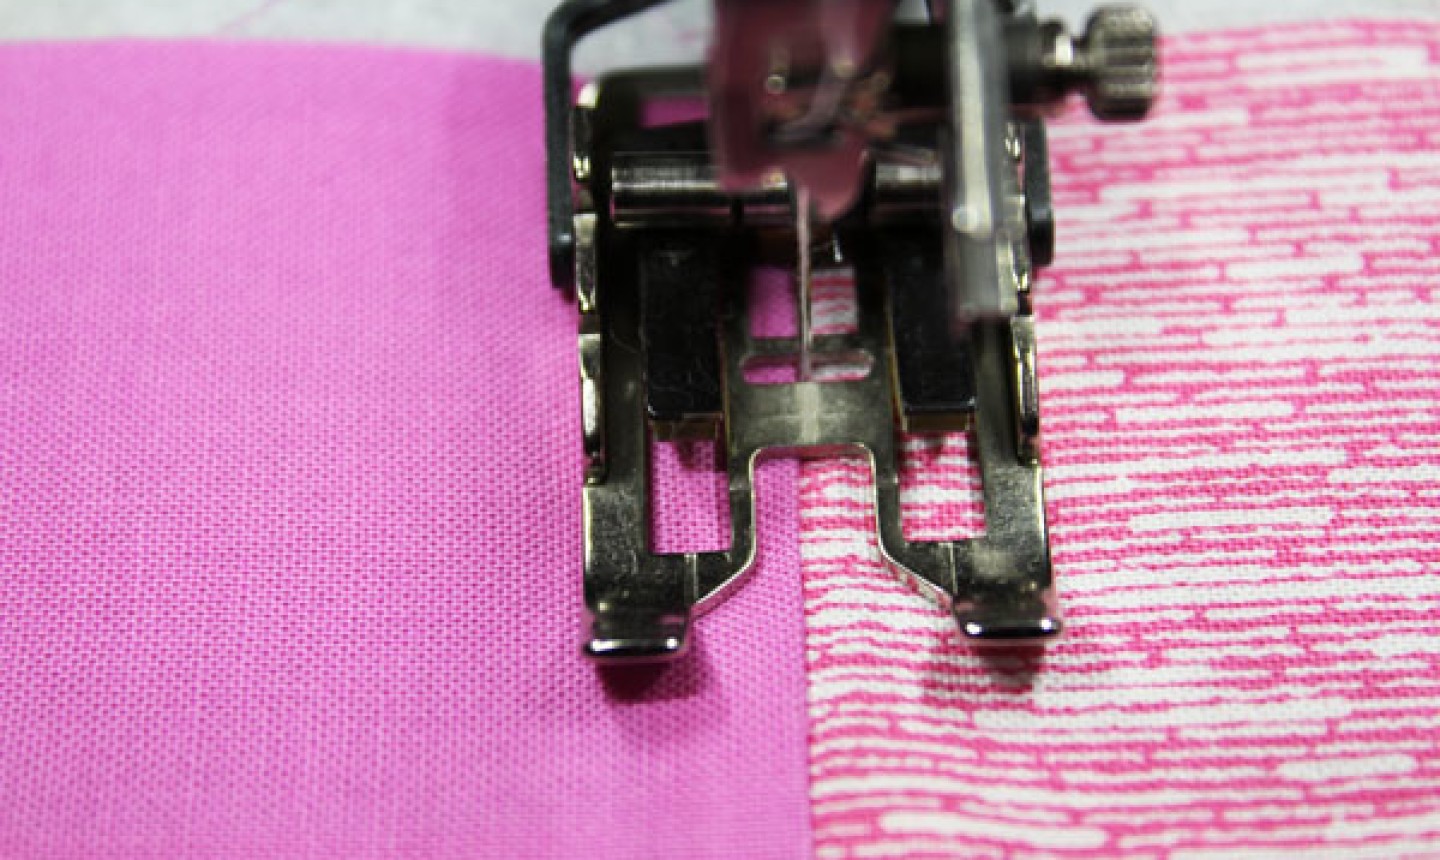
Which brings us to our next option — outline quilting. If you prefer pressed-open seams or visible quilting lines, you want to use this method. All you have to do is aim your quilting needle just to the side of your patchwork seam. (And once you’ve chosen a side, stick with it so you get a consistently straight line.)
Tips to Perfect Your Stitch in the Ditch
Do Your Prep Work
Once you have your quilt sandwich basted and ready to go, attach your walking foot — it’s essential for a successful stitch in the ditch. Then, choose a thread color that will blend with the quilt top. Pro tip: Many quilters like to change colors as they go through different parts of the work, as it keeps the effect subtle.
Quilt the Row Seams
With the prep work handled, it’s time to quilt the long seams between blocks. Sew all of your horizontal row seams first, then the vertical row seams. (To make the seam line easier to track, you can spread the fabric apart as you sew.) Oh, and whenever possible, start and stop at the edge of the quilt as if you were sewing row seams — it’ll give your quilt added durability. (Just remember to stop and change quilting directions with the needle down, so your work doesn’t move around and mess up your stitches.)
Quilt Within the Blocks
Next, study your patchwork to find as many continuous paths as possible, then start filling in the blocks with interior stitch in the ditch quilting as needed. You’ll want to start quilting in the center of the quilt, rather than at the edge. For a secure mid-quilt start, be sure to either bring up the bobbin thread and tie it off, or use micro stitches (tiny stitches — about 25-30 in an inch — that take the place of an actual knot.)
Relax!
Remember, there is no such thing as the quilting police, and having seams that aren’t ruler-straight or perfectly connected is seriously NBD. Just keep quilting in smooth movements until you have bridged any gaps. Chances are, once the quilt is finished the inconsistencies won’t even be noticeable.
You're right, inconsistencies aren't too noticeable, which is good because ruler straight seams are rare in my house. Thanks for the great tips!