
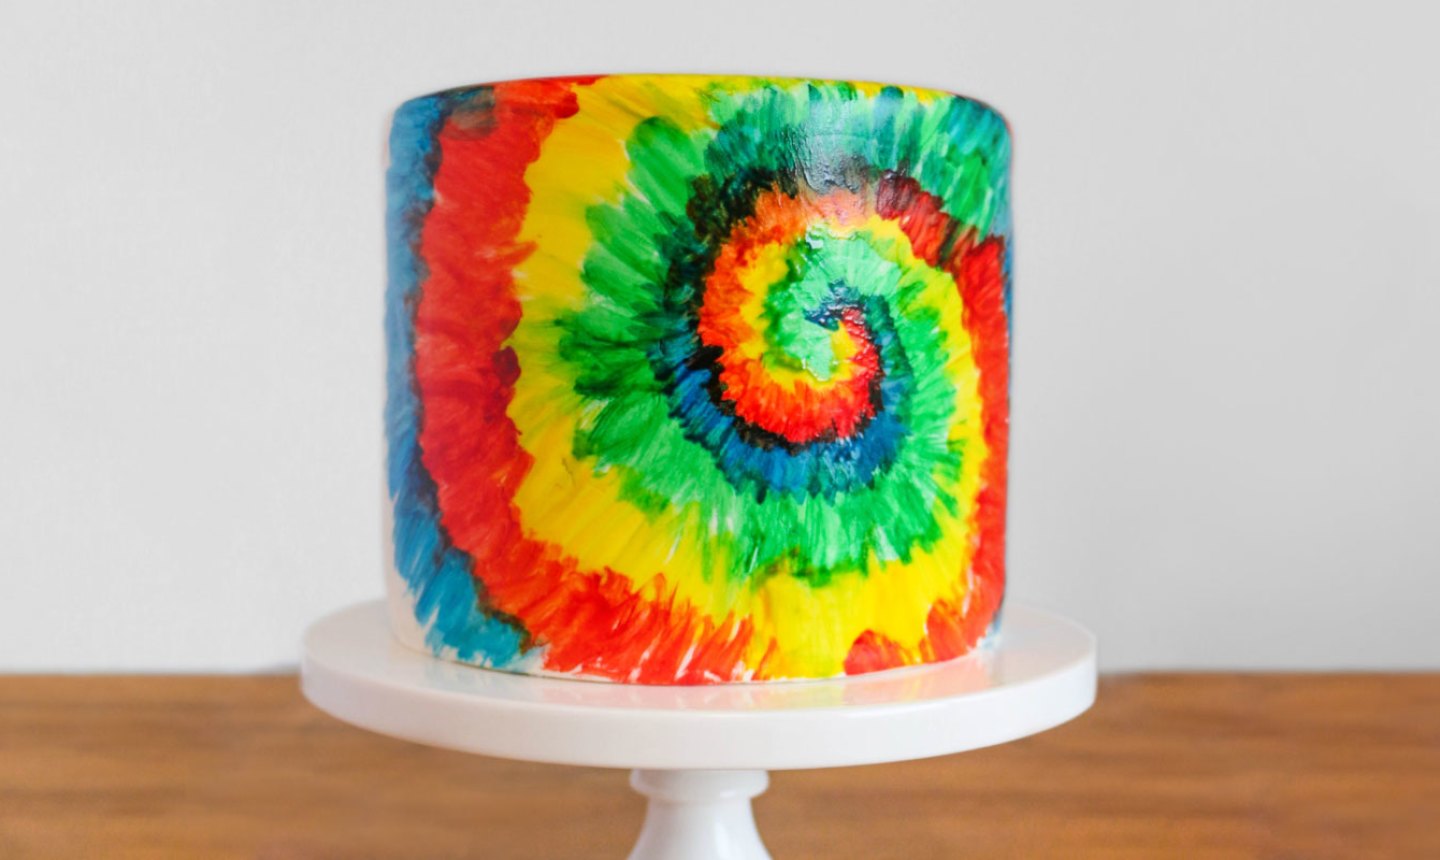
Tie-dye is back in a big way, whether you’re creating fun patterns on a scarf or baking a batch of cupcakes. Get in on the trend with this radical cake design that’s surprisingly easy to pull off.
Good to Know: Consider this the perfect time to spiff up your fondant skills — all that crazy color will work in your favor to hide any accidental bumps or bubbles.
Tie-Dye Cake
Level: Easy
What You Need
For Baking
For Decorating
Instructions
1. Color Your Batter
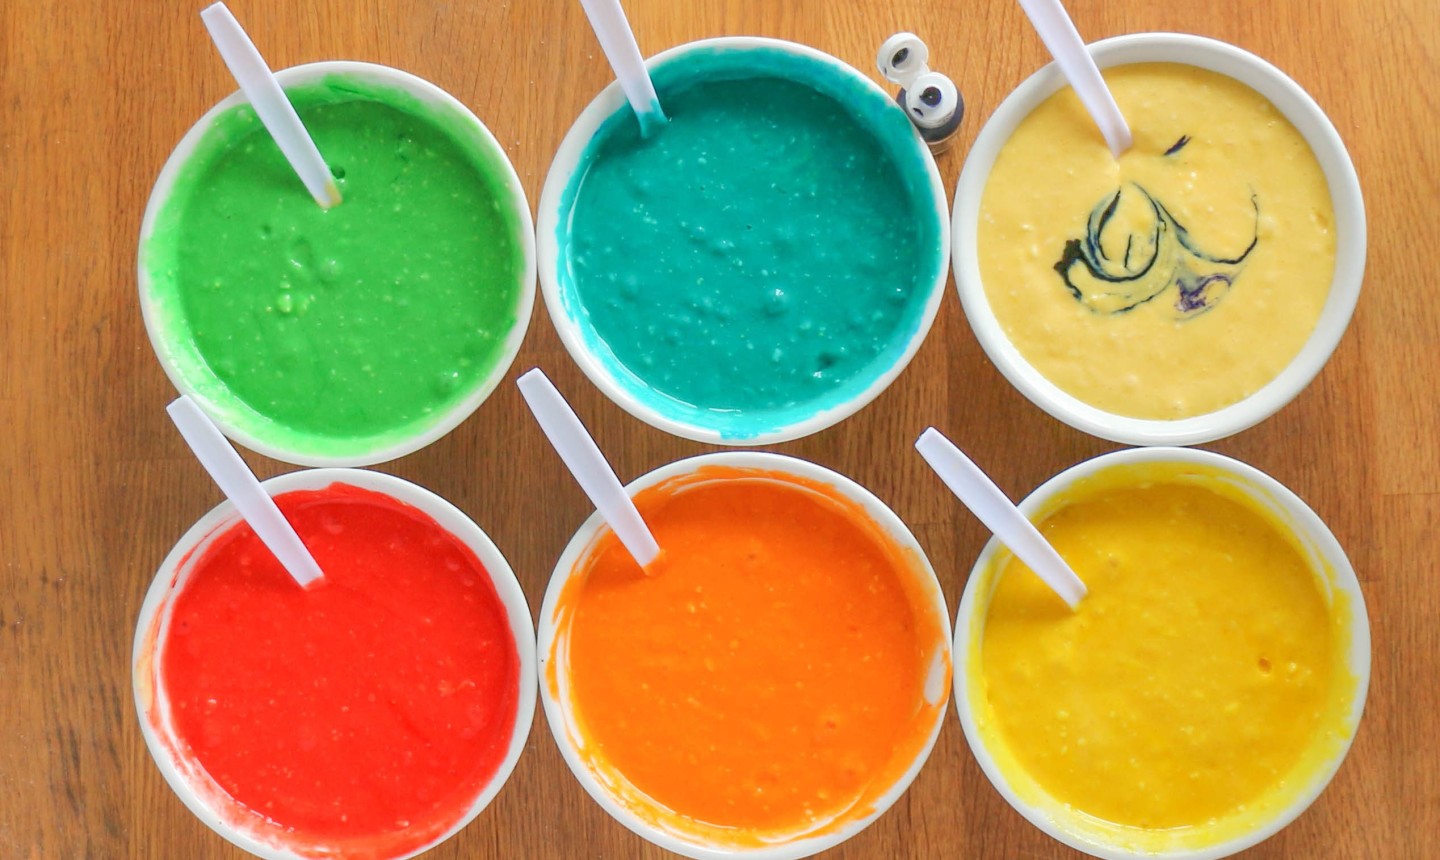
Divide your cake batter into small bowls, using one bowl for each color. We kept it classic with the rainbow look, but you can get as wild as you want here. Color each bowl of batter using gel food colors.
Pro Tip: Gel colors are much more vibrant than the water-based colors you’ll find at the grocery store, so you won’t need to use as much to get a bold hue.
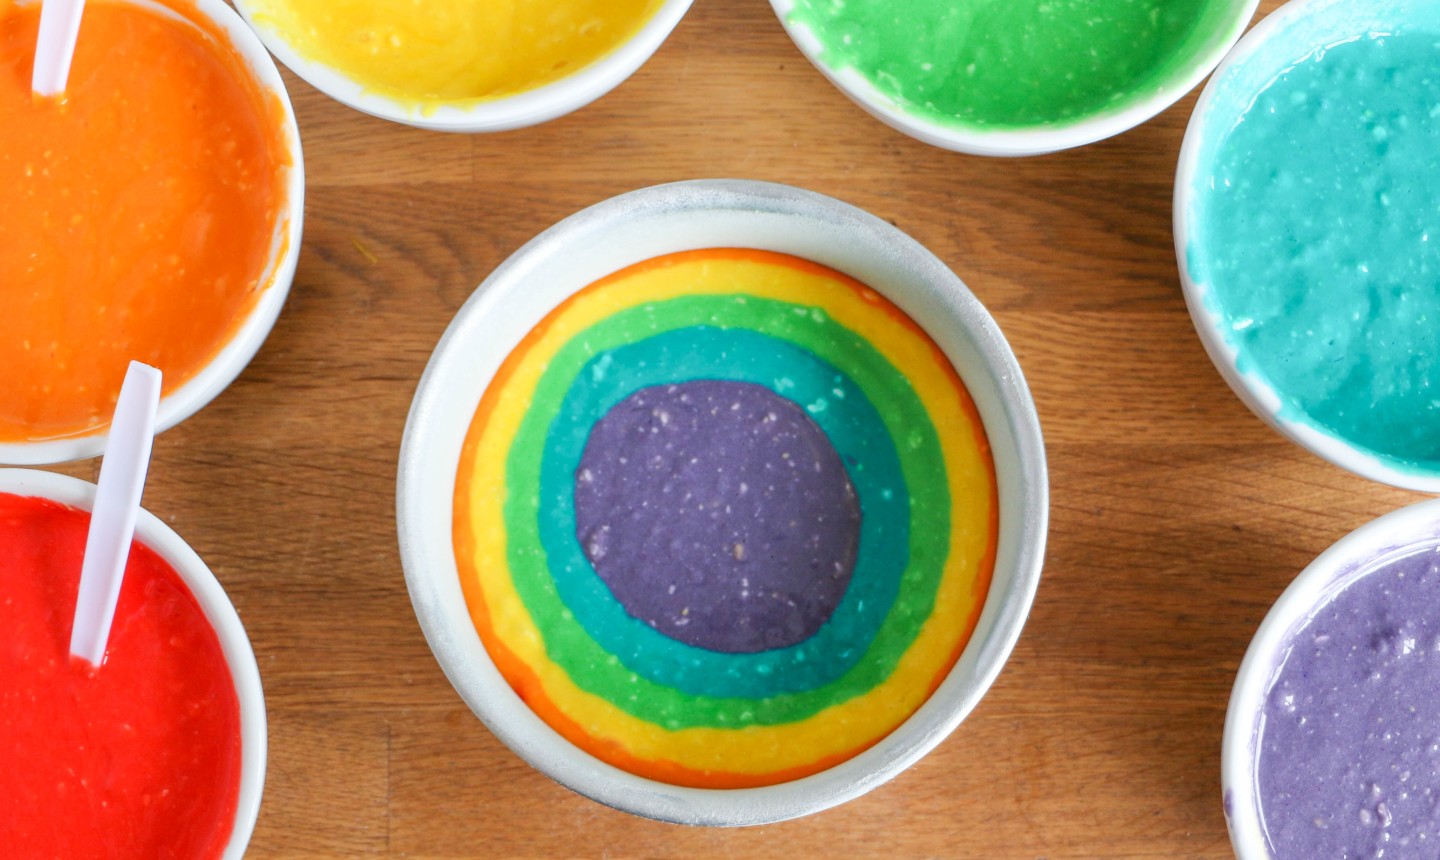
2. Fill the Cake Pans

Spraying and dust your pans with flour. Use a big spoon or ice cream scoop to add one color of batter to the center of the pan. Keep adding different colors until the pan is just over halfway full.
Pro Tip: No need to jiggle the pan here — the batter will spread out by itself.
Fill your next pan in the same way, starting with a different color for maximum pattern variation.
3. Bake
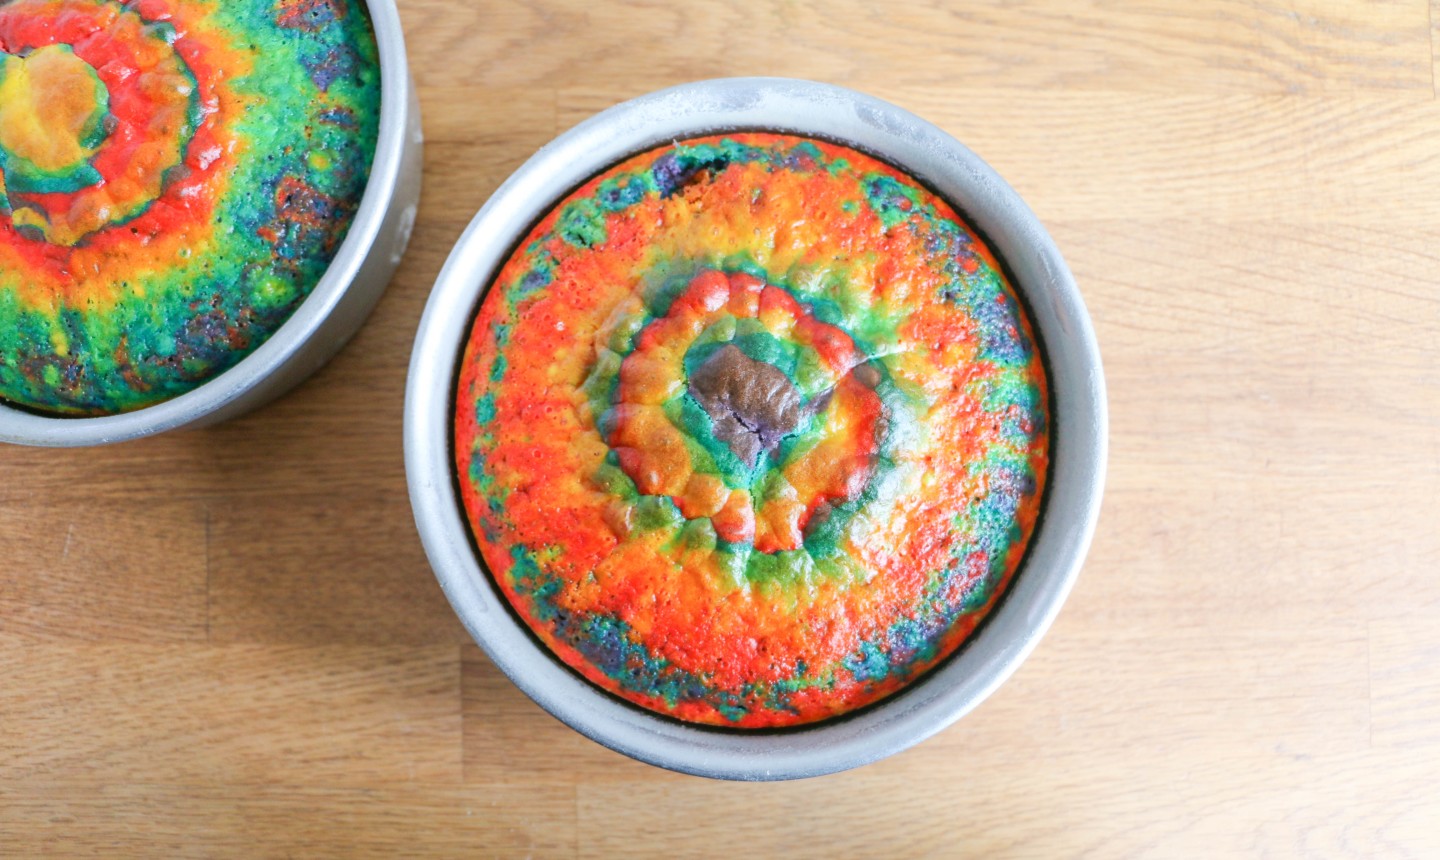
Bake both pans according to your recipe’s instructions. After your tie-dye cakes are cooled, trim, fill and crumb coat just like you would any other cake.
Good to Know: If cupcakes are more your style, you can make them using the exact same technique (just use smaller scoops).
4. Cover the Cake
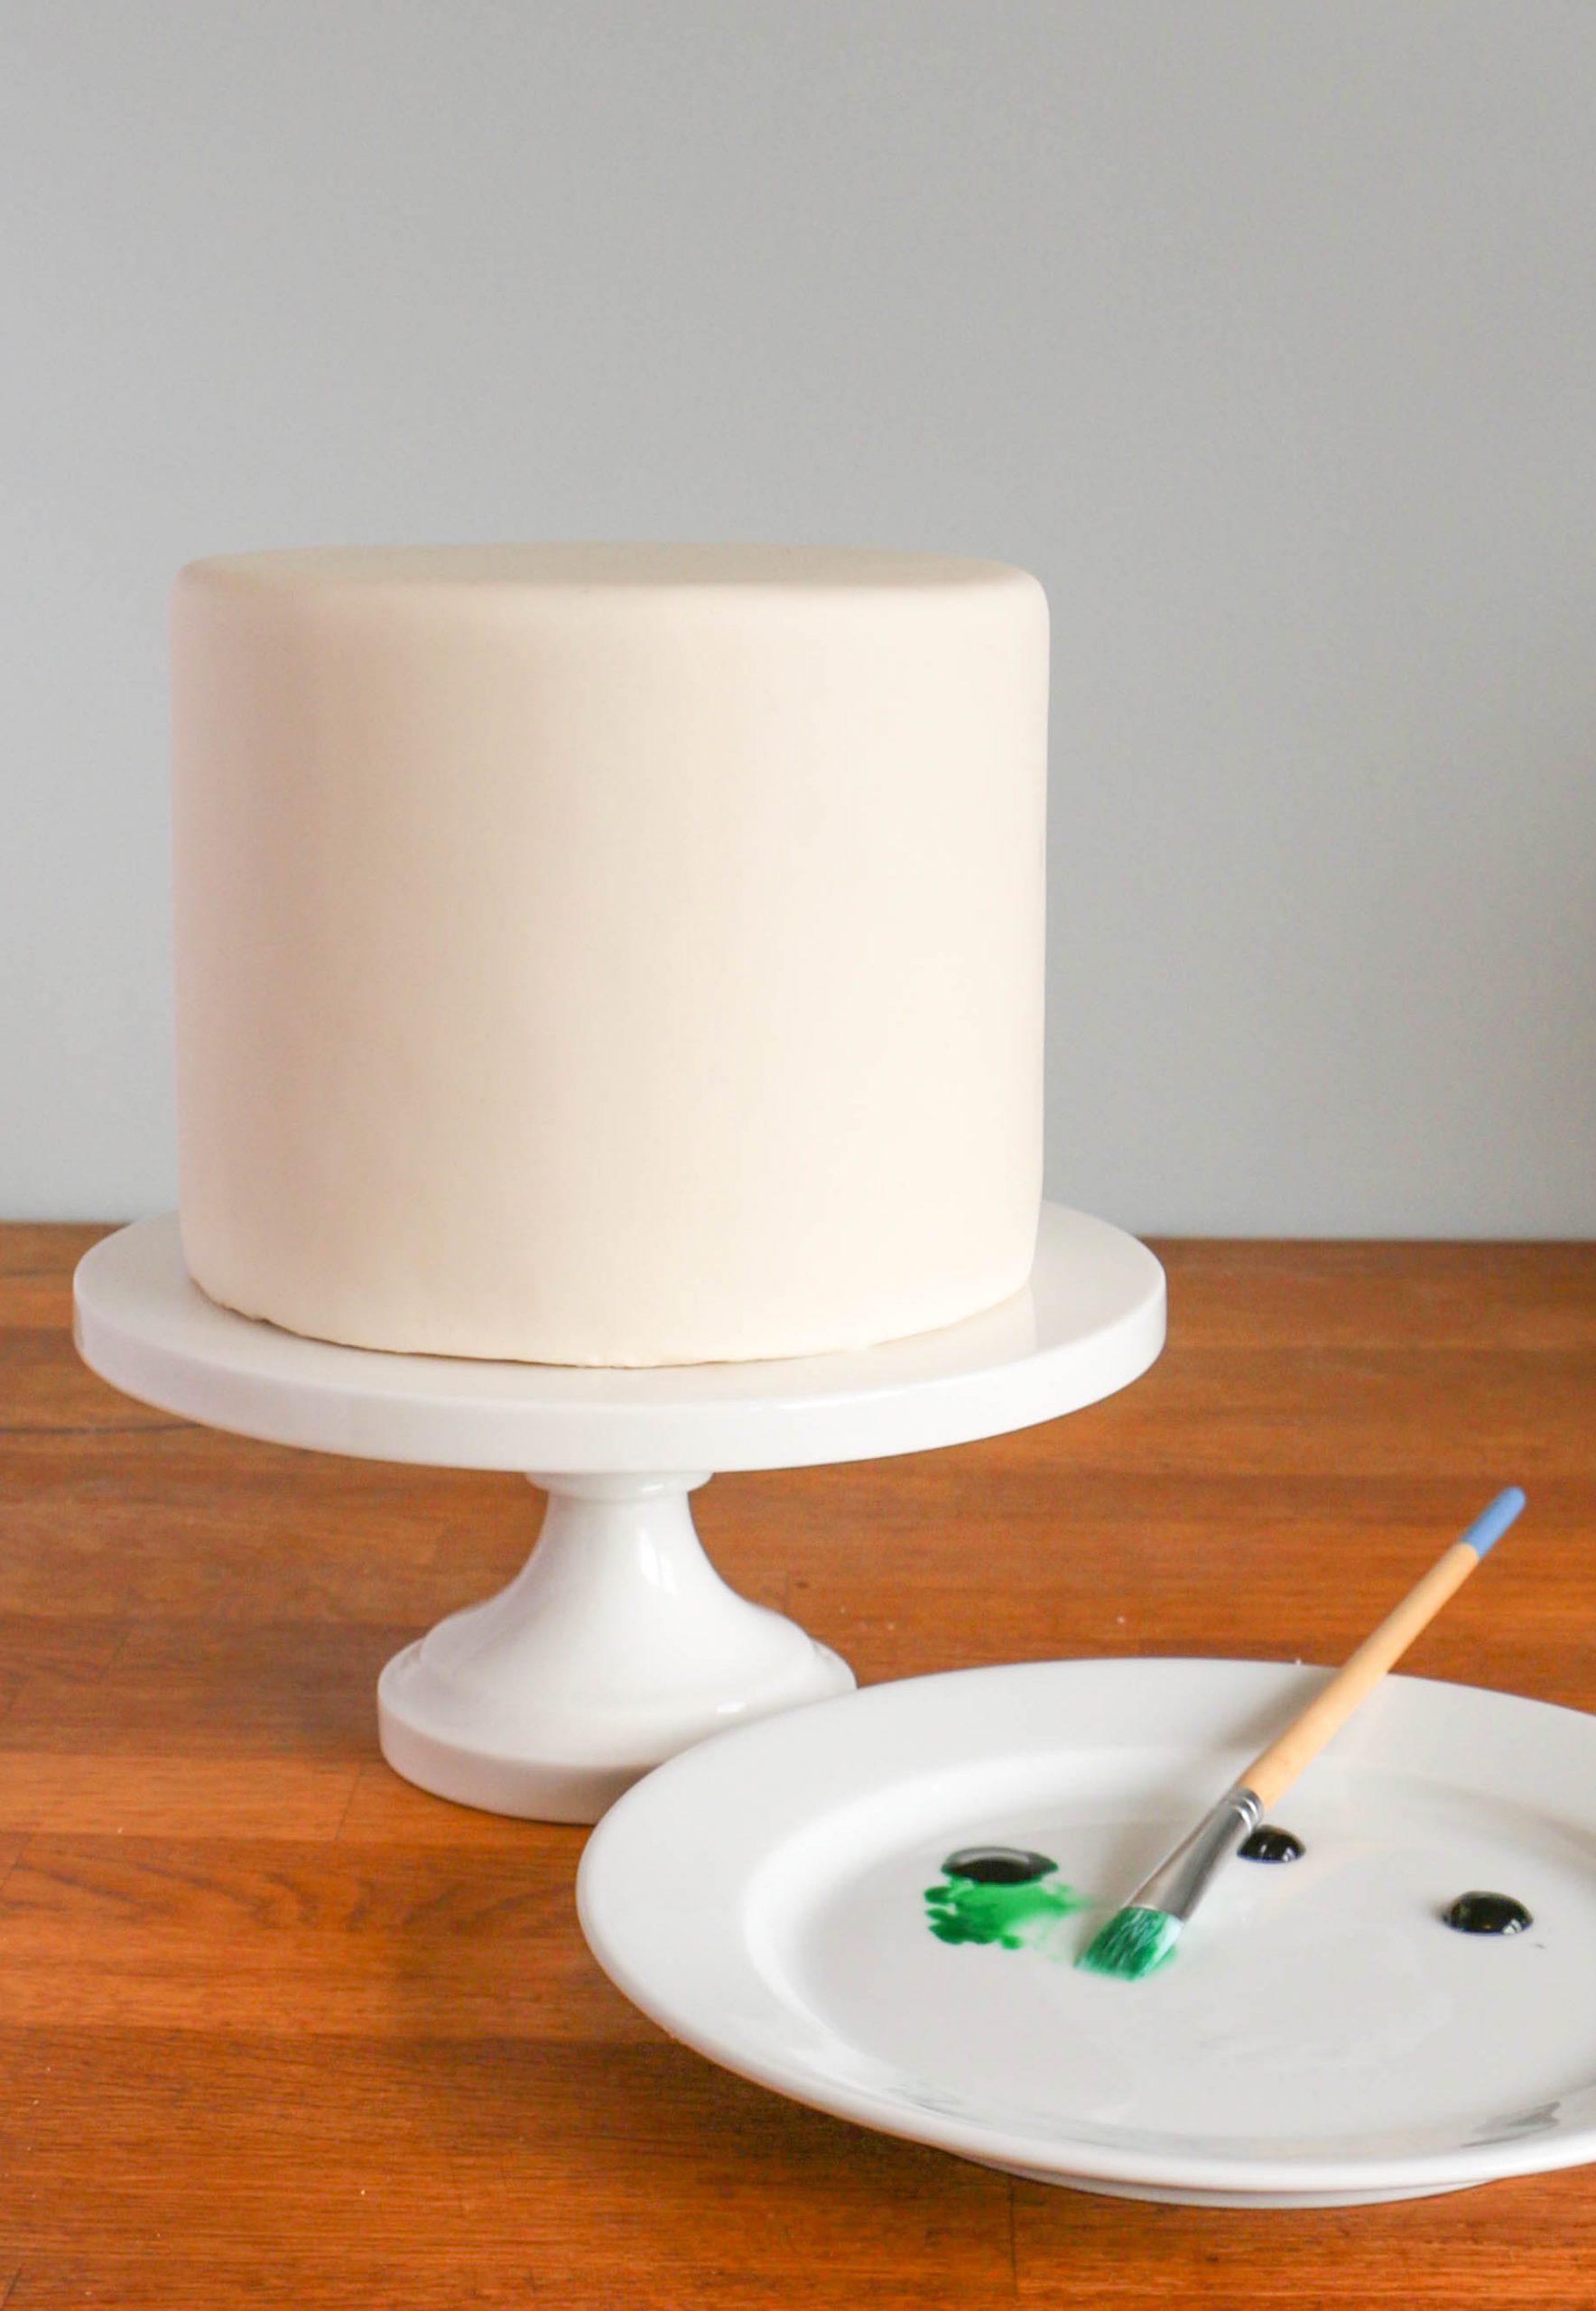
Roll out your fondant and drape it over your cake. Use a fondant smoother to get a smooth, seamless look. Now you have your canvas!
5. Paint
Squirt a pea-sized dab of gel food color into the well of a palette or onto a plate or small bowl. Add a few drops of clear alcohol or extract to thin out the color so it has some transparency.
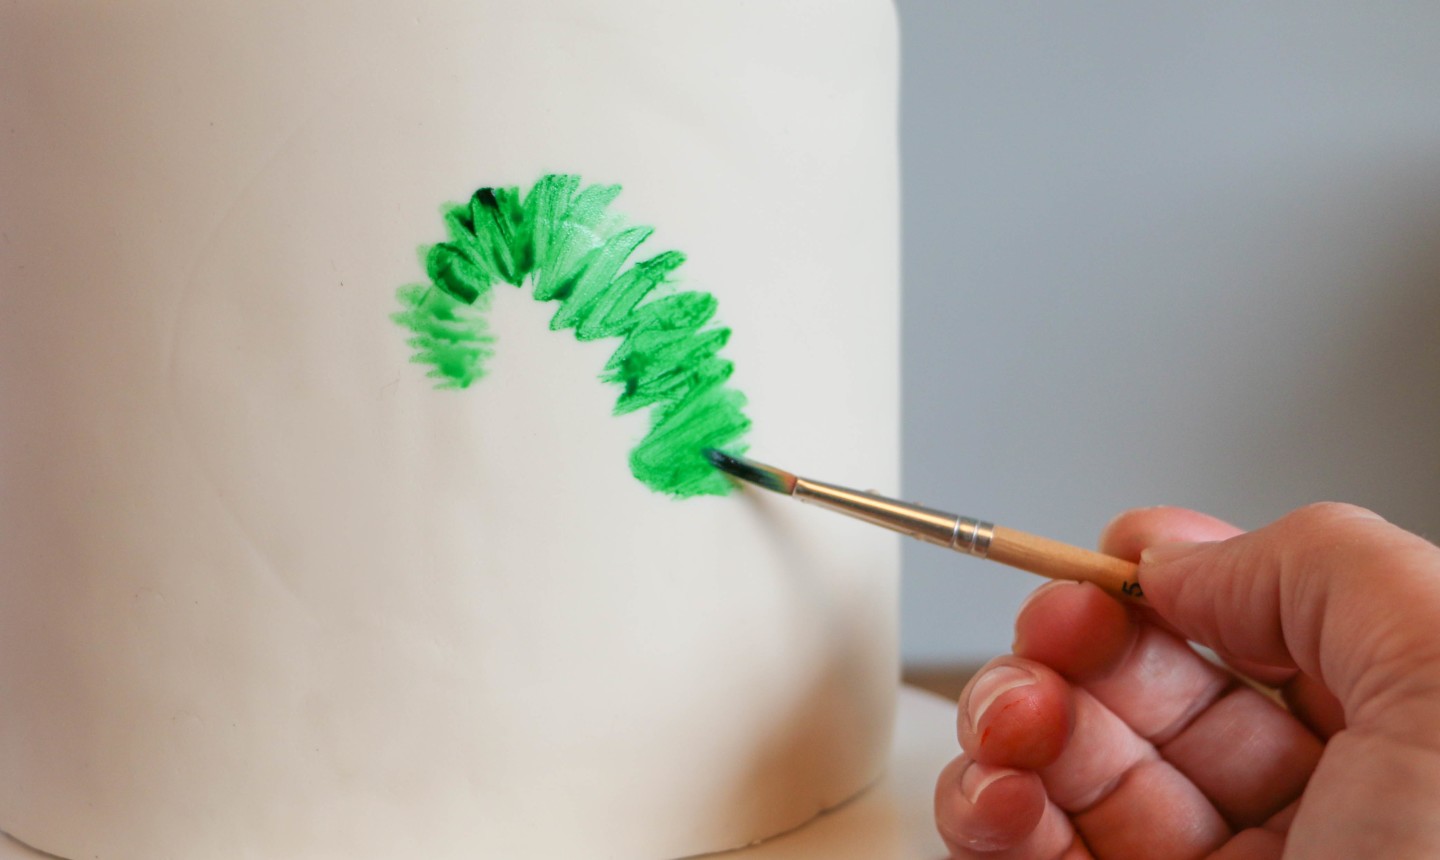
Use the end of a food-safe paint brush to lightly outline a large swirl pattern on your fondant. Then, starting in the center of the outline, paint over the swirl in a zig-zag pattern. Tight, small strokes are good for the center, but make the strokes longer as you reach the end of the spiral. (Otherwise it will look like a weird rainbow worm.)
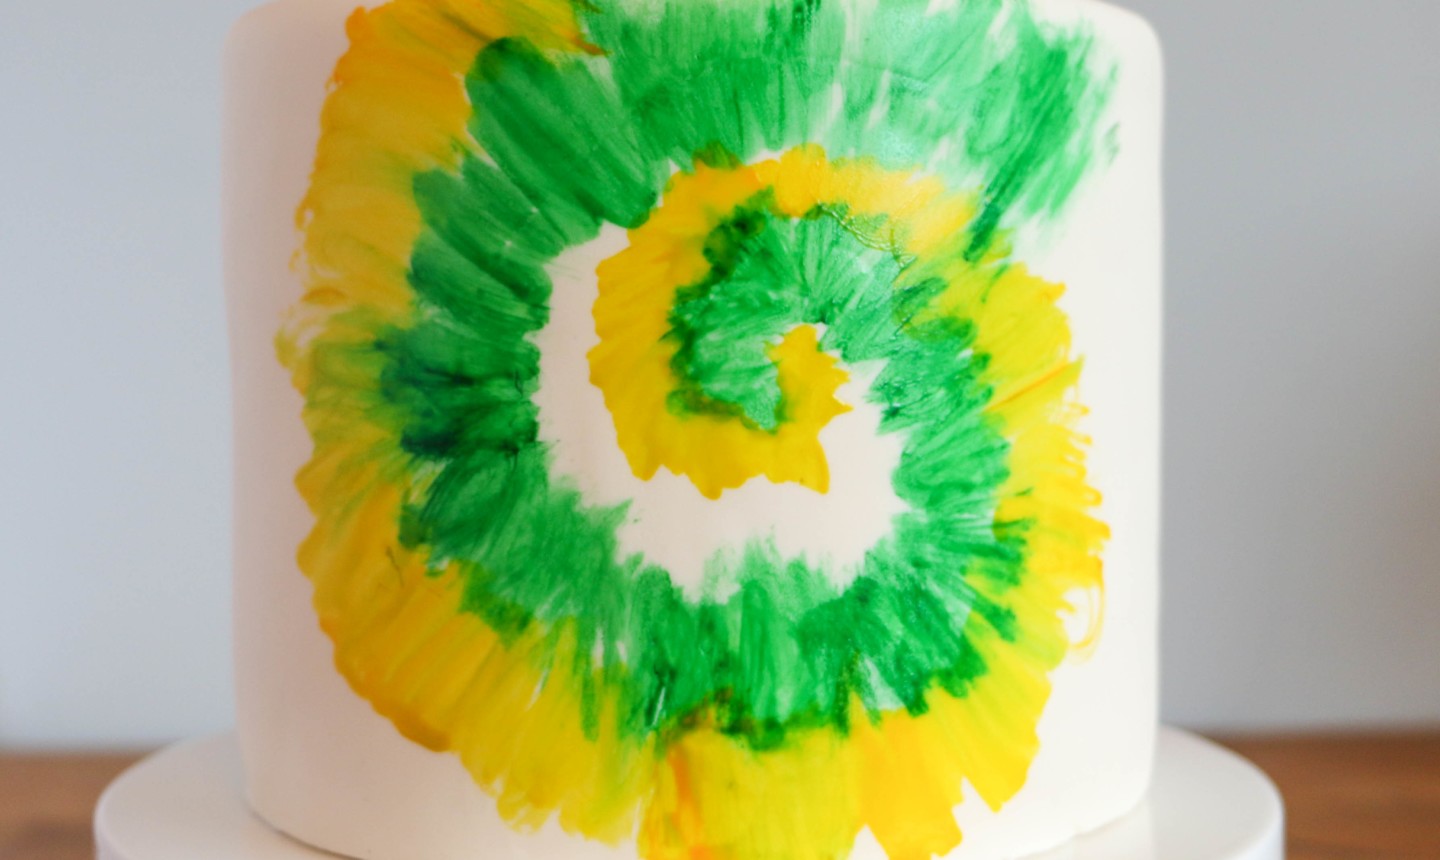
Allow the first color to dry, then begin your second color. Use the same technique and slightly overlap the colors to create the tie-dye effect.
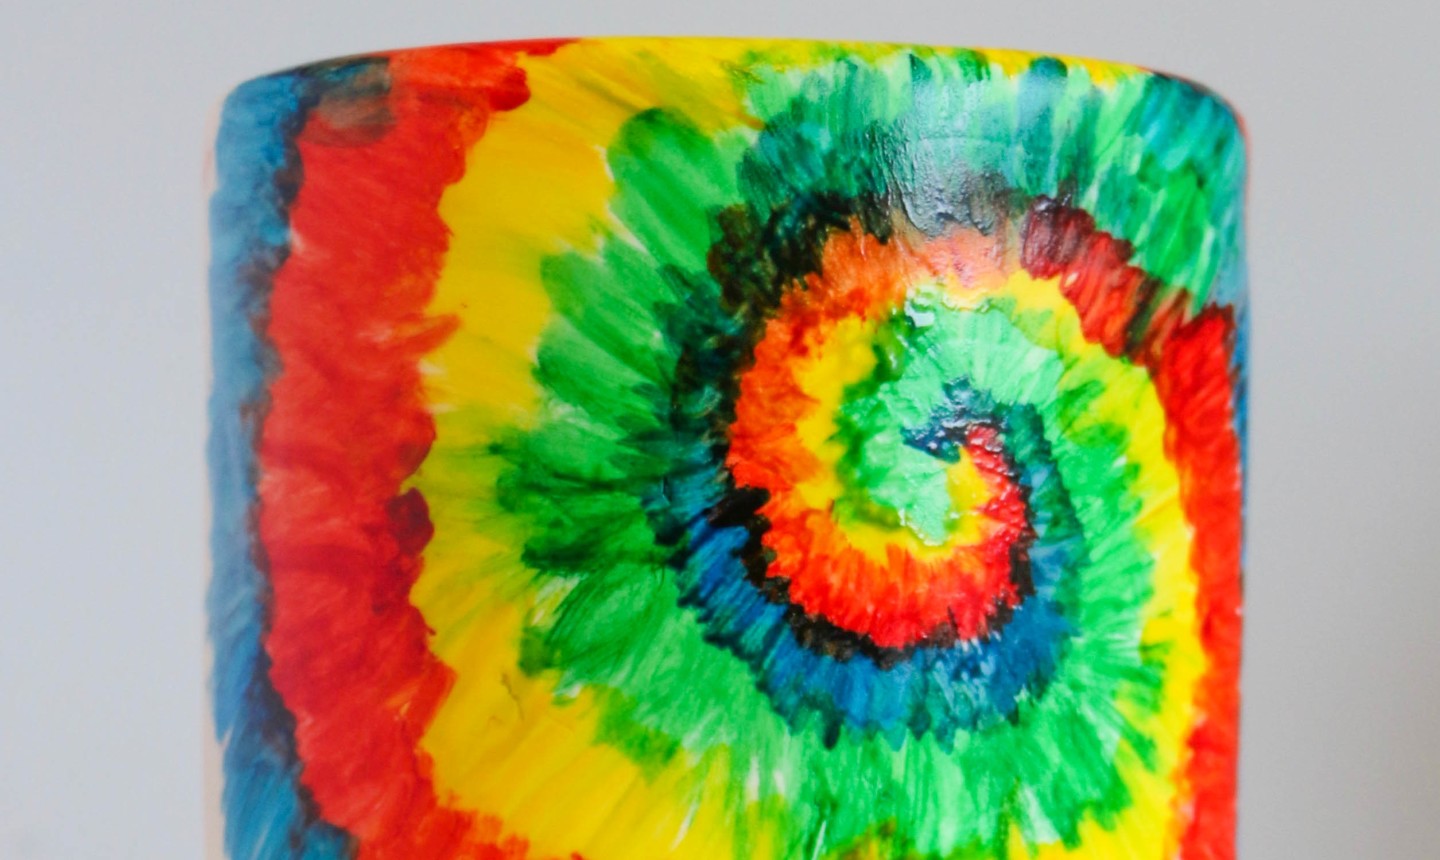
Keep alternating colors until the whole cake is covered. Make sure to do the painting as close to serving time as possible, then let the cake sit out at room temperature. The humidity of the fridge can make your artwork run.
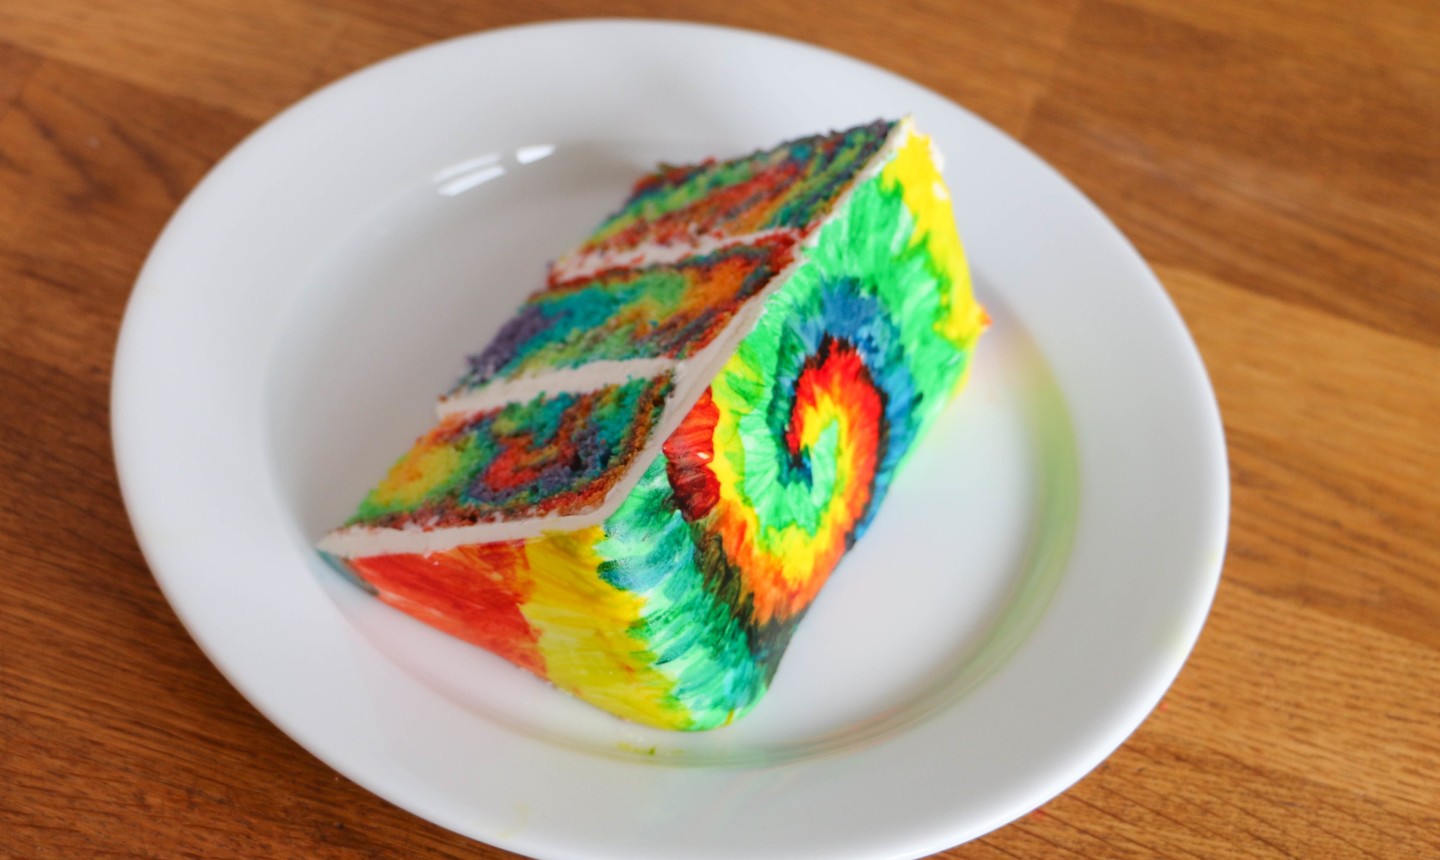
There you have it! A tie-dye cake that’s ready to be sliced and served.
You can teach old dogs new tricks.