
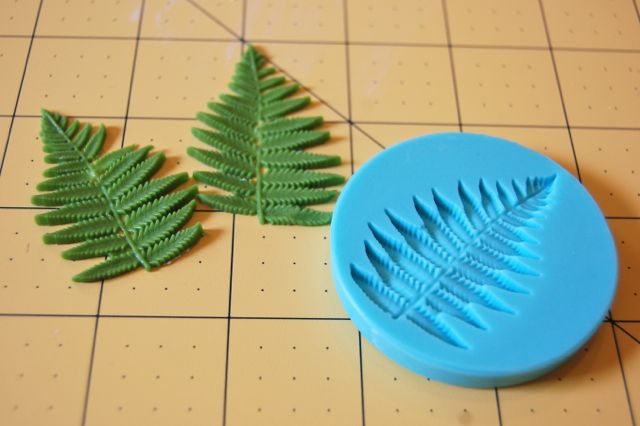
There are so many wonderful impression mats and molds available to cake decorators and designers. From butterflies and leaves, borders and waves, to pearls and alphabets, there is something for every cake theme. Fondant molds are wonderful time-savers and a boon for anyone who is just becoming familiar with the basic fondant techniques. They’re not foolproof though.
If you’ve ever tried and failed to get the fondant in or out of silicone molds, these simple tips and tricks should help you be master of the mold!
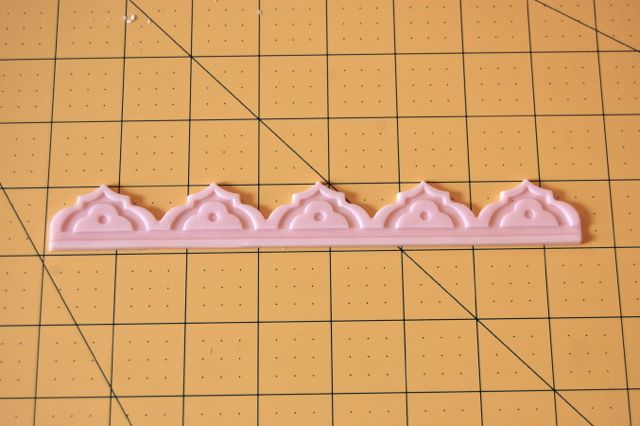
When you’re learning how to work with fondant (and even if you’re a seasoned pro!) it’s important to find the right materials to work with, and molds are no exception. Some molds are extremely easy to use. Push a little fondant in, pop a little button or bow out. But other molds take some getting used to and just a bit of know-how. Borders like the one seen below in the orange Wilton mold are perfect for castle crenelations, and the small shape second from the left makes a cute little tiara for a princess figure.
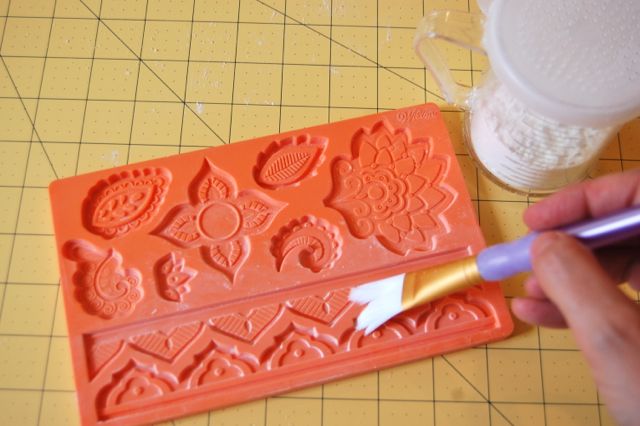
Step 1:
Dust the mold with a little cornstarch and tap out the excess.
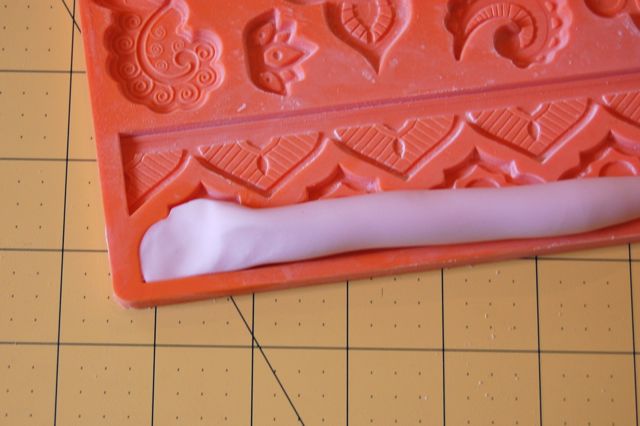
Step 2:
Start with a sausage of fondant and begin easing it into the mold. Keep the fingers of both hands dusted with cornstarch so that the fondant stays in the mold and doesn’t stick to your hands. I always prefer to use Wilton fondant, as it’s firm and keeps its shape well once removed from the mold.
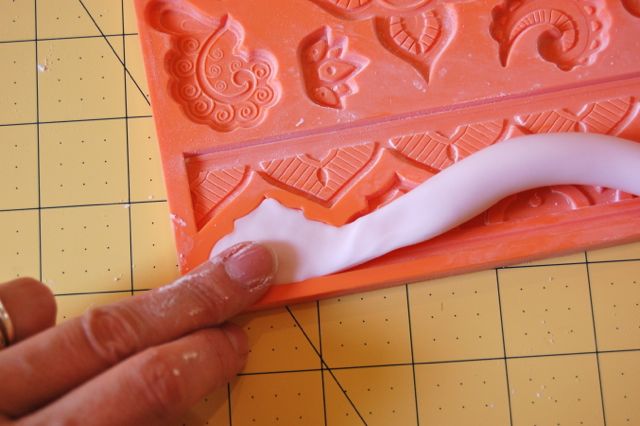
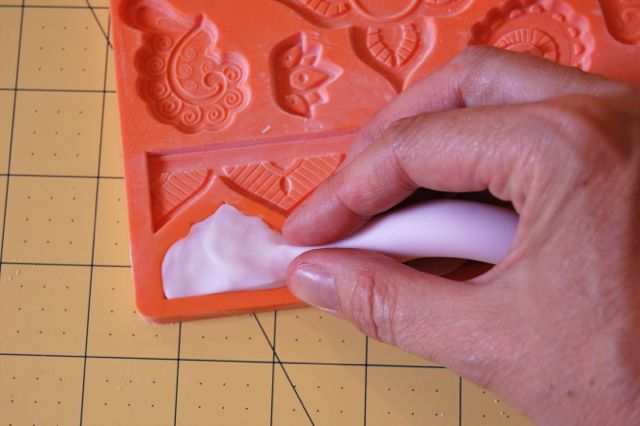
Step 3:
Press with the fingers of your left hand, while continuing to pinch and smooth the fondant into the mold with the fingers or your right hand, working from left to right.
Step 4:
Once the mold is full of fondant, use a cornstarch-dusted rolling pin to roll over the shape and press it firmly into the mold. Dusting the rolling pin ensures the fondant doesn’t stick and lift out of the mold.
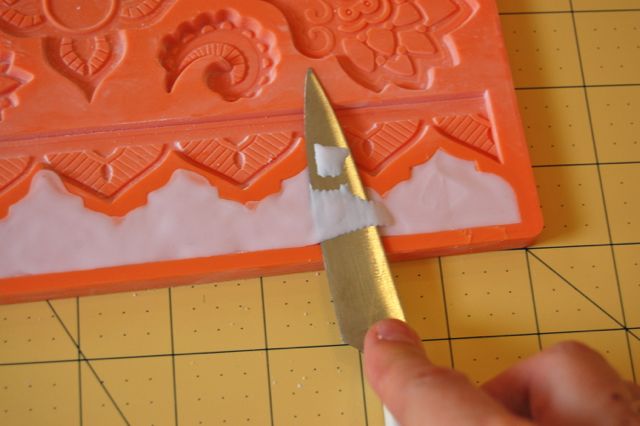
Step 5:
Take a clean, dry, sharp knife and dust it with cornstarch. Lay the blade flat on the surface of the mold and carefully cut away the excess fondant, using a gentle sawing action. For large molds like this, it’s sometimes worth stopping halfway through to clean, dry and dust the blade again.
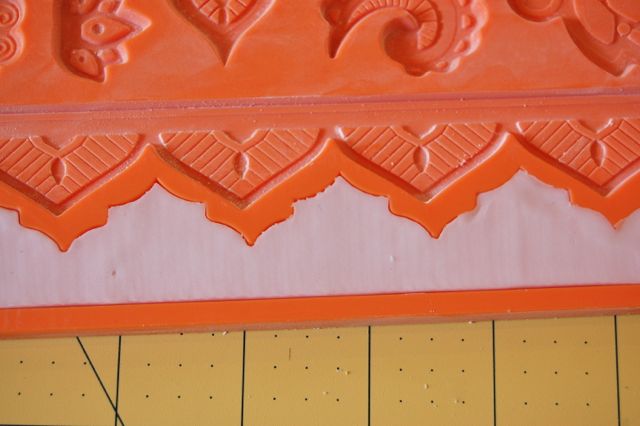
Step 6:
Cutting off the excess fondant will likely leave a few rough edges. Dust your fingers with cornstarch and rub all the edges to smooth them.
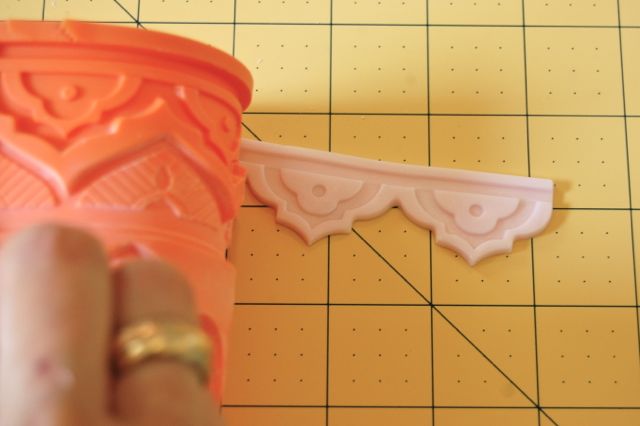
Step 7:
Bend the mold back on itself and the fondant should fall out. It might be necessary to ease it out at first with the end of a knife. If the fondant will not turn out, leave it in the mold for a few minutes and try again.
Use the same method for smaller, more intricate molds like these from Martha Stewart.

You may prefer to use fondant that has been stiffened with Tylose powder, and you might have more success pressing the fondant into the mold if you don’t dust it first. Keep your fingers dusted, however, as you press. Remember to keep your knife clean and dry as you cut off the excess. If your knife blade becomes sticky, it will lift the fondant out of the mold as you slice.
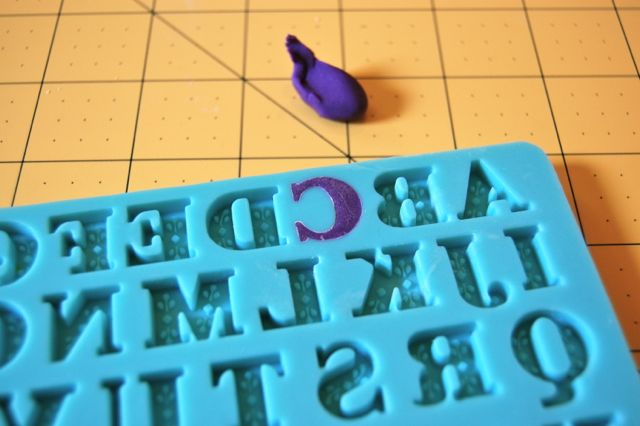
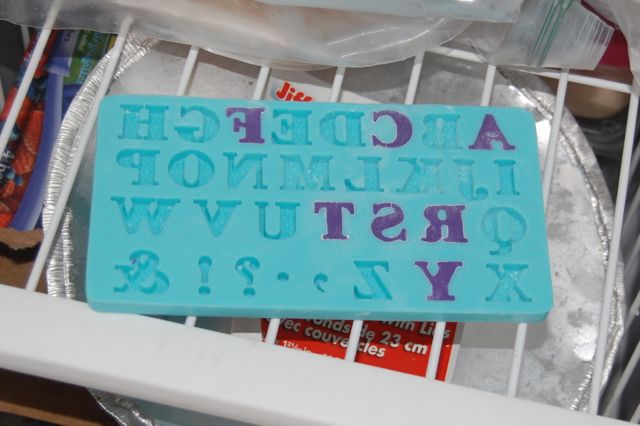
There are some molds, like Martha Stewart’s Alphabet, that are just too intricate to be used in this way. Add one extra step and the fondant will turn out easily without distorting or breaking.
Step 1:
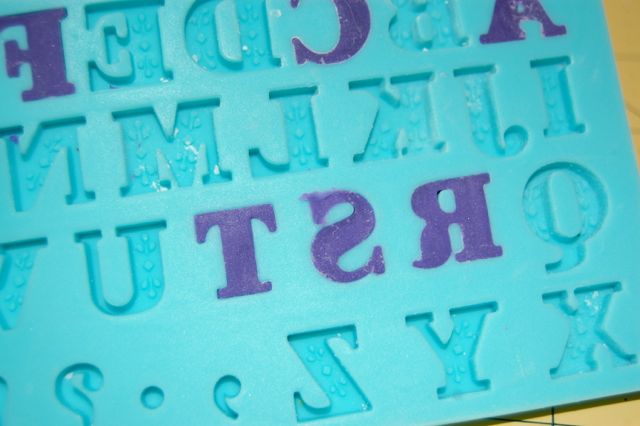
Dust the mold with cornstarch, press in the fondant, slice off the excess using the steps above. Tidy up the cut edges with your finger as before.
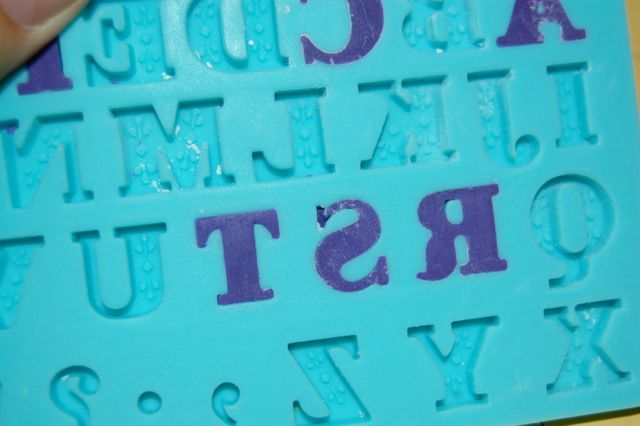
Sometimes you might find with very intricate molds like this, you are left with small holes in the fondant like in the top of the letter S.
These can be filled with a little extra fondant, and then the excess cut away once more.
Step 2:
Place the mold in the freezer for 10 to 15 minutes, or until the fondant is frozen solid.
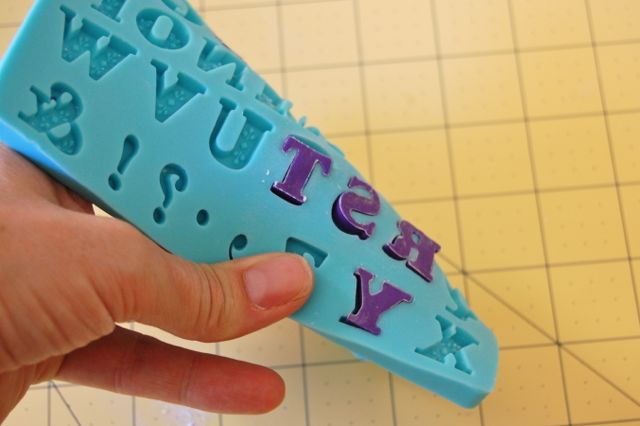
Step 3:
Working quickly, bend the mold and ease the letters out. Some of them will need help releasing from their cavities. If the letters start to become misshapen as you remove them, put the mold back in the freezer for 5 minutes and try again.
Step 4:
The frozen letters will be wet and sticky as they thaw, so don’t touch them. Depending on the type of fondant you’ve used and the humidity in the air, they should be dry to the touch within 10 to 30 minutes. Let them dry fully before transferring them to the cake so they don’t become misshapen as you arrange them.
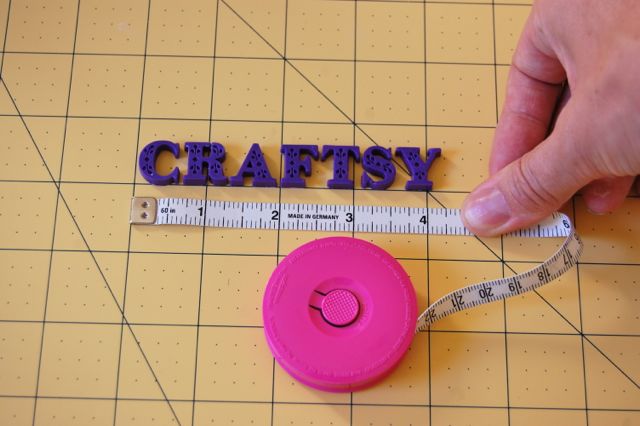
To help you center the letters on the cake, arrange them on your mat and measure the finished word or message. This should help you determine how much space you need to leave on either side.
Thank you I will try this later xxx
I have never used moulds before and want to do a sea theme cake for my grandaughter How long do you leave the fondant in the mould before attempting to get it out . Thank you