
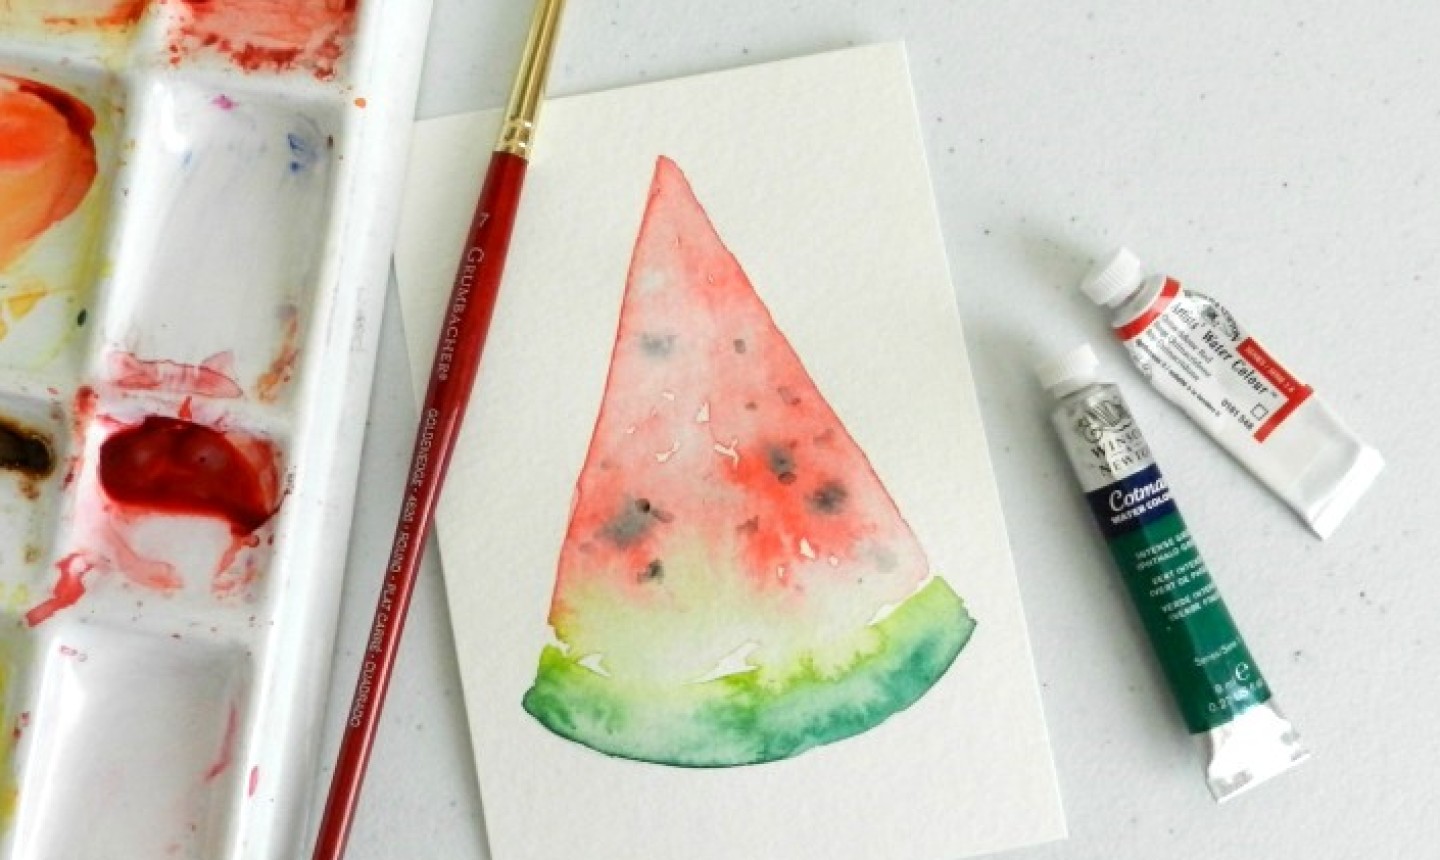
Ahh, summer…full of late sunsets, flickering fireflies and backyard barbecues, where slices of watermelon are fresh and juicy. To freeze time, if only just a tiny little bit, create a watermelon painting. Whether you’re a novice painter or a pro with a palette, this four-step process is actually no sweat, and nearly as sweet as the real thing.
Watercolor Watermelon
Level: Easy
What You Need
Instructions
1. Draw Your Outline
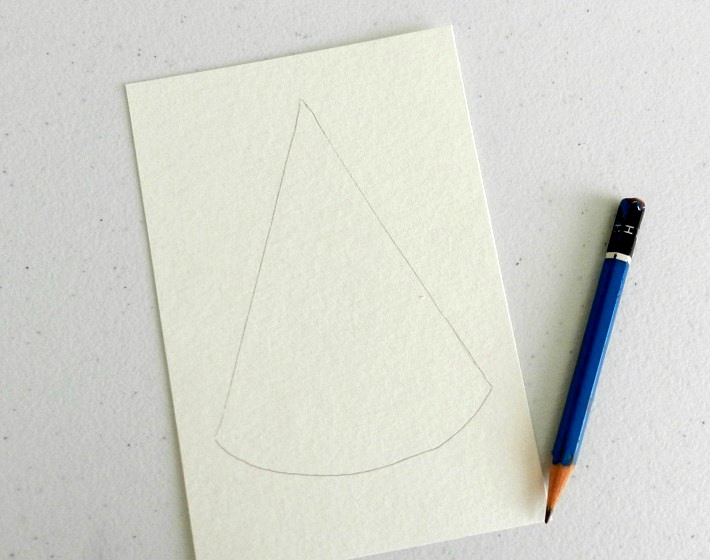
Start by drawing a light, triangular outline of the watermelon slice with a pencil. Draw lightly so the pencil lines don’t show through your paint later on.
You can free-hand a triangle or use the corner of a piece of paper to get straight edges. Just be sure to make the bottom part curved to mimic the shape of a watermelon slice.
2. Paint the Pink
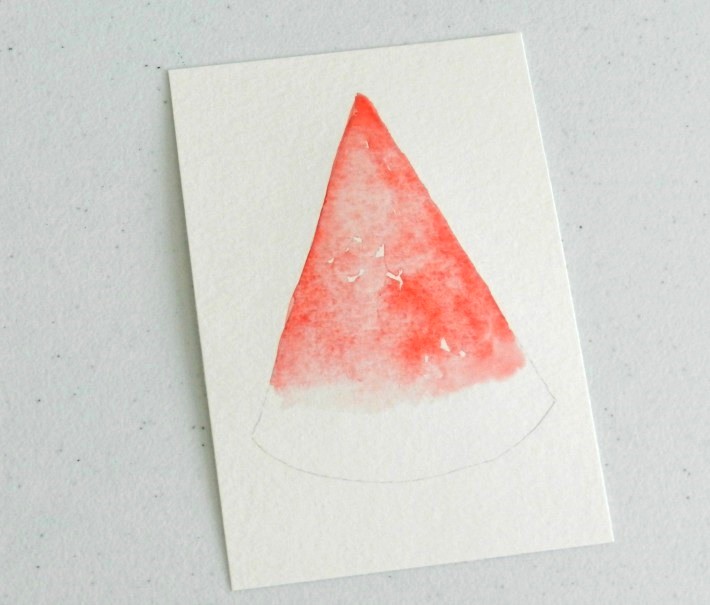
Mix some quinacridone red with water on your palette and spread it over the top section of the watermelon slice. You can leave white spaces here and there and vary the thickness and thinness of the paint. You want it to look a little splotchy, a little transparent, with some parts darker than others — just like an actual watermelon!
Keep the paint wet as you work for a smoother, fresher look. If you let your wash dry before you’re done applying paint, you’ll create hard edges, which you’ll want to avoid.
Pro Tip:
You want the watermelon to look fresh. In order to do that, you need to only apply paint once in any given area. This is not the time for layering paint; going over areas that you have already done can muddy the painting, making it look over-worked and heavy.
Leave a thick, blank space (about ½” or so) at the bottom for the watermelon rind.
3. Paint the Rind
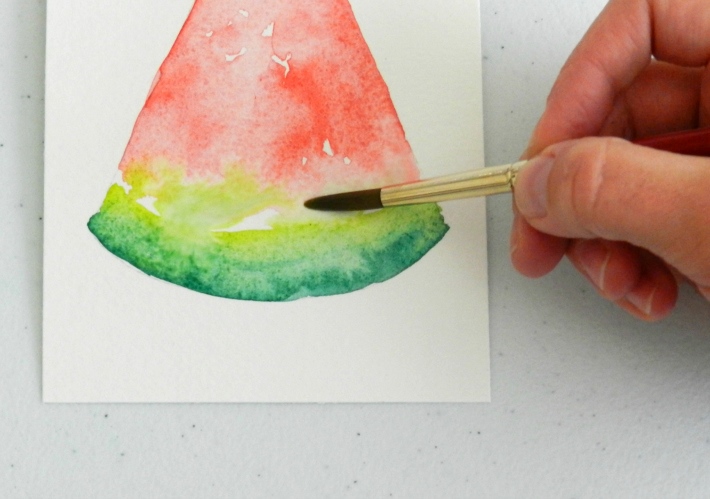
Dip your brush up into some phthalo green and paint the bottom section of the rind. This part can be painted more evenly across.
Then mix the green with some cadmium yellow to make a light, springy green. Paint this color right above the darker green while the paint is still wet, letting the two green hues mix slightly where they touch each other. Leave a little white space between the lighter yellow-green and the pink part of the watermelon.
Then, water down the yellow-green and add dab your brush in a few places in the remaining white section, letting the green mix with the pink. Also leave a little white space in this area.
4. Paint the Seeds
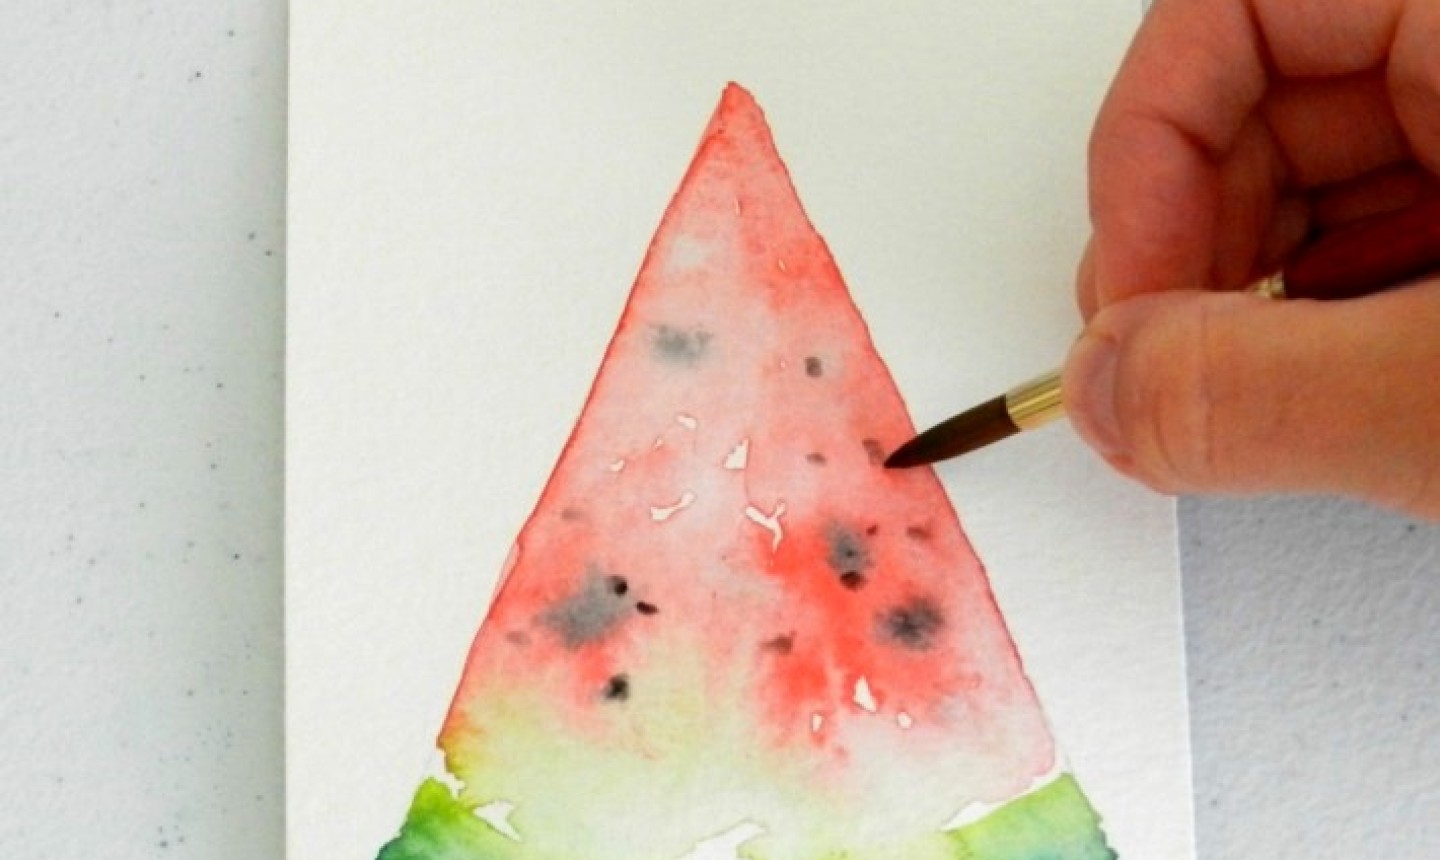
While the pink paint is still wet, lightly dab a few spots with some black paint, giving the impression of seeds that are sitting underneath the surface. These splotches may appear grayish and diffuse. Let dry.
Go back in with more black paint and add a few more spots. Now that the pink layer is dry, these seeds will look darker and more defined, giving the impression that they are actually on the surface. This adds depth to the painting. If only you could take a bite…
Looking to get started with watercolors? Check out the class Startup Library: Watercolors below!

I have been wanting to learn watercolor painting. This is a great starting point. Instructions are very clear. Thanks.
Perfect for my kitchen wall. I have garlic, apples, pears, lemons, plums, pineapple, banana, and now watermelon! Thank you!!!
Simple,quick and I learned more about watercolor!
That's a fun little project!
wow always looking for new ideas for painting rocks this is great thanx!!!