
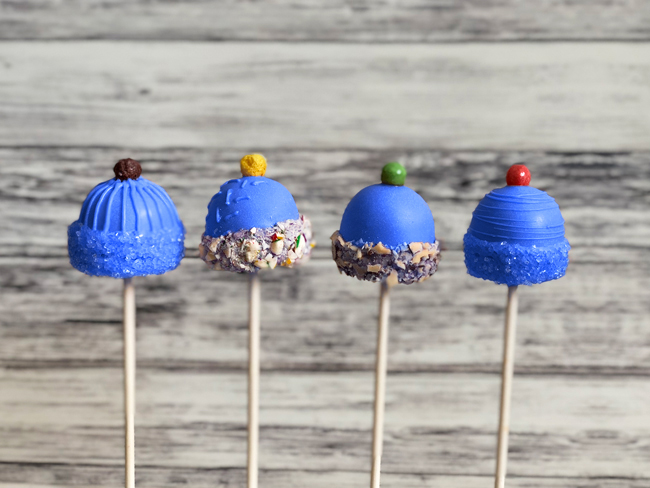
Don’t get us wrong, we love a good knitting project. But these edible beanies have it it all: creamy cake pop filling, crunchy candies and adorable details knitted by winter’s favorite outerwear. Hats off to that!
Beanie Cake Pops
Level: Easy
What You Need
Instructions
1. Shape Your Cake
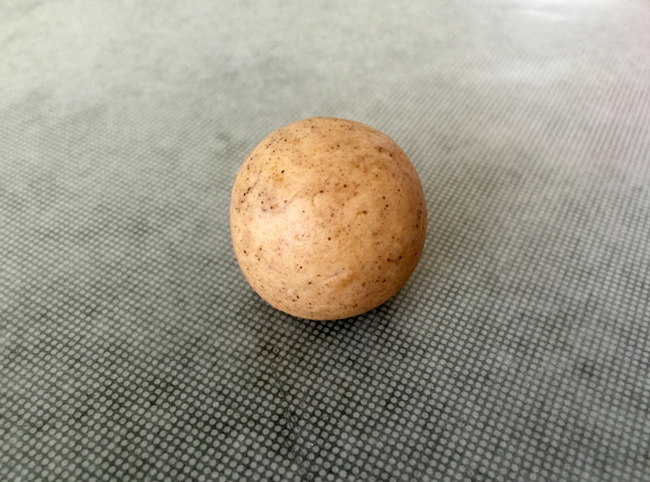
Portion cake pop dough uniformly, about ¾ -ounce each, using a cookie scoop or a food scale. Roll each portion into a sphere, then flatten the bottom by tapping the cake ball on your work surface until a you have a half dome shape.
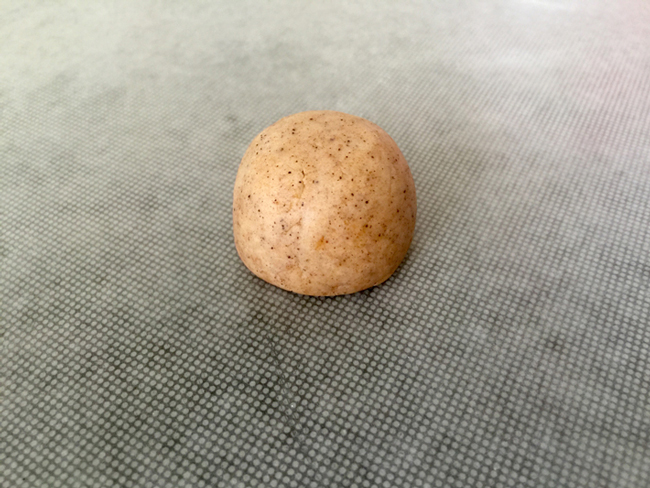
Pinch along the bottom edge to give your hat shape a sharper and more defined edge. Place all portions on a parchment-lined cookie sheet. Refrigerate for at least 10 minutes. (You can even let them sit overnight.)
2. Add Your Sticks
Remove the cake portions from the fridge and let sit at room temperature for 5-10 minutes, or longer if they were kept in the fridge for more than 30 minutes. Melt candy coating according to the package directions, slowly adding paramount crystals to thin it to the consistency of wet paint. Dip ⅓-inch of the lollipop stick into the coating and insert it into the flat side of the cake ball until about halfway through. Repeat for all.
3. Dip Your Hats
Submerge the cake pop completely into the melted coating, stopping just when the coating meets the stick. Lift it out and gently shake up and down to remove excess coating. Use a toothpick to pop any air bubbles.
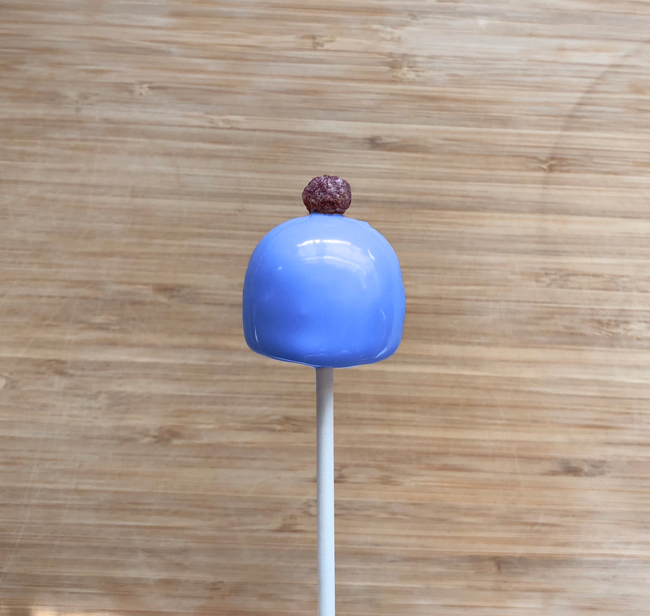
While the coating is still wet, place a candy or cereal pompom at the top of the beanie. Place the cake pop on a stand to dry completely.
4. Add Knit Details
To add a cuff to the bottom of the beanie using sugar, pour the remaining melted coating (reheat for 10-30 seconds at 50 percent power if needed) in the corner of a ziptop bag. Snip the corner with scissors and use like a piping bag.
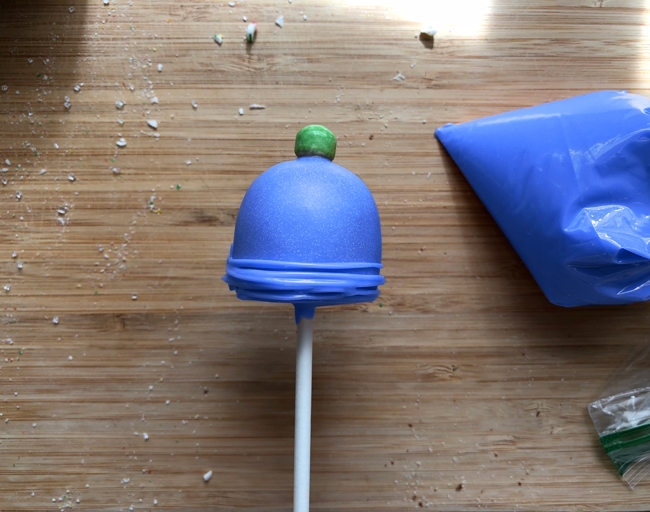
Pipe coating around the rim for the cuff. (This is best done by piping a line as you twirl the cake pop.)
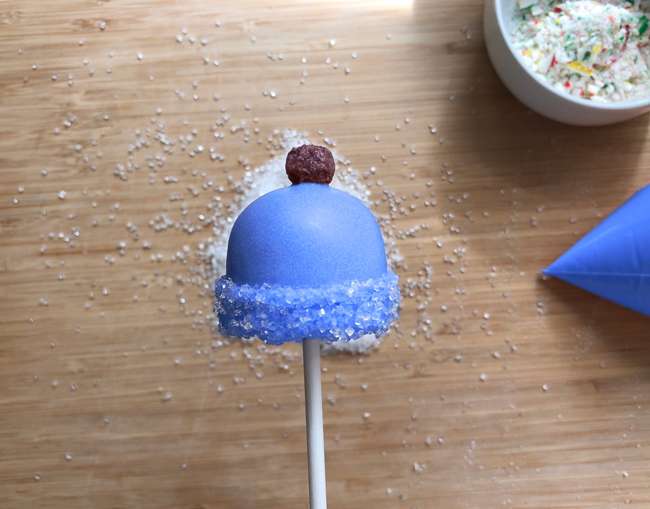
Immediately press the wet coating into sprinkles, crushed candies or chopped nuts. Place on the stand once more and let dry completely.

For a finishing touch, pipe vertical lines from the pompom to the cuff to mimic knitted ribbing, or create a swirl in the area between the cuff and pompom.
Share tips, start a discussion or ask one of our experts or other students a question.
Already a member? Sign in
No Responses to “Warm Up With Adorably Cozy Beanie Cake Pops”