
Do you want to do your part for the environment and reduce the amount of waste your family produces, but you don’t have the space to produce traditional compost? Worm composting, or vermicomposting, is perfect for people with small spaces. With worm composting you get to turn your kitchen scraps and biodegradable trash into rich, useful compost that you can use in your container gardens and garden beds.
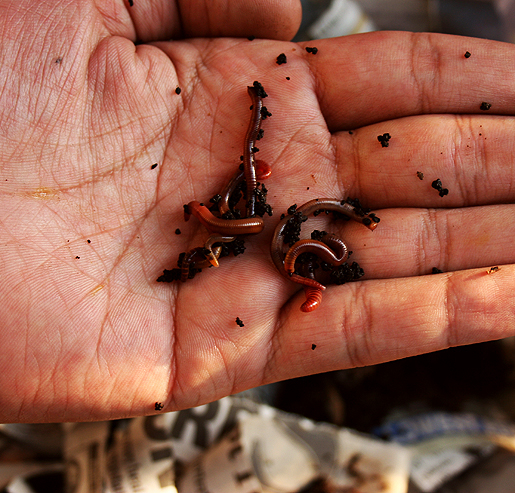
Red worms or “red wigglers” via Ramon Gonzalez
Worms that eat your trash.
Not all worms are created equal. The earthworms that you find in your garden do a great job of naturally composting organic matter in your soil. These worms are not suited for the warm temperatures of the average home, and like to burrow deep into soil. The kinds of worms you need for a worm composting bin are red worms or “red wigglers.”
You will need about 1,000 worms to start a good worm composting bin. You can buy red wrigglers at your local bait shop and numerous places online have popped up to meet the demand for worms as vermicomposting has become fashionable.
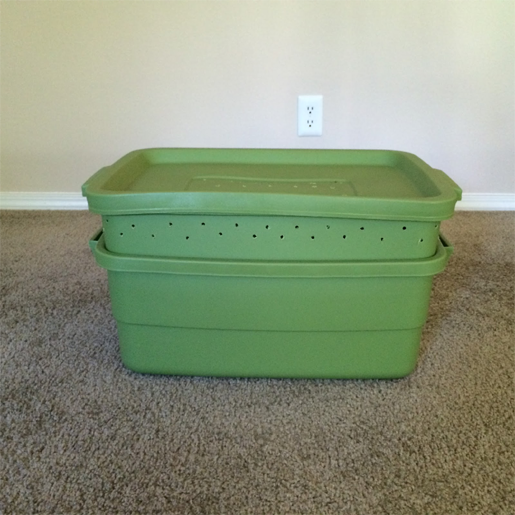
Homemade worm composting bin via Katie
A home for your worms.
Unlike other beneficial insects in the garden, red worms aren’t intended to be released into the garden like ladybugs and praying mantids. Instead, they’re usually kept inside in an enclosure. It’s time to consider buying or building a worm bin for your new, wriggling pets.
There are several worm composting bins sold commercially that you can choose from. But if you’re interested in vermicompost, chances are that you’re the kind of person that likes the DIY approach to life. So, instead of wasting money on a worm condo, build your own worm bin in 5 minutes.
My friend Katie recently built her own worm composting bin, and if you click through to her post you’ll see how easy she transformed two plastic bins into a home for her worms.
Perhaps the bins are too big or oddly-shaped to fit into your small space. You can make an even smaller worm out of two buckets. YouTuber Jason Isbell show you how you can turn two kitty litter buckets into a worm bin in under 4 minutes.
Where to place your worm bin.
After you have built your own worm bin it’s time to think about where you’re going to place it. Red wigglers work best at temperatures between 50-77 F. Anything lower and your worms will be too sluggish to break down your trash. Too high and your worms will die a horrible, hot death. The best place for your worm bin is below your kitchen sink where you can slide your kitchen scraps into the bin as you’re preparing your family meals. A pantry or an enclosed porch would work too if you’re worried about any odors.
Building your own worm composting bin is a fantastic option if you want to compost, but don’t have a yard. Heck, you don’t even need to be a gardener to vermicompost. You can always donate your worm compost to friends, neighbors and community gardeners. But if you decide to keep the fruits of your worm’s labor, you can apply your compost to houseplants and outside in your garden. Building a worm composting bin is a great way to teach kids about composting and recycling. Red wigglers can also be a good substitute pet if you’re looking to teach your child some responsibility, and how to care for living things.
In an upcoming post we’ll go into great detail on what you can feed your worms.
Share tips, start a discussion or ask one of our experts or other students a question.
No Responses to “Worm Composting 101: Worms Eat Your Trash”