
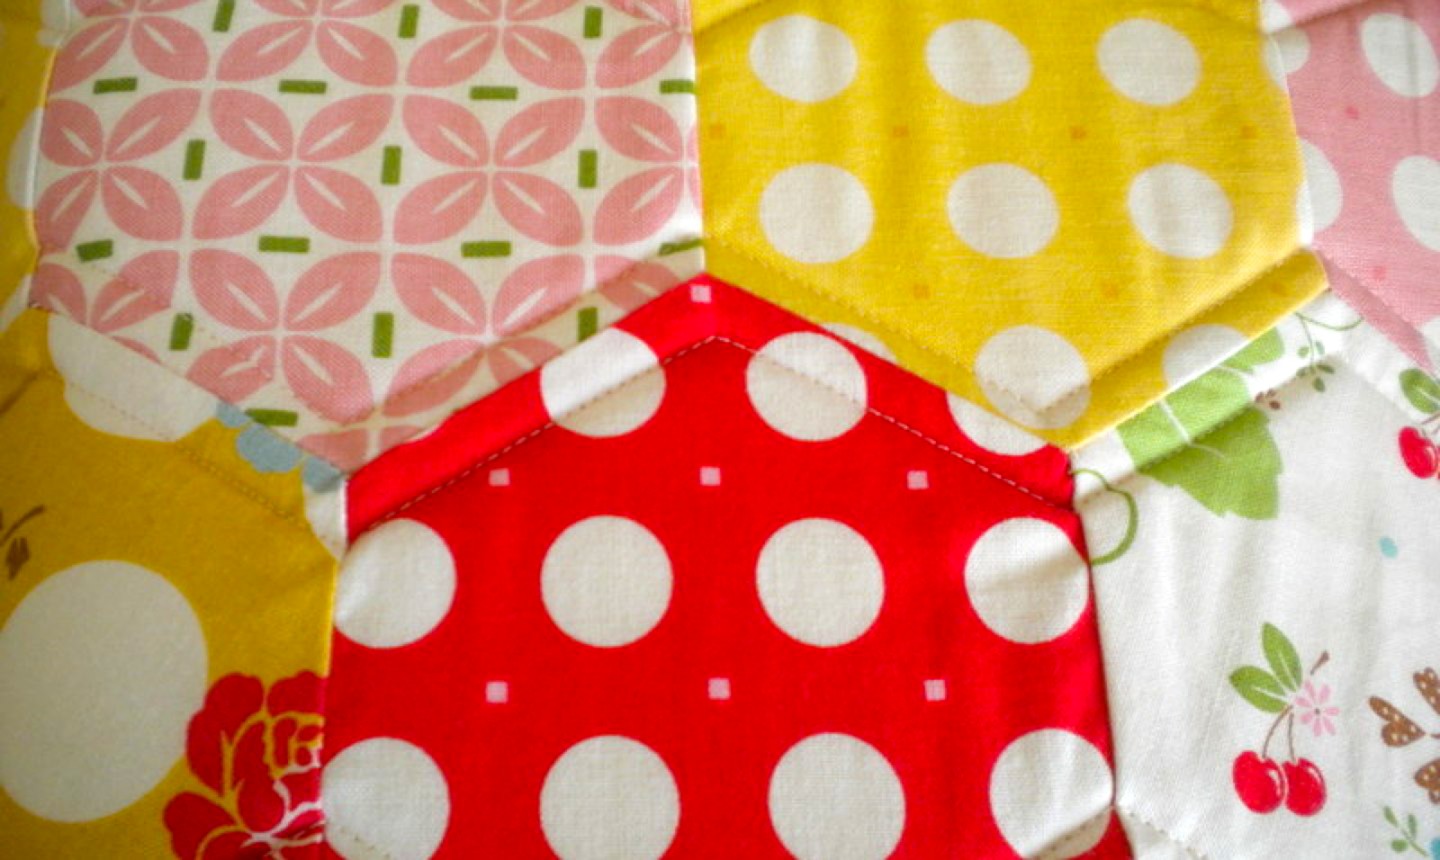
Y-seams can strike fear into the hearts of even veteran quilters. The dreaded seaming situation occurs when you have three fabric edges that all meet at one point (like when you’re sewing hexagons together). Once stitched, the seams form a Y-shape. You’ll also encounter Y-seams when you’re working with eight-pointed stars or if you’re creating a tumbling block design in your quilt.
But sewing together Y-seams really isn’t scary (really!). In fact, once you know the trick to pulling them off, you’ll never dread — or avoid — this letter of the alphabet again. And the trick is this: Unlike most seaming set-ups, which involve sewing edge-to-edge, the key to sewing a Y-seam is to start and stop sewing a ¼ inch away from the edge.
Still not quite feelin’ it? That’s okay! We’re gonna walk you through this step by step with some precut hexagons.
A Little Y-Seam Wisdom
Now You’re Ready to Sew
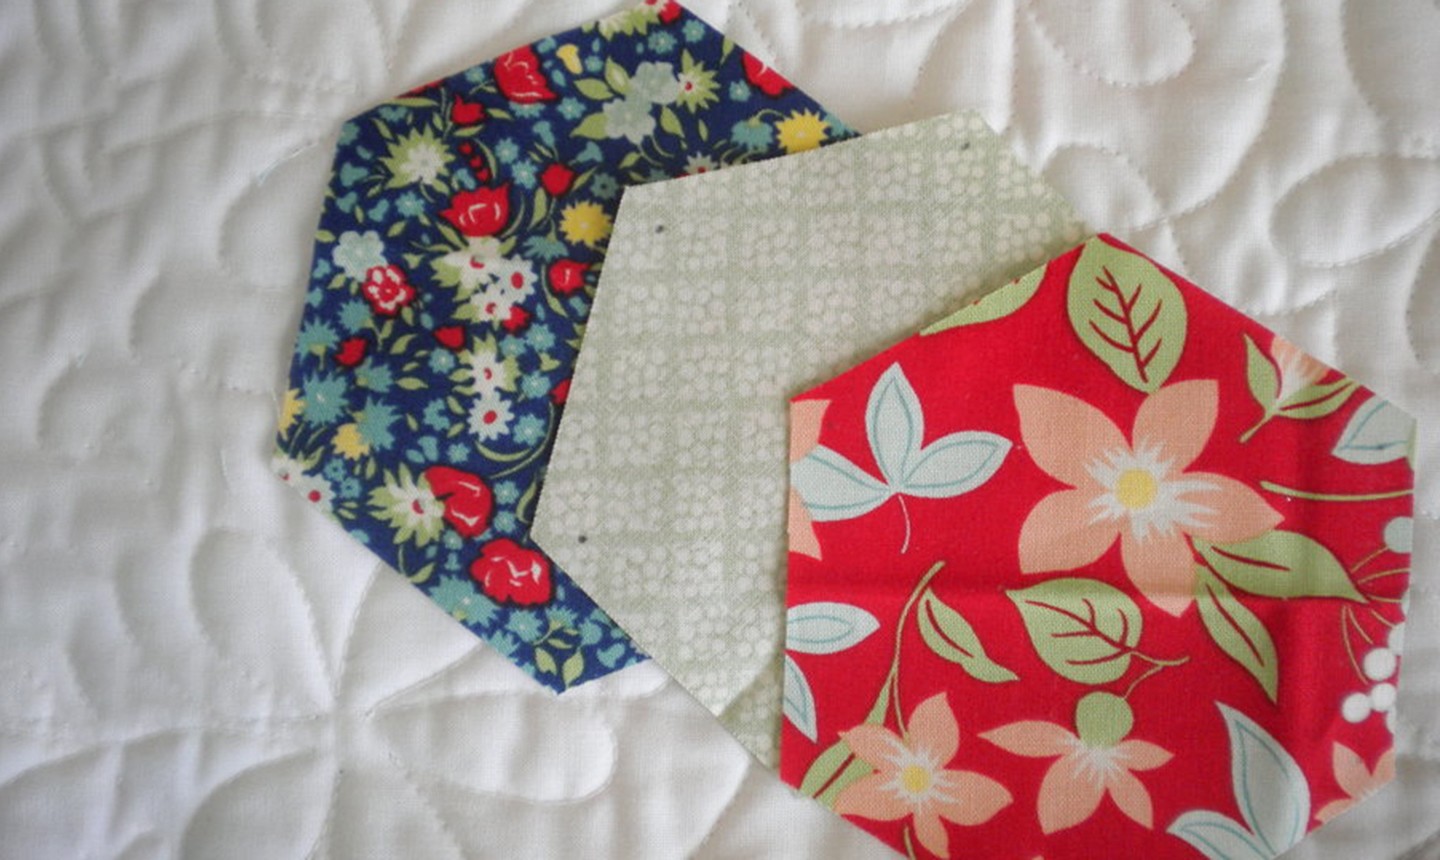
1. Line ‘Em Up
Line up the cut edges of your first two pieces (right sides together), then sew a ¼-inch seam, being sure to start and stop exactly at the dots or marked intersection points. It’s a good idea to take a couple of backstitches at the beginning and end of each seam to lock in your stitches.
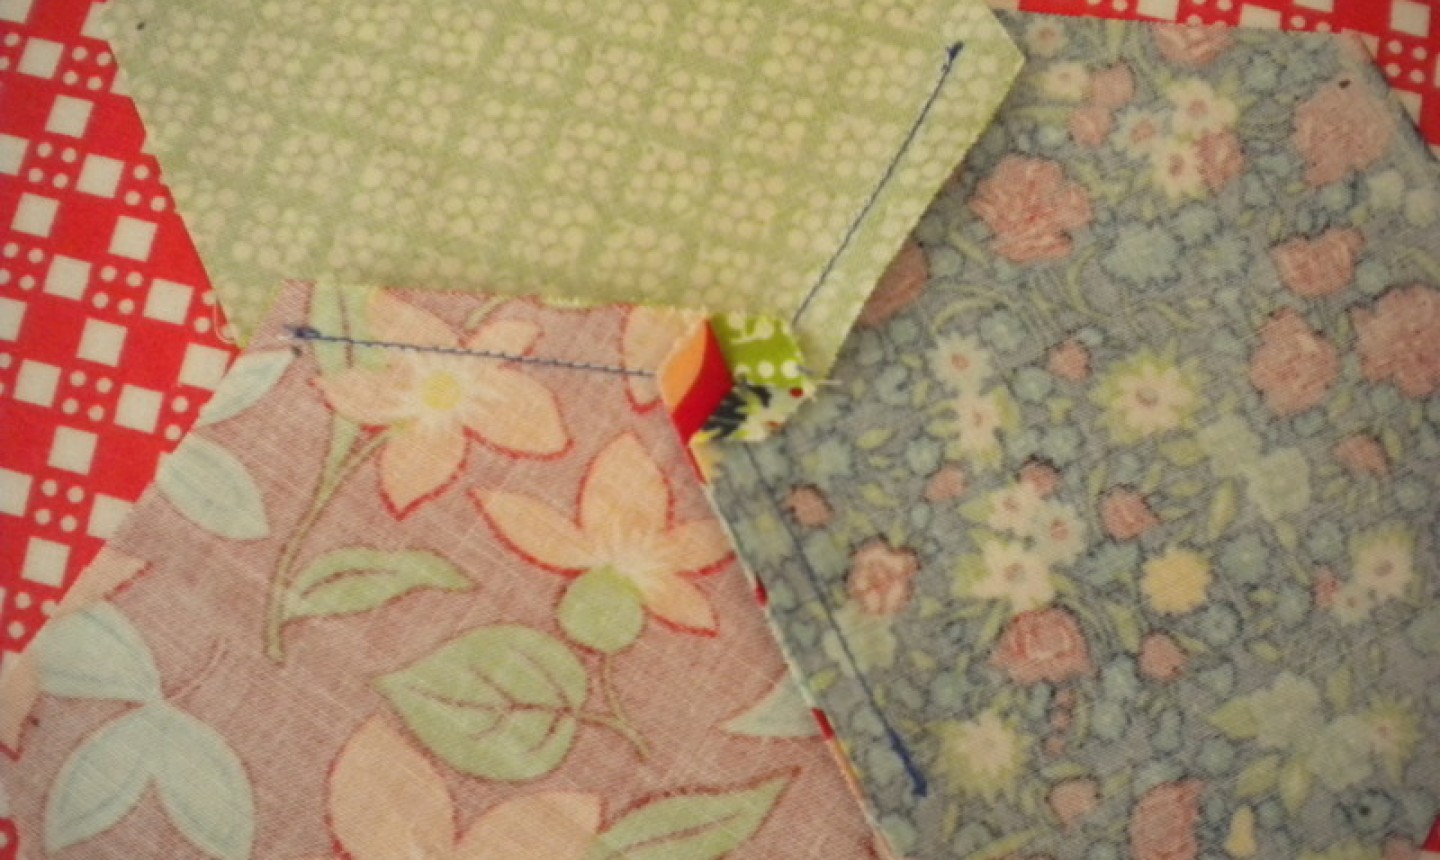
2. Add Your Third Piece
Bring in your third piece and, placing right sides together, sew the second seam of your “Y,” taking care to again sew “dot-to-dot” and not sew past your first seam or into the seam allowance.
3. Sew the Final Side
Now pivot that third piece and sew the next and final side of your “Y,” again taking care not to sew over either of the first two seams.
4. Press
Carefully press all three seams on the back side. Then flip over your block and admire your neat and complete “Y”!
Thank you very much. I appreciate the time you’ve taken to show me a site for I could understand and learn how to sew a “Y seam”
great class
Once you have the hexagons in your hand the directions make more sense but a few more pictures of the different steps would be helpful for newbies. I don’t understand written directions very well but with added pictures showing the steps helps! I’m a retired teacher of children with learning disabilities and learned aLOT about learning styles! I’m very visual which is why you tube is such a great learning tool for me!
Very good article. The pictures help get your point across. Thank you.
totally useless...... impossible to understand what you are saying !@!@!!!! YOU try and follow this !!! you try !!!!
Thank you for the help. I bought the Accuquilt hexagon die and I've been intimidated about sewing them together. You've given me the confidence to use my die and make something. Thank you.
If you know your machine and your pressure feet, you don’t need making on the fabrics. I never have to do this and I made soccer ball quilts.
This makes it "sew" much easier! thank you
This is a great technique! I use it all the time. It may take a little more prep work, but it sure beats having to take out stitches! Good luck everybody!!
I understand this concept and have tired it .... but I still think it is difficult to accomplish!