
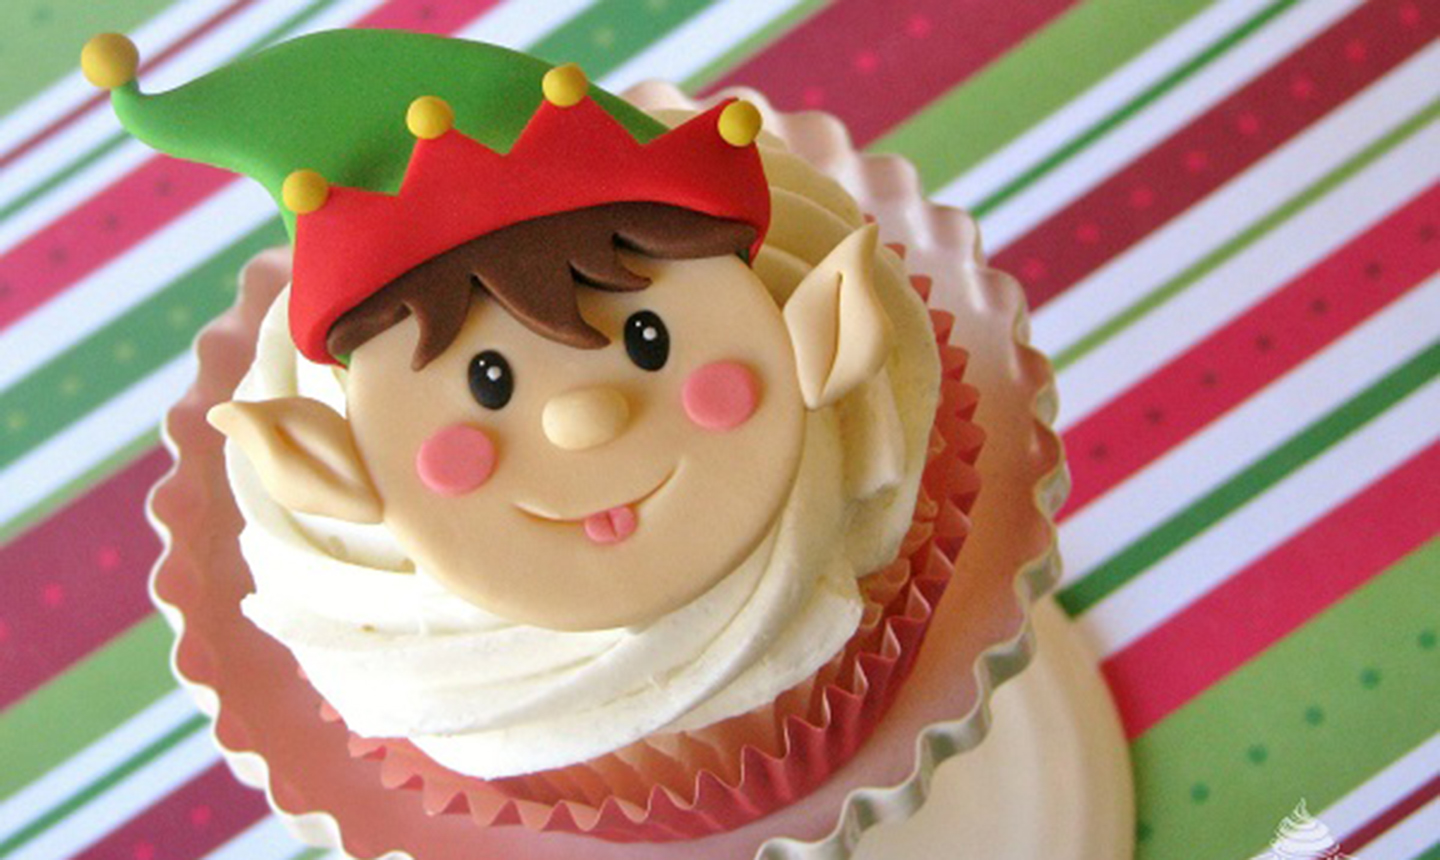
Turn your kitchen into Santa’s workshop and sculpt cute elves for your cupcakes. Fair warning: these little guys are so adorable, you may not want to actually eat them.
Elf Fondant Topper
Level: Easy
What You Need
Instructions
1. Build the Face
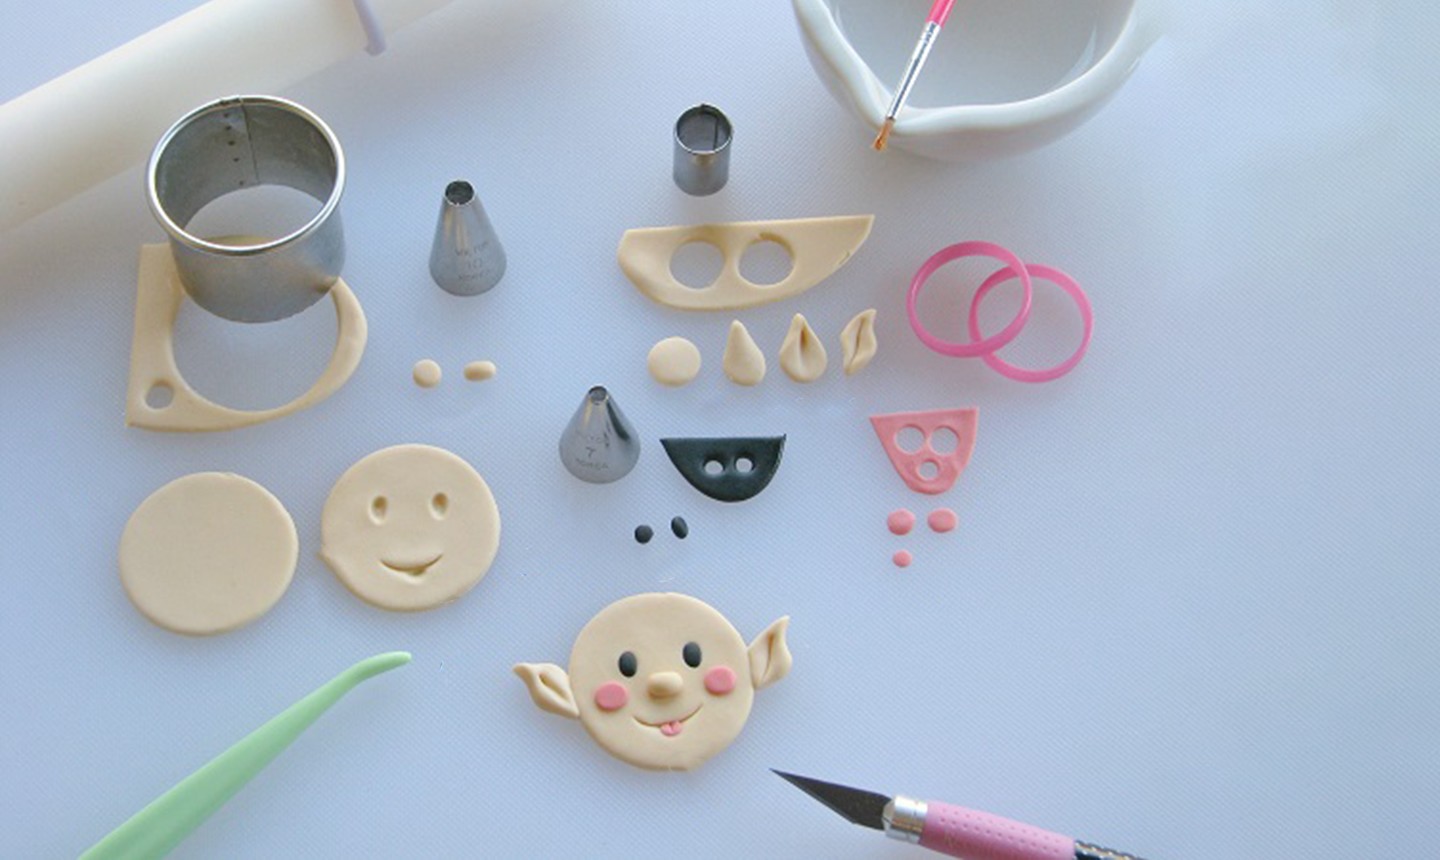
Roll the ivory fondant until it’s about ⅛” thick. Cut out a circle with the 1½” cutter. This will be the foundation of your elf.
Using the base of a piping tip, make an indent toward the bottom of the circle. This curve will be the mouth. Mark where the tongue will go by indenting right below the middle of the mouth with a fondant modeling tool. Then indent two ovals for the eyes.
Roll out more ivory fondant so it’s also about ⅛” thick. Cut a piece out with the small end of a round piping tip (we used #10). Roll it into an oval and place above the mouth to make a nose.
Cut out two more circles with a mini circle cutter and mold them into ears. You want to make teardrop-like shapes and pinch one end together, then use a fondant marking tool to indent the middle for depth. Shape the base of each so they fit the elf’s head.
Roll out the black fondant until it’s about ⅛” thick. Cut two circles with the small round piping tip (we used #7). Roll them into ovals and use edible glue to place them in the eye indentations.
Roll out pink fondant until it’s 1/16″ thick and cut out two circles with the #10 tip. Shape them into wider ovals and add them to the elf’s cheeks. Cut out one more piece with the #7 tip and shape it into an oval to make the tongue. Add a little indent with your fondant marking tool.
2. Make His Hat
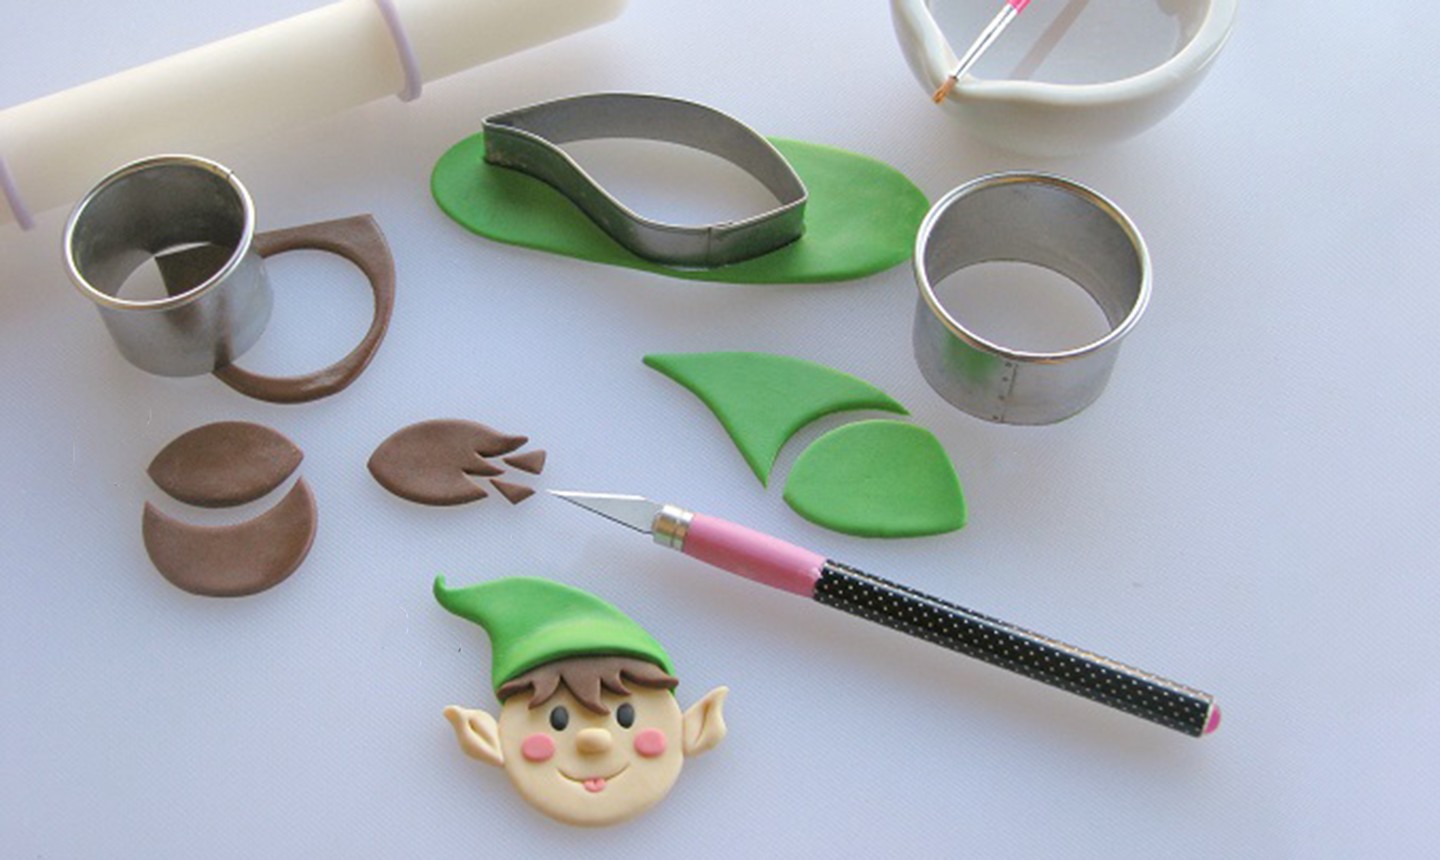
Roll out brown fondant until it’s about ⅛” thick. Cut out a 1⅞” circle and use the 1½” cutter to trim off the top. It should look a little like a football. Use an X-ACTO knife to cut one side of this piece to look like the elf’s hair, then glue it to his forehead.
Roll out green fondant until it’s about ⅛” thick and punch out a large leaf the with your leaf cutter. Use the 1⅞” cutter to trim off the more rounded end of the leaf. The pointed part will be the elf’s hat, so shape it how you want and glue it so it overlaps the hair piece.
3. Add the Details
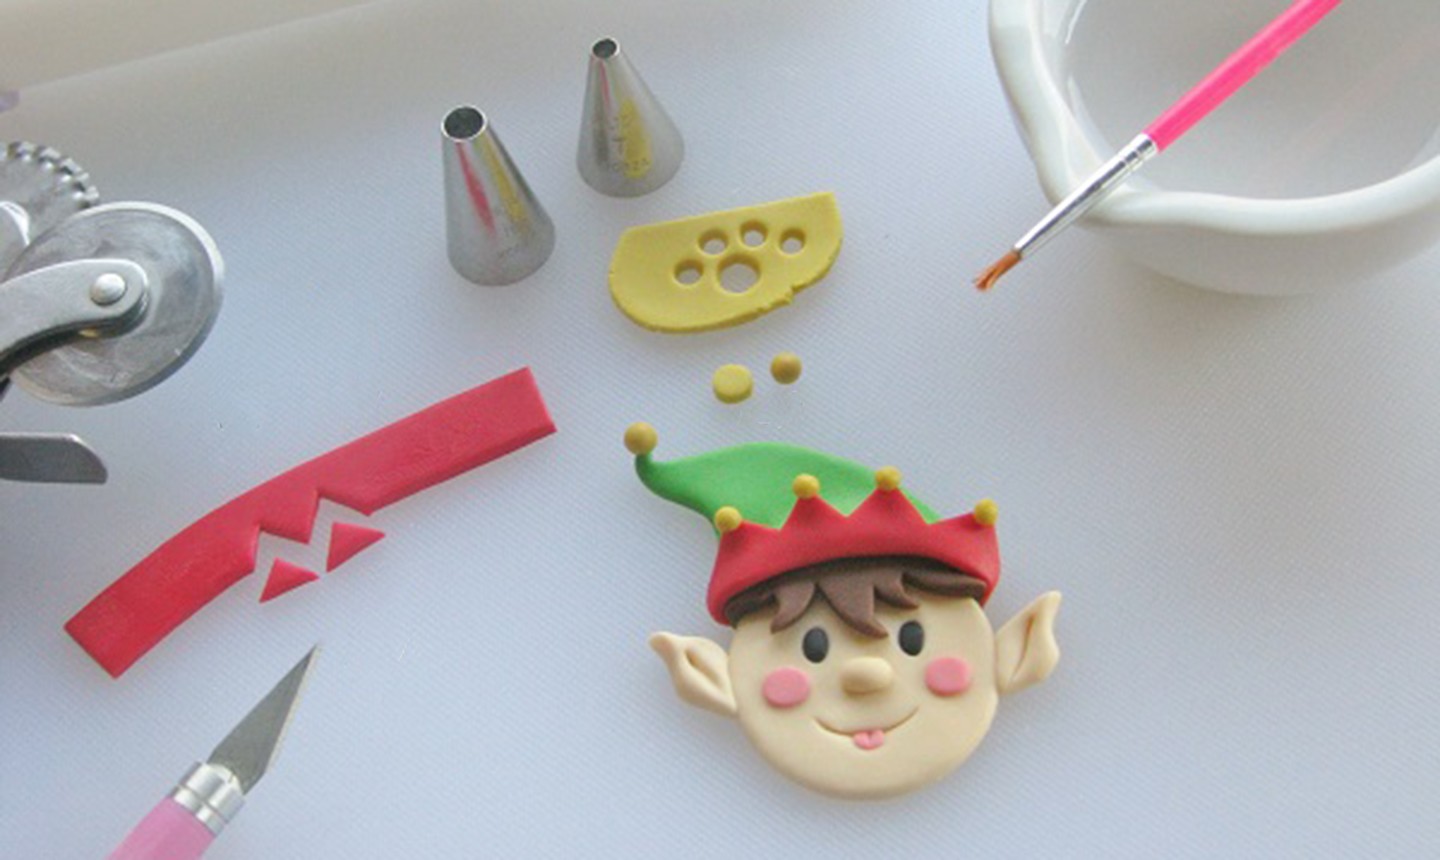
Roll out red fondant and cut out a strip with the rolling pastry cutter. (It should be approximately ¾” wide.) Use the X-ACTO knife to cut small triangles from the red strip, creating the pointed fabric roll for the elf’s hat. Shape it over the elf’s head at the edge of the hat and glue in place.
Roll out yellow fondant until it’s about ⅛” thick. Cut one circle with the tip of the #10 piping tip and four with the #7 tip. Roll these circles into balls and glue them onto each point in the elf hat, with the bigger ball going at the very tip of the hat.

Once everything is secure with edible glue, place your topper on a frosted cupcake and serve!
Share tips, start a discussion or ask one of our experts or other students a question.
Already a member? Sign in
No Responses to “Create Some Tiny Magic With This Christmas Elf Fondant Topper”