
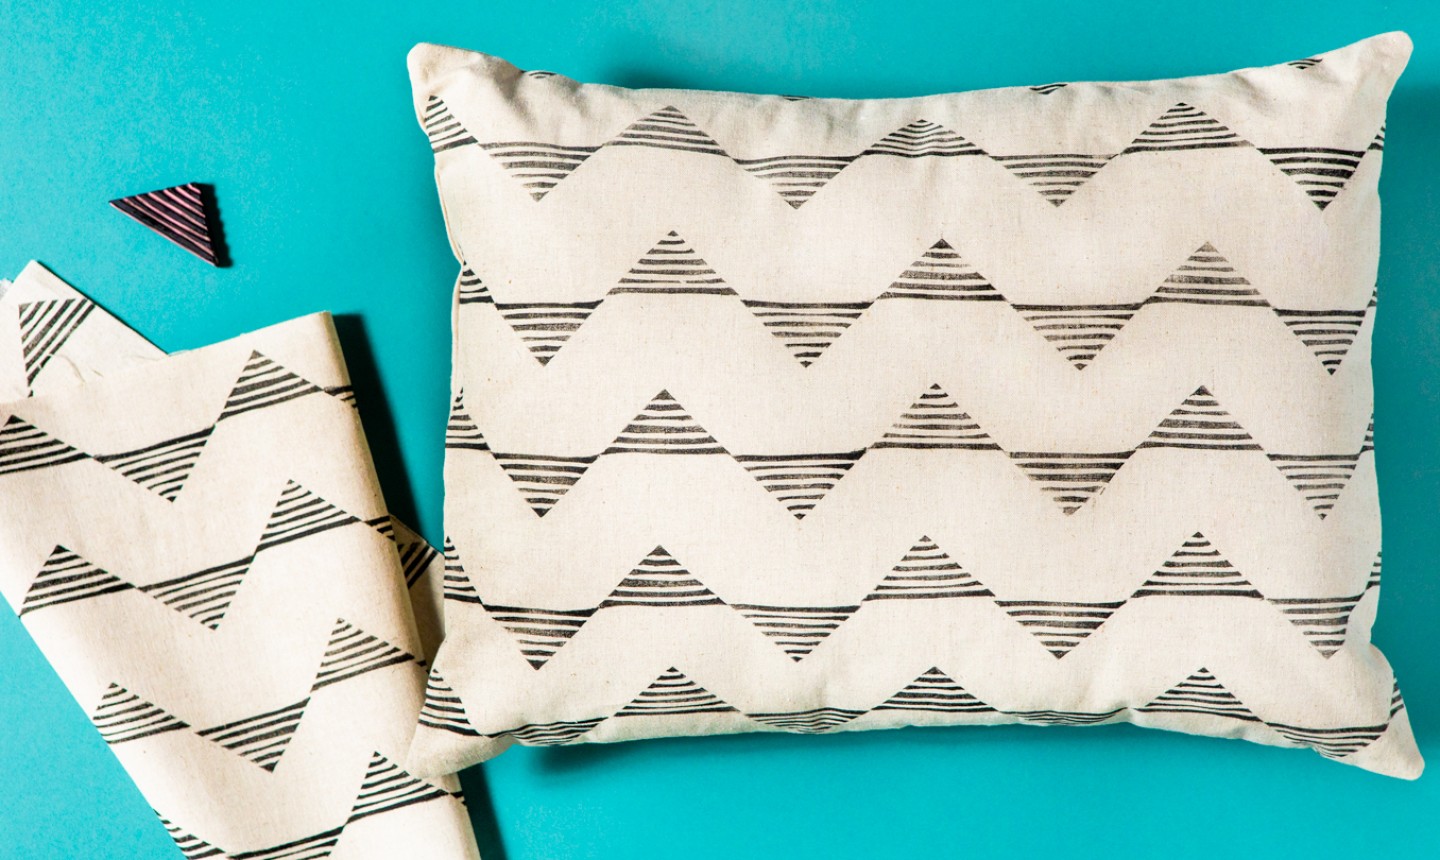
Picture your couch all fancied up with throw pillows you won’t see anywhere else. The secret is making ’em yourself.
Ready? Good! A couple cuts and a few stitches are all that stand between you and your decor dreams. Of course you can do this project with any fabric you love. But if you’re feeling extra, you can even DIY the cool stamped fabric shown here. (Hello, favorite new craft.)
DIY Envelope Pillow
Level: EasyWhat You Need
Pro Tip: Although you can use scissors to cut your fabric, using a quilting ruler, rotary cutter and mat helps you get super precise lines.
Instructions
1. Cut the Fabric
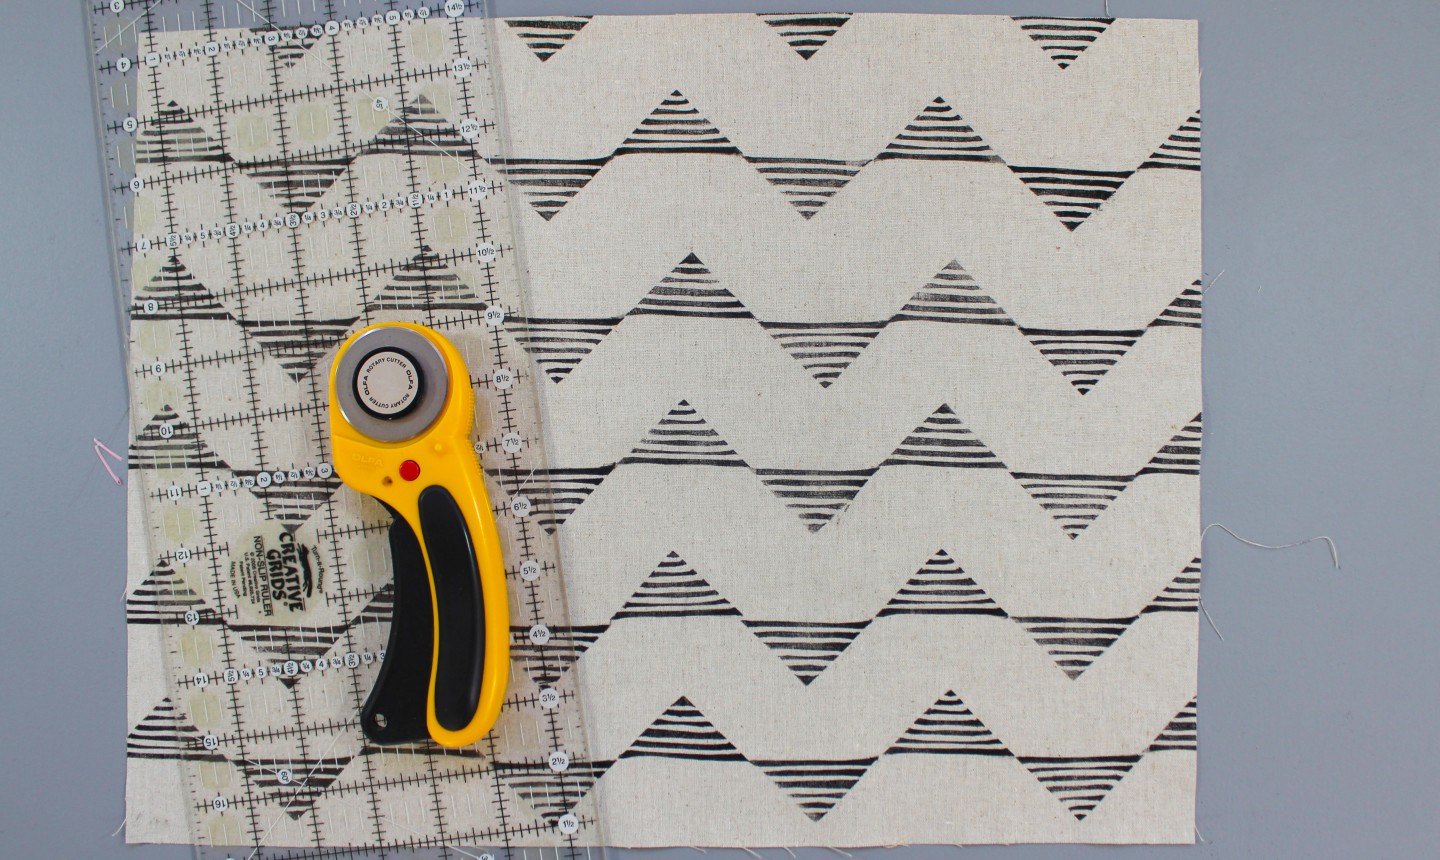
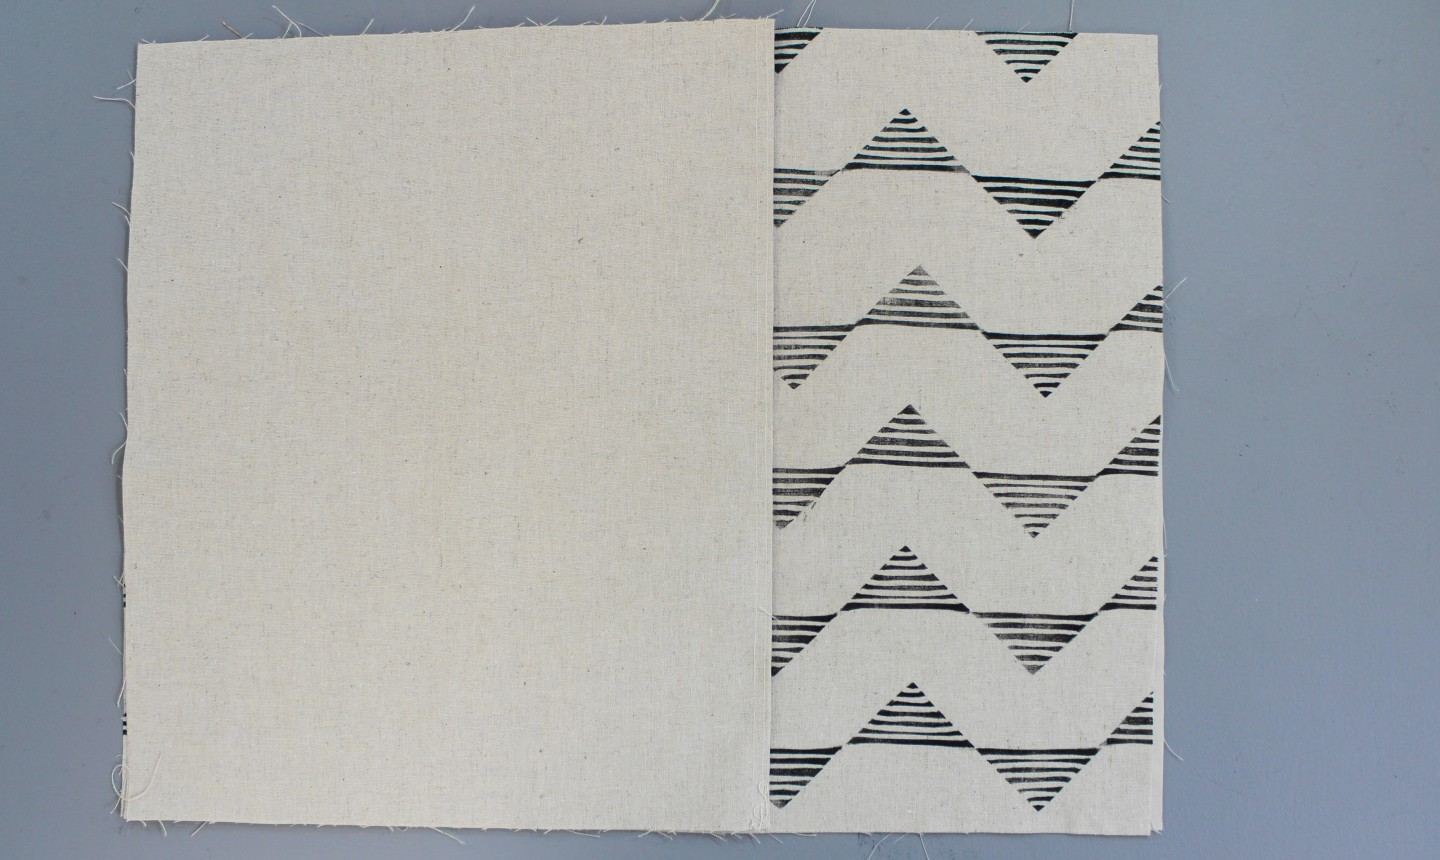
Grab your printed fabric and press out any wrinkles so it lies smoothly on your work surface. Using your rotary cutter or scissors, cut a rectangle that is one inch longer and one inch wider than your pillow form. Our pillow is 12″16″, so we cut a 13″ x 17″ piece of fabric.
Then cut out a 13″ x 17″ piece of light-colored fabric. This will be the lining of your pillow.
2. Fold and Stitch
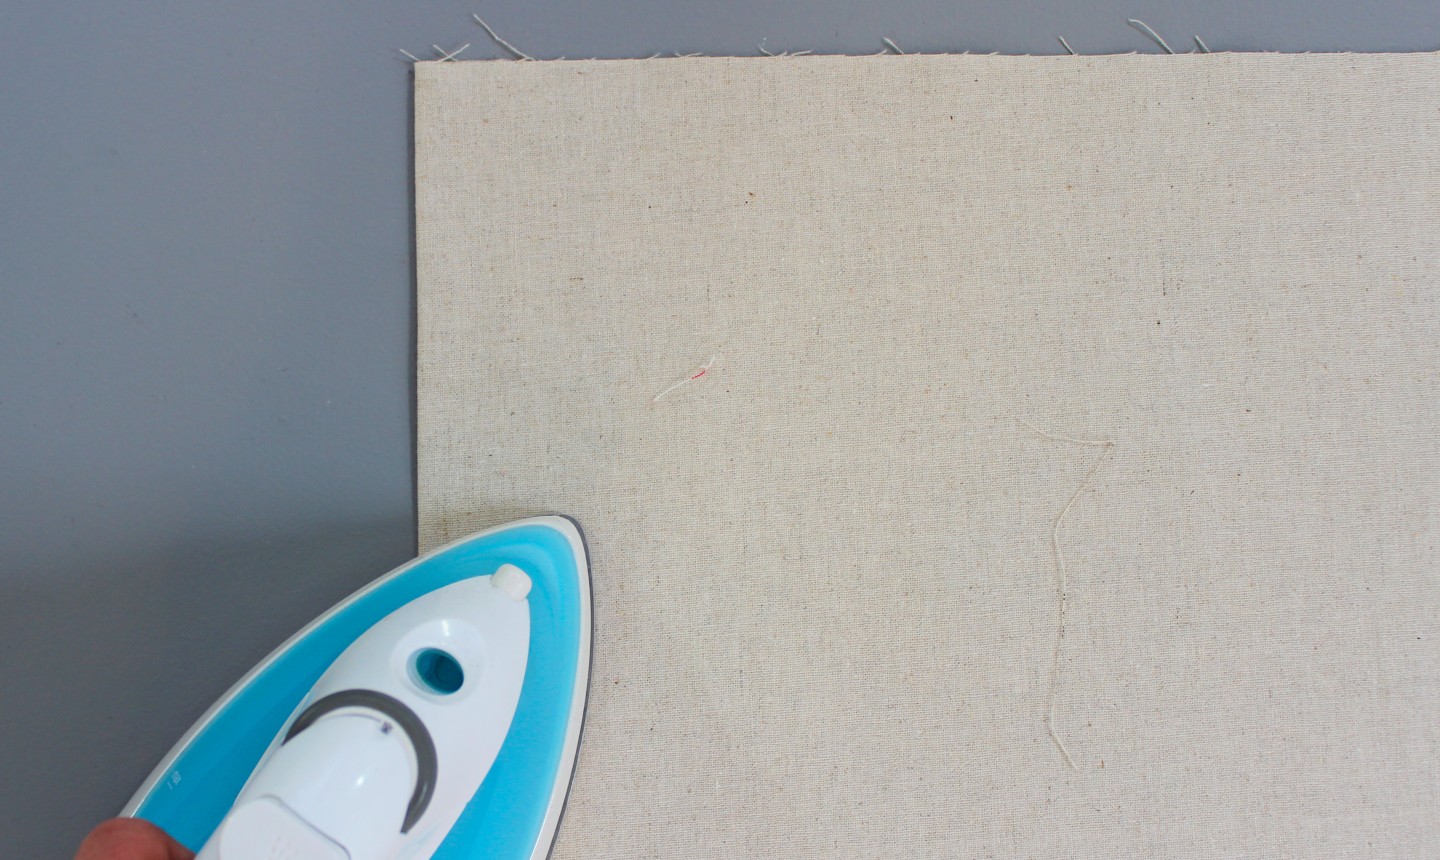
For the back side of the pillow, cut two 13″ x 22″ pieces of the light fabric. Fold each piece in half and press along the fold with an iron. This fabric should now measure 13″ x 11″.
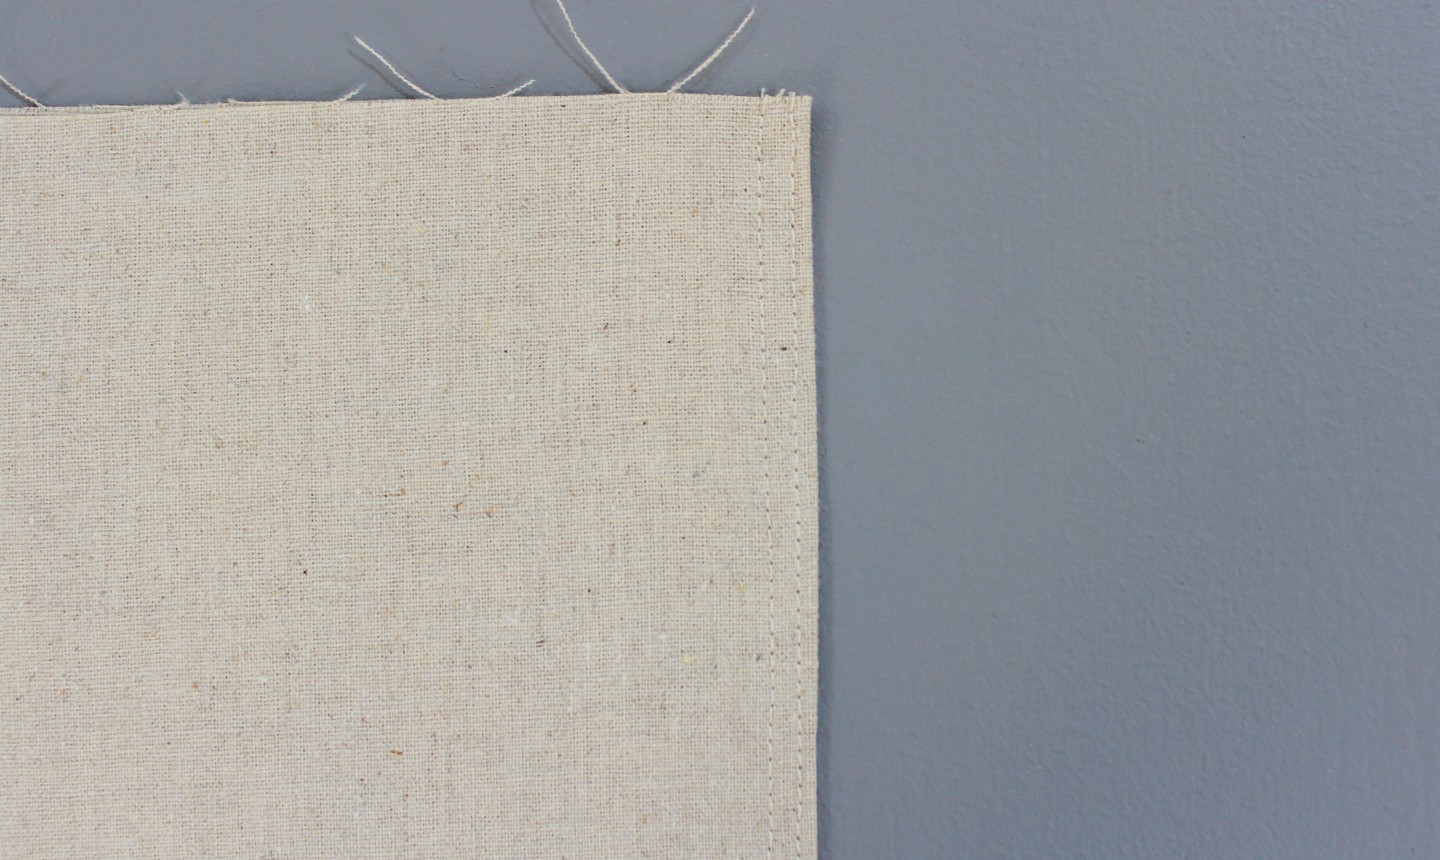
Topstitch two rows of stitches along the fold of both pieces. This stitch is decorative, but also helps to hold the fold in place.
3. Stack the Fabric
Place the rectangles in the following order: The light color fabric rectangle, the printed fabric (right side up), and then both folded back pieces overlapping on top. The folded edges with topstitching should be overlapping — this will create the “envelope” opening on the back of the pillow.
4. Pin and Sew
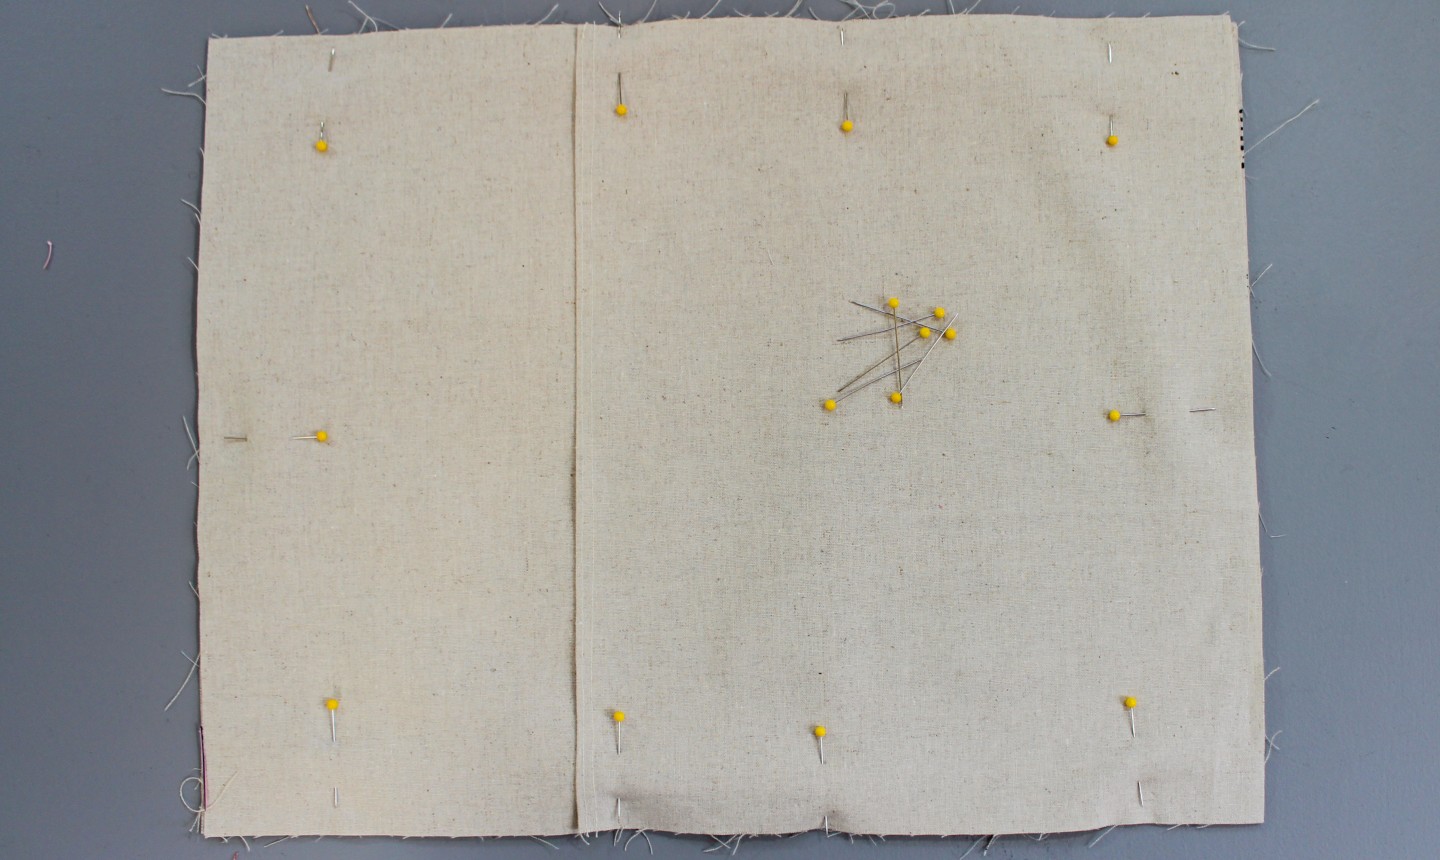
Once everything is laid out, pin all the fabric together along the outside edge of the rectangle. Stitch around the pillow’s edges with a ¼” seam allowance.
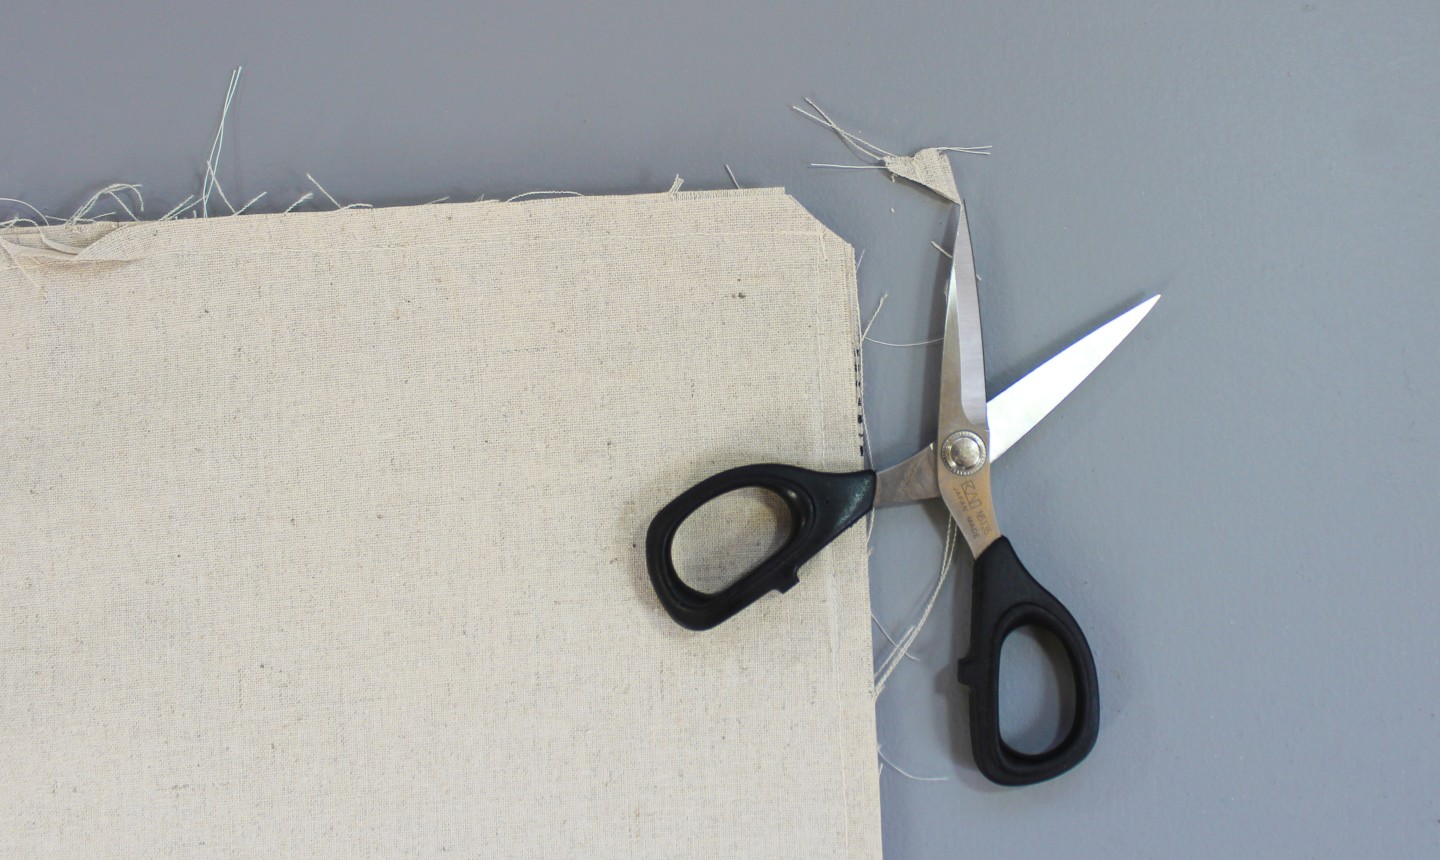
Press the seams and trim the tips of the corners.
5. Flip it Out

Turn the pillow right side out through the opening, press the seams and insert the pillow form.
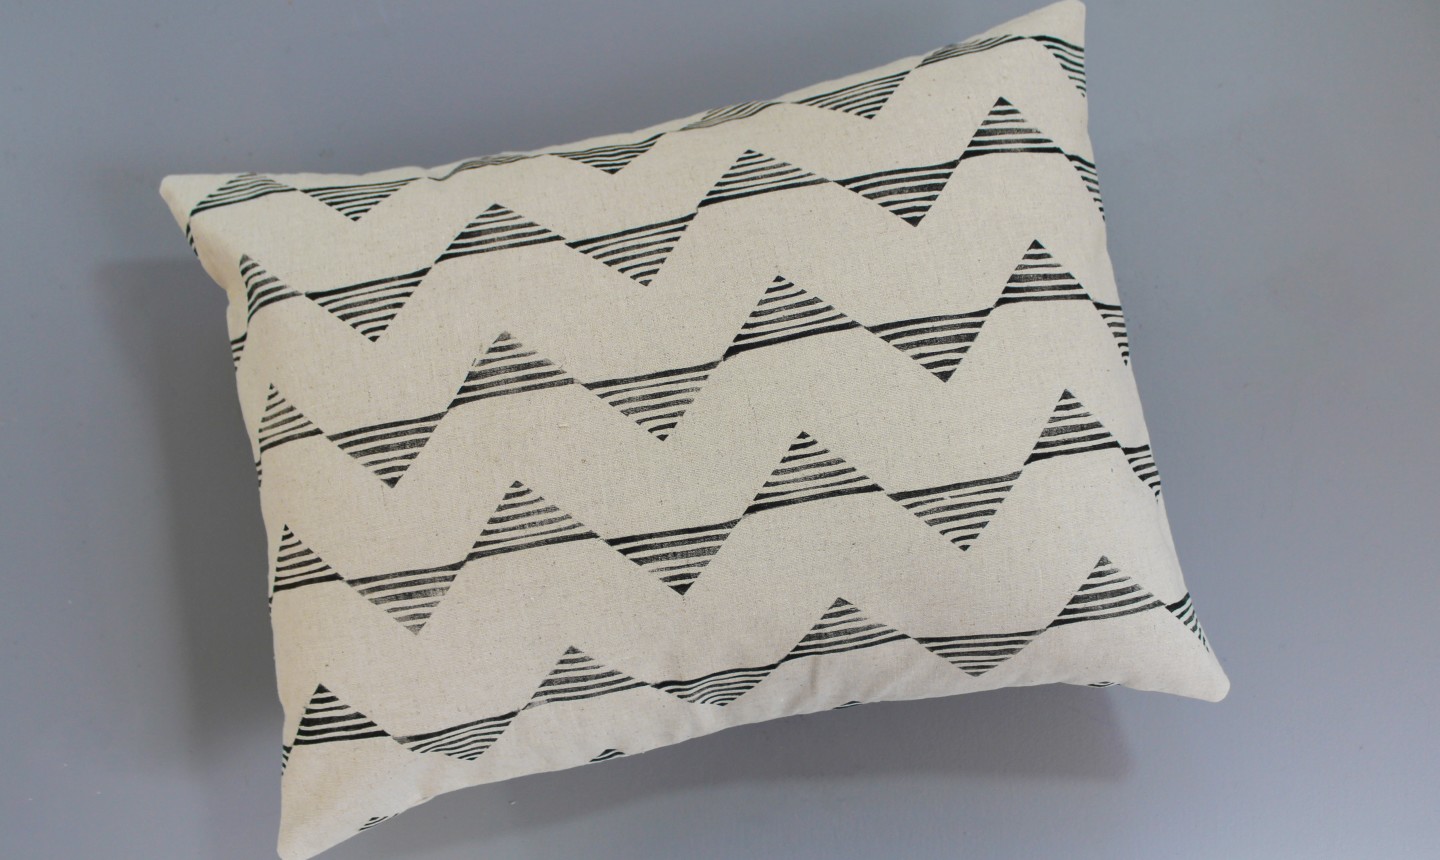
Fluff it up and make your couch or chair very happy.
Photos by Marni Weaver.
Love the pillow and excited to try