
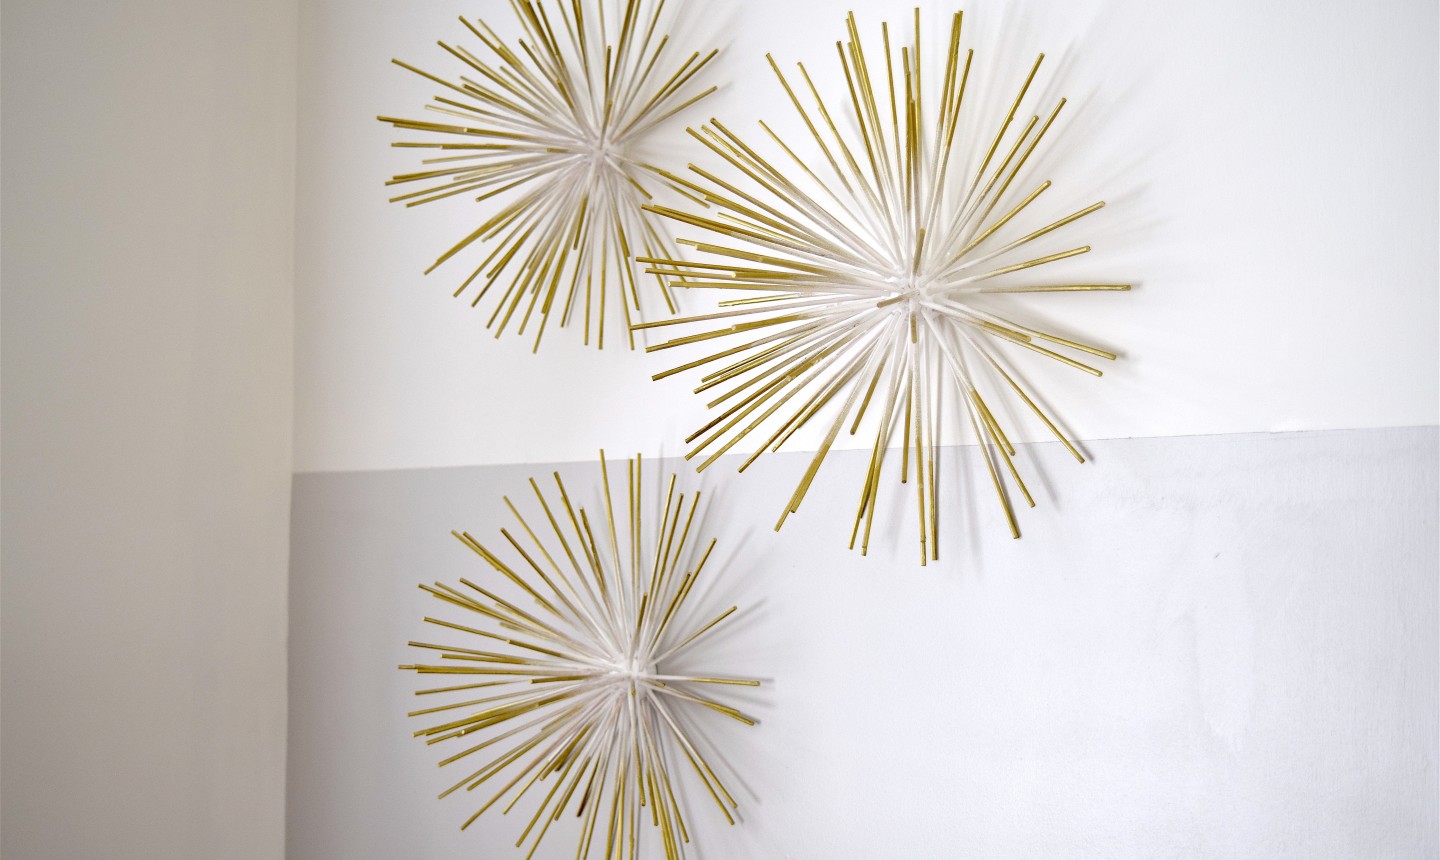
If you’re all about those mid-century modern vibes, you’ll love these geometric starburst wall hangings that add a pop of drama to any corner. We opted for luxe gold, but these can feel as glamorous — or as funky — as you like, depending on how you play with color.
Mid-Century Starburst Wall Decor
Level: Easy
What You Need
Instructions
1. Prepare the Center
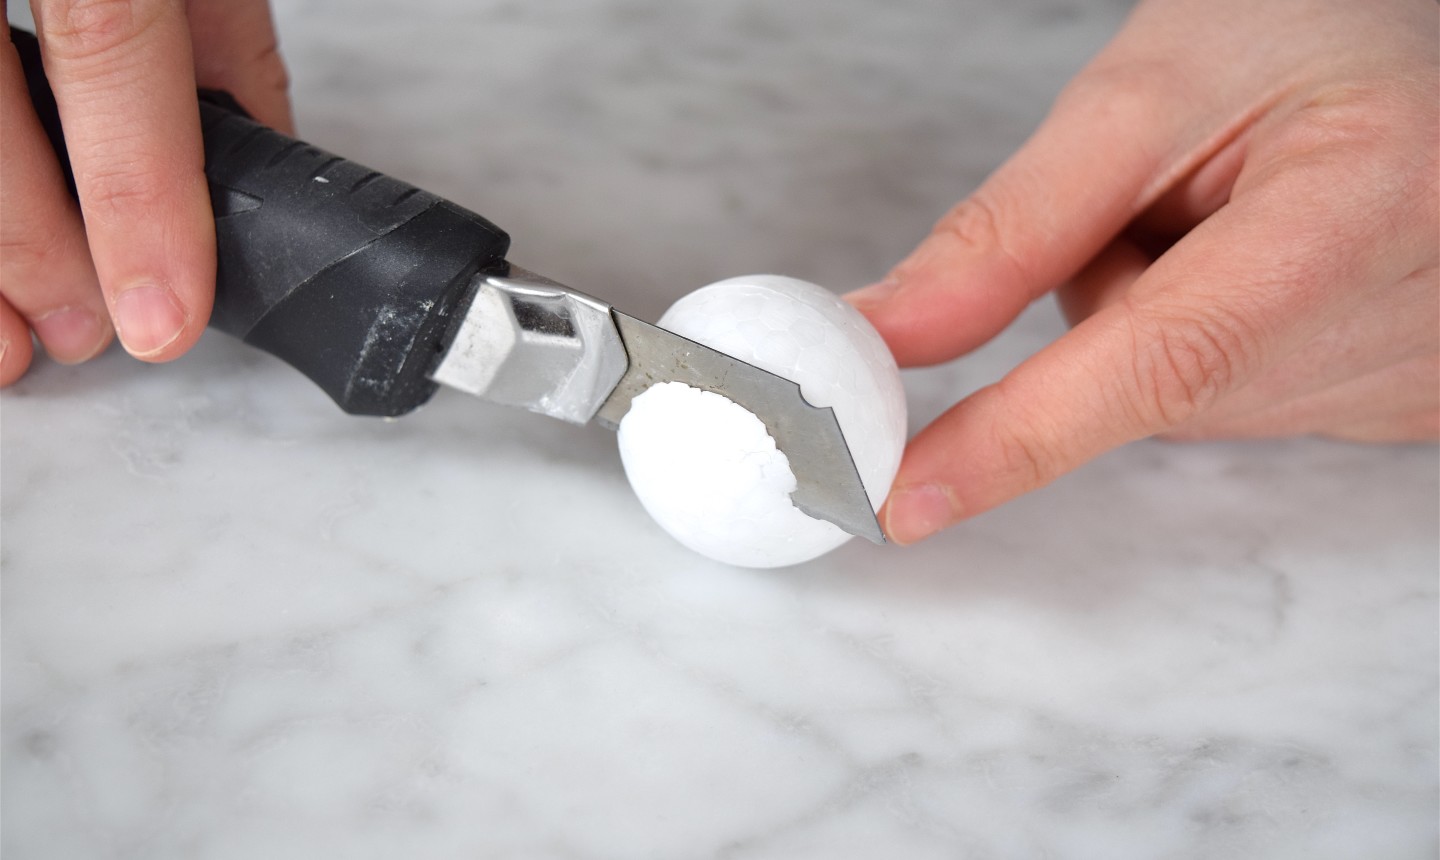
The foam ball is going to serve as the epicenter of your starburst. In order for it to lay flat against your wall (or any other surface), it needs a straight edge. Using a snap blade or x-acto knife, cut off one end (a little less than one fourth of the ball).
2. Spray Your Sticks
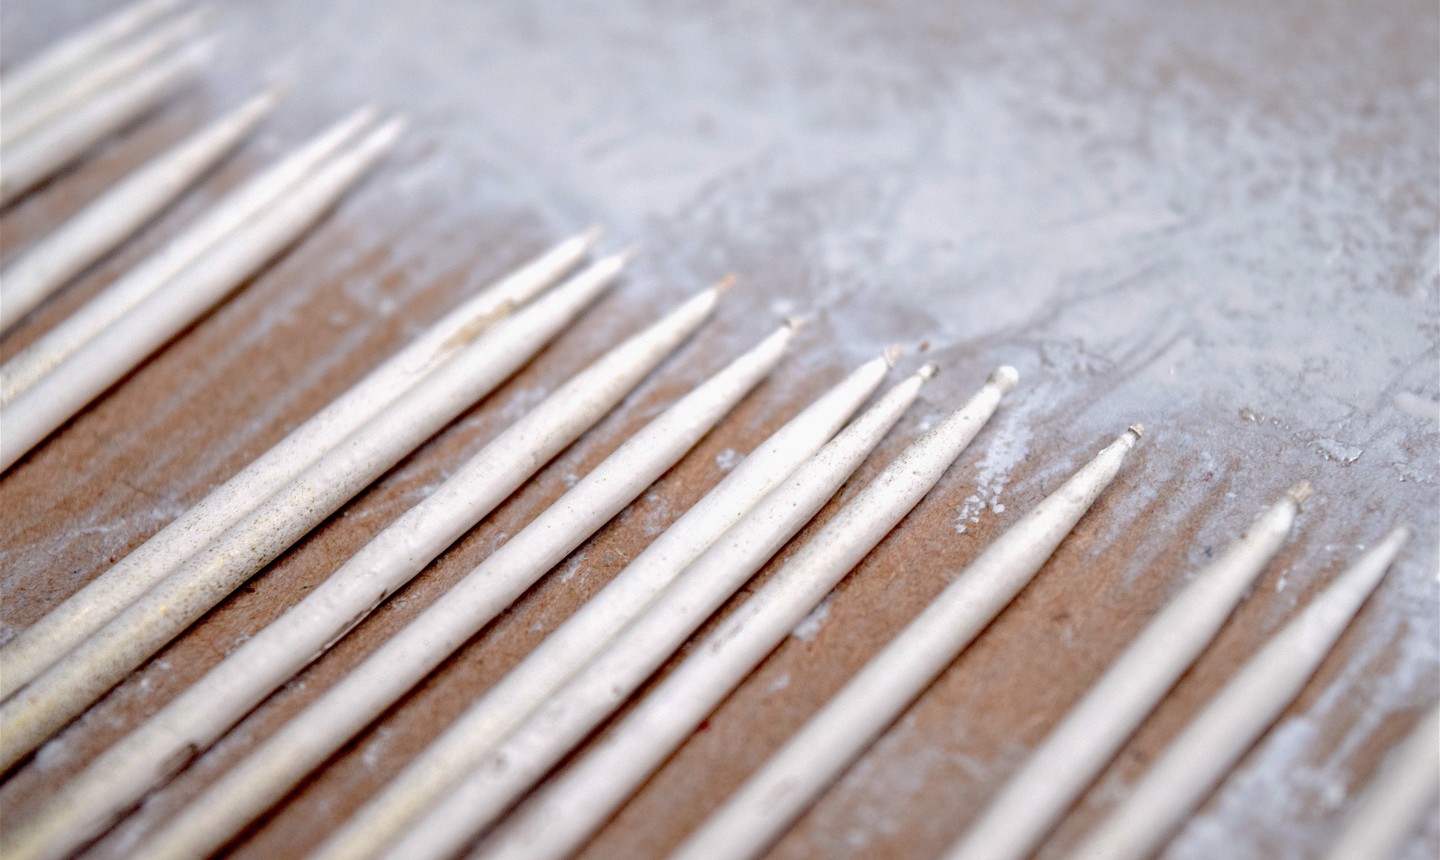
To get the white-to-gold ombré look, you’ll need to spray your sticks white first. Lay ’em all out on a piece of cardboard or a large sheet of craft paper or newspaper in a well-ventilated area. Make sure that there’s a little space between each stick so the paint can coat around the sides. Move your hand side to side to spray the sticks, keeping your hand level and your pressure on the nozzle consistent so everything is coated evenly. When you’re done, let them dry.
Once the sticks are dry to the touch, flip them over to expose the un-sprayed wooden side. Apply a coat of spray paint to that side, and let dry.
3. Make ‘Em Gold
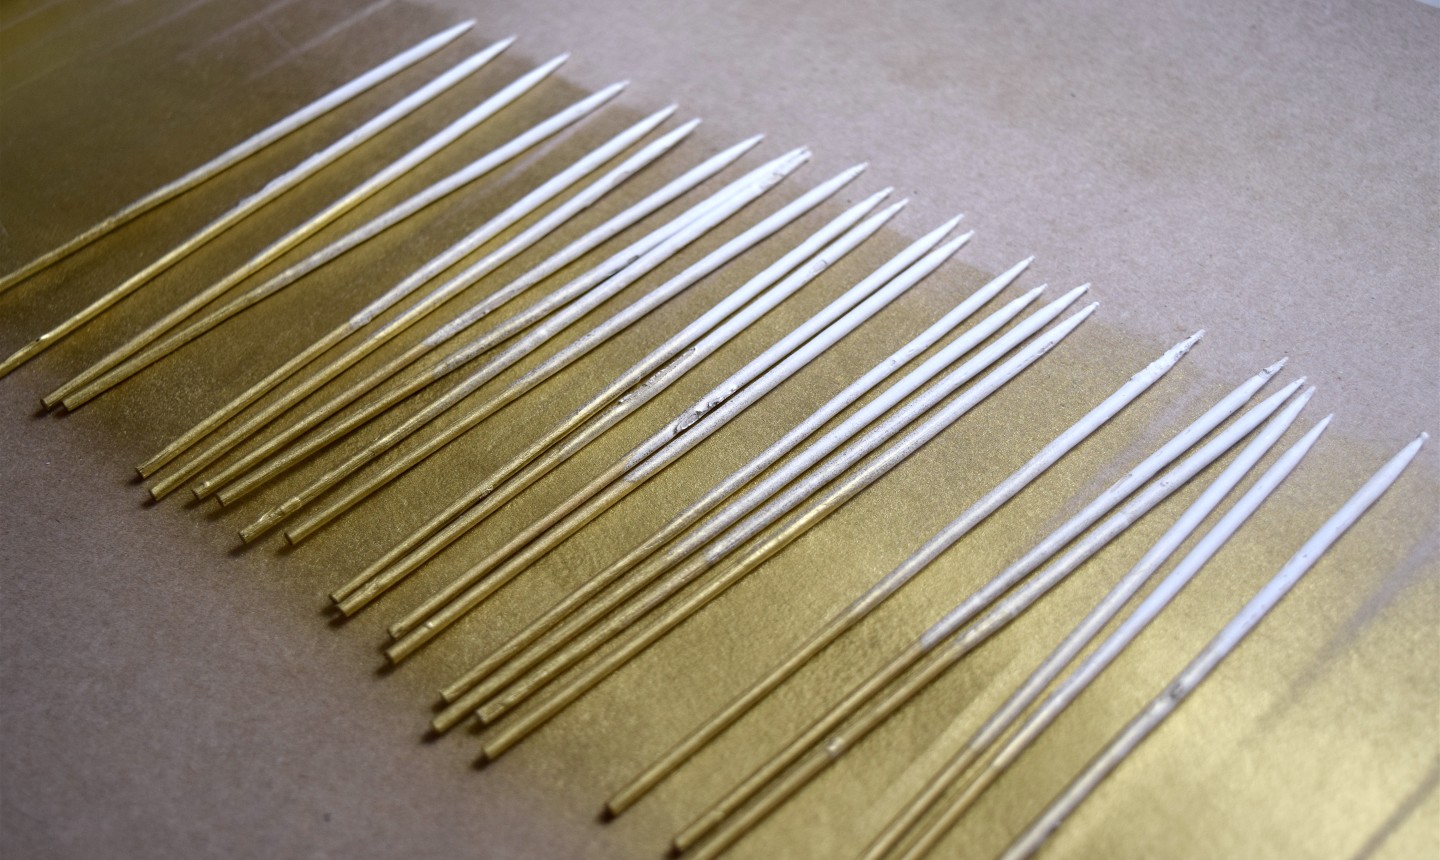
Once your white sticks are completely dry, line them up so that they’re all level, again with a little space between each stick. It’s important to make sure they’re aligned before you add the gold paint, so the transition from white to gold is consistent on every stick.
Then, in a well-ventilated area, spray on the gold: Start at the blunt end of the sticks and hold your hand fairly close, moving it back and forth as you spray. As you move closer to the middle of the sticks, pull your hand further back so that the paint isn’t as concentrated. This helps make that seamless ombré effect. Leave plenty of white toward the pointy end of the sticks. Once everything has been sprayed, let ’em dry, then flip them and spray again in the same ombré fashion to make sure the gold all sides are gilded.
4. Assemble the Starbursts
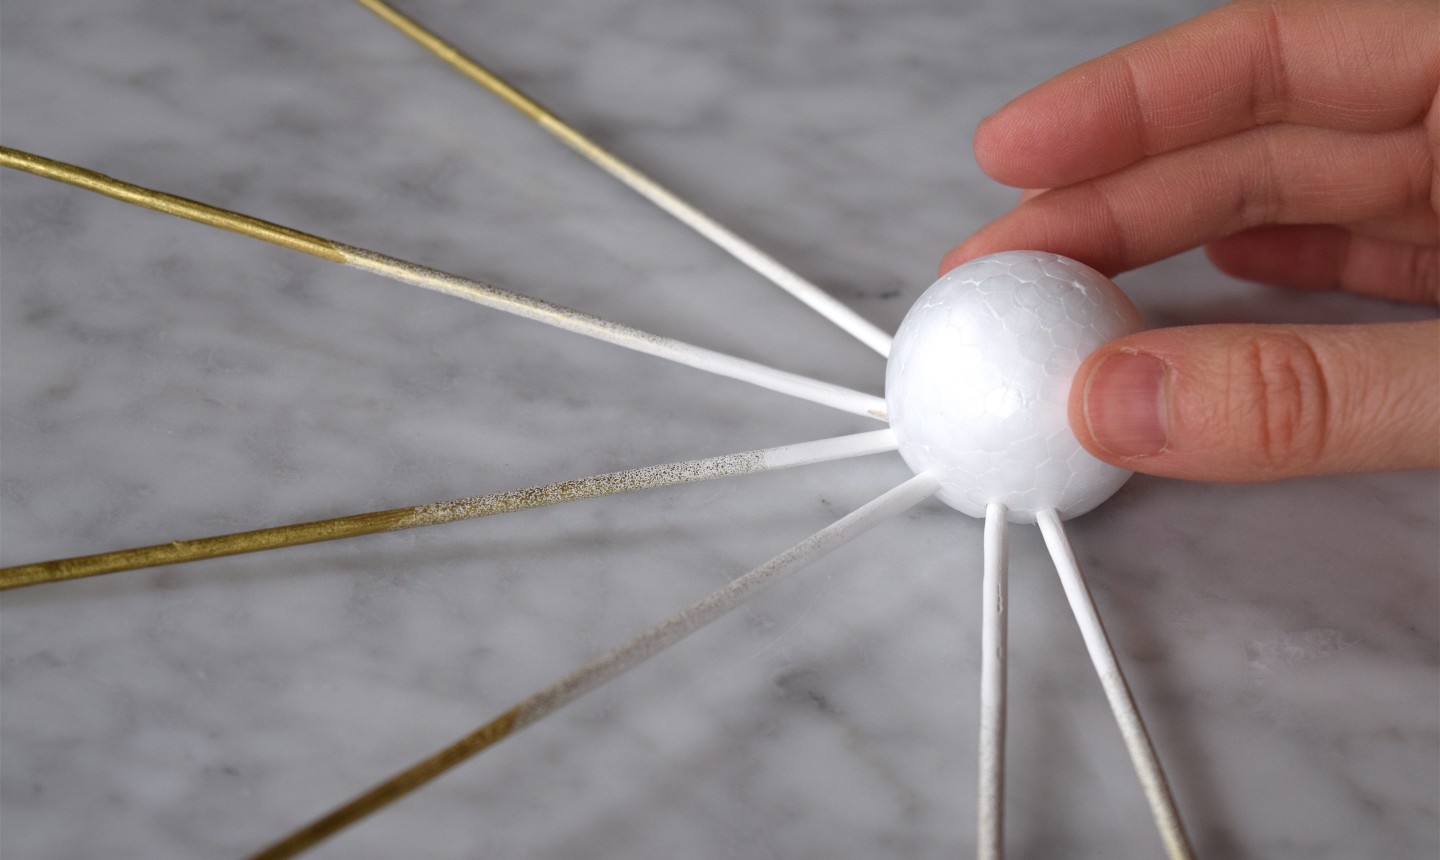
Starting just above the flat edge of your foam ball, insert a row of sticks, pointy end first. The sticks should be a little under a half centimeter apart from each other as you insert them around the equator of your ball.

Once you complete your first row, move onto your second, making sure to insert each stick so it occupies the empty area between the two beneath it. This staggered placement will really nail that starburst look.
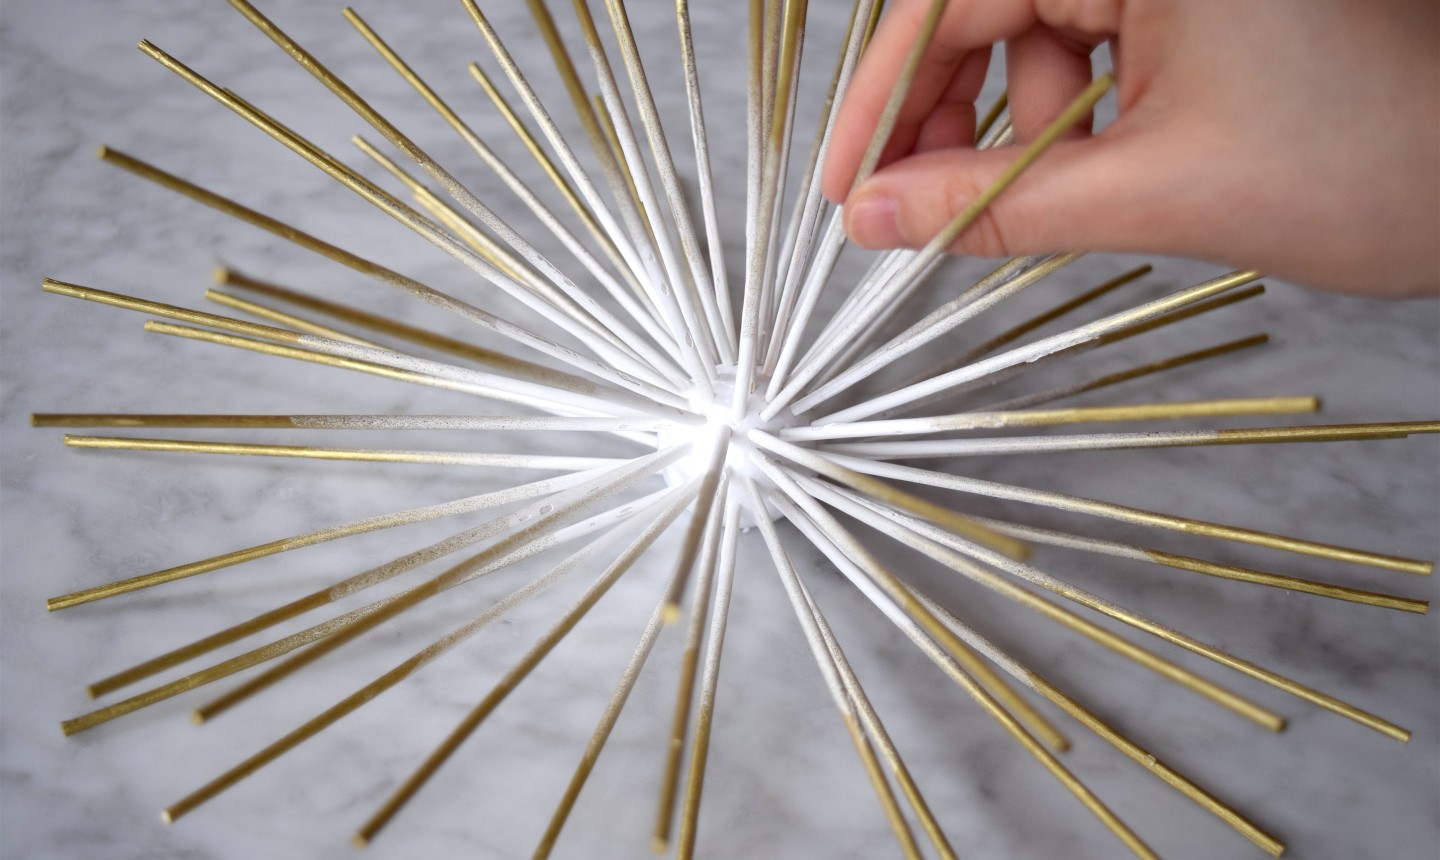
Continue adding sticks until you’re happy with the finished result (we used roughly 80 sticks for one starburst). Repeat this process for two more starbursts, then hang them in a trio and bask in all their glory!
Photos by Alison Caporimo
Share tips, start a discussion or ask one of our experts or other students a question.
Already a member? Sign in
No Responses to “This DIY Starburst Wall Art Gives Your Room Instant Glam”