
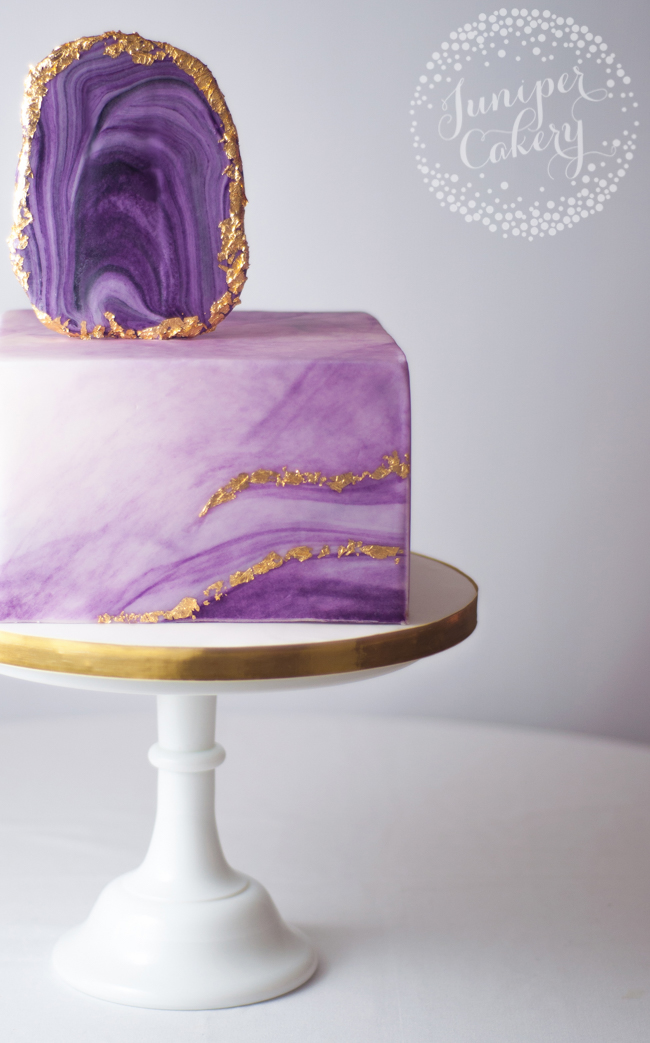
Marbled, gold flecked and geode-inspired cakes are definitely among some of our favorite trends so far! Gaining tremendous popularity in the past year, these beautifully crafted cakes are perfect for a stylish birthday or a chic wedding. The intricate designs are sure to impress and are actually easier to achieve than you’d think. Keep reading for a step-by-step guide to creating the agate cake trend.
All photos via Juniper Cakery
Agate cake tutorial
Materials and tools needed:
- A marble fondant iced cake (agate can come in whites, pinks, browns, grays, purples)
- Rolling pins (both small and large)
- Wooden skewers
- White gum paste or modeling paste
- Food coloring (we opted for purple)
- Edible glue
- Food safe paintbrush
- Icing smoother
- Edible gold leaf
Step 1:
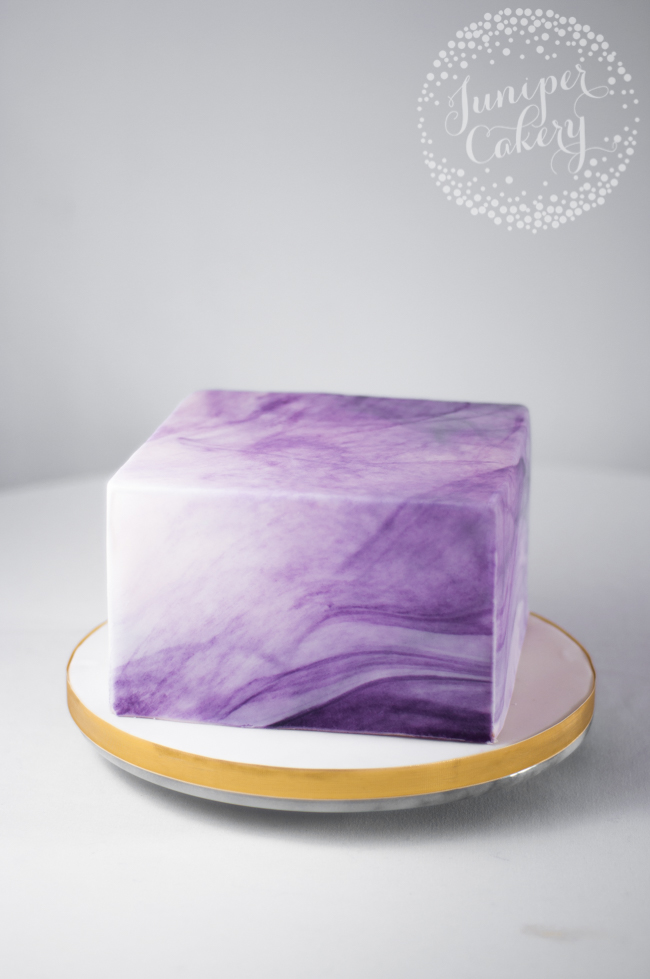
Started with marbled fondant. If you’re not sure how this is done, check out our step-by-step tutorial on how to marble fondant.
As marble is random, a great starting point is to decide which side of the cake you want to be the front. We opted for the side pictured above because we loved the long wavy streaks and how the darker purple blended to one side of the cake. Whichever marble effect you choose make sure you consider where you’d like your topper to sit.
Step 2:
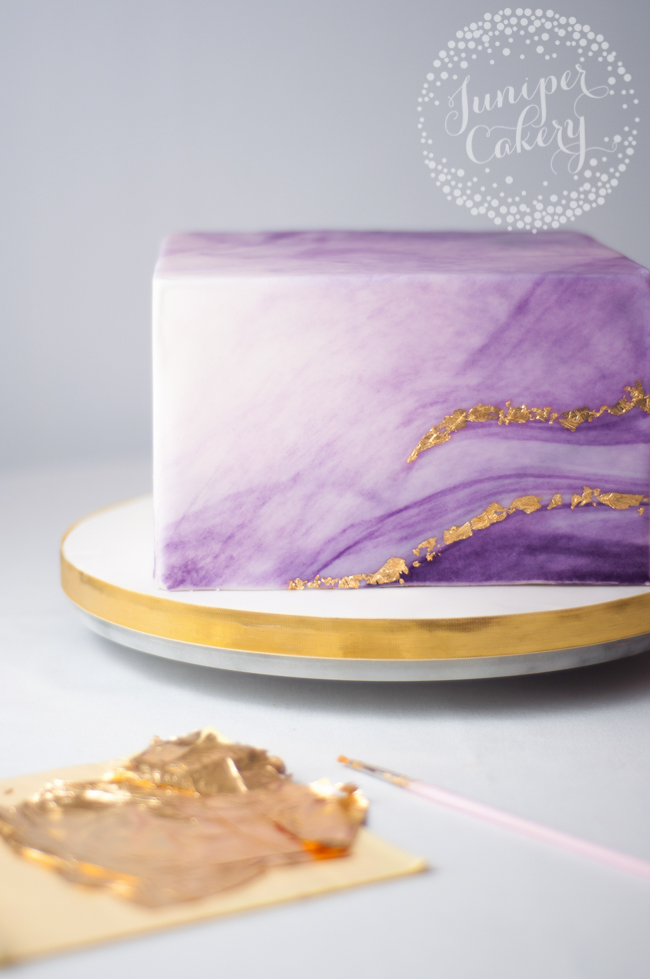
Along some of the darker marbled streaks add in some gold edging like pictured above. We used edible gold leaf for this step but you can also apply an edible metallic gold mixture. Edible glue or water may be used to achieve this effect. Use a small paintbrush to add the glue or water to the cake before delicately fixing on your gold. Gold leaf is incredibly light and can be tricky to work with so make sure you use a dry, food safe paint brush to lift and attach the pieces.
Step 3:
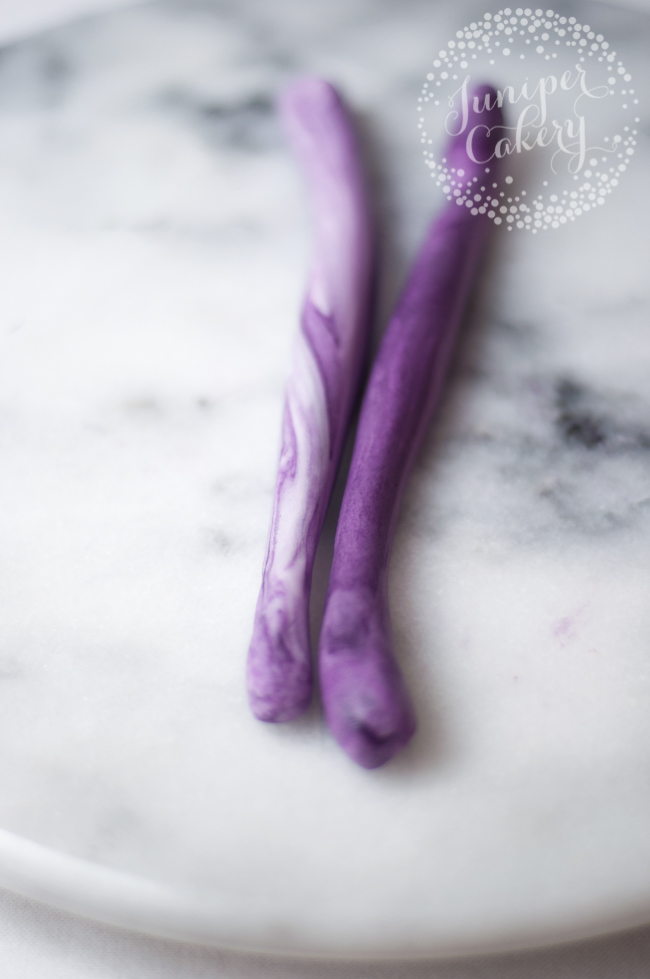
For the stunning agate topper, take some gum paste and separate it into two parts. Before rolling the two separate sections of gum paste into the shapes pictured above, take one part and add enough food coloring to create a medium shade (shown on the left above). Add more food coloring to the second piece of gum paste for a darker shade (on the right). Depending on the size of the topper you want, you can use more or less gum paste.
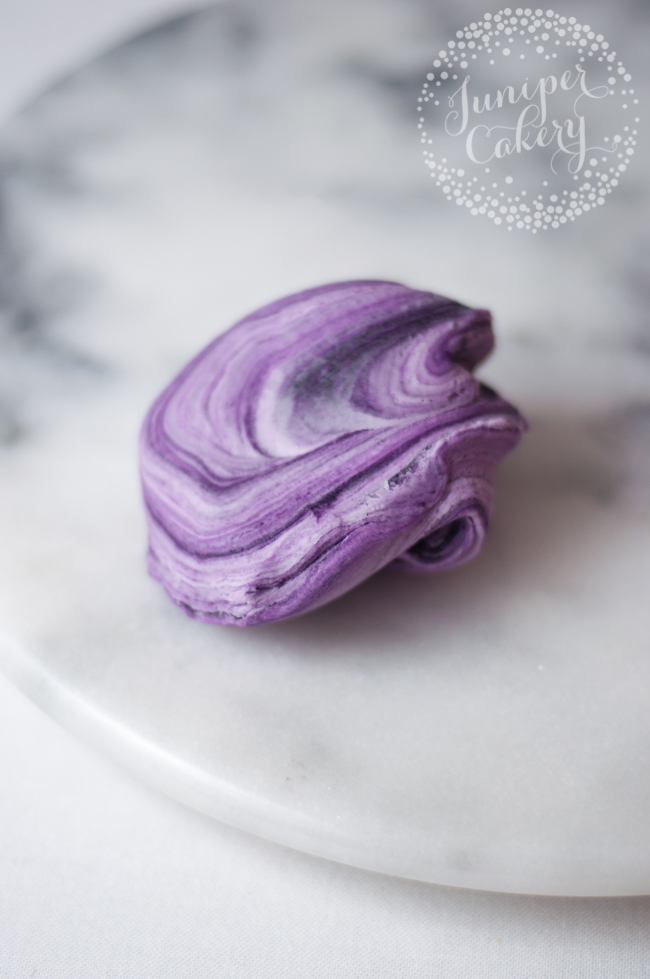
Step 4:
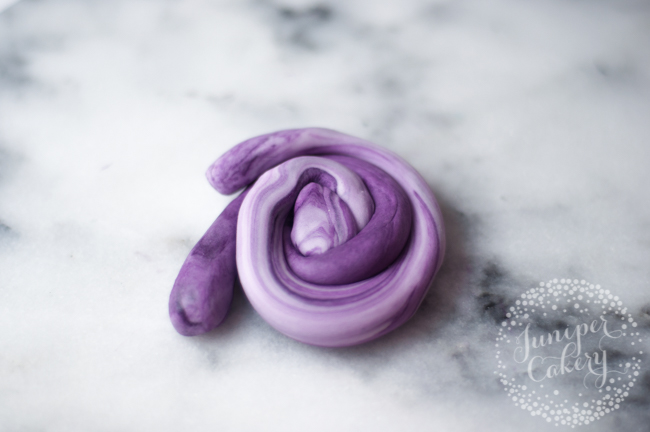
Roll both pieces together to create something similar to a cinnamon roll as pictured above. Then, squish the gum paste eliminating the individual rolls and creating more of a ball as shown below.
Step 5:
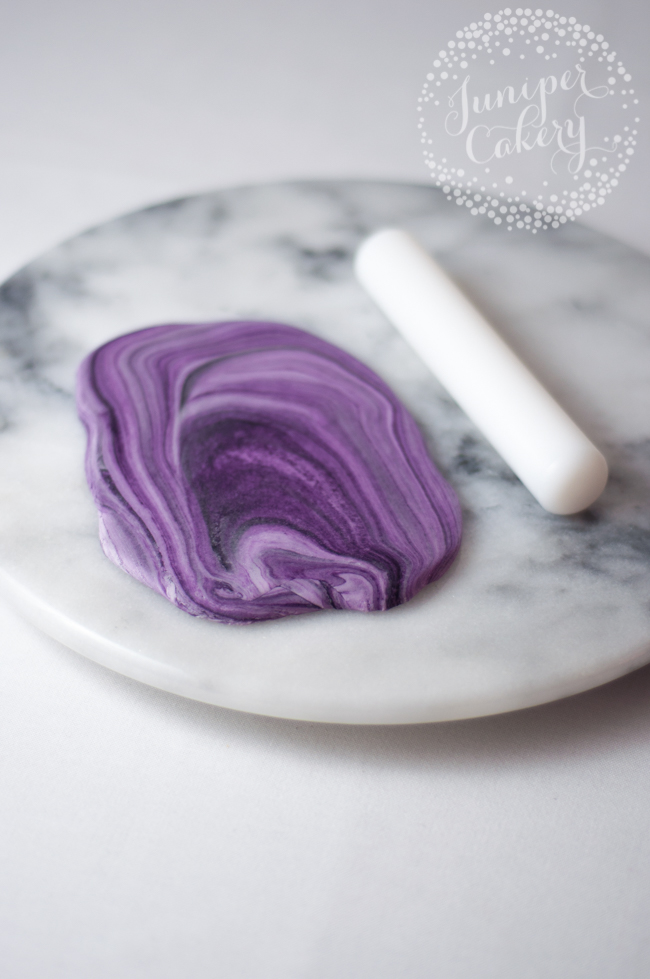
Using your rolling pin, roll out the marbled ball of gum paste to a thickness of around 8mm (~¼”). You should see long, wavy swirls of color in your piece — just like a sliced piece of agate!
Step 6:
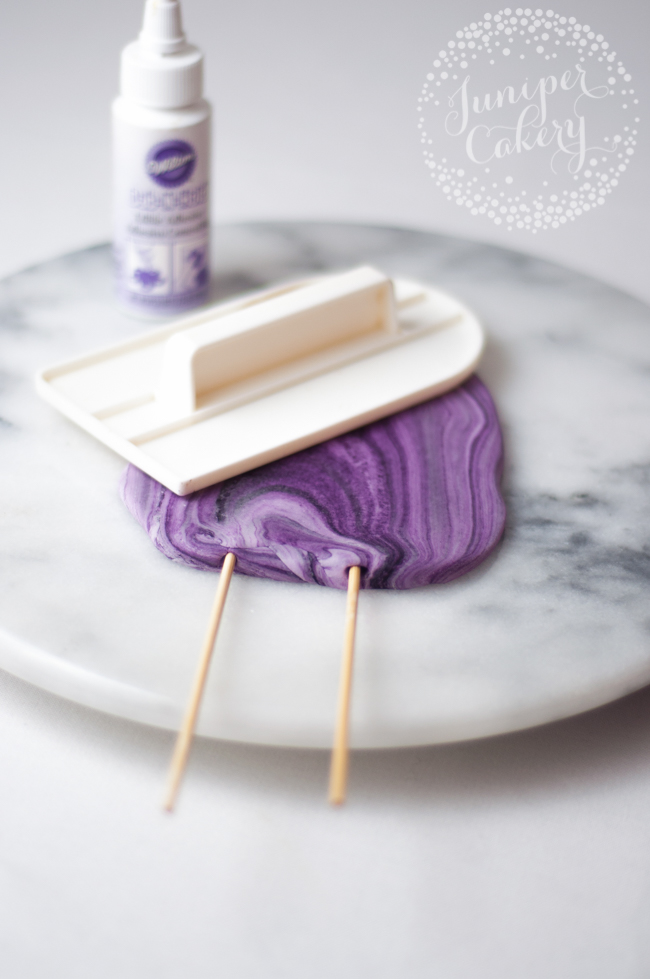
To stop any dents from forming in your topper, hold it down using a fondant icing smoother as you insert the wooden skewers. Add some edible glue onto the tips of your wooden skewers and gently insert them into your topper. We used two skewers, but depending on size use what you see fit. When it comes to smaller cupcake toppers you can use a single piece of broken, uncooked spaghetti or even just place the edible agate on top of buttercream.
Step 7:
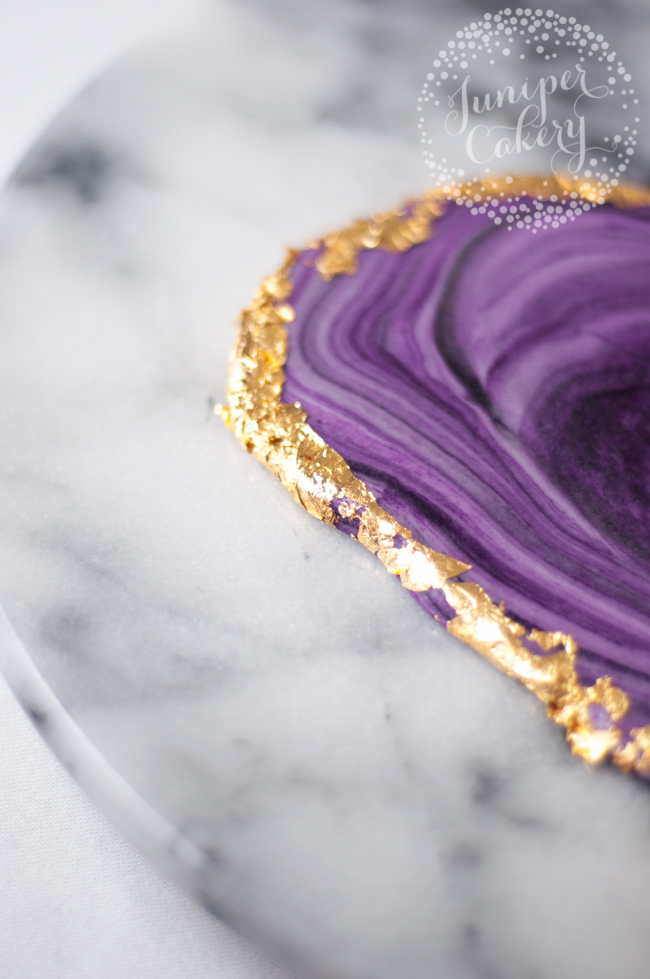
Now for the finishing touches! Before attaching your topper into your cake, add a little water or edible glue along the entire edge of the agate topper. Carefully add the edible gold leaf along the perimeter using a brush to smooth each piece. Once you are satisfied with your gold accents carefully attach the agate by inserting the skewers into the cake!
Share tips, start a discussion or ask one of our experts or other students a question.
No Responses to “Tackle the Trend With These Easier-Than-Ever Sugar Agates”