
You don’t need an occasion to make a card, but Easter sure is a good excuse. Craft these three versions super-quick, then send them to friends and fam in honor of Bunny Day. Bonus points if you pair ’em with a handmade envelope!
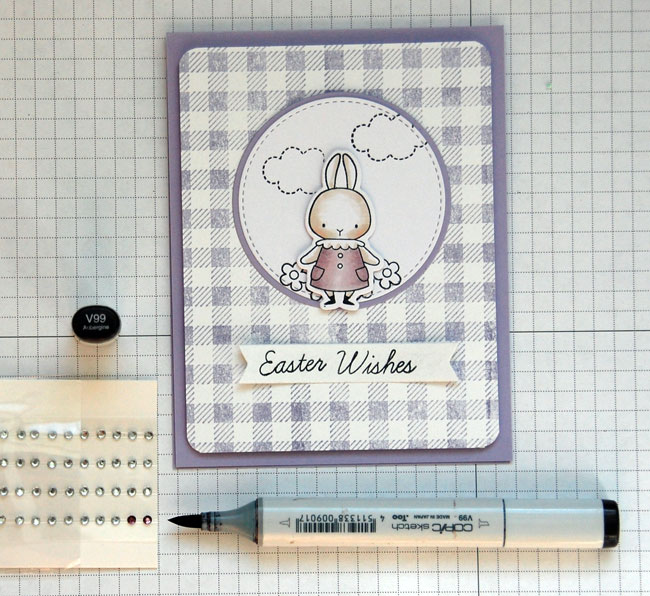
Easter Wishes Card
Level: Easy
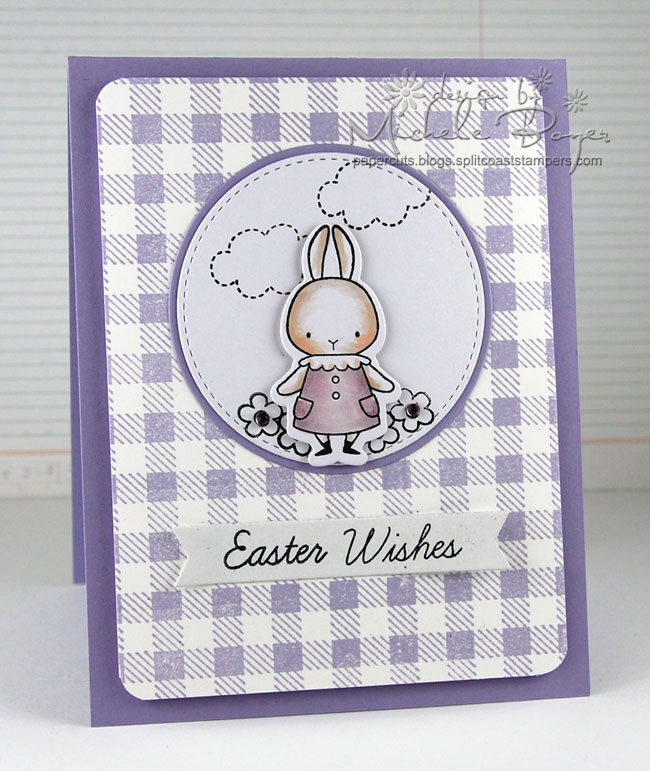
Pair a cute bunny image, stamp or sticker with a simple background to create a fast-and-fuzzy Easter greeting.
What You Need
Instructions
1. Form the Background
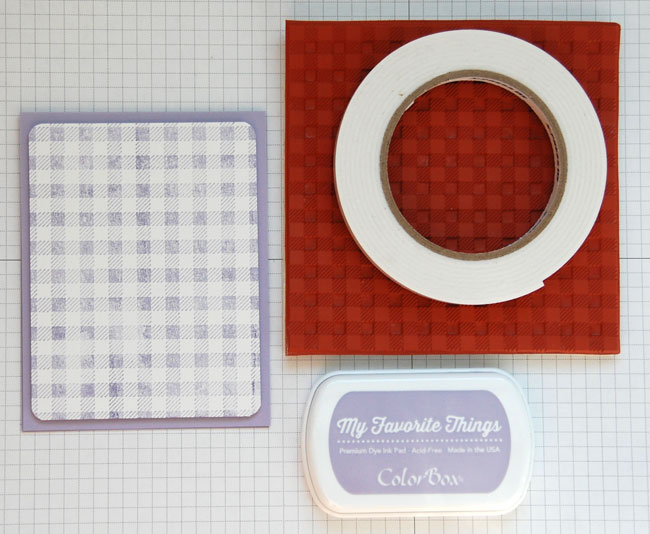
Cut the lavender cardstock to 4¼” x 11″ and fold it to form a 4¼” x 5½” top-folding card.
Trim white cardstock so it’s about ¼” or ½” smaller than the folded lavender card. Stamp your background onto the white cardstock and round the edges.
Adhere the white cardstock to the lavender card base with foam tape. Make sure it’s in the center of the card and the lavender border is equal on all sides.
2. Make the Focal Points
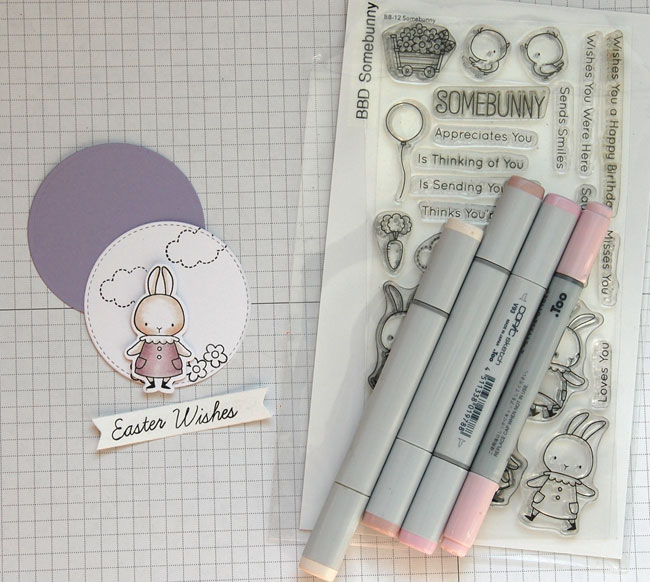
Die cut two circles, one from white cardstock and one (slightly larger) from lavender cardstock.
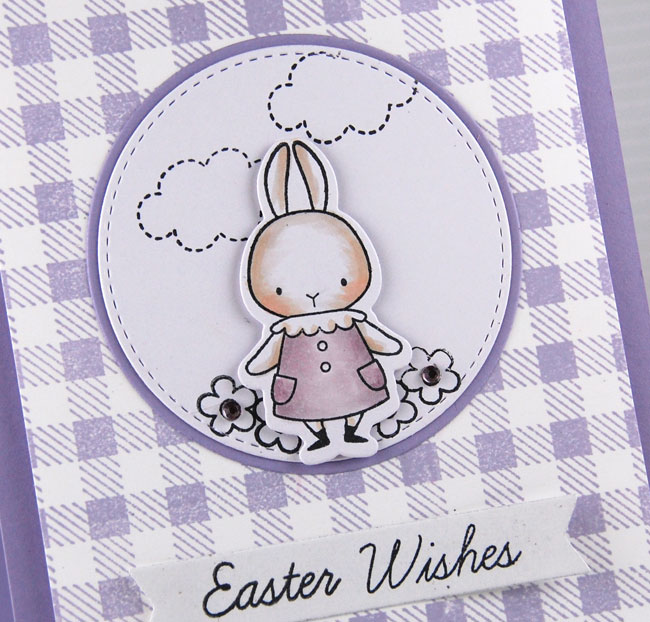
Stamp clouds and flowers onto the white circle, then stamp, die cut and color in the bunny with the copic markers.
Die cut a sentiment strip and stamp lettering onto it.
3. Assemble the Card
Adhere the bunny to your white circle with foam squares. Secure the white circle to the lavender circle, then adhere both to the card. Place your sentiment strip underneath the circle and secure it.
Use a dark purple Copic marker (we used V99) to color clear rhinestones. Adhere them to the center of the flowers.
Pro Tip: Rhinestones can easily be tinted using Copic markers. Typically you need to choose a marker that’s darker than the color you’re matching, as lighter markers won’t noticeably change the appearance.
Once everything is secure, open your card and write a cute message inside. You’re done!
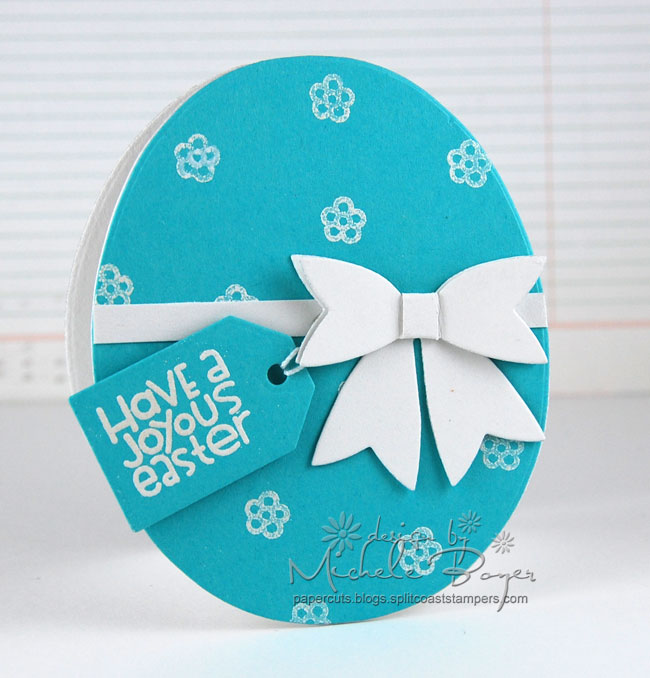
Egg-Shaped Card
Level: Easy
Surprise your recipient with an egg-cellent card created using dies or templates.
What You Need
Instructions
1. Die Cut the Card
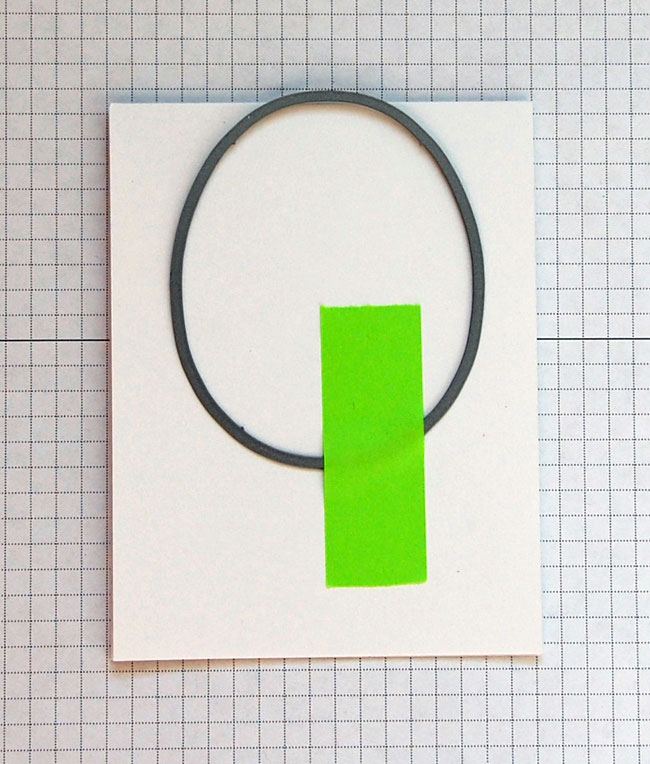
Fold the white cardstock to create your card base. Position the egg die so the top extends just past the cardstock’s fold. Use low-tack tape to hold the die in place and die cut the egg shape.
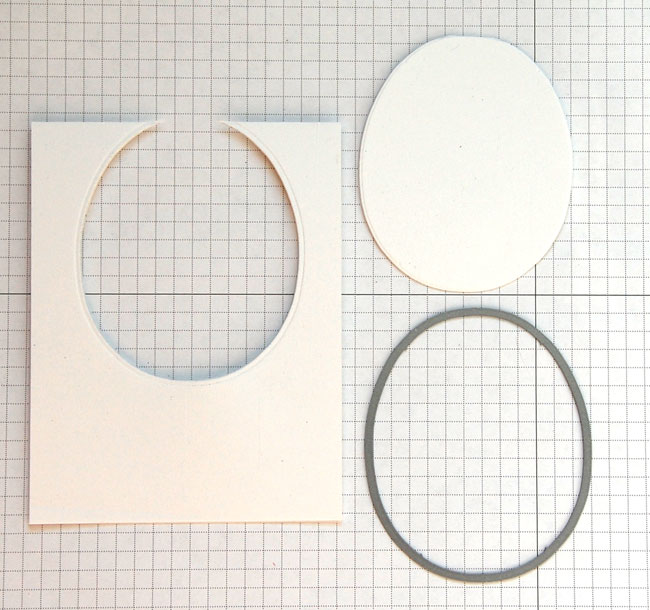
Once cut, the top edge of your card will be able to fold open.
2. Die Cut the Top
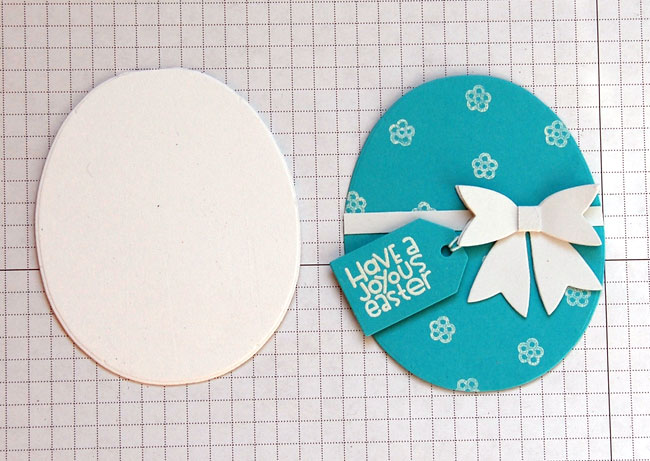
Using the same die cut template, cut an egg from teal cardstock. Use white ink to stamp an image (such as flowers) over the egg. Sprinkle with white embossing powder and set with heat gun.
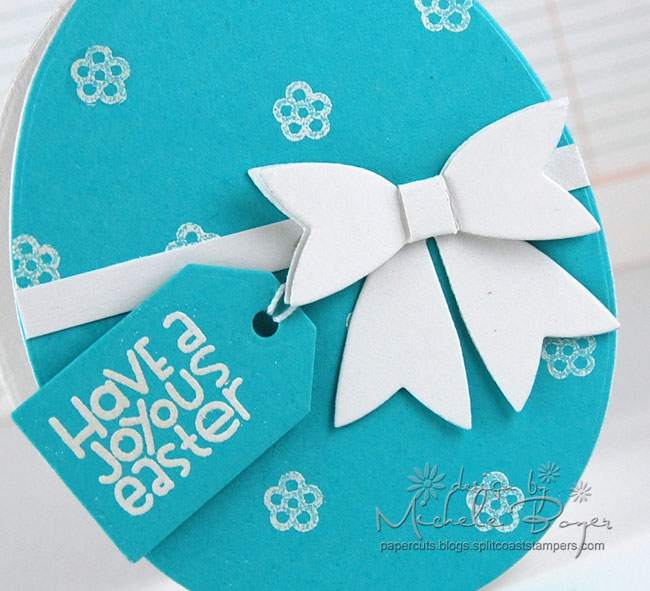
Die cut the bow pieces from your leftover white cardstock and assemble it to the front of the card.
Pro Tip: If you want to add more dimension, cut an extra “loop” piece on your bow and place clear foam squares between the layers. It’ll make the design really pop.
Die cut the tag, stamp your sentiment and emboss. Tie a string to the tag and stick it beneath the bow, securing it with foam squares.
3. Secure the Top
Align the edges and adhere the egg top to the base card.
Pro Tip: Because the bottom of this card is rounded, it won’t stand well on its own. Trim a small amount from the inside bottom (the back piece) of the card to create a flat surface that will steady the card when open and upright.
Easter Flowers Card
Level: Easy
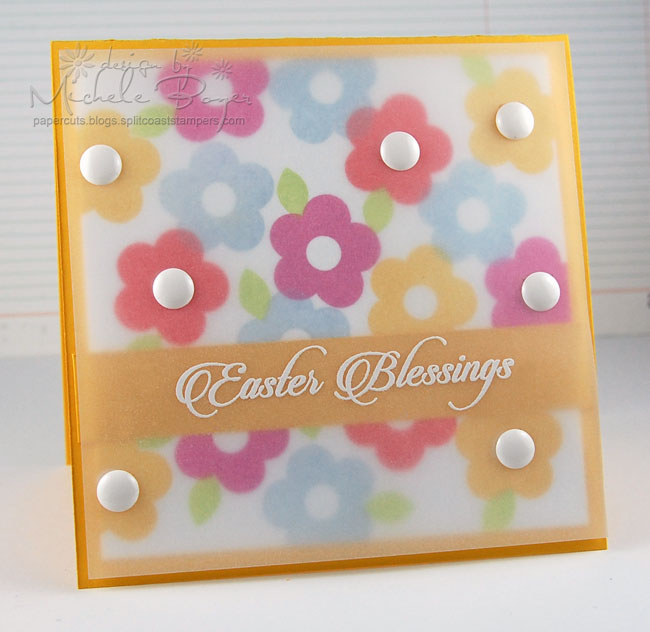
Translucent vellum softens stamped images in this colorful card.
What You Need
Instructions
1. Decorate
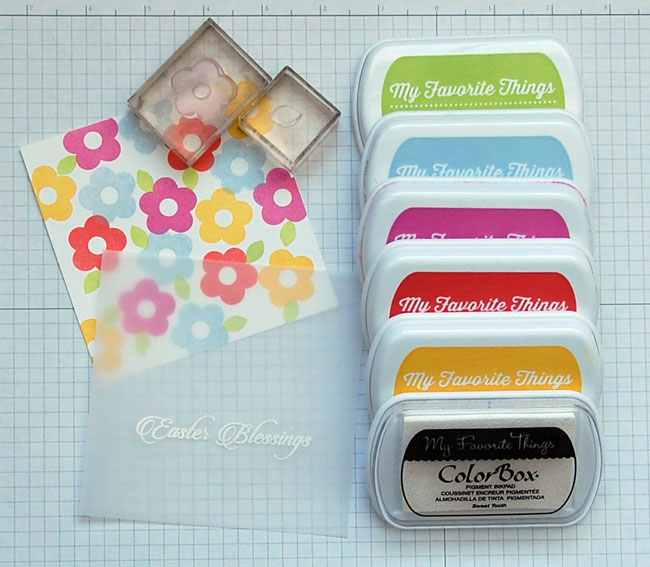
Cut a 4¼” square of white cardstock and stamp colorful flowers throughout.
Apply powder to a 4½” square of vellum. Stamp a sentiment using white ink. Sprinkle with white embossing paper and use heat to set.
2. Adhere
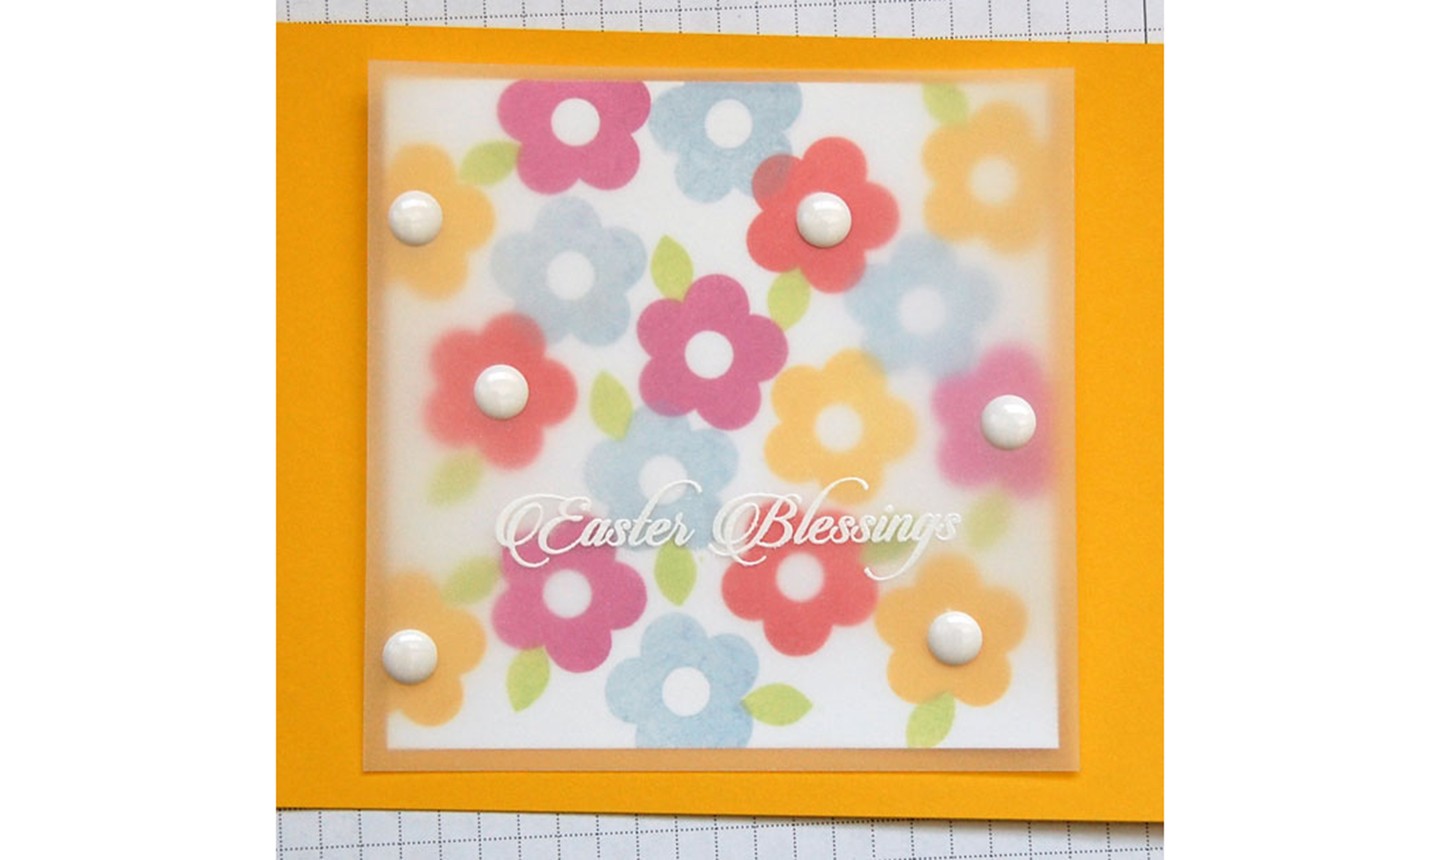
Place the white square on top of a piece of yellow cardstock, then lay the vellum over it. Position the vellum so all colored borders around the white cardstock are equal.
Adhere enamel dots over several flower centers. Try to adhere near all four corners to secure the vellum.
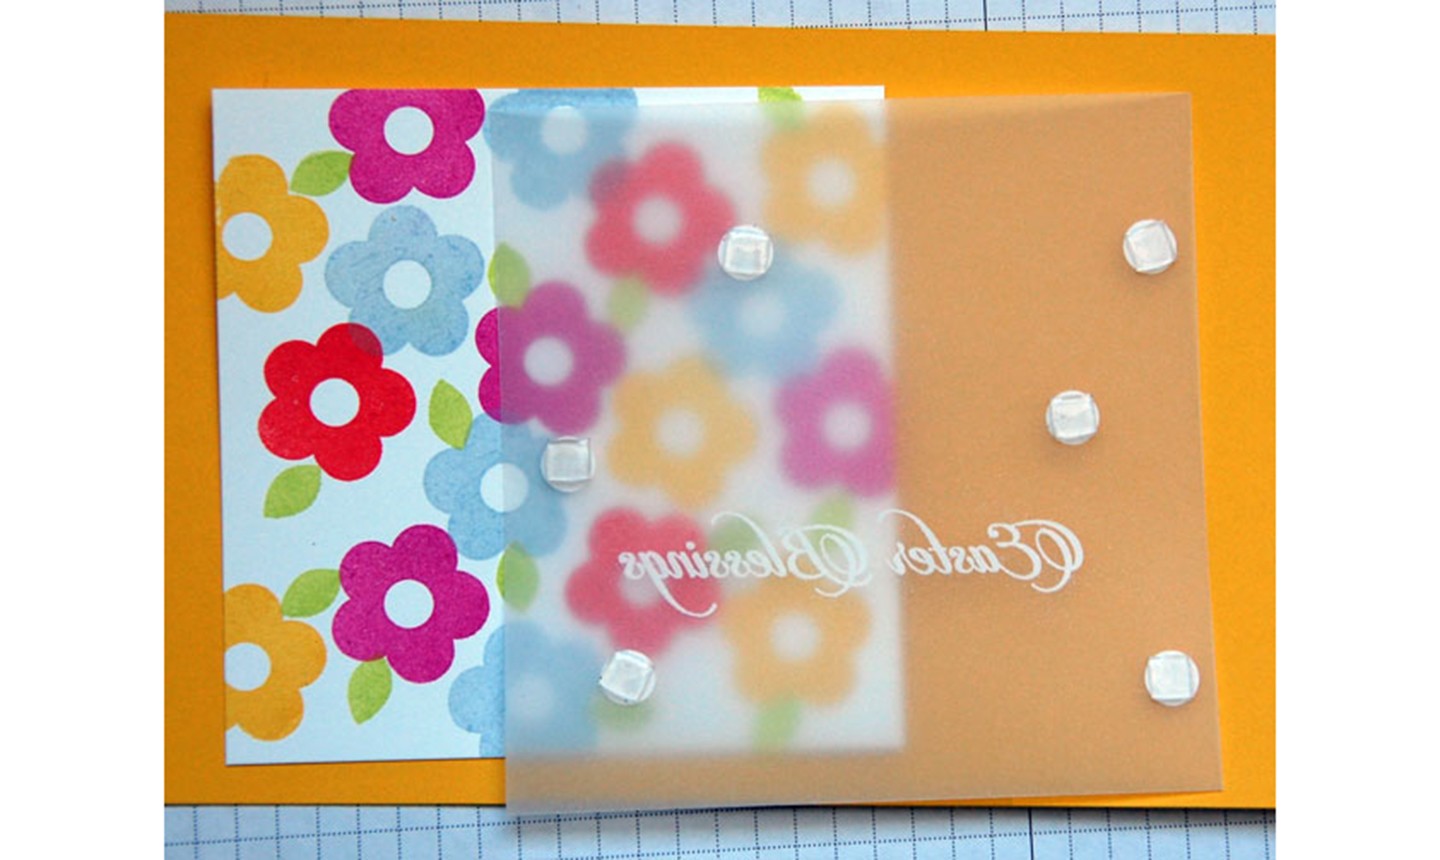
Turn the vellum over to the wrong side and place a clear foam square on the back of each enamel dot.
Remove the lining from the foam squares and adhere vellum in place.
3. Finish the Card
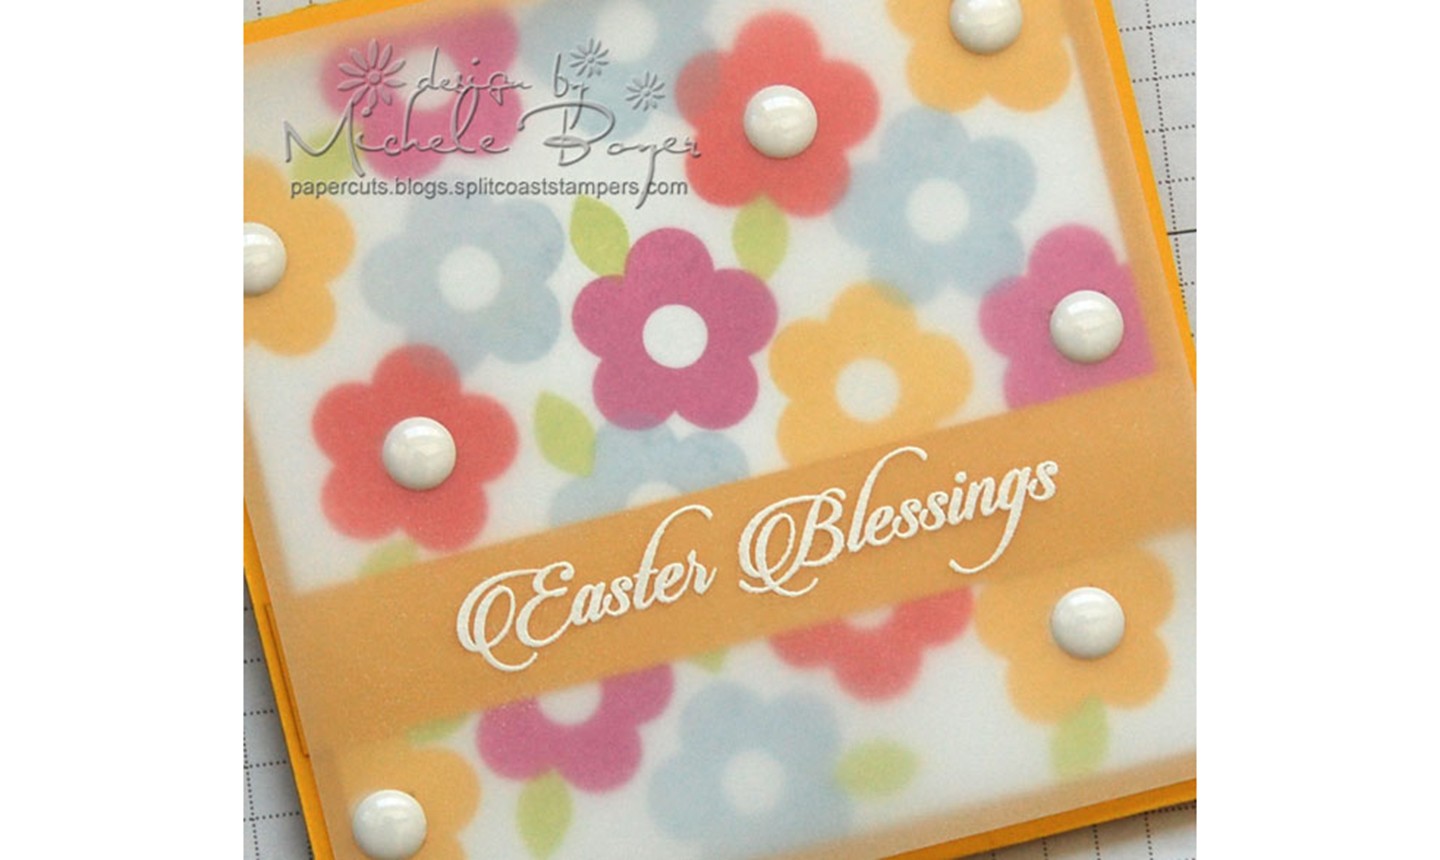
Cut the yellow cardstock to a 4¾” square top-folding card. Cut a strip of yellow cardstock to fit behind the sentiment, apply adhesive to the back and slip it beneath the vellum. Secure the flower square to the card.
Share tips, start a discussion or ask one of our experts or other students a question.
Already a member? Sign in
No Responses to “3 Quick and Easy Easter Cards You Can Craft This Year”