
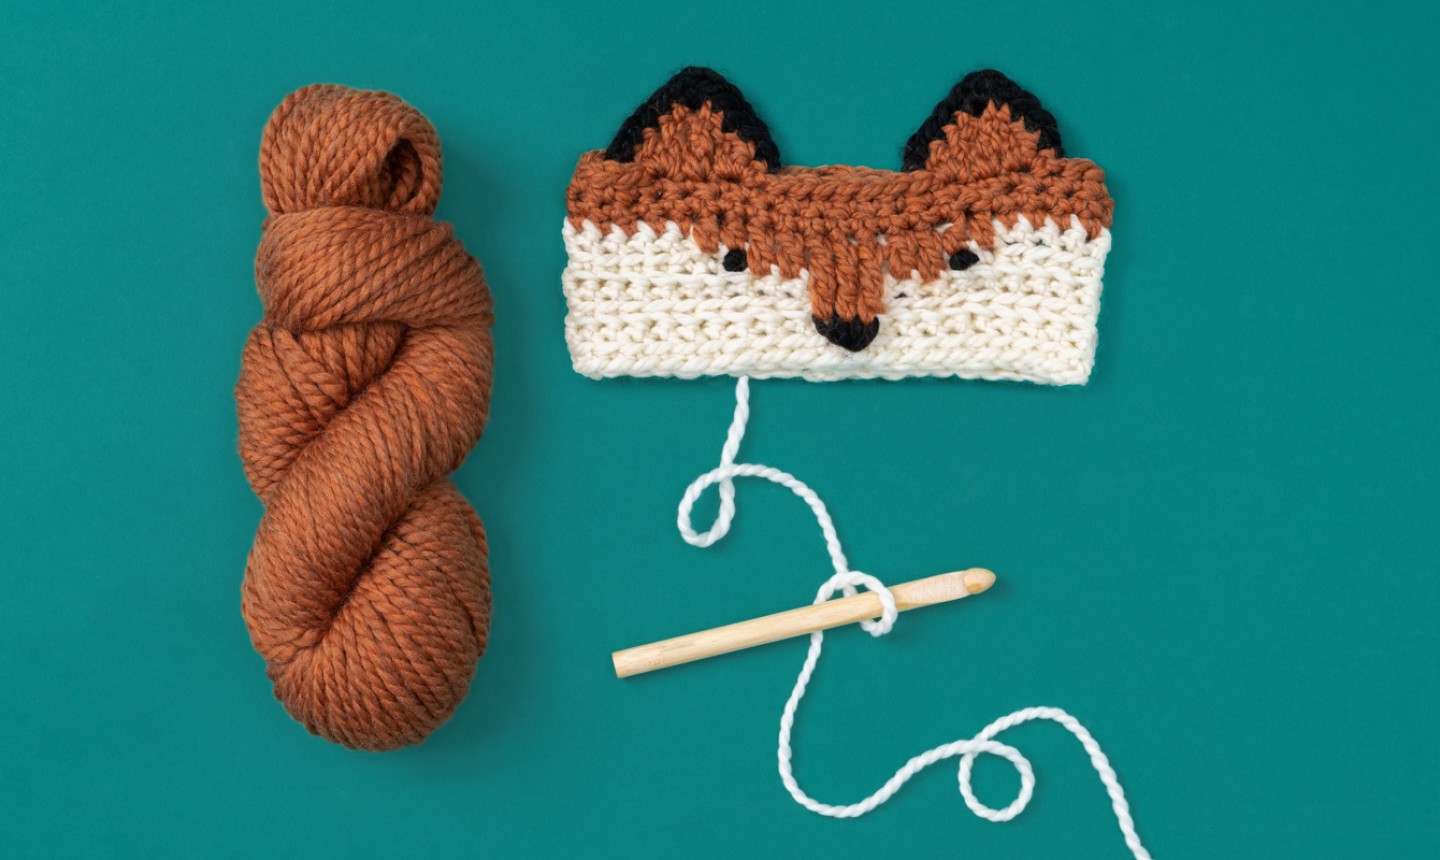
Help kiddos channel their inner fox with this adorable headband. Working a few long stitches over your white rows is the key to bringing the sweet face to life. Top it off with some embroidered details, and this critter’s ready to play.
Sly Fox Headband Pattern
Level: Easy
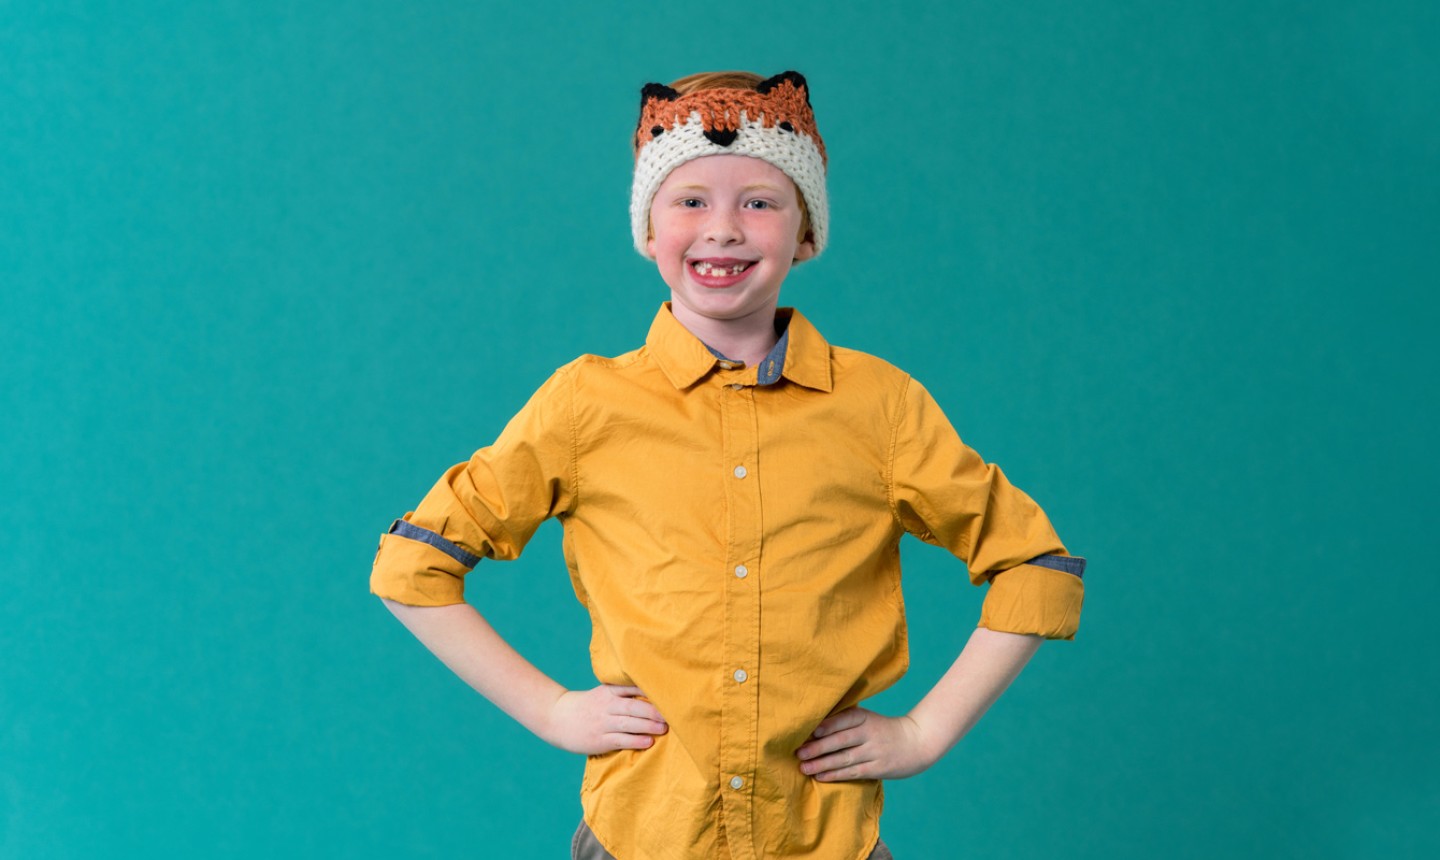
Size: Child
Pattern by Stephanie White
What You Need
Gauge
5 sc = 2″
Row gauge is not critical for this project.
Finished Measurements
16½” x 3″
Notes
Abbreviations
Instructions
With Color A, ch 42 sts. Leave yourself a 12-inch tail when you make your slip knot. You’ll use it for seaming later.
Row 1: Skip the ch closest to the hook and sc in each ch across. (41 sc)
Row 2: Ch 1, sc into flo of each st across. (41 sc)
Row 3: Ch 1, sc into blo of each each st across. (41 sc)
Rows 4 and 6: Repeat Row 2.
Row 5: Repeat Row 3.
Switch to Color B.
Row 7: Ch 1, sc in next 15 sts; (hdc in flo of st 1 row below) twice, (dc in flo of st 2 rows below) twice, (tc in flo of st 3 rows below) 3 times, (dc in flo of st 2 rows below) twice, (hdc in flo of st 1 row below) twice, sc in next 15 sts. (41 sts)
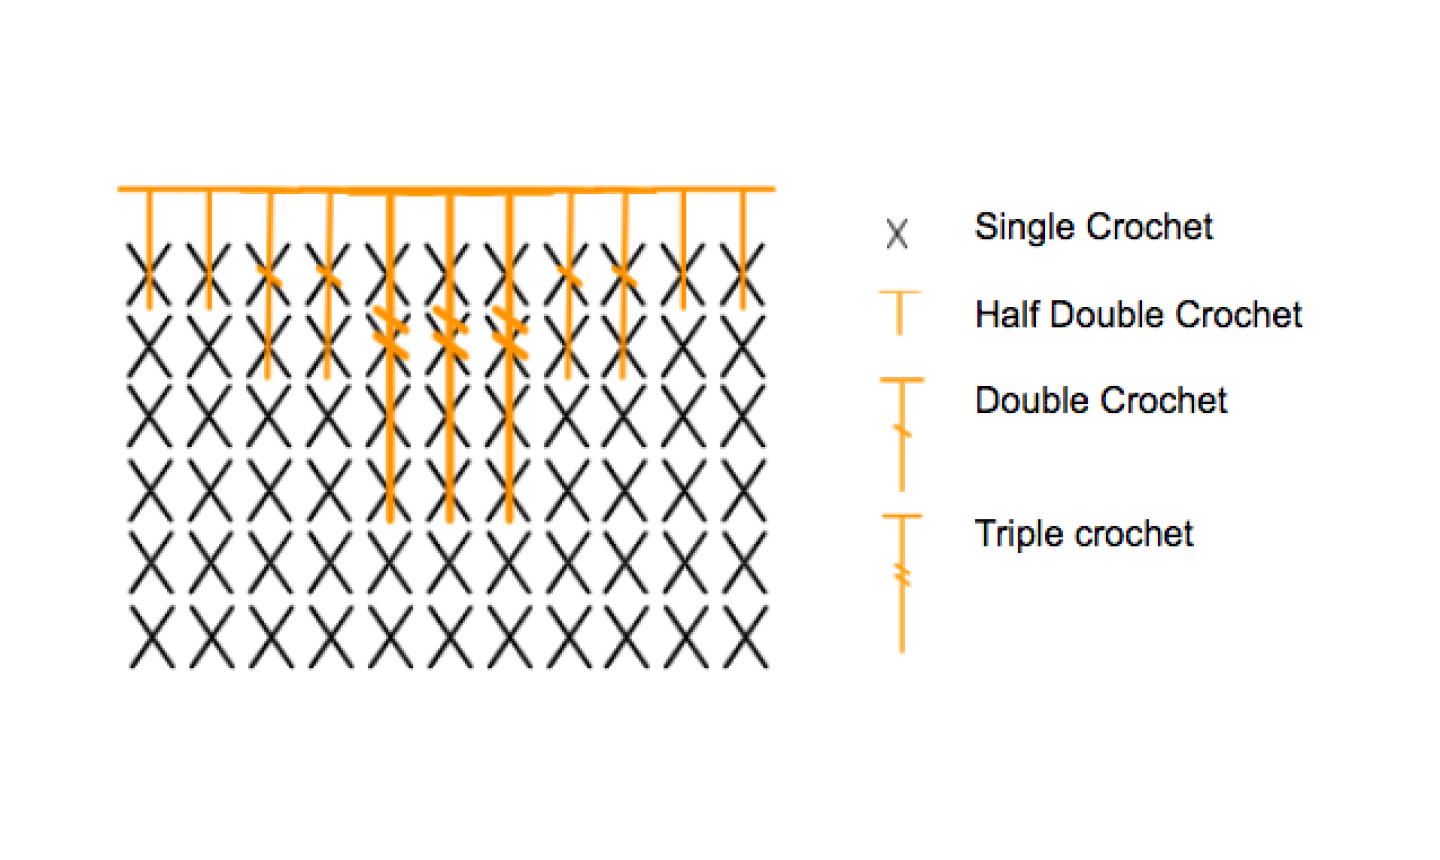
Pro Tip: The stitches italicized in Row 11 are represented by the orange stitches in the diagram above. When you’re working these longer stitches into the rows below, keep your tension nice and loose: those stitches need to end up being the same height as the rest of the row you’re working, without bunching up your headband.
Row 8: Ch 1, sc in each st across. (41 sc)
Row 9: Ch 1, sc in each st across (41 sc)
Row 10: Ch 1, sl st in next 14 sts, (sc, hdc, dc) in next st, (tc, ch 1, tc) in next st, (dc, hdc, sc) in next st, sl st in next 7 sts, (sc, hdc, dc) in next st, (tc, ch 1, tc) in next st, (dc, hdc, sc) in next st, sl st in next 14 sts. Fasten off yarn , leaving an 8-inch tail for seaming later.
Add the Details
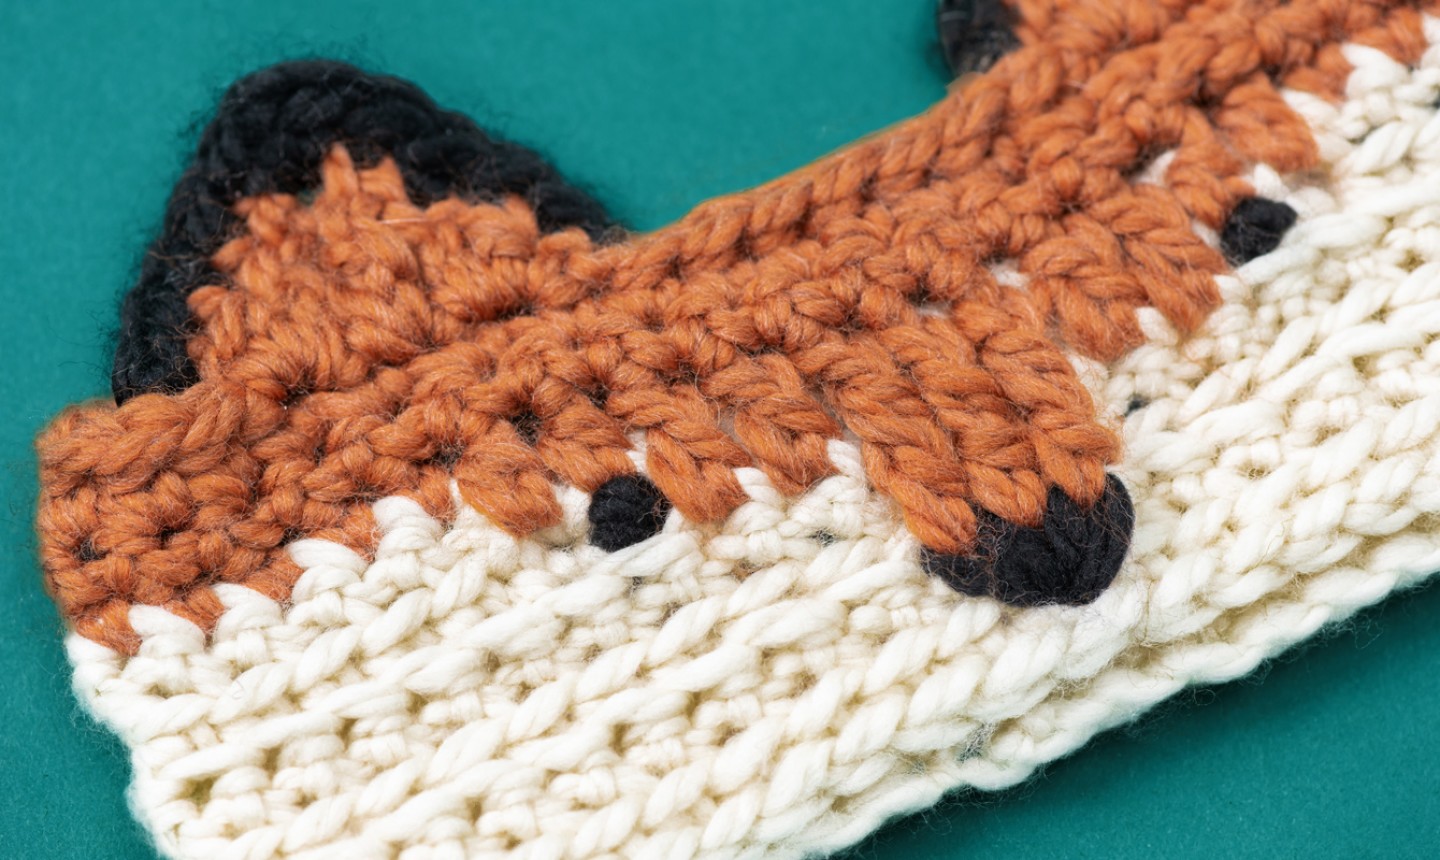
With your black yarn and tapestry needle, use satin stitch to fill in the triangle nose, and make French knots for each eye.
To finish the ears, join the black yarn at the base of the right ear; sl st in next 4 sts, work 2 sl sts in ch-1 space, sl st in next 4 sts. Fasten off yarn. Repeat for second ear.
Weave in your ends, and use a mattress stitch to seam up the back. (Sew up the white section with your white tail, and the orange section with your orange tail.)
Pro Tip: You’ll notice that the section where you worked your long nose stitches is not attached on the back side, creating a small pocket. You can leave it as is, or whip stitch that pocket closed.
Share tips, start a discussion or ask one of our experts or other students a question.
Already a member? Sign in
No Responses to “Kids Go Wild for This Cute Crochet Fox Headband!”