
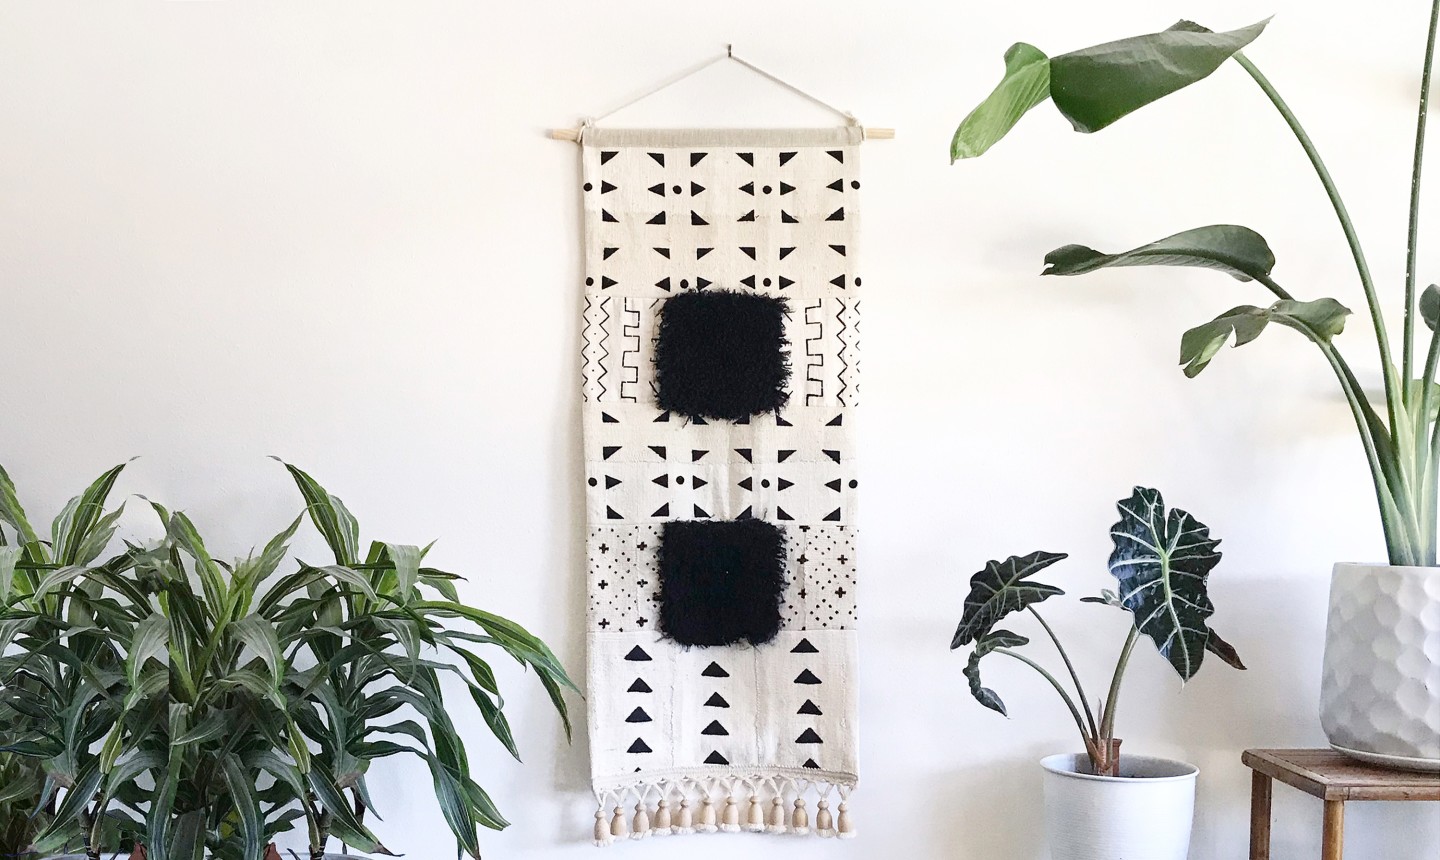
Textile hangings are one of the best ways to make a major statement on your walls. The materials are inexpensive, and cloth pieces are a lot easier to manage than large, heavy framed art. Plus creating it yourself means you’ll have a piece that’s exactly right for your space: the ideal size, the perfect colors and completely one-of-a-kind!
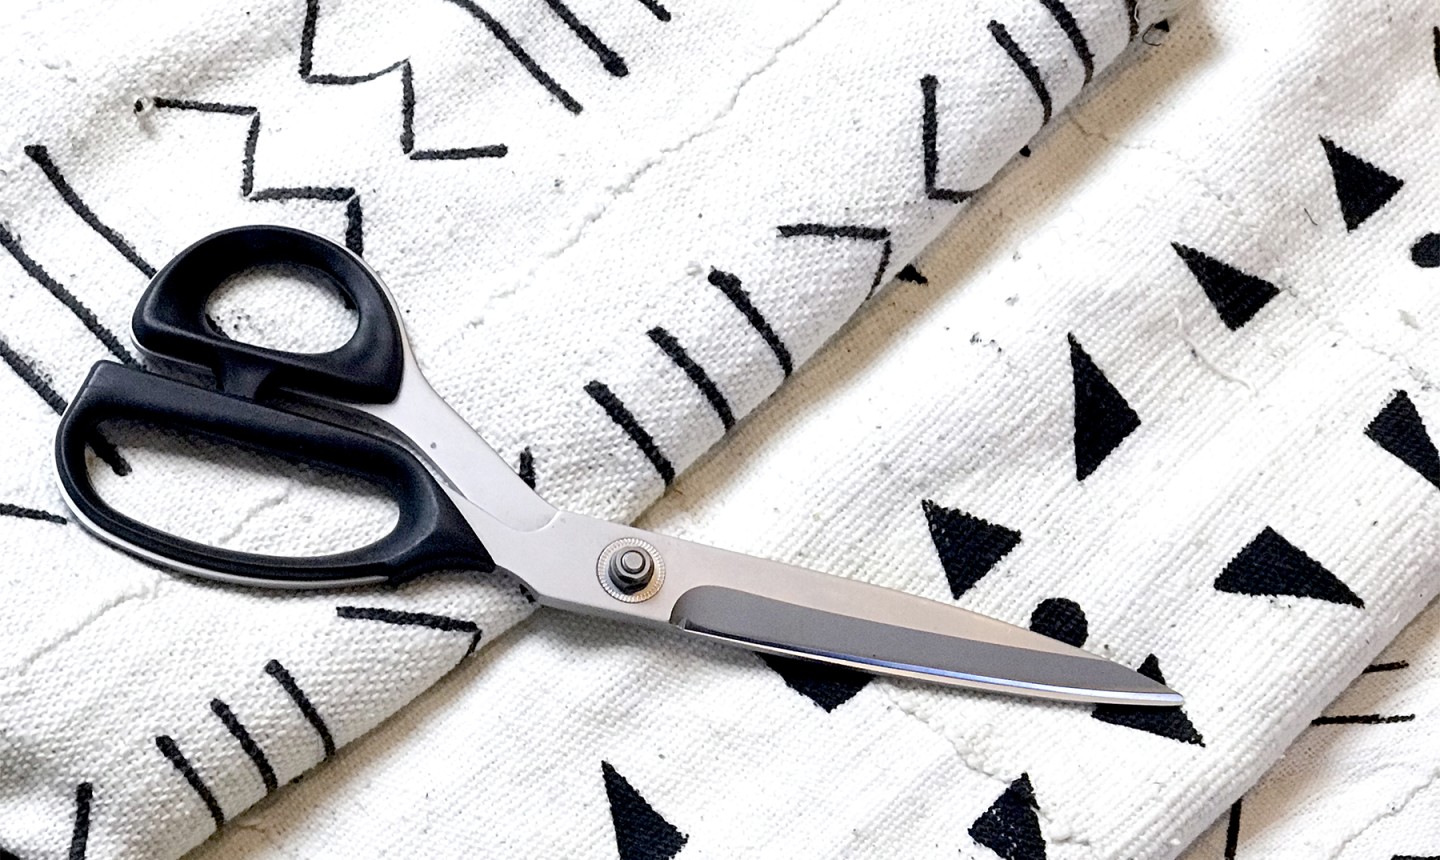
Our version features pieces of faux fur and handwoven, handprinted African mudcloth — a fabric that’s so unique, throwing away even the tiniest scrap seems unimaginable. If you don’t have any of these on hand (and don’t feel like shopping), don’t worry — you can easily substitute scraps you have leftover from other projects to make your own interpretation of this design. Exact measurements aren’t a deal-breaker either: you can follow the dimensions we give, or just follow the same approach using measurements you calculate yourself. It’s totally up to you!
Textile Wall Hanging
Level: Intermediate
Size: 18″ x 42″
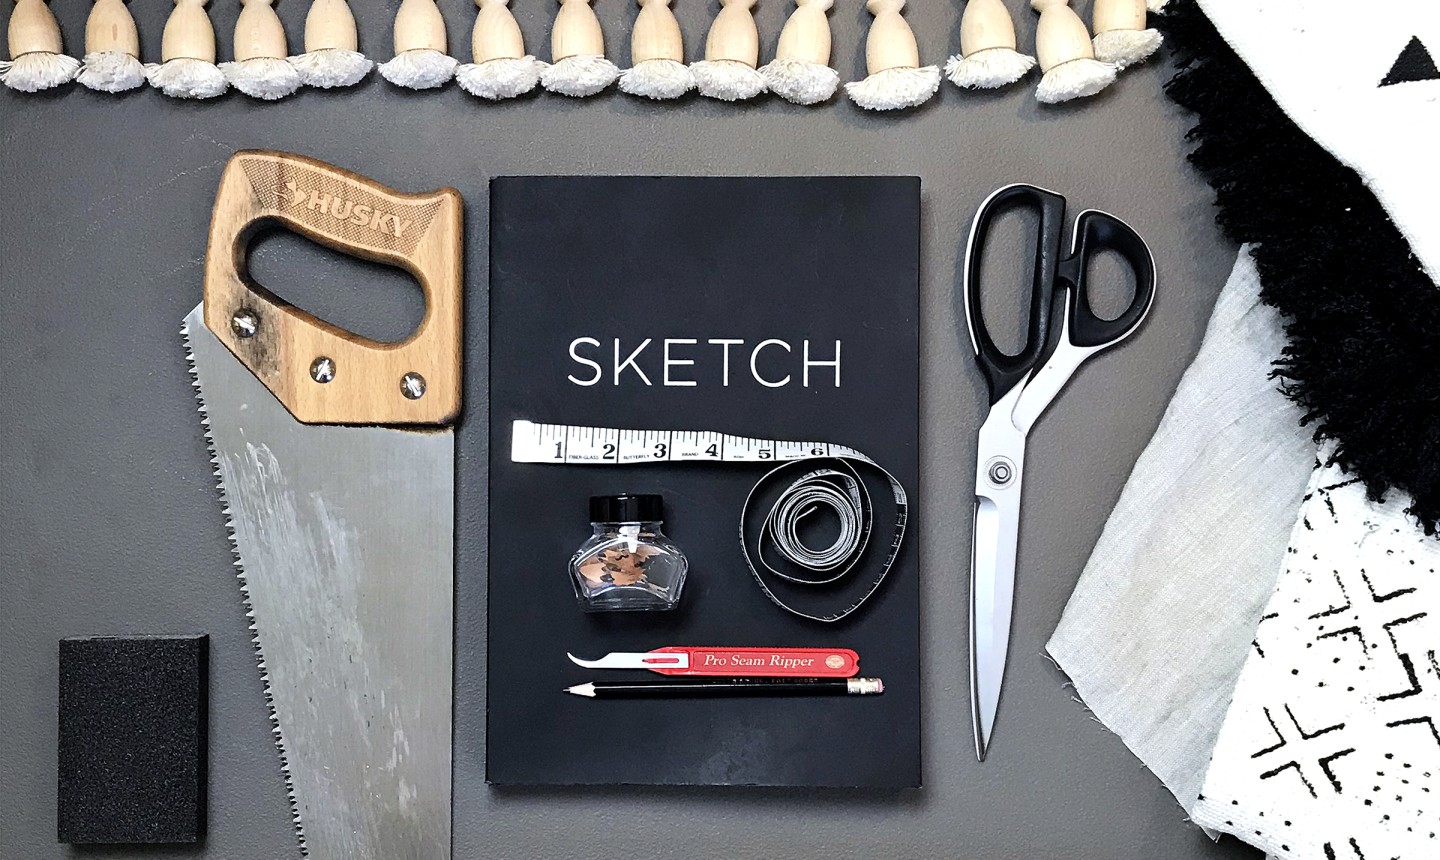
What You Need
Instructions
1. Plan and Sketch (Optional)
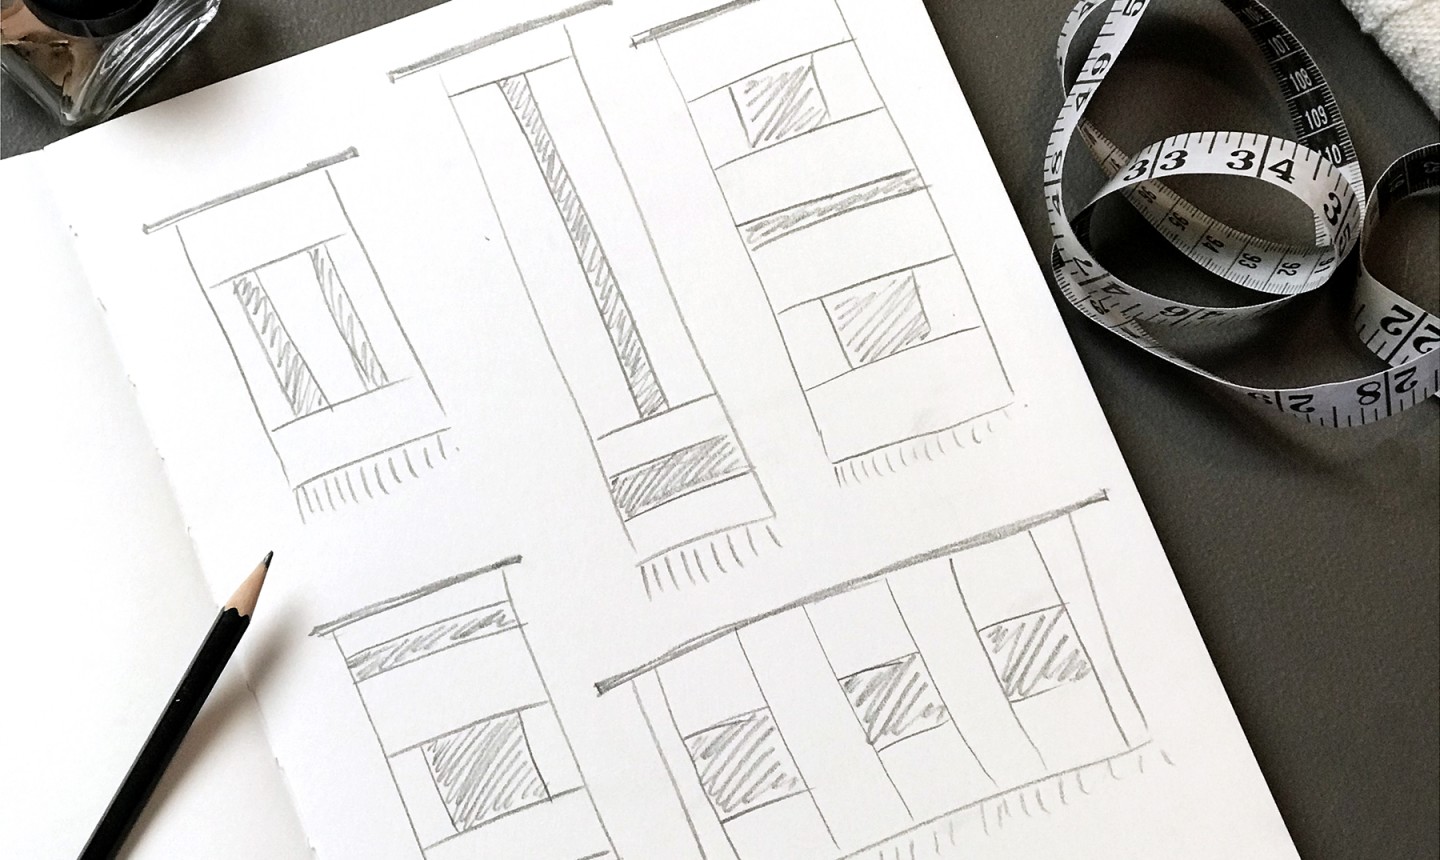
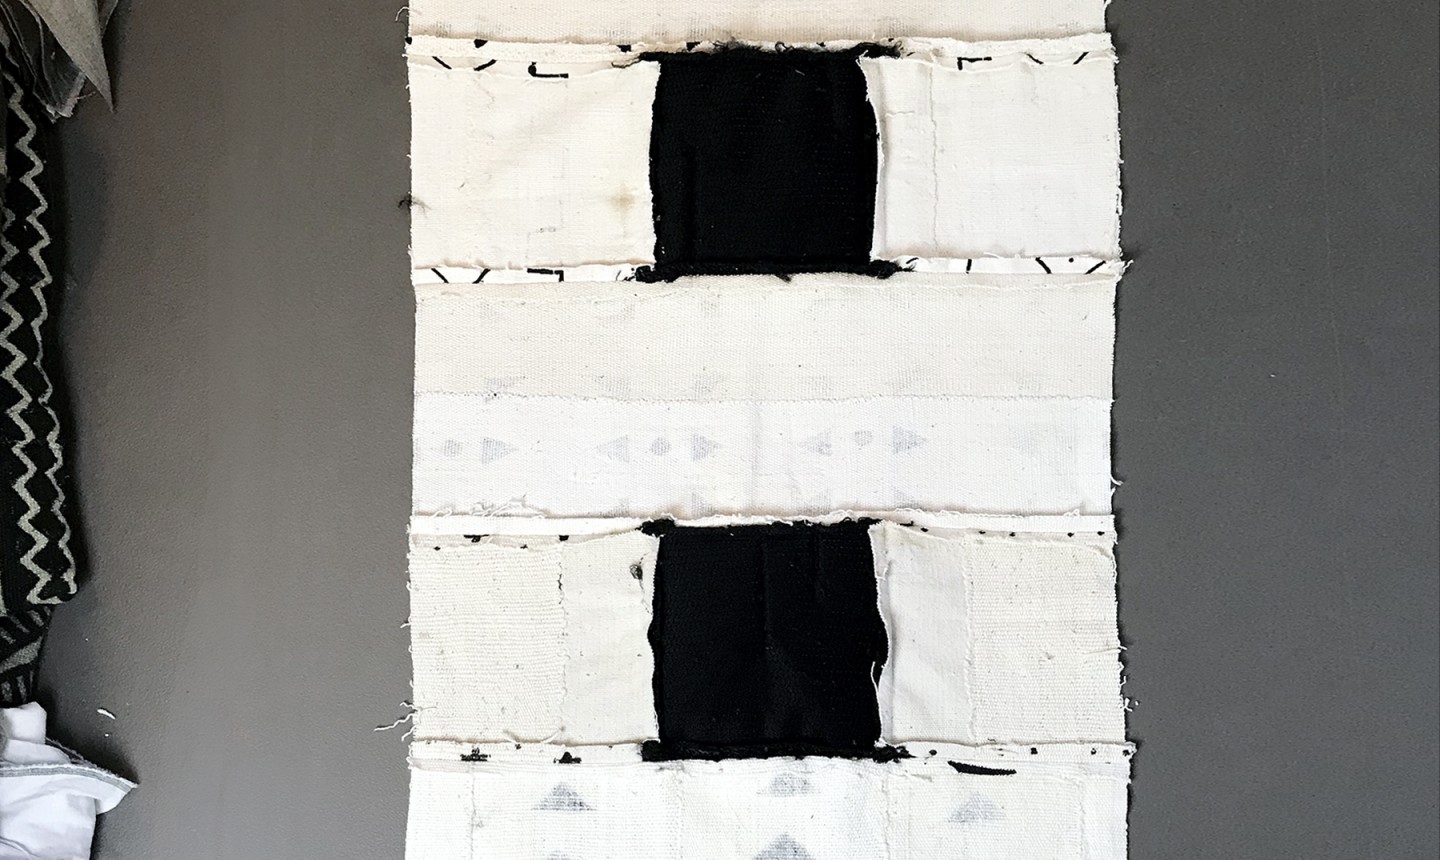
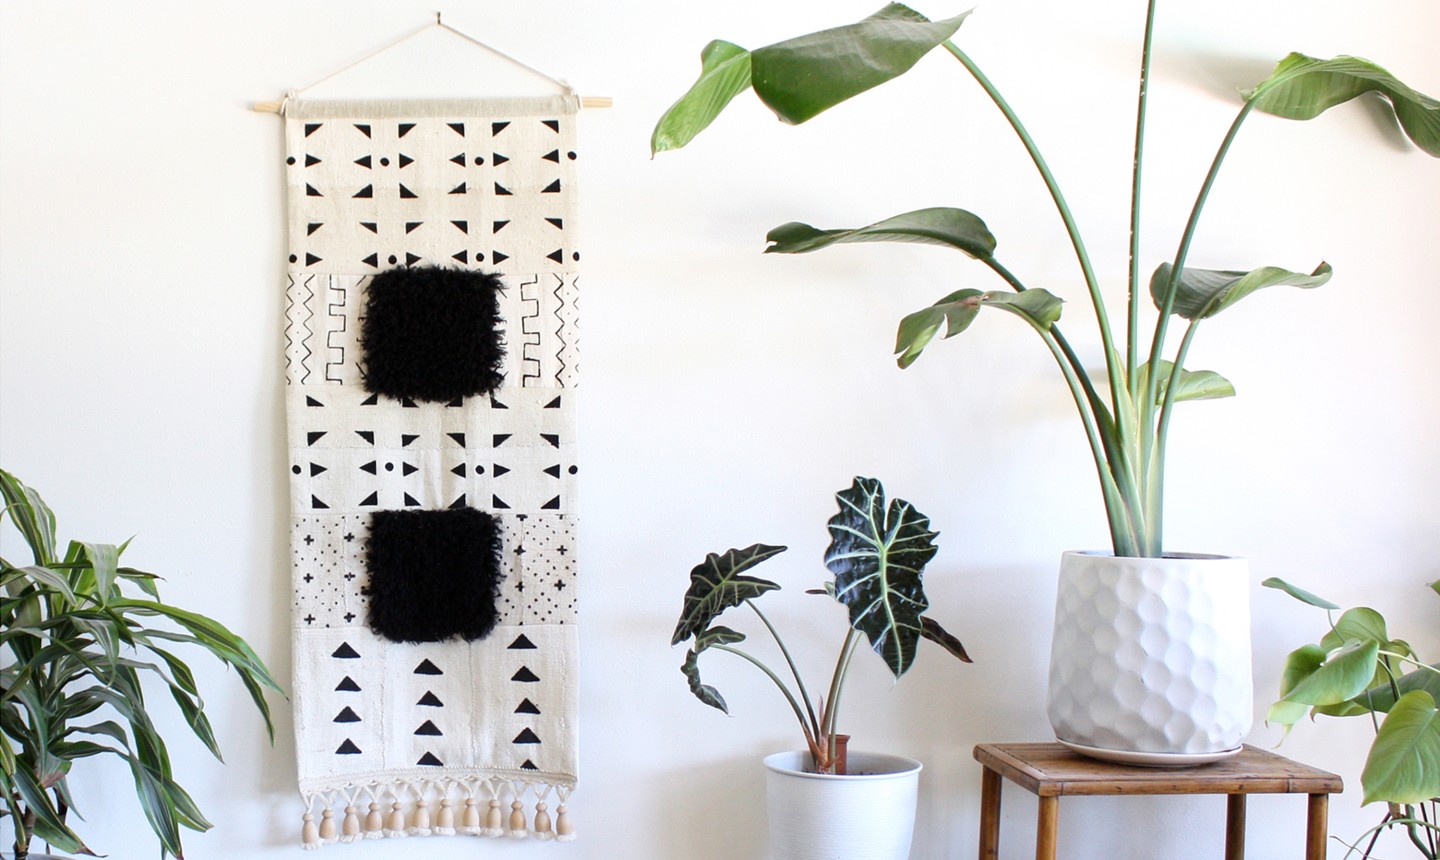
If you want to go freeform with your project, the first thing you’ll need to do is sketch out some ideas. The biggest question to answer: what size do you want your finished wall hanging to be? Should it be a giant piece that goes above your bed? A long, skinny one to fit in that awkward space on the staircase landing? Whatever you decide, measure the space, decide on the overall size, then start sketching! We went with an 18” x 42” rectangular design in a vertical orientation, with patches of faux fur in the center.
Pro Tip: If you’re new to sewing or patternmaking, keep your design simple with straight lines and blocky shapes. Sewing along curves is difficult when you’re starting out, and the fewer sections you have overall, the easier the sewing will be.
2. Calculate Your Measurements
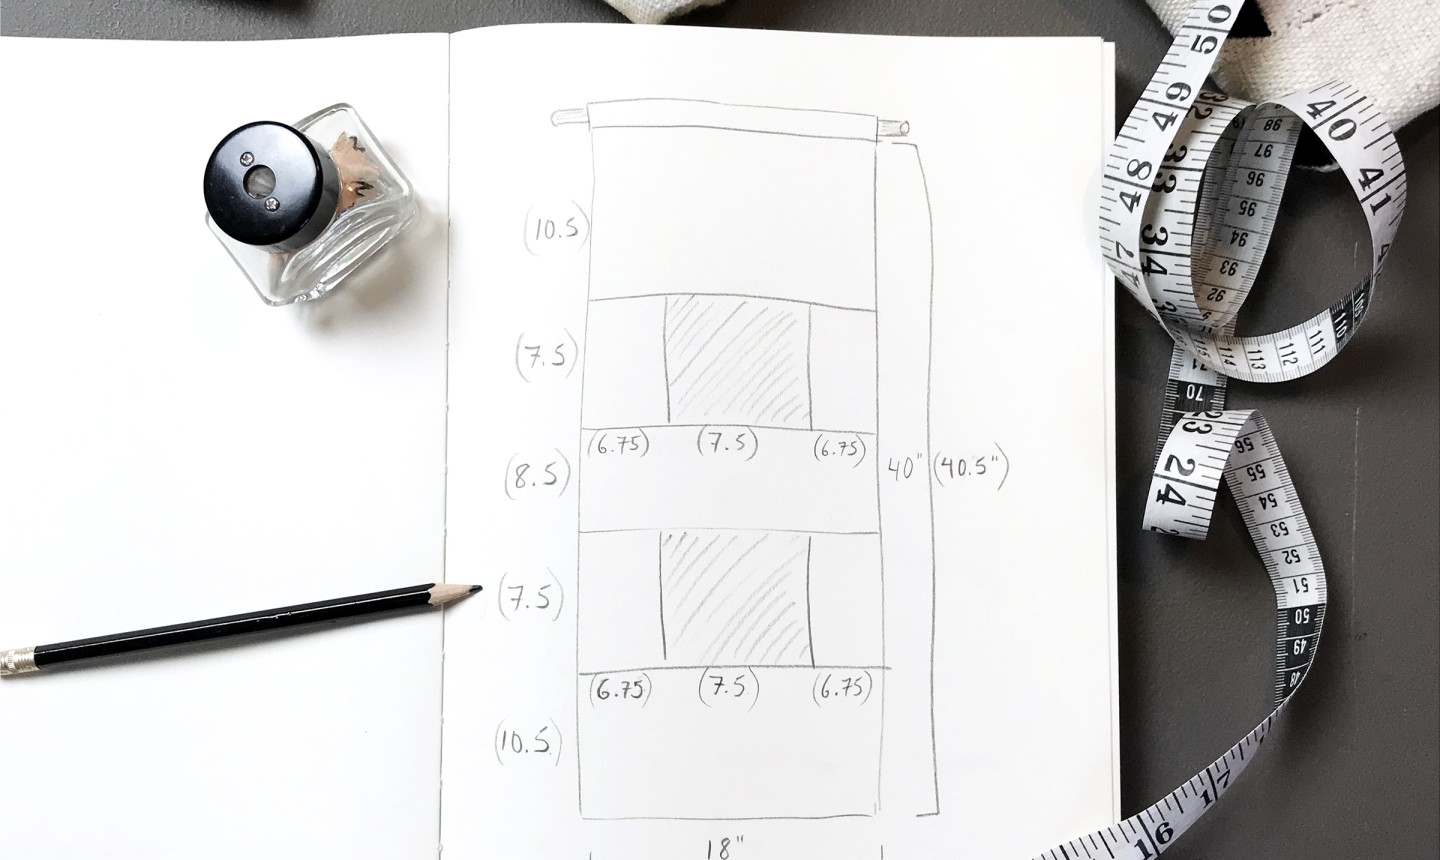
Once you have a simple sketch laying out the general size and proportions, you’ll need to determine your measurements. Using the overall dimensions of the finished piece, figure out what size you would like each individual block of fabric to be (focus on what looks aesthetically the best to you). Add ½” seam allowances along each edge where the blocks connect, as well as around the entire outside edge of the design. These will be your final cutting measurements for each block.
Good to Know: Some people like to use graph paper or create paper patterns for this step. Graph is great if you need help with the measurement process, while a paper pattern helps you visualize your design ahead of time. (It’s also helpful if you plan on making this piece more than once, so next time you can just trace the pattern!) Just know these options take more time, so choose what works best for you. We simply wrote our measurements directly on the sketch.
3. Choose Your Color and Pattern Palette
Now it’s time to figure out your exact fabric mix. For this project, we went with a black and white color palette so that the focus would be on the textures and patterns. If you prefer color or want to work with solids, that’s totally fine. Simply look at what fabric you have on hand, and start moving the pieces around to see what looks good together. (Psst: It helps to contrast large and small prints, then throw in a solid color, like the black faux goat hair in ours.) This is one of the most creative parts of the project, so have fun!
4. Cut and Assemble
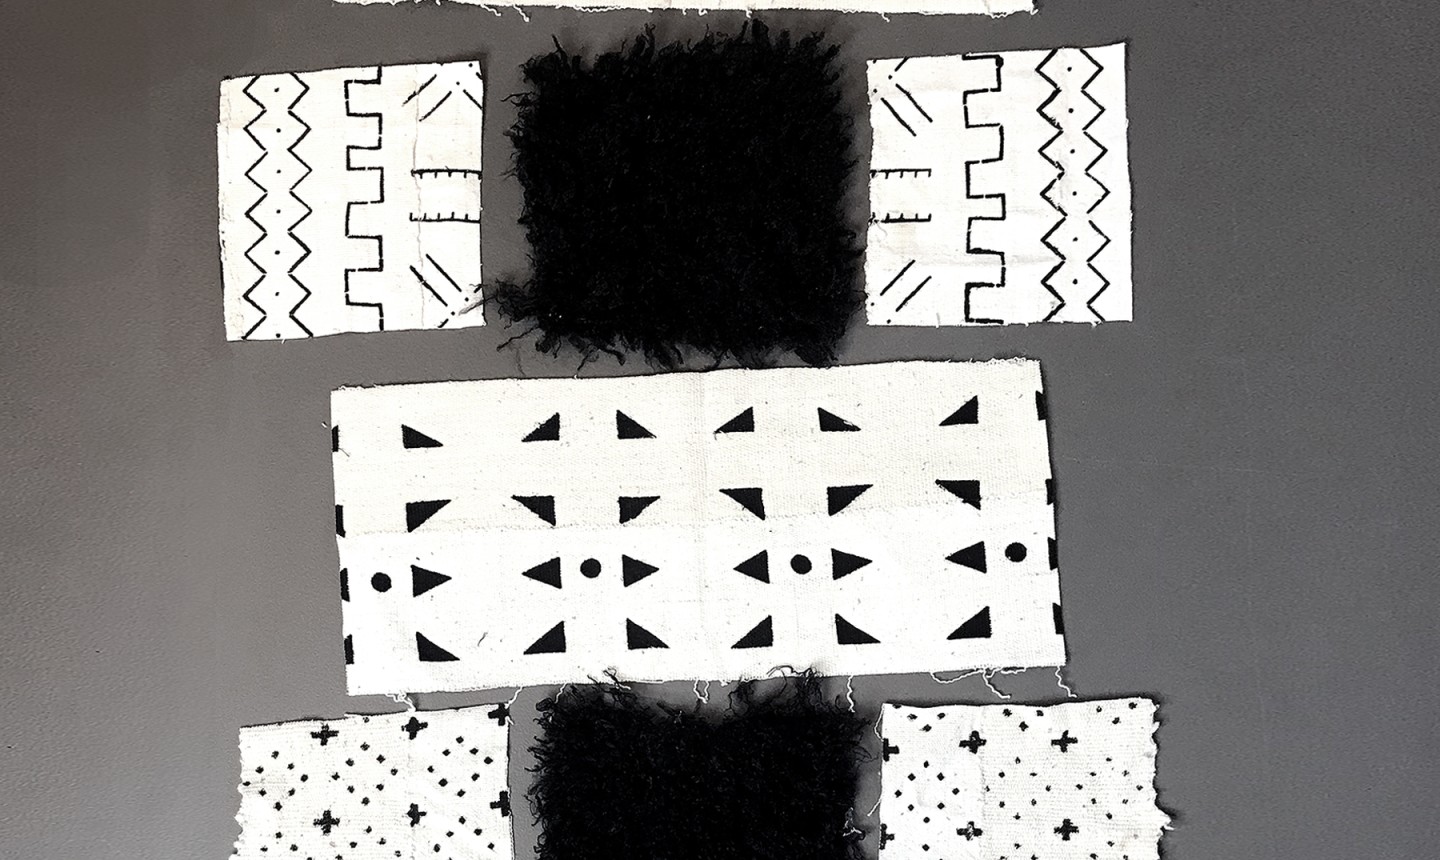
Cut your fabrics according to your measurements from step 2. Lay all your pieces out in order of your design, giving it a final look to make sure the pattern works well visually.
5. Sew Your Pieces Together
Using a basic straight stitch and ½” seam allowance, start sewing your pieces together.
First, sew all the vertical seams. Once those are connected, sew all the horizontal seams. Tips to remember as you sew:
6. Add the Backing
Although we could just hem the edges and call it a day, fully backing your piece adds a high-end finish, and the extra weight allows the piece to hang smoothly on the wall.
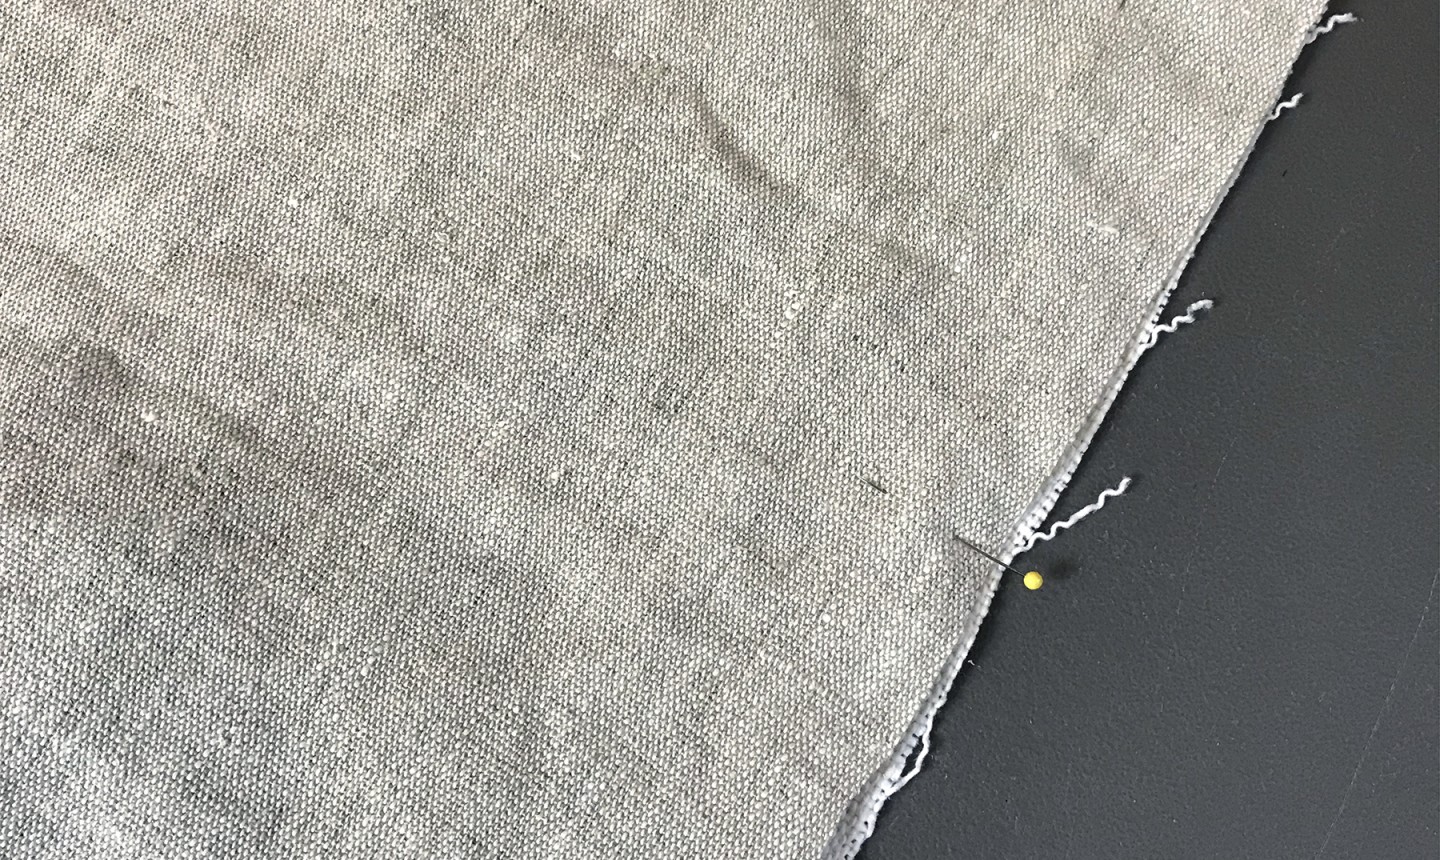
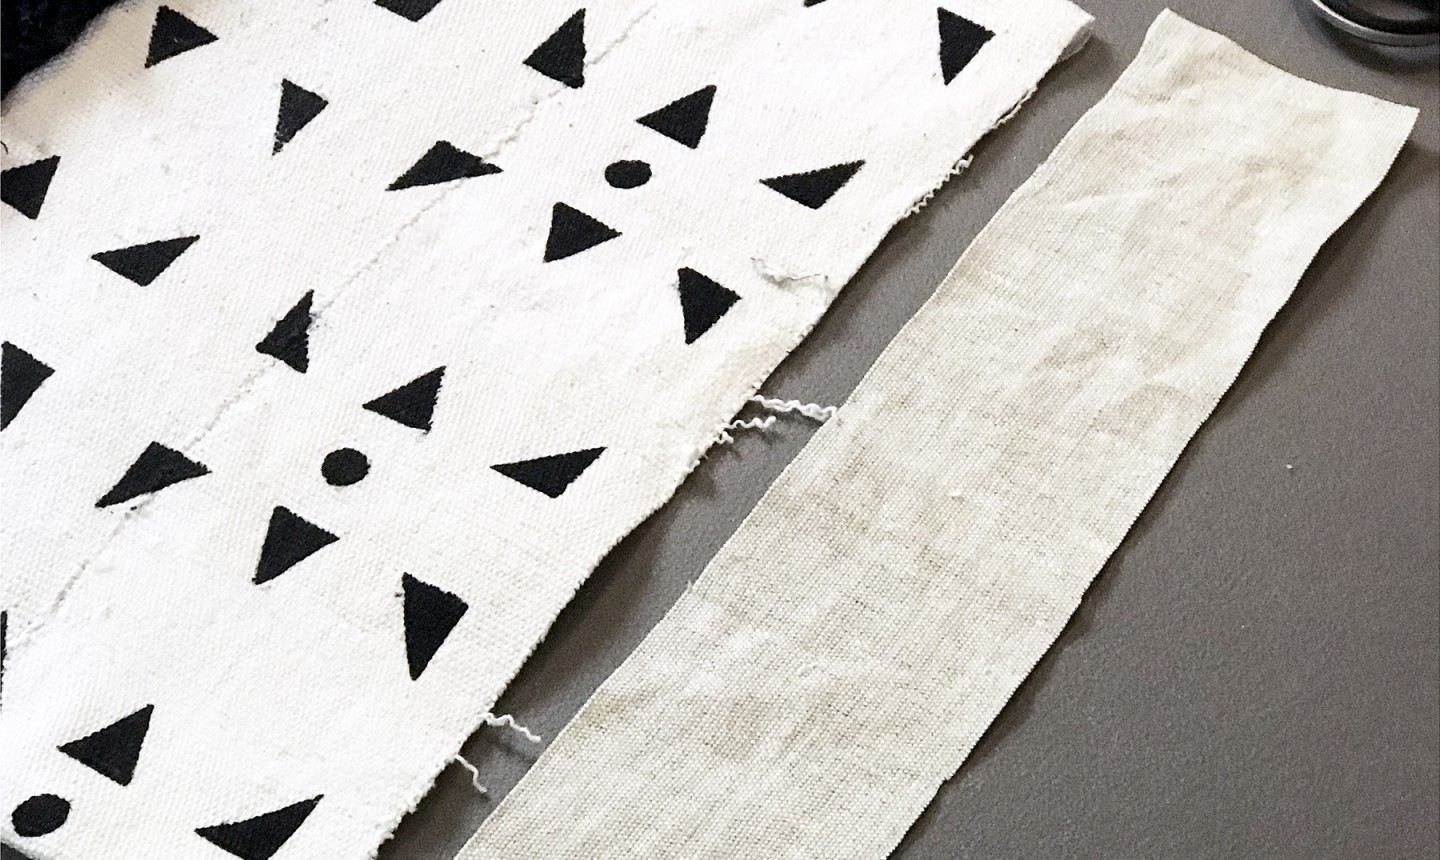
Pro Tip: When choosing your backing fabric, go for a non-stretch (woven) material that has a similar weight and drape to your front fabrics. For example, if you’re using a rustic textile like African mudcloth on the front, you don’t want to use a silky satin for the backing. We used prewashed 11oz linen, measured ⅛” smaller than the front piece all around.
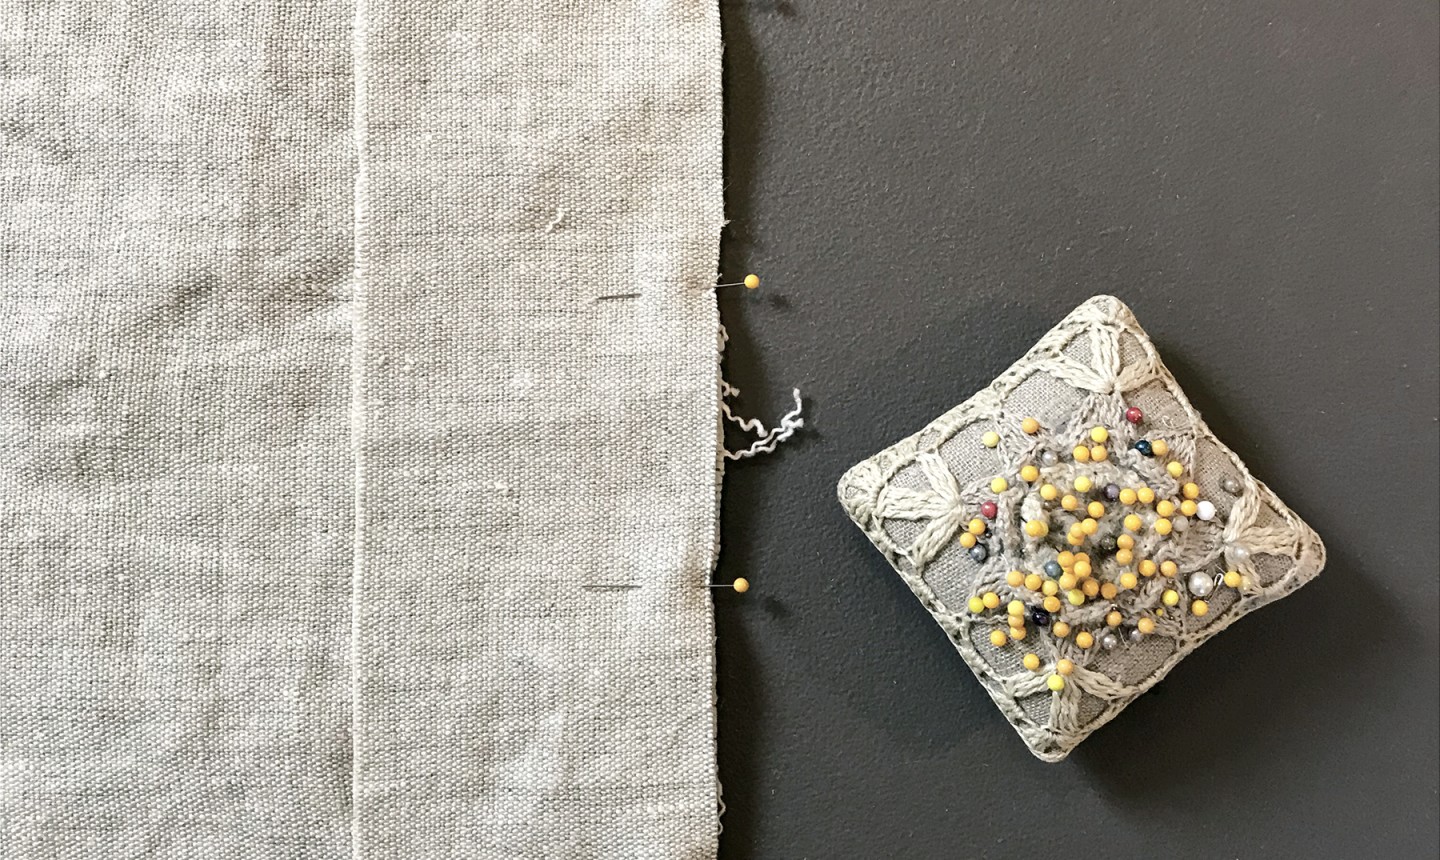
First, pin your front piece and backing fabric right sides together. Sew around the two vertical sides and the bottom of the piece using a ½” seam allowance. Leave the top edge open. Clip the corners to remove any bulk.
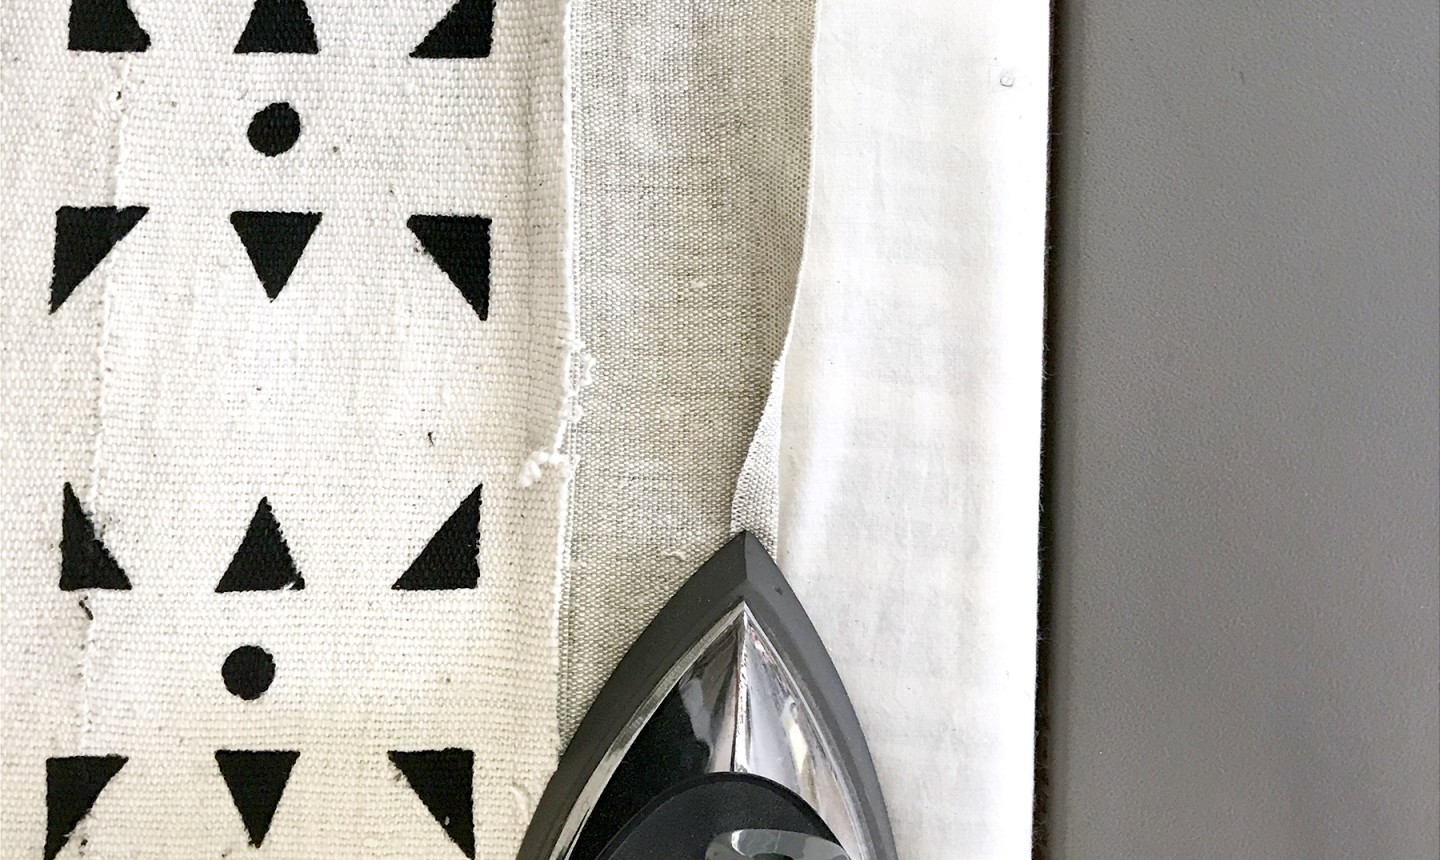
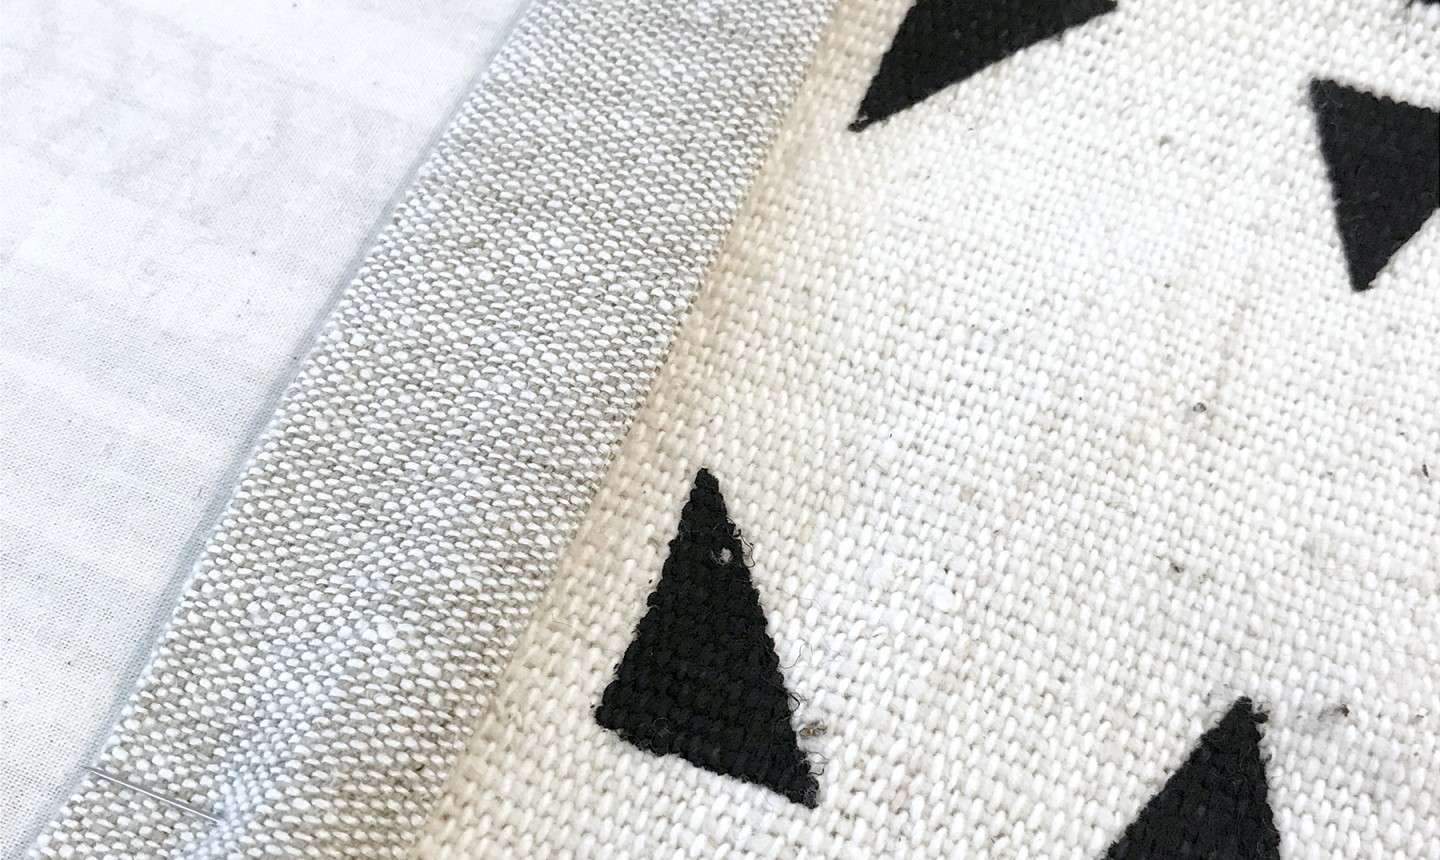
Turn the connected pieces right sides out (it should look like a pillowcase). Press the entire piece flat.
7. Calculate Your Casing
To hang your piece, you’re going to need a casing that your dowel slides into. Measure the diameter of the rod (⅝” in our case), then do the following calculations:
Casing Width: Rod diameter (⅝”) x 4. This allows for extra room for the rod to slide in easily. Ours adds up to 2.5”. Then add 1” for the seam allowance (½” for the front and ½” for the back). This puts our total width number at 3.5”.
Casing Length: Your casing strip should be ½” longer than the width of your wall hanging on each side (so 1” longer total). Because our hanging is 18”, this puts our total length number at 19”.
8. Sew the Casing
Using your measurements from step 7, cut a strip of the same fabric you used for your backing (ours is 19” x 3.5”).
Press under ½” on each short edge of the casing. The strip should now be the same width as your hanging. Pin to the back of your hanging, along the top edge, right sides together.
Attach the strip using a ½” seam allowance and simple straight stitch. Press flat, with the seam allowance pointing up.
 \
\
Press under ½” along the top edge, pressing toward the wall hanging.
Fold along the center of the casing, lining up the clean edge to cover your first stitching line. Press into place and pin. Topstitch along the fold line 1/16” from the edge.
9. Cut and Sand the Dowel
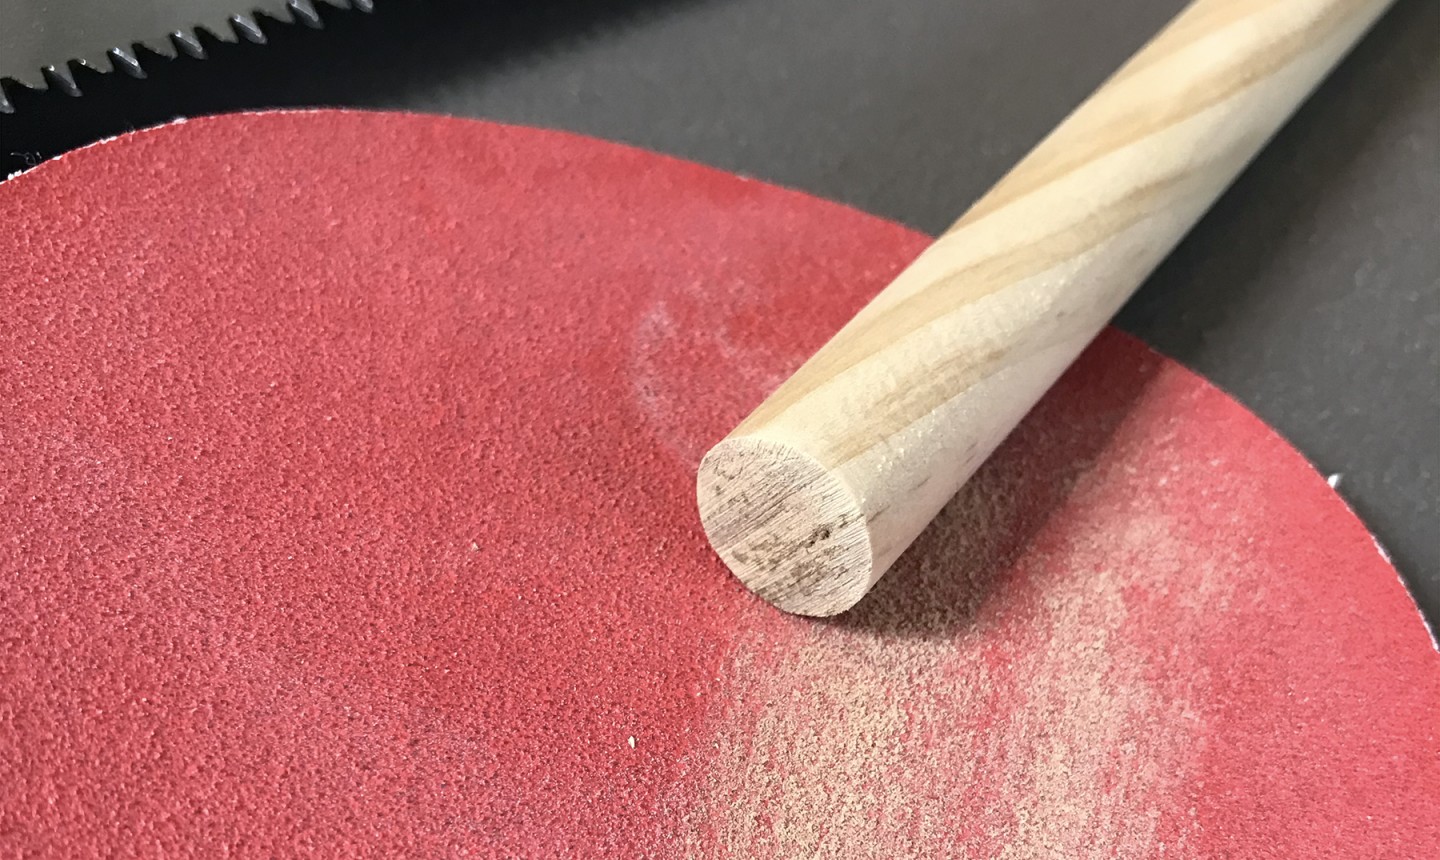
Cut your dowel 4” longer than the width of your wall hanging (ours is 22″), using a hand or mitre saw. (If you don’t have a saw, ask the hardware store to cut it to length for you.) Smooth the ends with sandpaper and, if needed, a drywall sanding sponge to soften the edges. (We used 80 grit sandpaper and a drywall sanding sponge.)
Pro Tip: We chose pine because it’s a soft wood that’s easy to cut and sand. We also left the wood natural to fit the overall aesthetic of our hanging, but you could always stain or paint yours. If a wood dowel isn’t your style, consider other options, like a copper pipe or drapery rod.
10. Add Your Trim
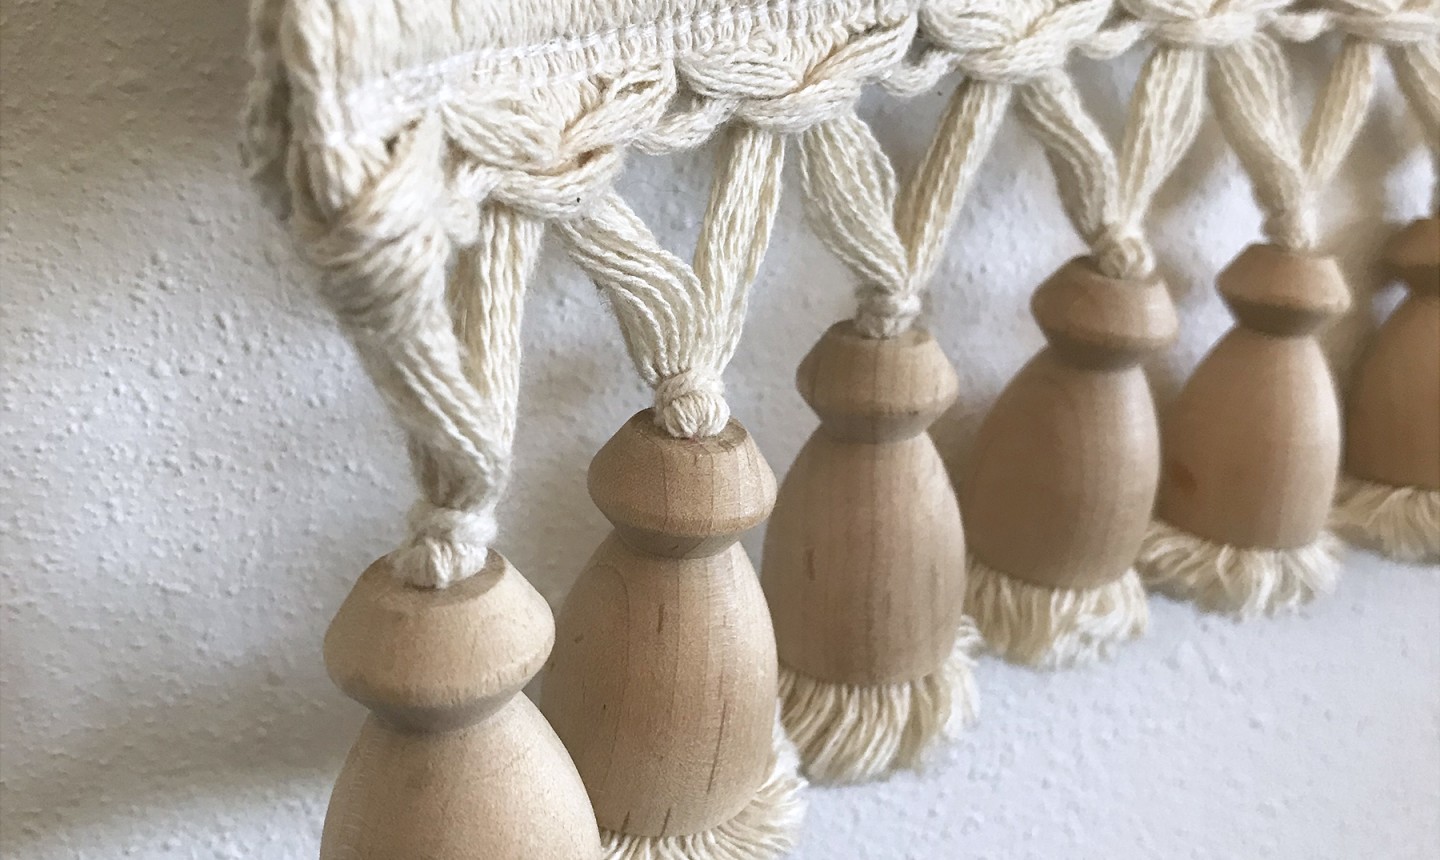
Attach your trim along the bottom of the wall hanging (we went with wooden tassels). Your technique will vary depending on your particular trim — we used a simple straight stitch because the trim was flat enough to fit under the presser foot — but when in doubt, you can always handstitch.
11. Hang Your Piece
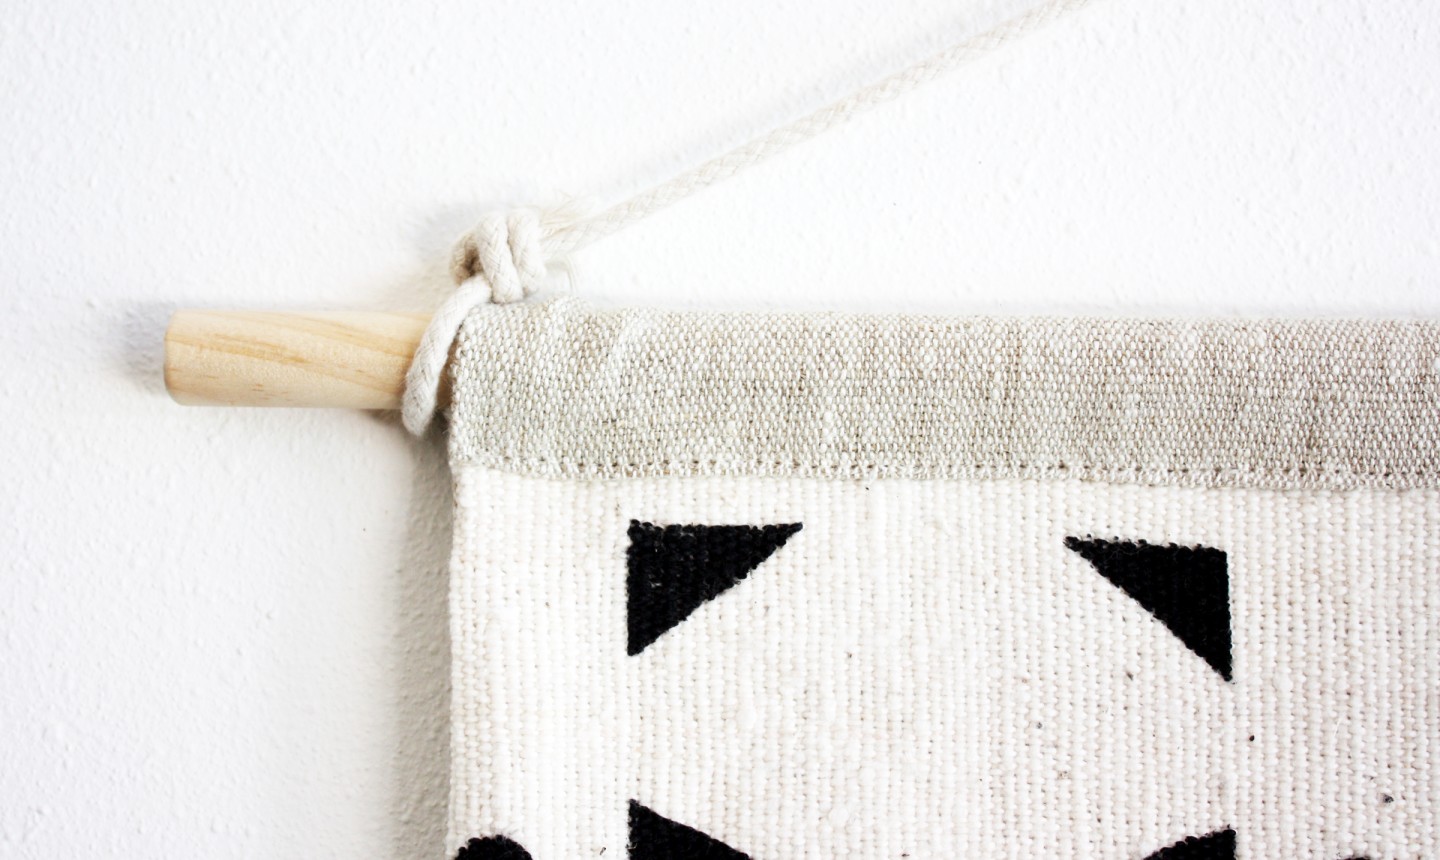
Slide your wooden dowel through the casing. Tie a cotton clothesline cord to each end of the dowel. Nail a small brass picture hook onto the wall. Hang the cord on the hook and — voila! — you have a gorgeous, totally customized piece of wall art to call your own.
Pro Tip: There are a lot of options for how to hang your new wall art — you can use rope, hanging brackets, nails or even some wire — whatever works best with the decor of your home. Personalizing every part of this piece is what makes it special!
Photos by Angie Johnson of Norwegian Wood
Share tips, start a discussion or ask one of our experts or other students a question.
Already a member? Sign in
No Responses to “This Custom Mudcloth Wall Hanging Is an Instant Wall Upgrade”