
Stacked bracelets are everywhere these days. Looking for a fun way to spice up your stack? Try making mala bracelets. They’re easy to customize with your favorite beads, and the best part is, they’re so easy to make yourself!
Wondering how to make a mala bracelet? Follow along here.
Materials you’ll need:
- Stretchy cording (I recommend Stretch magic jewelry cord, which comes in clear, black and white; thicker cord will be more durable enough for everyday wear.)
- Beads that fit onto your cord (It’s fun to choose a few different colors and sizes so you can layer them together.)
- Super Glue
Step 1:
Start with a piece of cord that’s a few inches longer than your final piece will be. You’ll want to leave some room for tying knots at the end.
How do you know how long to make your bracelet? Industry standards say that 7″ – 8″ is average. So for a smaller wrist, you can err on the side of 7″, but for larger wrist, 8″ would be your best bet. If you’re making these for yourself, you can always measure your wrist with a piece of string first.
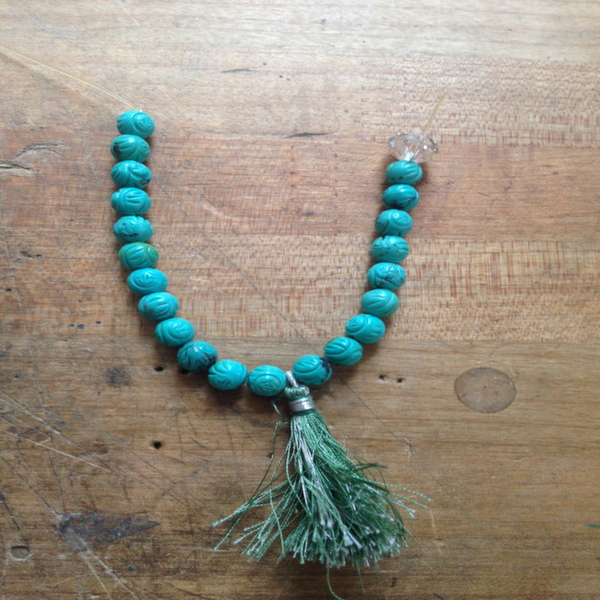
Step 2:
If your beads are already pre-strung, you can measure them as-is so you know just how many will fit on your elastic, then simply re-string them. Add in accent beads, like the small Swarovski ones I used, and make a pattern with a few different types of stones, or add on a tassel from the end of one of your strands of beads for a little extra flair.
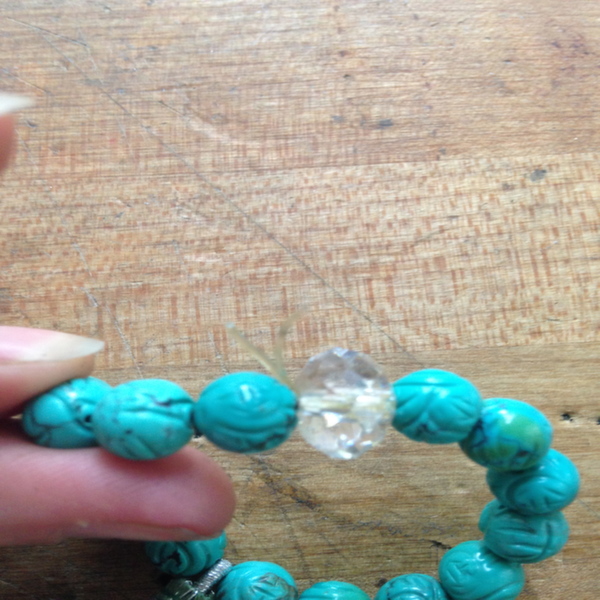
Step 3:
After stringing the bead on the cord, grab both ends and tie them together with a few knots. Ideally at the end you’ll be able to fit these knots into one of the holes in your beads so that they won’t show anywhere. I used the Wwarovski ones for this point because they have larger holes.
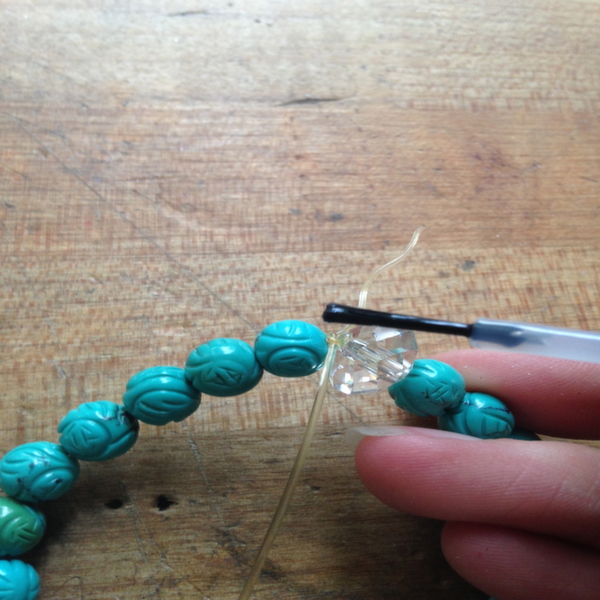
Step 4:
Put a little dab of Super Glue or clear nail polish on your knots so they won’t come untied and slide them into your finishing bead, preferably while the glue is still wet. It’ll set up while in the hole so when you stretch your bracelet over your wrist you won’t be able to see the knots.
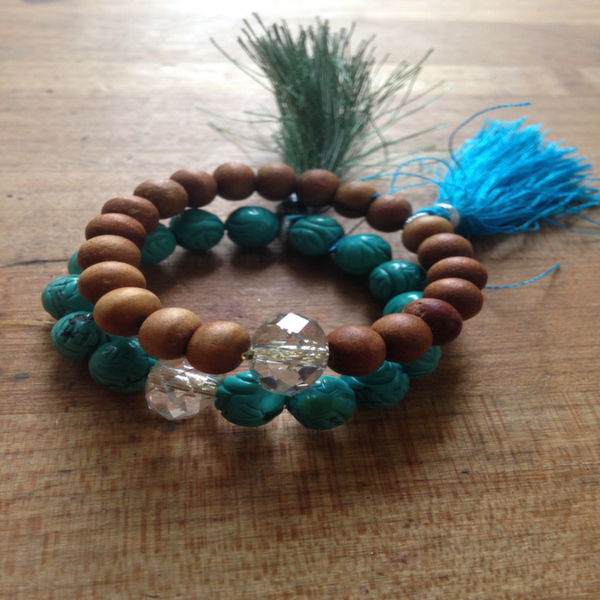
Make multiple mala bracelets and stack them together for a fun, trendy look!
Discover the 4 secret techniques you need to craft beautiful jewelry that’s true to you!
In Craftsy’s Jewelry Workshop, you’ll learn pearl knotting, wire wrapping, chain making and photo etching with a front-row seat to expert instruction from Max Goodman, the founder of Uproar Art.
See every move clearly and get all the answers you need in beginner-friendly online video lessons you can watch at your pace, from the convenience of your home, forever.
Share tips, start a discussion or ask one of our experts or other students a question.
No Responses to “How to Make a Mala Bracelet in 4 Simple Steps”