
Beautiful, bright-edged paper has been popping up everywhere from stationery shops to designer wedding invitations. But it’s also beyond simple to make at home (and is a surefire way to get all those abandoned plain cards out of the drawer and into the mail). Bonus: this project’s so easy you can do it with the kids, and goes great with DIY fabric envelopes!
Color-Edged Stationary
Level: Easy
What You Need
Instructions
1. Stack
Stack your stationary and secure it with a rubber band. You’ll use the top piece of the stationary as a guide, so use the ruler to mark off where you want each color to begin and end. (Do this in pencil if you don’t want to trash this piece at the end.)
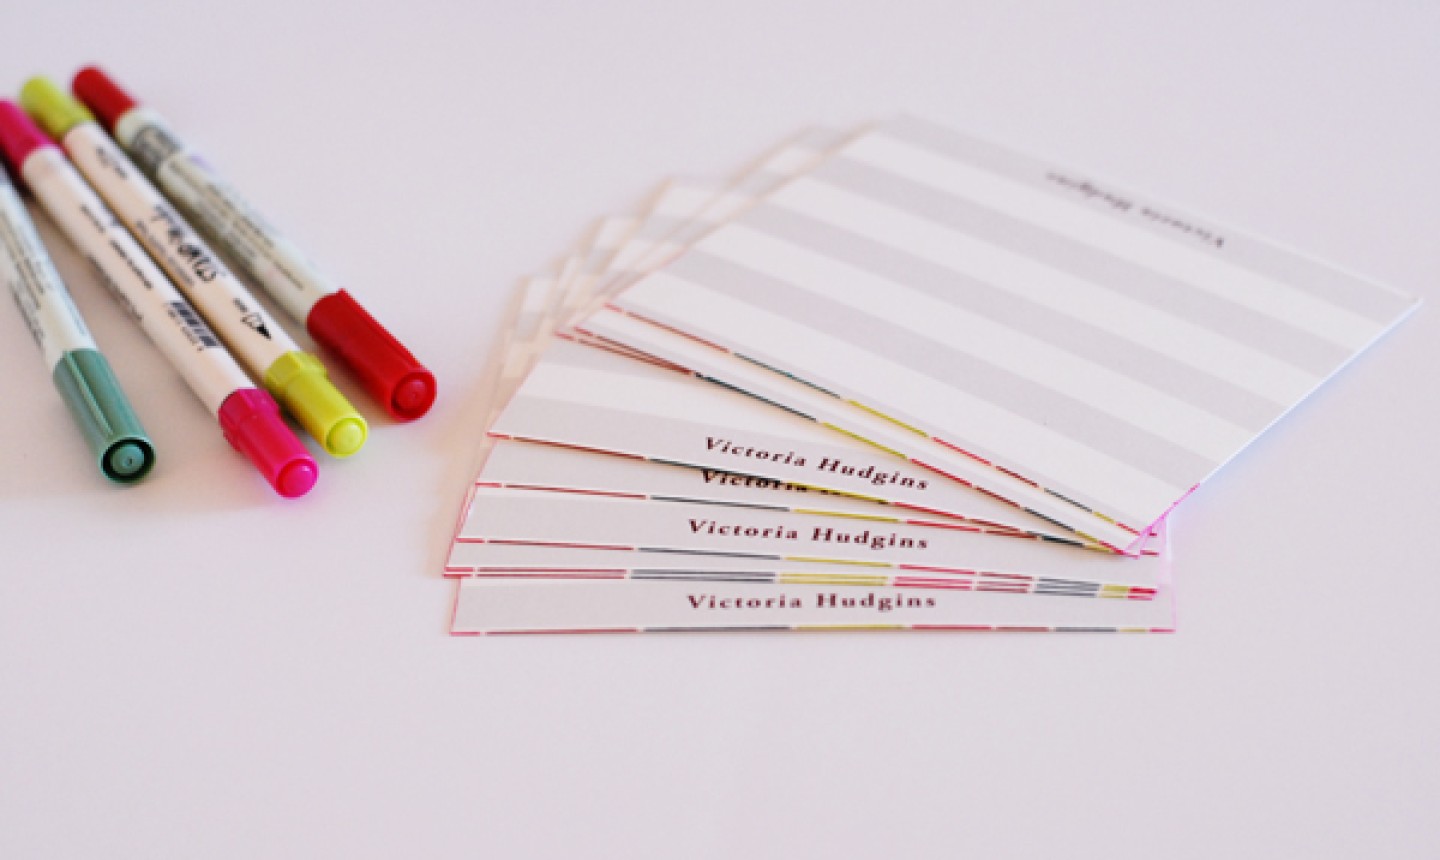
We did a progression from small lines to large ones across our paper, which gives the border a little drama. But space them however you like!
2. Color
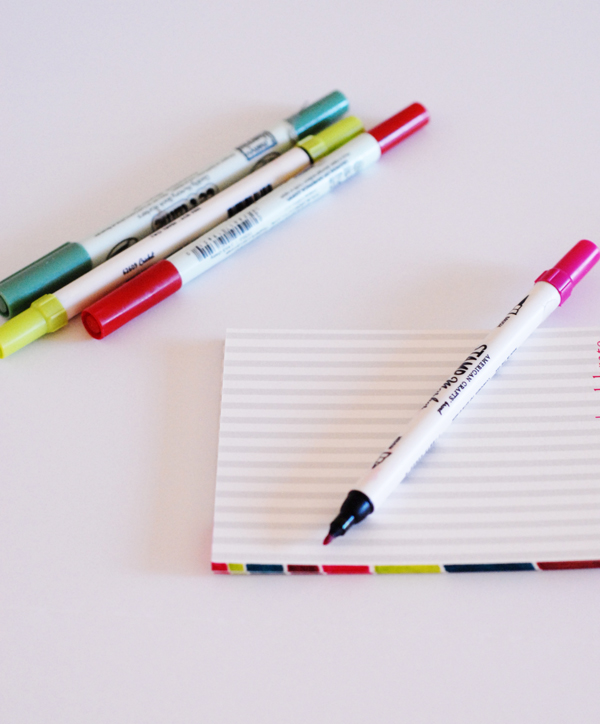
Now start coloring! Try to make deep saturated marks on the paper, and make sure the stack stays closely together to minimize bleeding. You can stick to one edge of the paper, or work your way around all four sides. Anyway you line it, the bright and festive colors will jump right off the page!
Share tips, start a discussion or ask one of our experts or other students a question.
Already a member? Sign in
No Responses to “How to Make Color-Edged Stationery”