
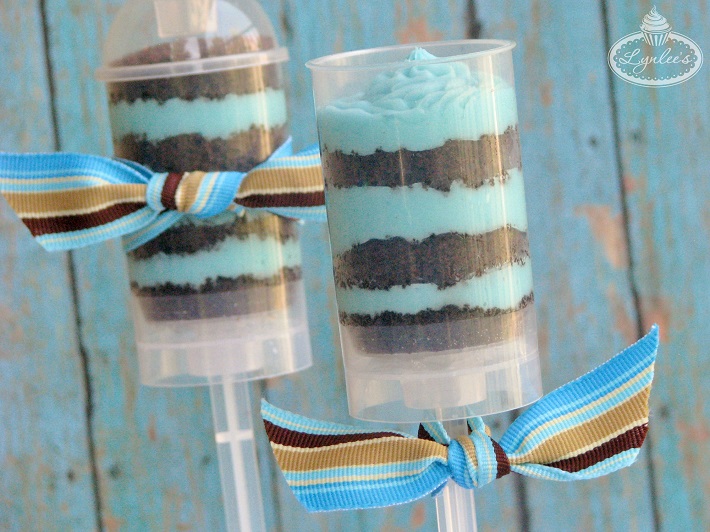
What could possibly be more fun than a frozen push pop?! A push pop filled with cake… yes, cake! Push pop cakes are a fun a trendy alternative to cookies or cupcakes.
Follow this simple tutorial to make the perfect portable party pastry!
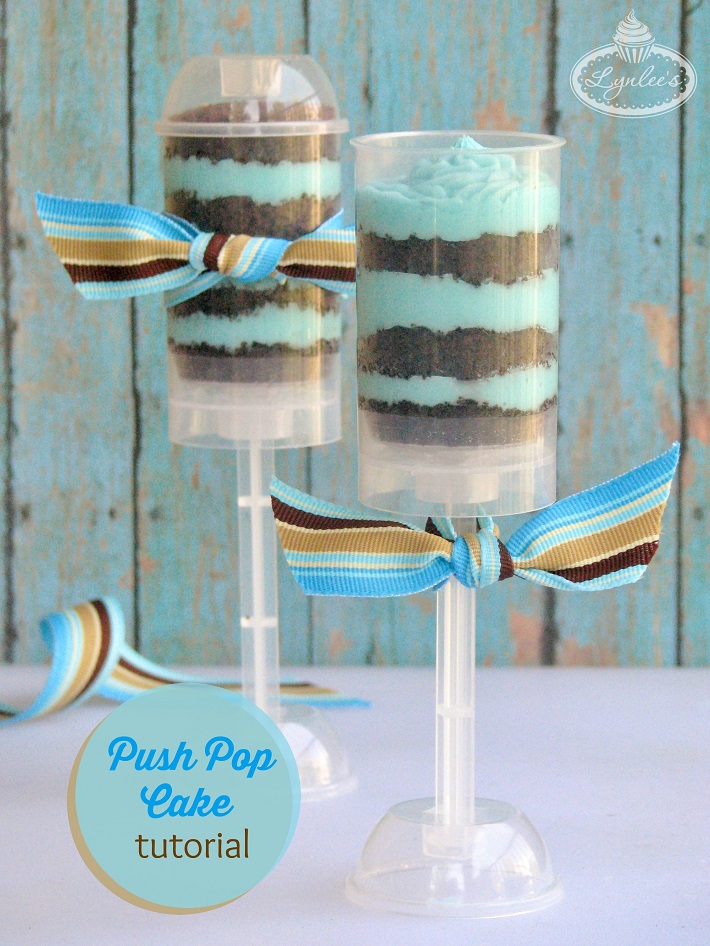
How to make push pops
Materials needed:
- Baked cupcakes or cake, in desired flavor (or cake)
- Sharp knife
- Push pop containers
- Buttercream frosting, in desired flavor
- Pastry bag, frosting tip and coupler
- Spoon
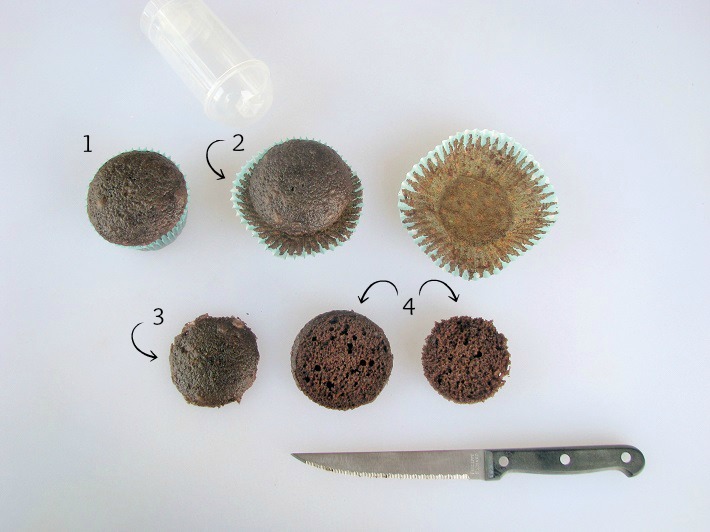
Step 1:
To make the traditional push pop cake, begin by baking cupcakes in your desired flavor and allow them to cool.
Step 2:
Once cool, remove the liners from the cupcakes.
Step 3:
With the knife, level out the cupcake by slicing off the very top.
Step 4:
Cut the remainder of the cupcake in half with the knife.
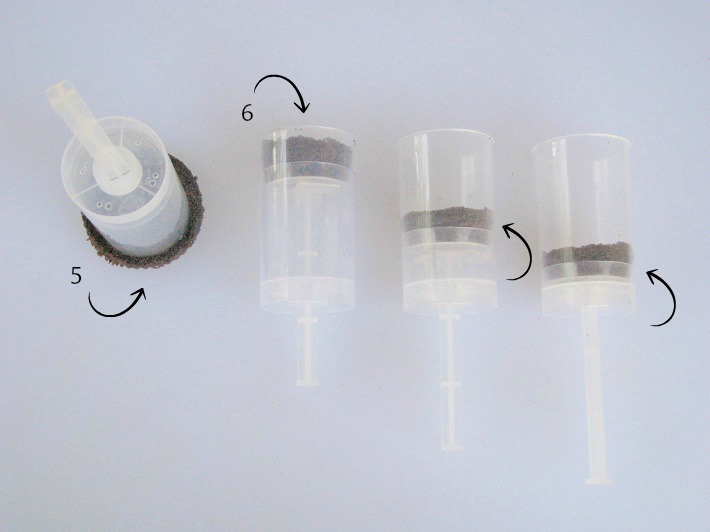
Step 5:
Place one of the cut cake pieces on your work surface, then turn one of your push pop containers upside down. Place the container in the center of the cake piece and press down to trim it to the correct size. Remove the excess.
Step 6:
Turn the container right side up, then with the handle pushed to the top, begin to slowly press down with the assistance of your fingers to continually press down over the entire surface of the cake to ensure it remains level. Keep pressing until the cake has reached the bottom.
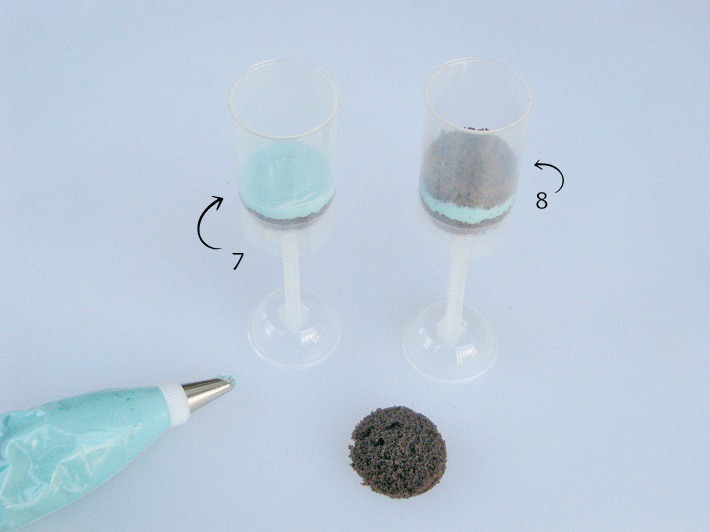
Step 7:
Fill your pastry bag with your desired icing, along with your choice of decorating tip and coupler. Ice the entire surface of the cake you just added to the container, attempting to make it as level as possible. I like to utilize a spoon to smooth it out.
Step 8:
Once iced, add the second piece of cake you cut on as the next layer and again, press the cake down gently to sit over the icing.
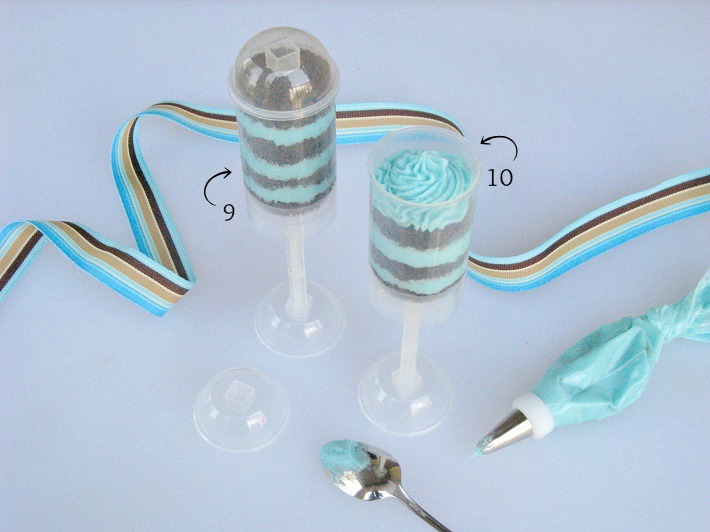
Step 9:
Repeat the steps above to continue to carefully build all the layers of the push pop. If you are planning on placing the lid over the container, make sure you leave enough room at the top to ensure it doesn’t overflow once closed.
Step 10:
If you would like to ensure your last layer is icing and would like to pipe a top similar to that of a cupcake, do not stack your layers to the brim and feel free to add any desired toppings!
A few things to keep in mind:
- You can easily use regular cakes to achieve the same result and simply cut multiple circles out of each layer.
- If desired, you can also utilize mini cupcakes for the cake layers, but keep in mind that they will not fit uniformly inside the containers and you will have some extra room around the perimeter.
- Making the push pop cakes in this manner will result in cake scraps, which I like take advantage to make cake pops by mixing with icing.
- Displaying your push pop cakes will depend on what type of container you are using. Some containers will not sit upright and will require additional assistance, such as an insertion into polystyrene foam. Others, such as the Treat Pop containers available from Wilton®, have caps that can also be utilized as a stand when the handle is inserted in the center.
Share tips, start a discussion or ask one of our experts or other students a question.
No Responses to “How to Make Perfectly Portable Push Pop Cakes”