
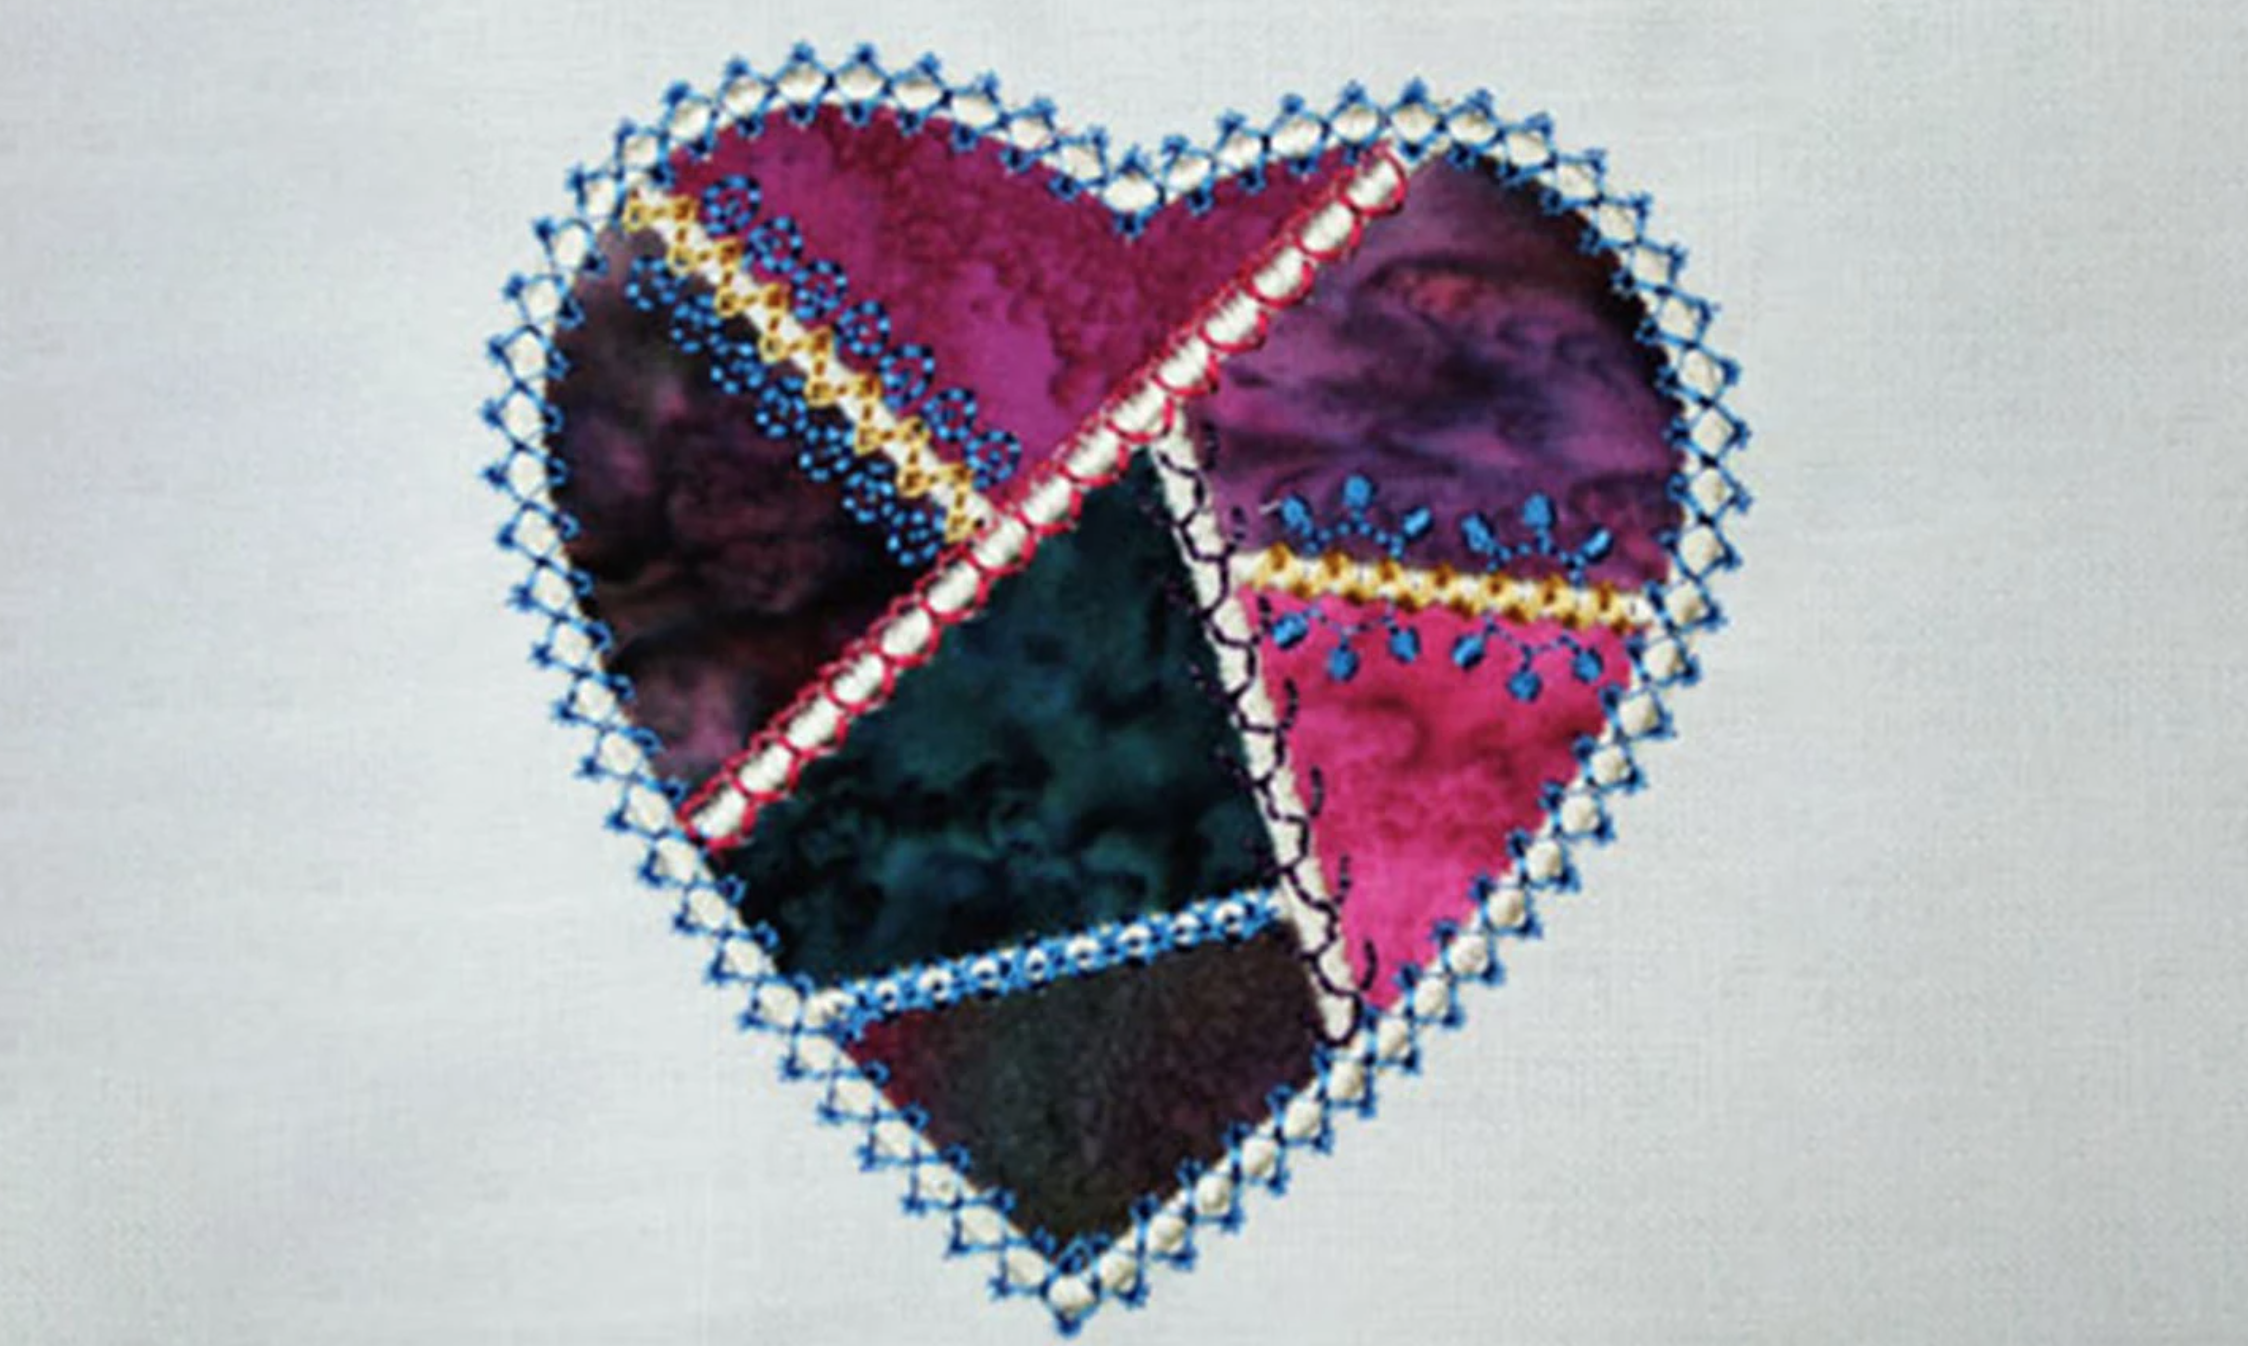
Reasons to love crazy patch embroidery: it’s fun, colorful and uses your fabric scraps. Not to mention it’s so simple to make, thanks to embroidery machines.
This embroidery style is made from intricately pieced fabrics and decorative stitching. And because it requires so many different fabrics and threads, there’s ample room for customization and wow factor.
Crazy Appliqué Heart Patch
Level: Easy
What You Need
Instructions
1. Hoop Up
Hoop your base fabric with a medium-weight cut-away stabilizer. Placement stitches are all created in the first stitch sequence and show all of the areas where the appliqué patches will go.
2. Add the First Patch
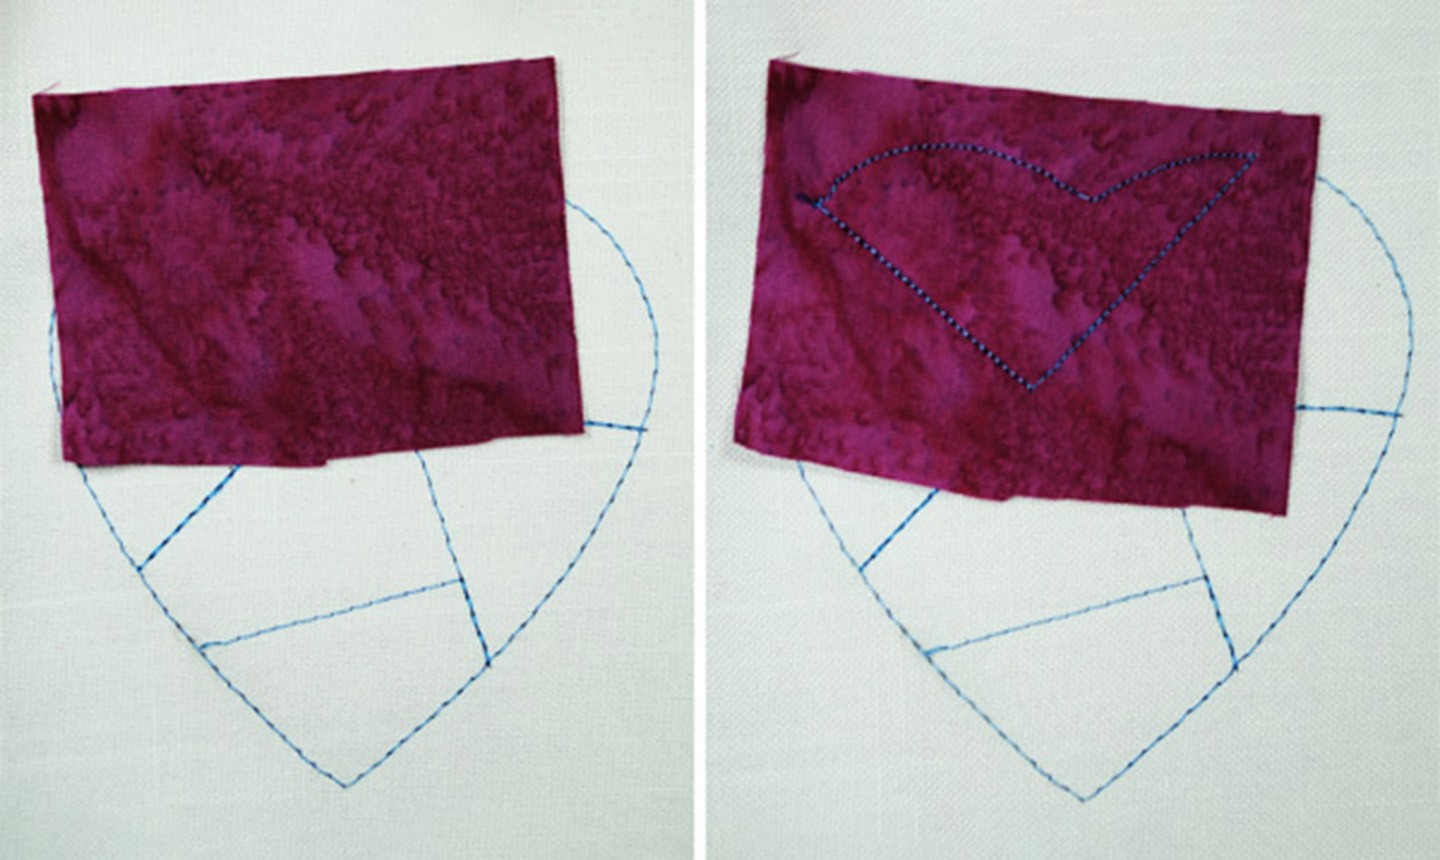
Remove the hoop and place it on a flat surface. Cut the fabric so it’s slightly larger than the area it will cover, then spray the back with temporary spray adhesive. Finger-press the fabric in place over the lines.
Pro Tip: Always spray the back of appliqué fabrics away from your machine, and spray them in a box or on paper to contain any overspray.
Put the hoop back on the machine and stitch the second sequence to tack down the appliqué fabric.
3. Trim
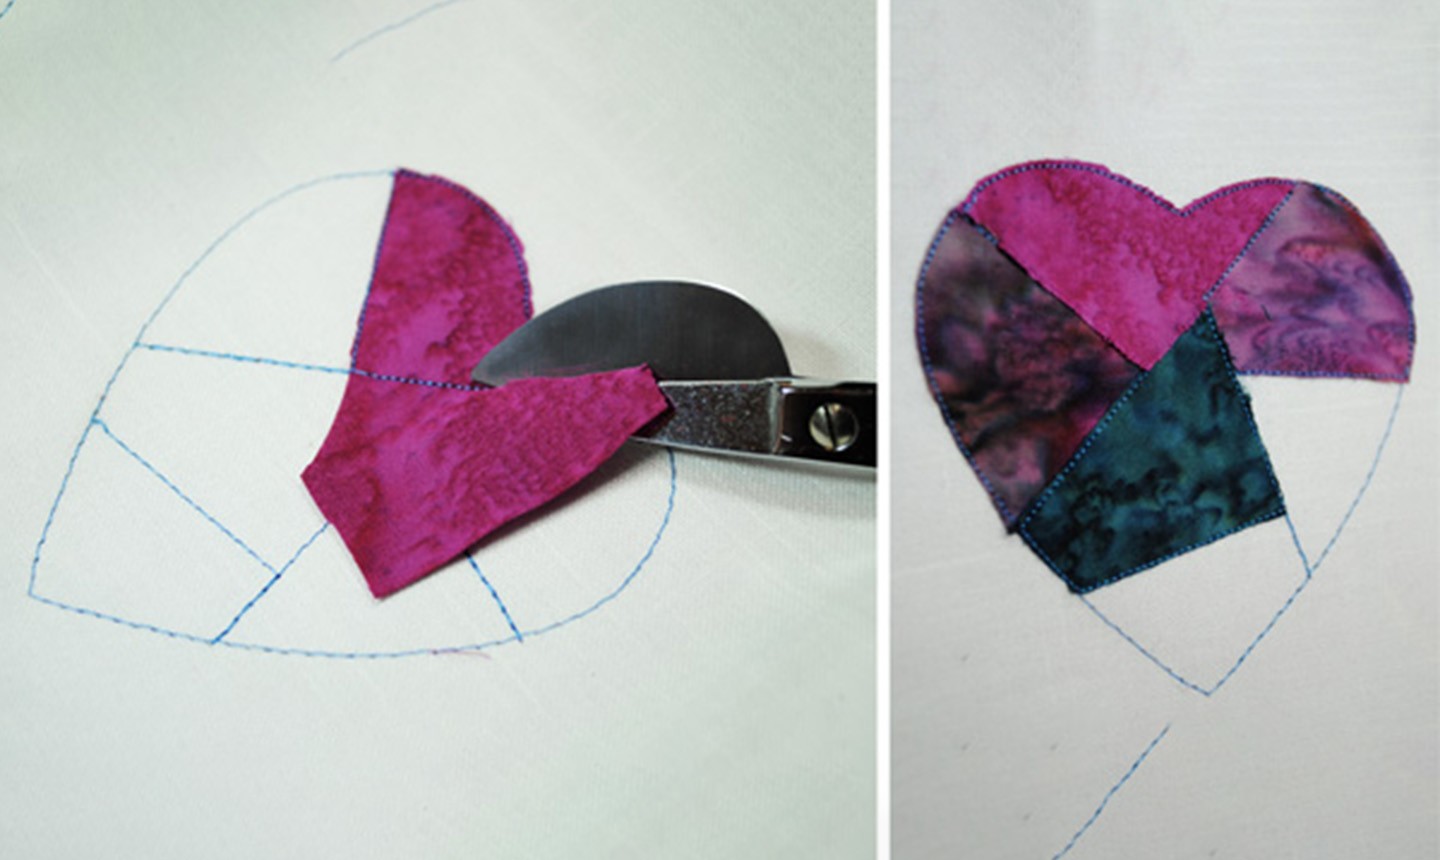
Remove the hoop again and clip away extra fabric. Trim as close to the stitch lines as possible.
4. Repeat
When all appliqué pieces are secured and trimmed, finish the embroidery with the embellishment stitches.
Crazy Quilted Heart Patch
Level: EasyThis method looks similar to the heart patch above, but the fabric is joined together before you hoop up. Bonus: you can stitch this patch even if you don’t have an embroidery machine.
What You Need
Instructions
1. Prep the Stabilizer
Print your pattern; you may need to rescale depending on how large you want your heart to be. Lay a piece of medium-weight cut-away stabilizer on top of the template and trace the heart outline and patchwork markings.2. Place the Fabric

Cut the first piece of fabric to fit the middle triangle. Spray the back with temporary adhesive and finger-press it in place.
3. Create a Seam Allowance
Fold an edge of a second piece of fabric ¼” to the wrong side. Use a fabric glue stick to secure it in place. This creates what would otherwise be a seam allowance, without the seam.
4. Stitch
With a coordinating thread color, use a decorative stitch along the overlapped edge to secure the fabric and stabilizer.
Good to Know: Most regular sewing machines also have pre-programmed decorative stitches, or you can use a zigzag or blanket stitch.
5. Repeat
Prep the edges of your remaining fabrics and stitch them onto your pattern, just as you did in steps 3 and 4.
6. Hoop Up

When all sides of the middle piece are attached to each other, mark horizontal and vertical center lines for hooping.
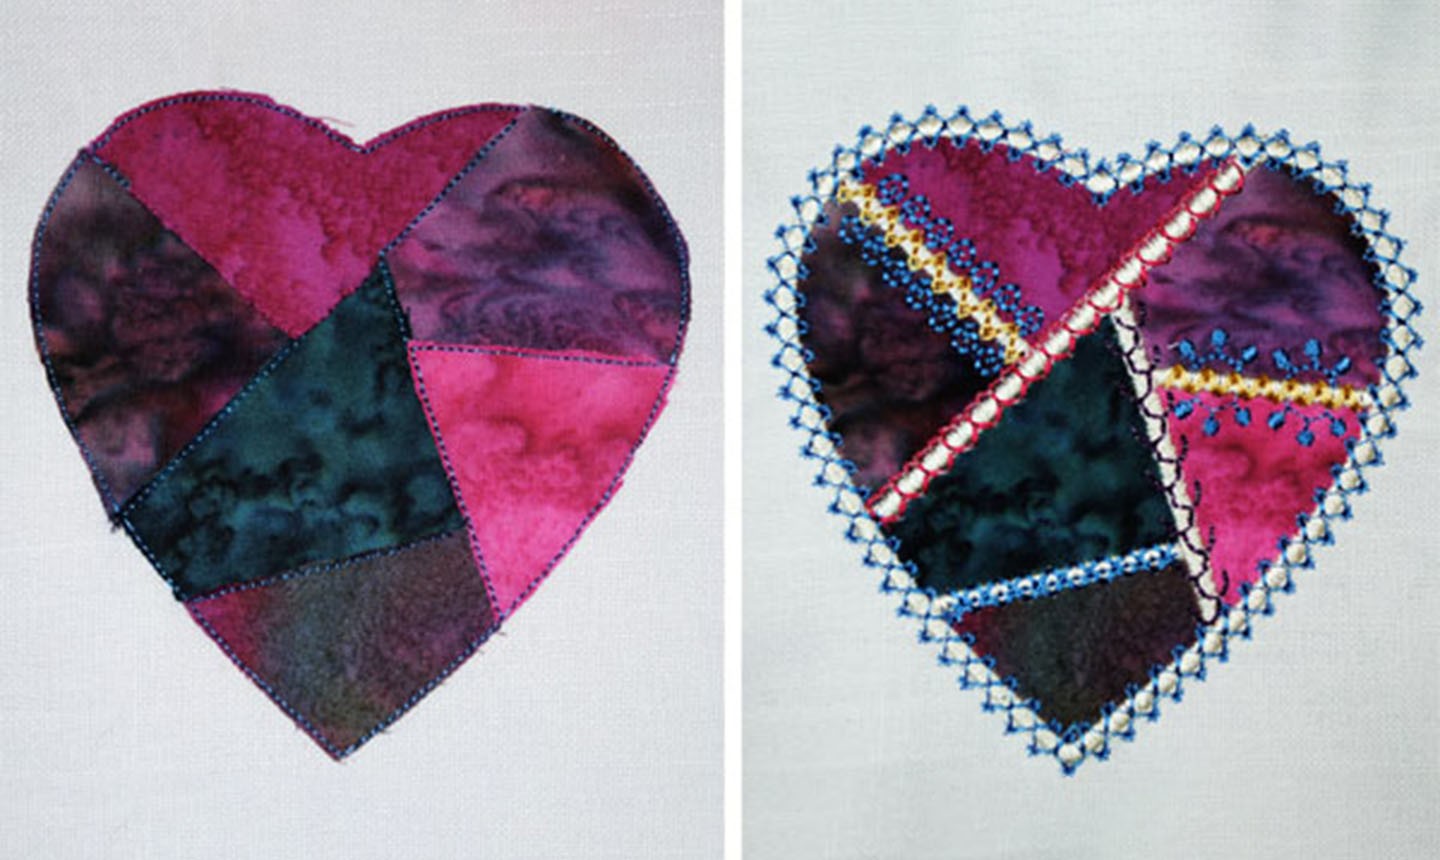
Hoop as it is, centering it in the hoop. Run the appliqué heart tack down and stitch to secure the crazy patch fabric to the stabilizer. Remove the piece from the machine and trim the excess fabric close to the tack down stitches. Reattach and run the finishing satin stitches.
Good to Know: If you don’t have an embroidery machine, create the heart template by tracing it on clear quilting plastic. Cut it out and use it to draw the final heart shape around your crazy patch piece. Trim it, place on the item you wish to appliqué, then finish the edges with satin stitching, zigzag stitching or blanket stitching.
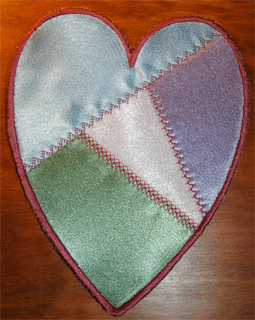
The finished heart can be appliquéd on another item, or left to be freestanding as this one was.
Share tips, start a discussion or ask one of our experts or other students a question.
Already a member? Sign in
No Responses to “2 Fun Ways to Stitch a Crazy Embroidered Heart”