
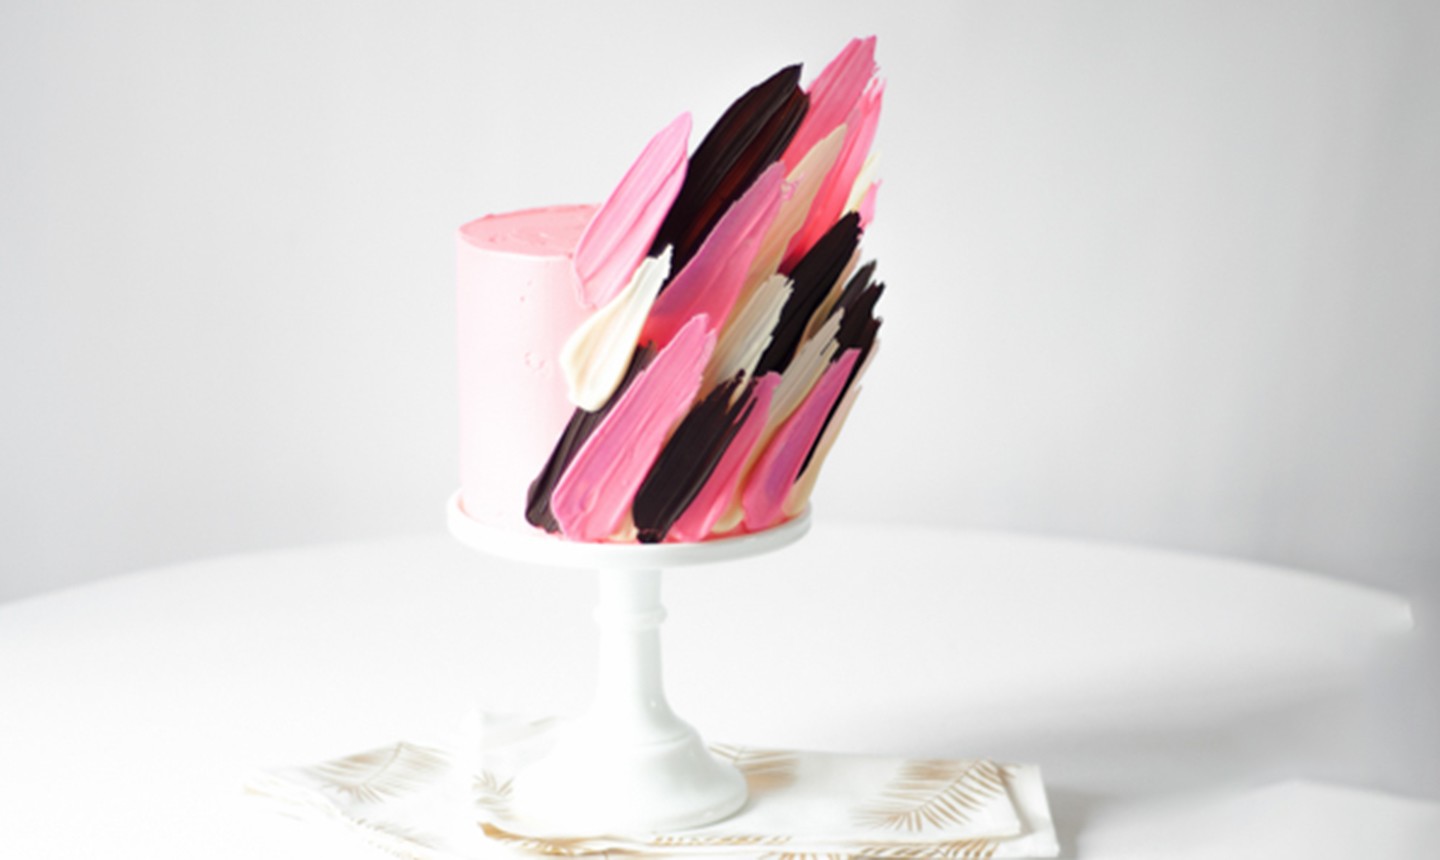
This cake looks like it was painted with magic. And it kind of is — if you consider candy melts magical. Brush stroke cakes are all the rage right now, and it’s a technique you’re gonna want to use on all your frosted creations.
Brush Stroke Cake
Level: Intermediate
What You Need
Instructions
1. Set Up Your Work Station
Before you begin, you’ve gotta prep your baking tray. Cut a piece of wax paper or parchment paper to match the size of the surface. Lay it on top and tape it to the tray to prevent any sliding. This is where your candy melts will form and dry.
2. Melt the Candy Melts
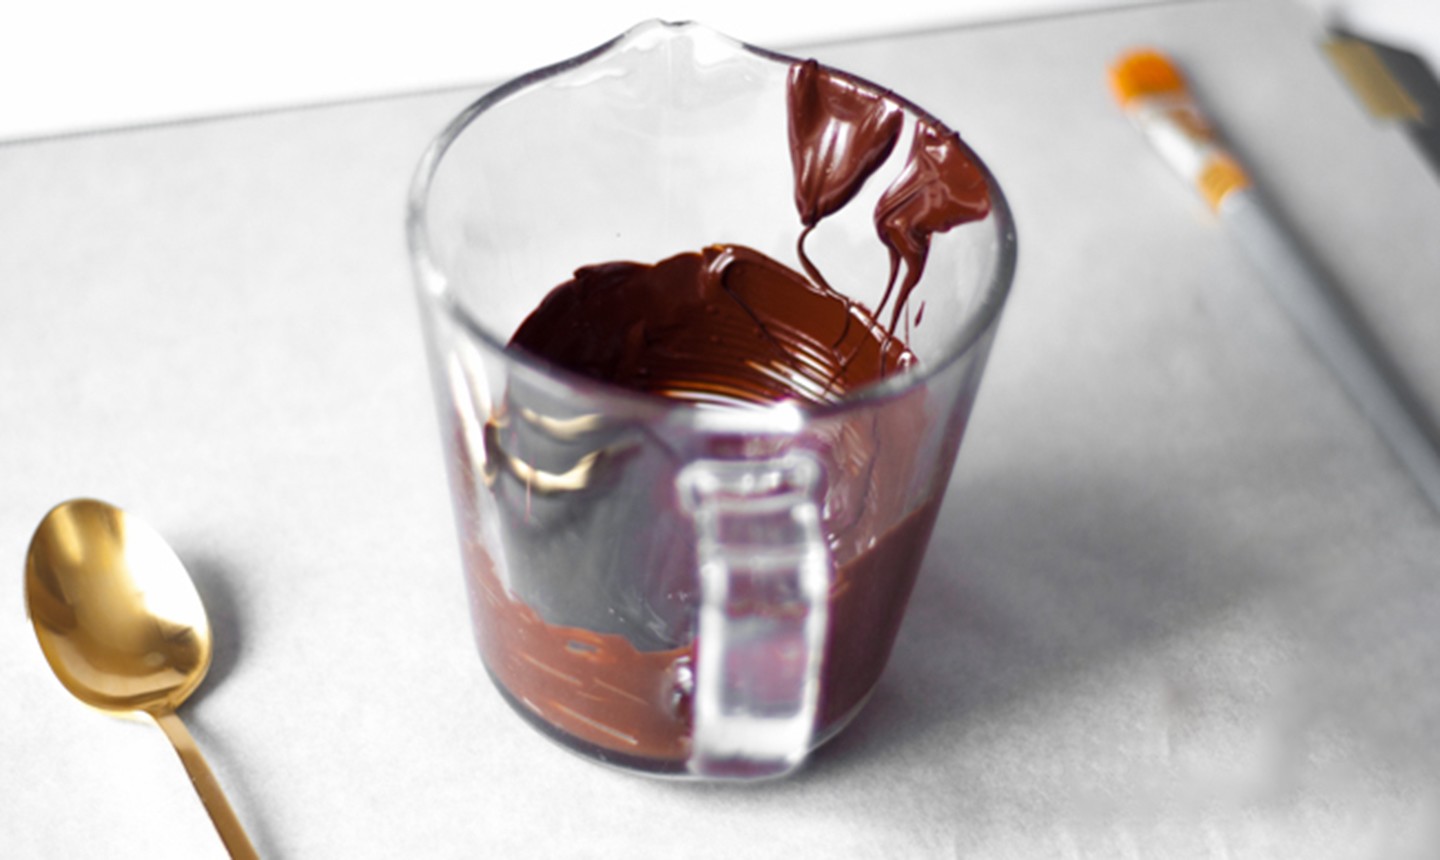
Melt your candy melts. Our method of choice is to just pop ’em in the microwave.
Good to Know: If you’ve never worked with them before, check out our guide to getting candy melts perfectly liquified and free of any clumps or burns.
If you’re confident tempering and melting chocolate, you can also use that instead. It’s all up to you!
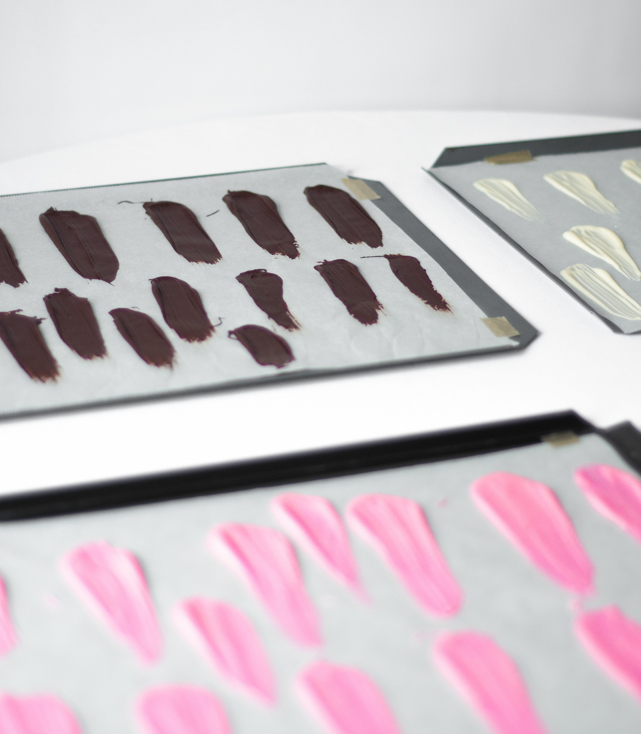
3. Scoop ‘Em
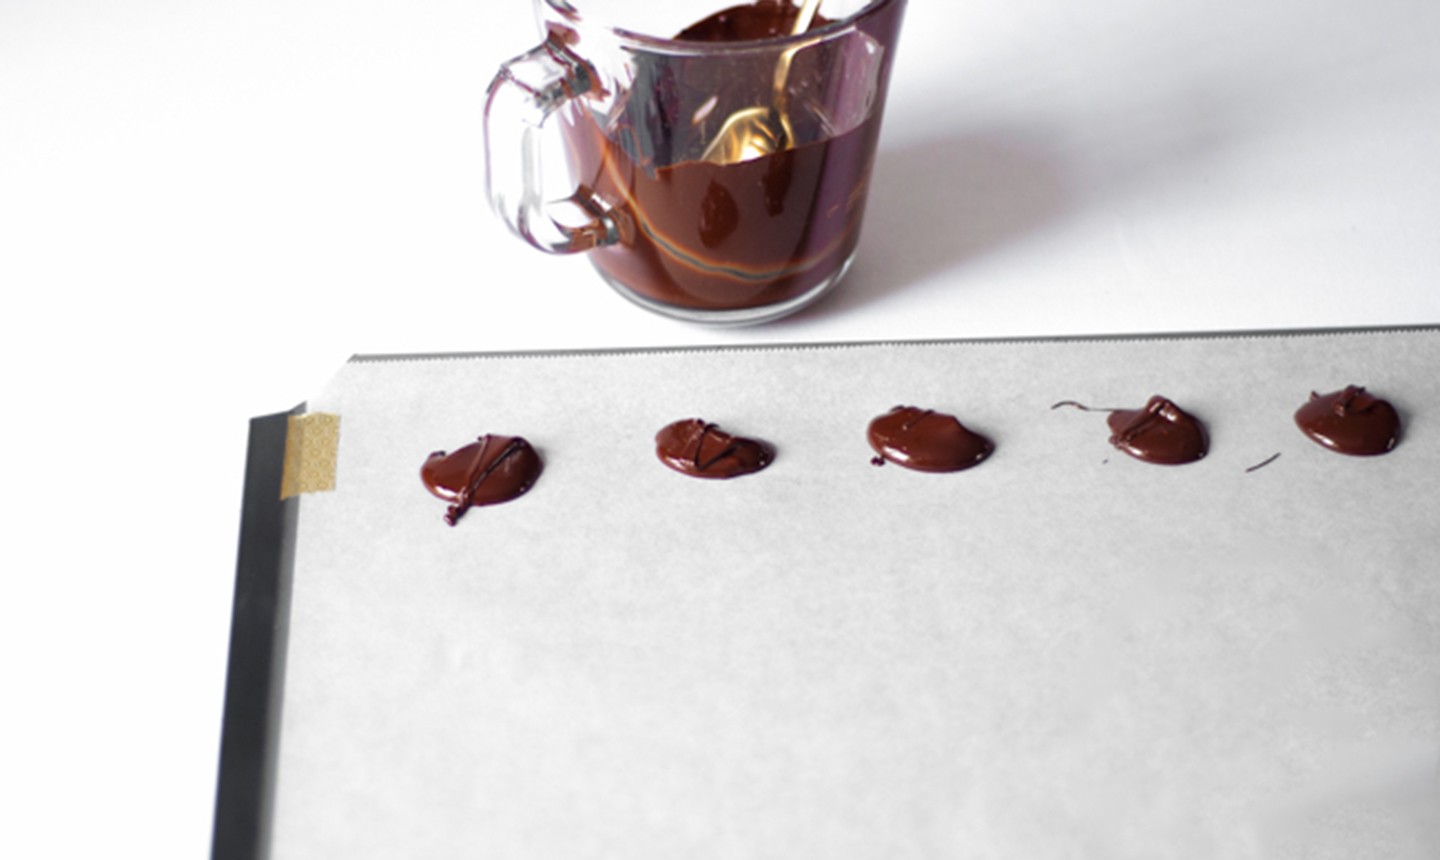
Use a teaspoon to scoop some candy melt globs across your baking sheet. Place them in a line, with each glob spaced a couple inches apart.
4. Swipe It!
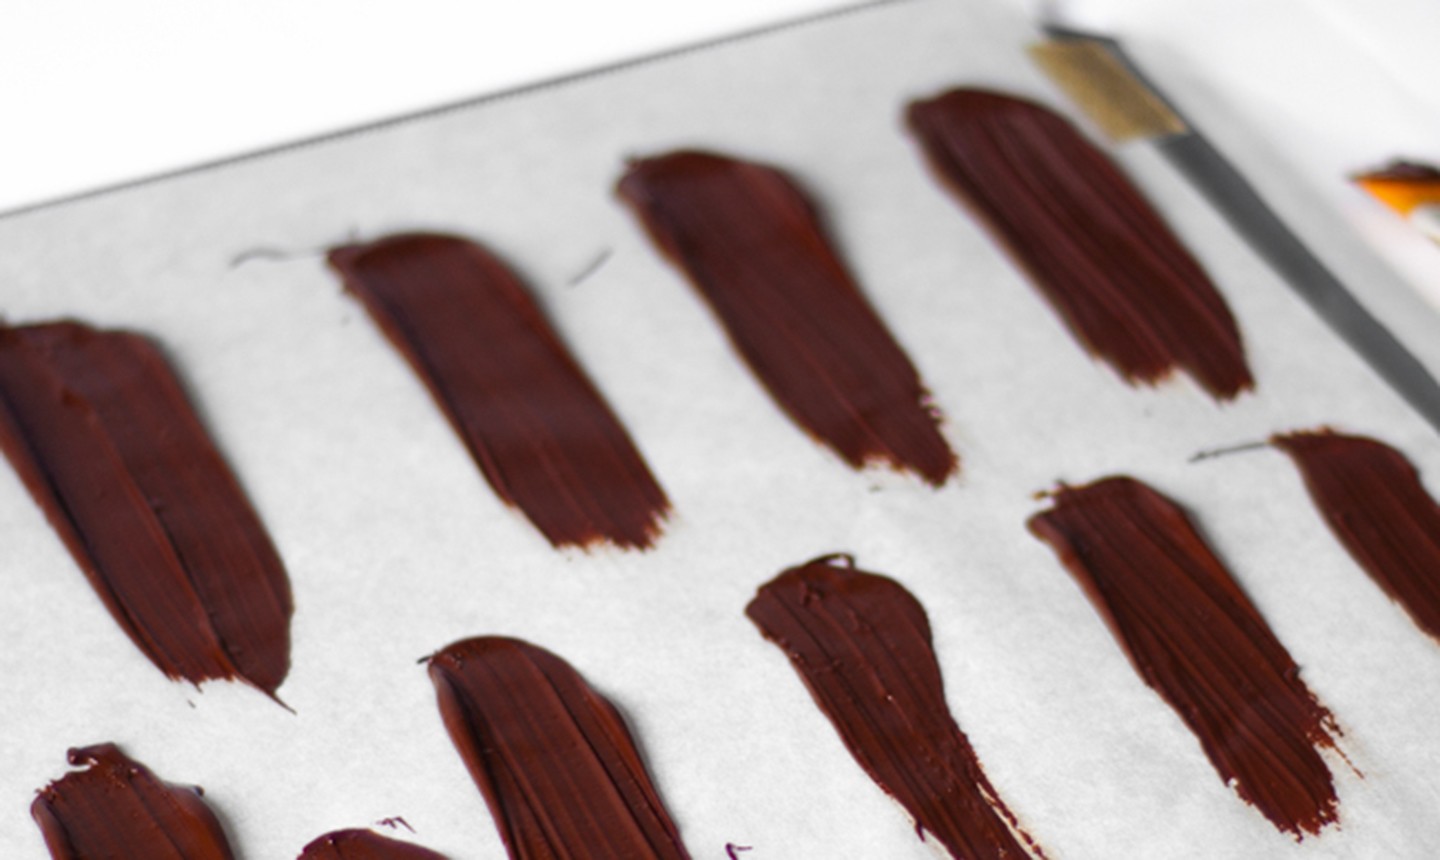
Use your pastry brush to spread the melts outward in a straight line. For a bit of drama, vary your pressure as you paint to give your brush strokes different textures and tails.
Once you have your first row painted, add more teaspoonfuls of melts to the baking sheet and spread those as well. Keep working until you have all the brush strokes you need (or until your baking sheet is too crowded to fit any more).
5. Let ‘Em Dry
Make sure the brush strokes are completely dry before adding them to your cake.
Pro Tip: Candy melt brush strokes usually take about 30 minutes to set, but this can vary depending on how humid your climate is. The more humidity that’s in the air, the longer it’ll take to dry. Be mindful of this, and don’t move on until each stroke is 100 percent dry!
If you used melted tempered chocolate, you can put it in the fridge for about 20 minutes to dry a little quicker. Don’t leave it too long, though — we’ve found that too much time in the fridge can make chocolate “sweat.” Not a good look.
6. Add to Your Cake
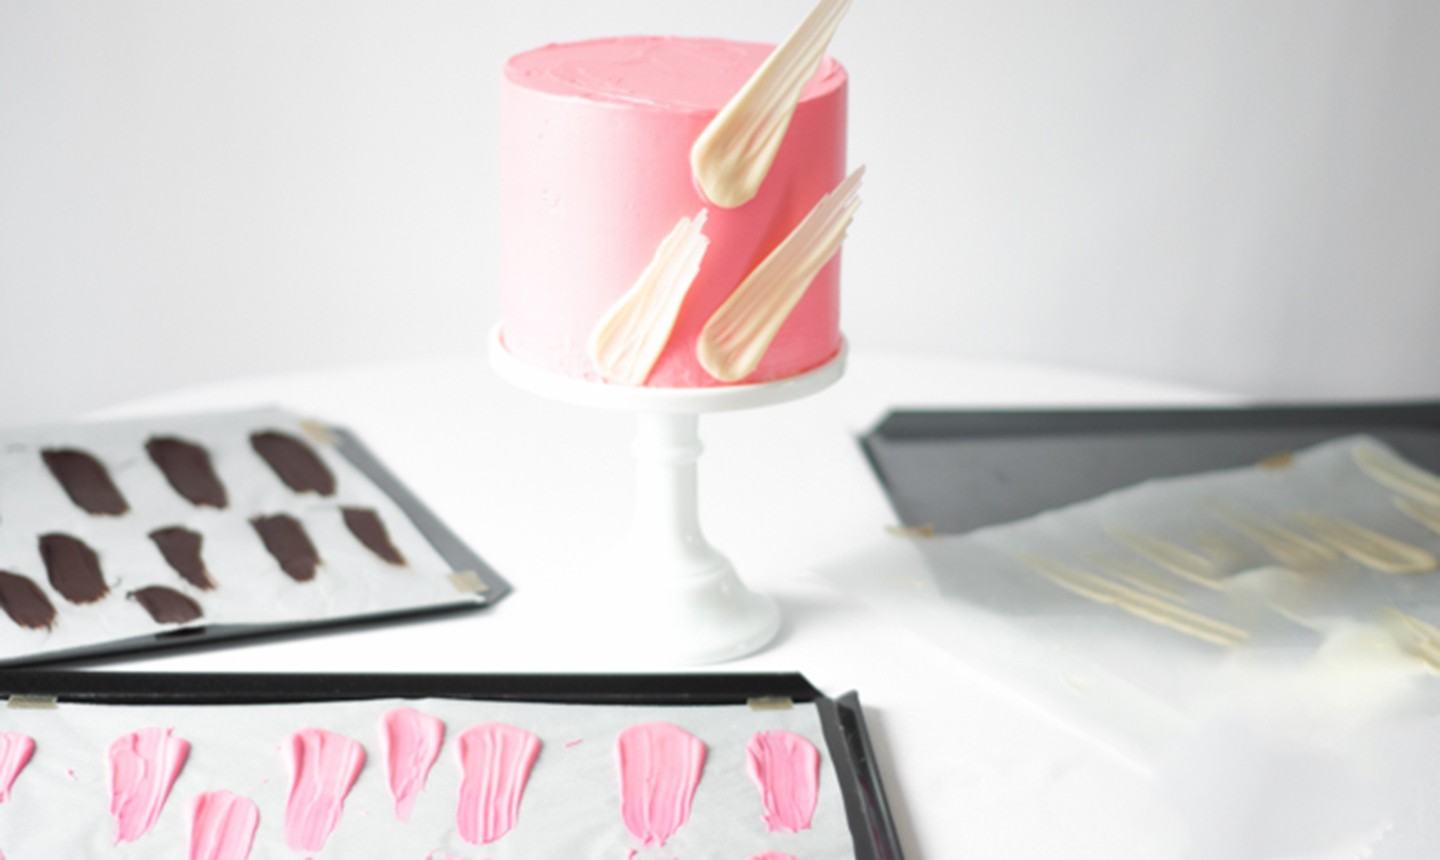
Once your edible brush strokes have set and dried, they’re ready to put on your cake!
Pro Tip: The brush strokes are perfect for buttercream or ganache cakes, but you can add them to fondant-iced tiers, too.
The best way to remove your brush stroke pieces from the waxed paper is to peel the paper away from them. If you try to peel the brush strokes themselves away from the paper, you’ll risk breaking them. Work slowly!
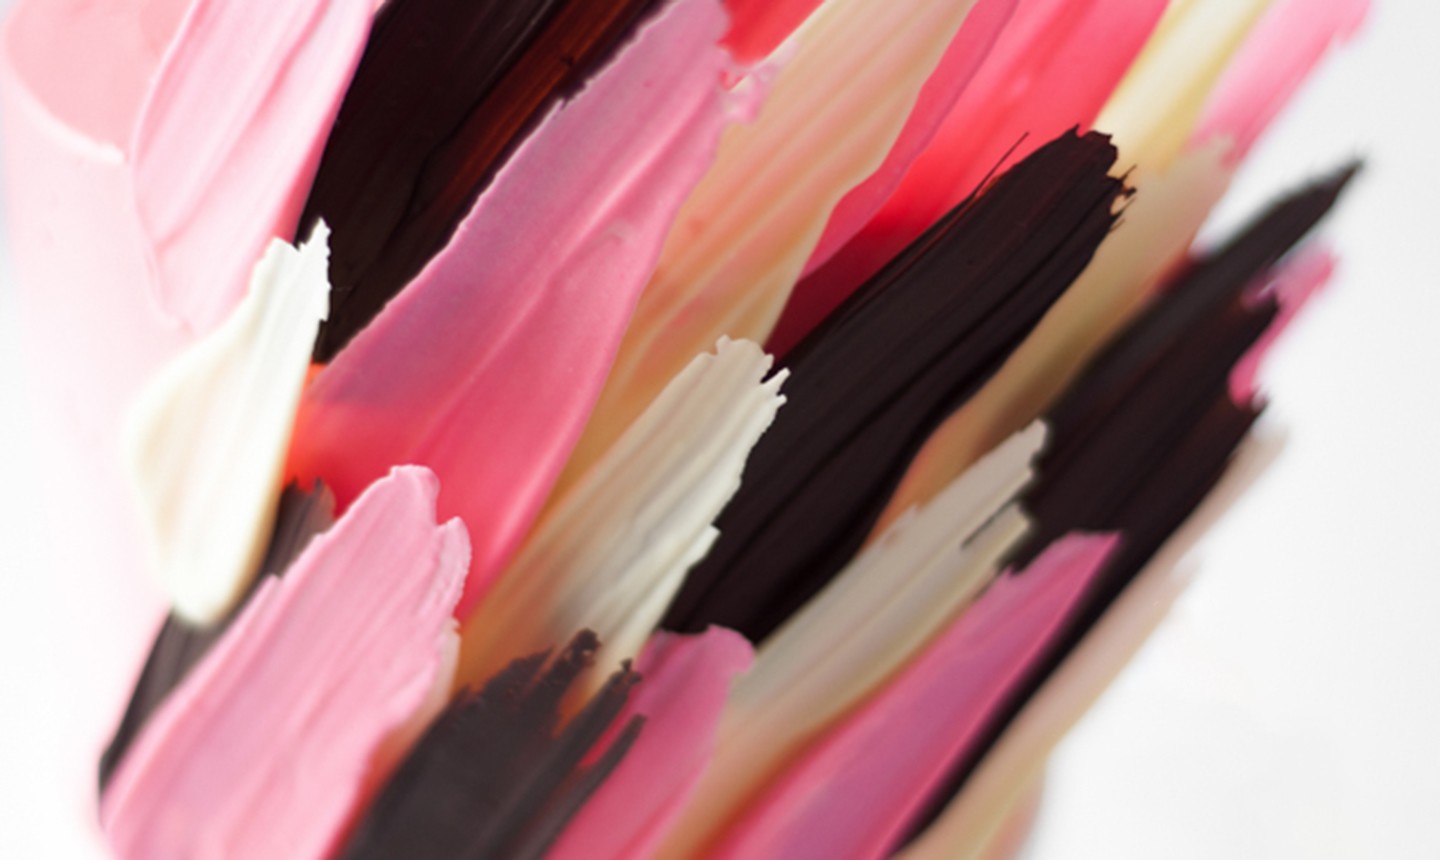
To make them stick to the cake’s surface, use a little blob of leftover melted candy melts or chocolate to “glue” each piece onto your cake. As long as you vary the colors and apply them close together so they cover the cake, you’ll get a stunning result!
Photos by Juniper Cakery.
Share tips, start a discussion or ask one of our experts or other students a question.
Already a member? Sign in
No Responses to “This Feathered Brush Stroke Cake Is Taking Off!”