

For this year’s holiday cards, flex your painting skills! These fancy snowflakes pop with color and are crazy simple to create, so you can whip up a custom version for everyone on your list. Grab your brushes, fill a cup with water and let’s go!
Watercolor Snowflake Cards
Level: Easy
What You Need
Instructions
1. Draw the Snowflakes
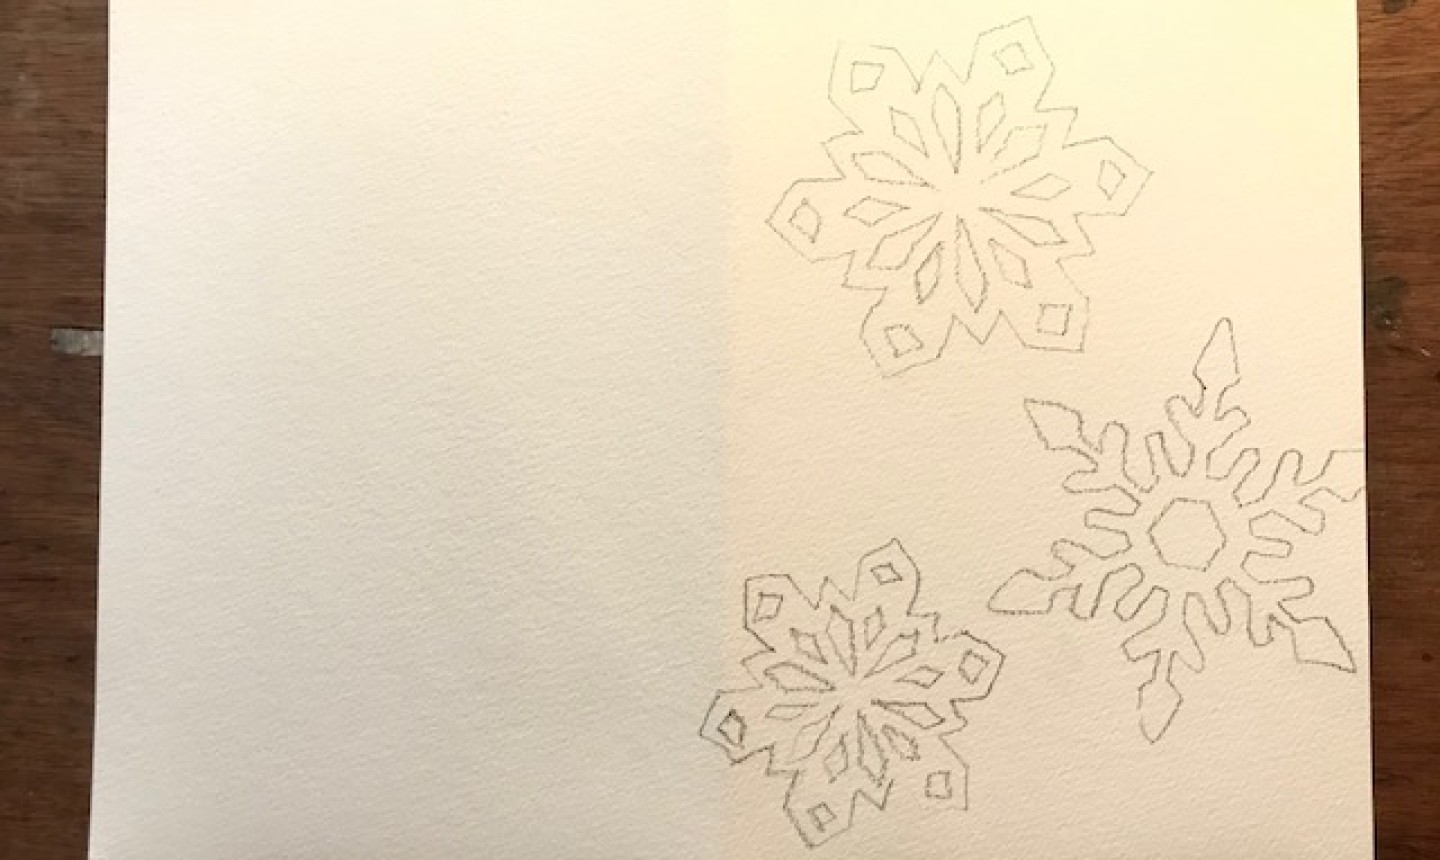
Print the snowflake templates and place them underneath your watercolor notecard. Use a lightbox to illuminate the paper so you can trace the snowflakes onto your card. If you don’t have a lightbox, taping the templates and paper up to a sunny window works great, too. Or you can cut out the templates and trace around them — do what’s easiest for you!
When you’re done tracing, use a kneaded eraser to gently go over the graphite and lighten the pencil lines. That way, the lines won’t be dark enough to show up through your painting.
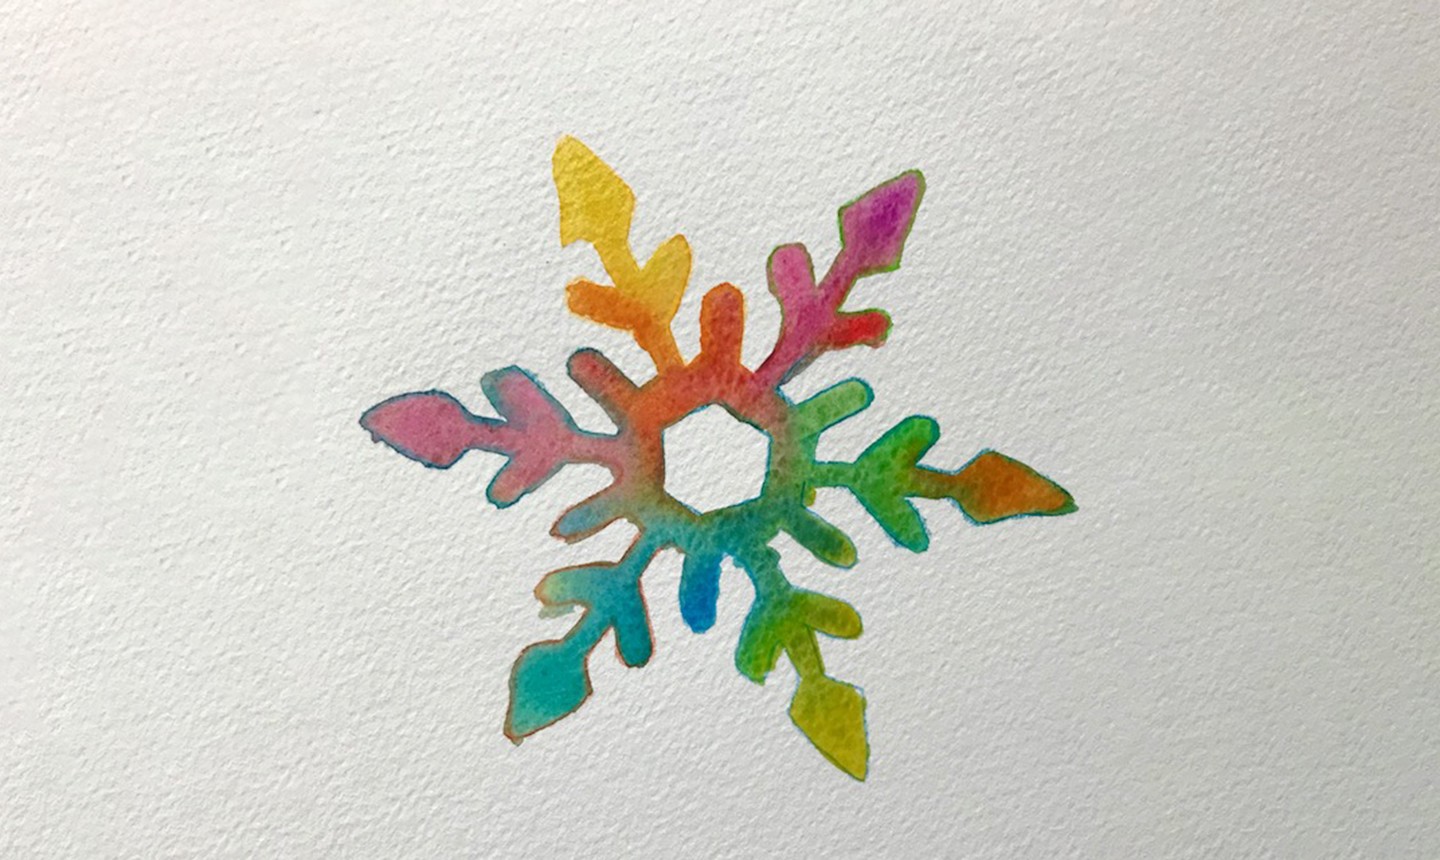
2. Paint the First Snowflake
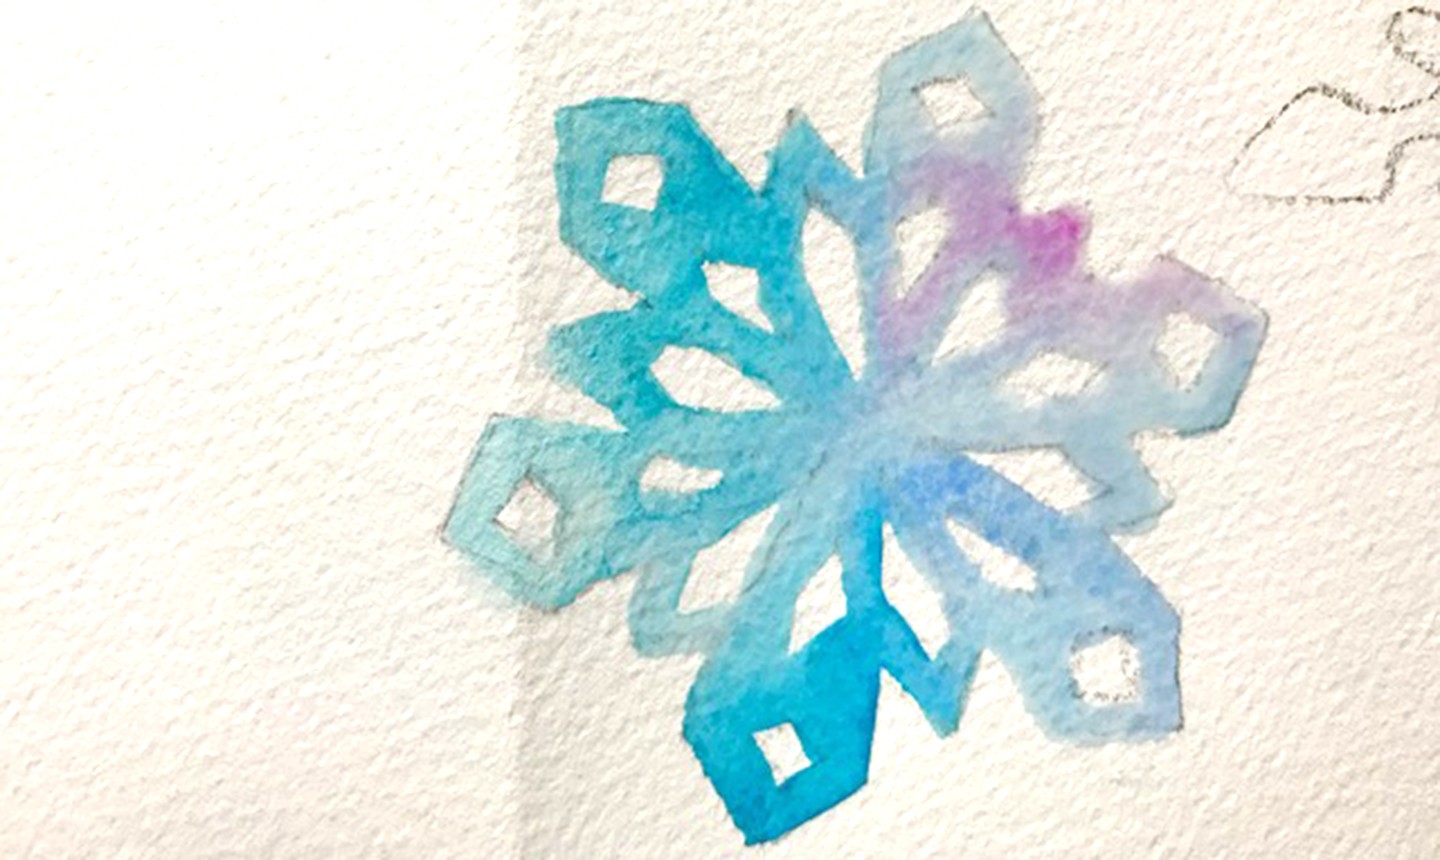
Using the very tip of your pointed round watercolor brush, apply a water glaze onto one section (NOT on the whole drawing!) of the snowflake. Be very careful when applying your glaze to not wet the areas that should remain white. This can be a little tricky, but don’t worry — even if it’s not perfect, we promise your snowflake will still be pretty.
After glazing each section, pick up a small amount of paint and drop it onto the water glaze . Again, just use the very tip of your brush. After you add a new section of color, pick up your paper and gently tilt it in all directions, letting the colors mix together.
Continue working around the snowflake: Add a glaze, drop in color, tilt, then glaze the next section.
Once your snowflake is covered in color, you’re done!
3. Paint the Remaining Snowflakes
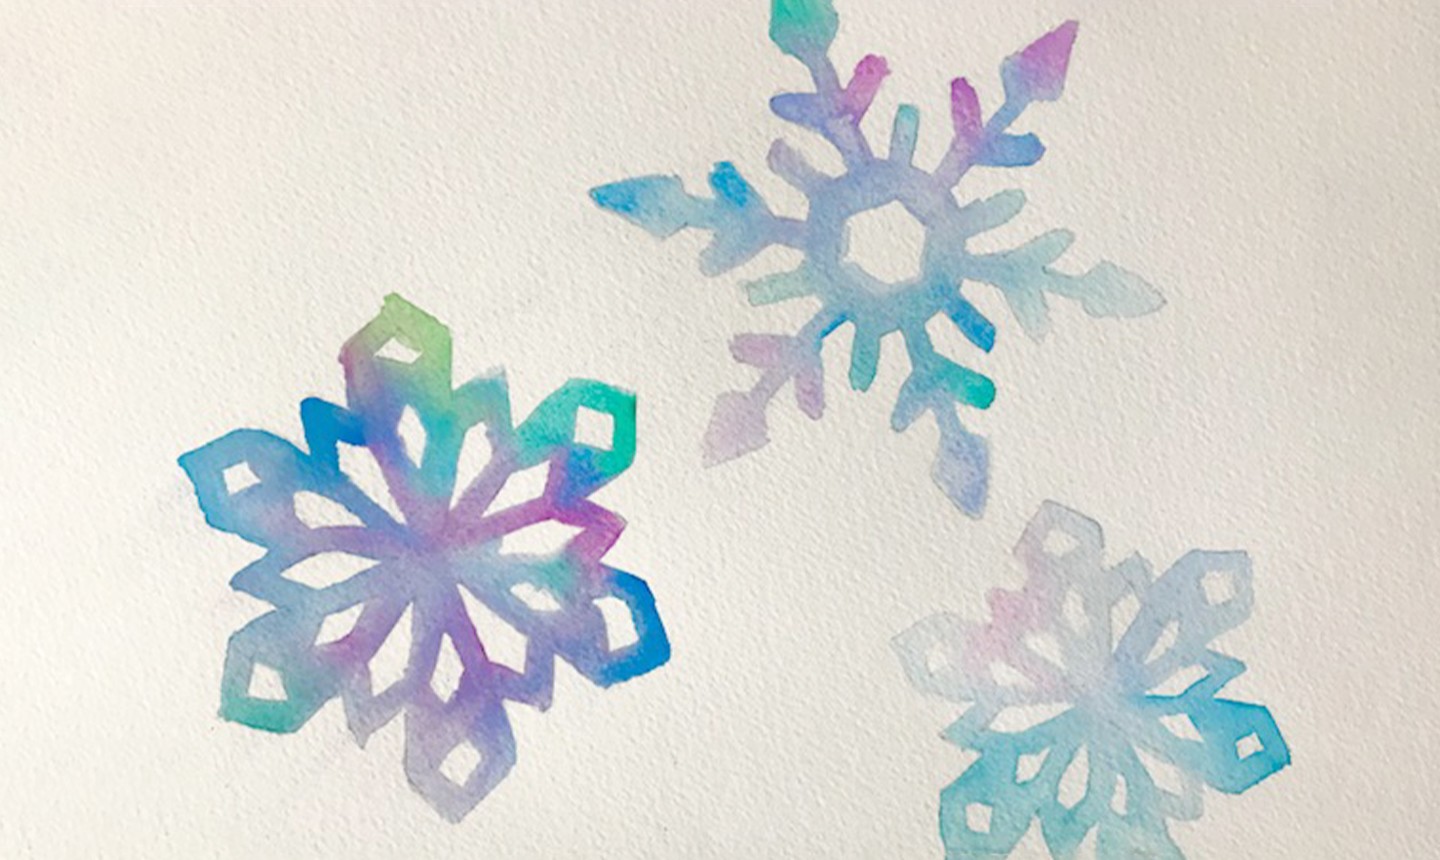
Repeat the process for each snowflake until all are filled with mingling color.
4. Clean It Up
When all the snowflakes on your card are totally dry, use your eraser to gently remove any remaining pencil marks.
Variation: Use Watercolor Pencils
If you want your snowflakes to be bold, give this technique a try.
1. Trace With Watercolor Pencils
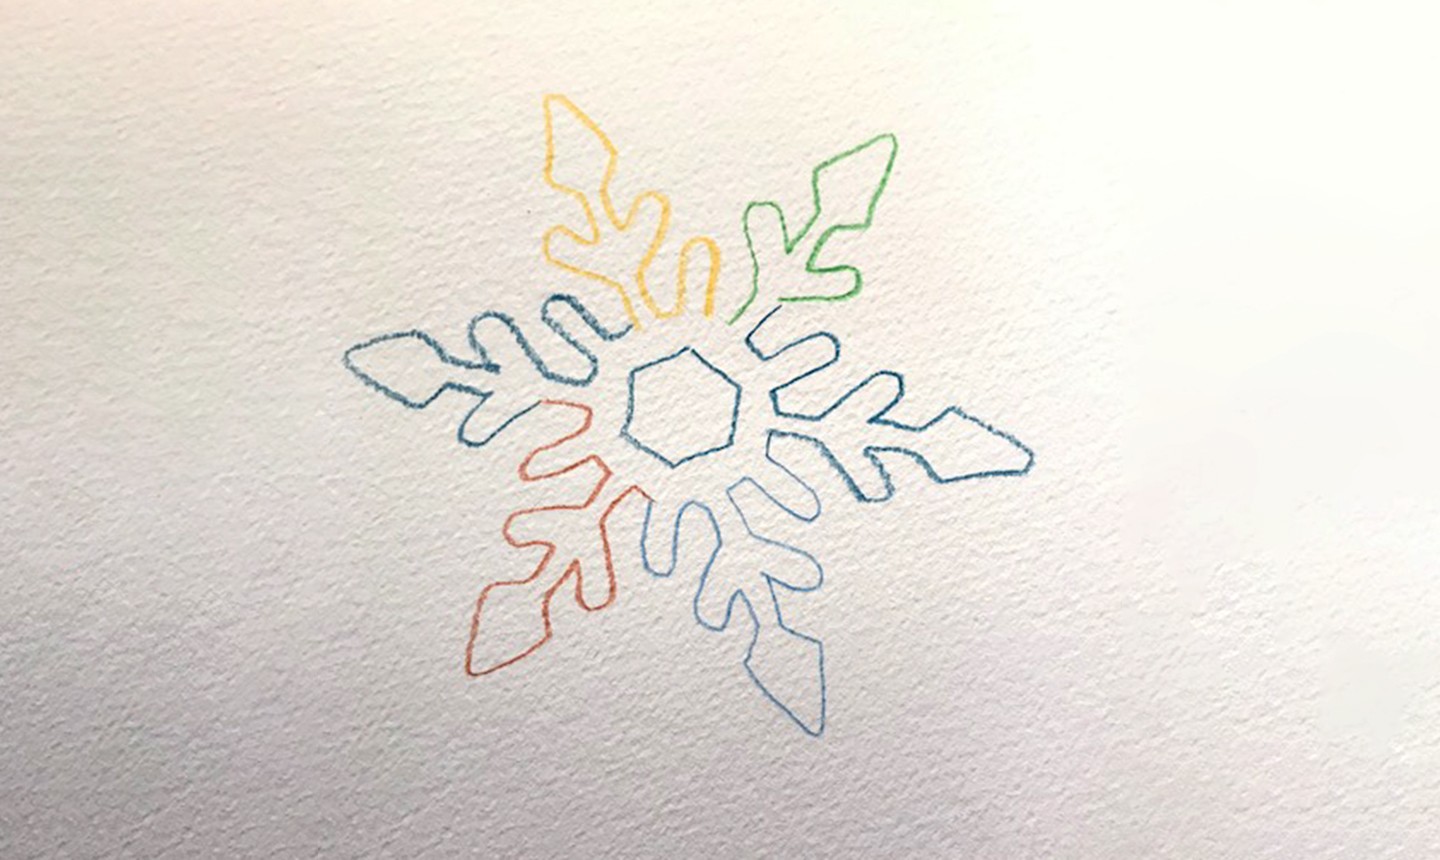
Trace the snowflake template onto your paper using watercolor pencils. They’re a great tool because the pencils add to the colorful effect when you add water and watercolors. Plus, you won’t have to go back and erase any pesky graphite lines later.
2. Drop in Color
Now just do what you did before — wet one area of the snowflake at a time, drop in some color and tilt the paper to blend.
Looking to get started with watercolors? Check out the class Startup Library: Watercolors below!

Share tips, start a discussion or ask one of our experts or other students a question.
Already a member? Sign in
No Responses to “You Can Make These Watercolor Snowflake Cards in a Weekend”