
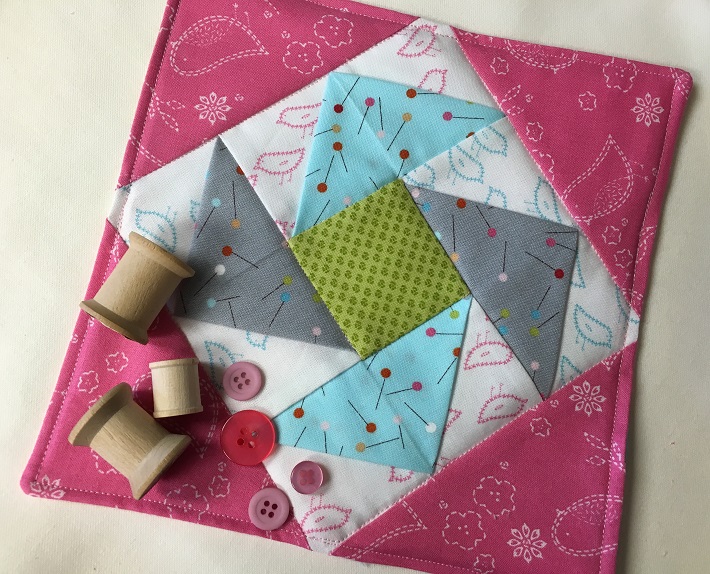
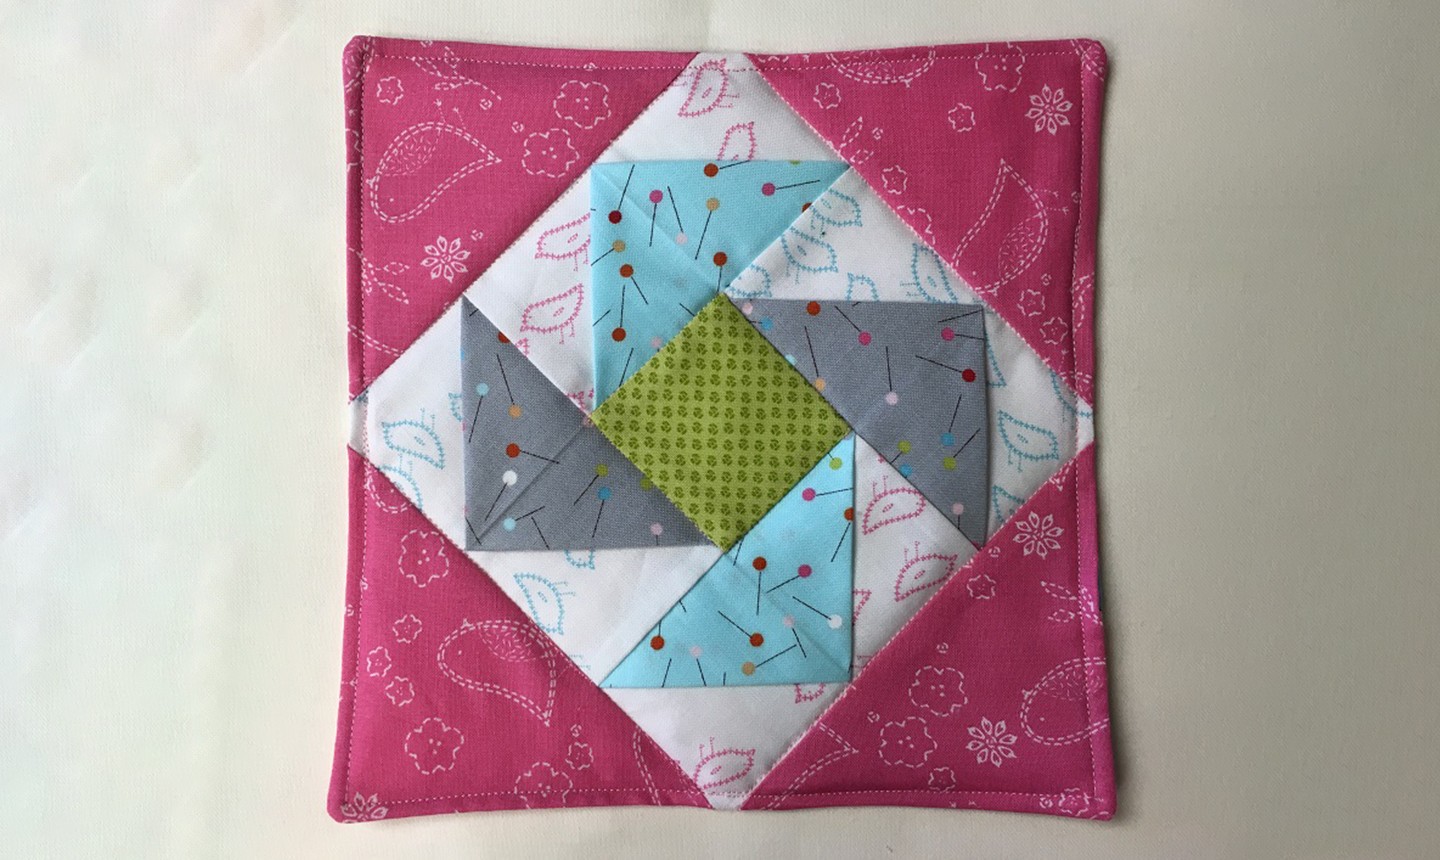
Whether there’s a drawer in your kitchen dedicated to mug rugs or you’ve never made a single one, this folded flying geese design is a must-have. Not only is it beginner-friendly, but it’s a great project for practicing a ton of techniques: making folded flying geese, sewing partial seams and using a pillowcase binding. Oh, and guess what? It can be made completely with charm squares!
Flying Geese Mug Rug
Level: Easy
Finished size: 8½” square
What You Need
Cutting Instructions
Instructions
1. Fold and Layer the Flying Geese
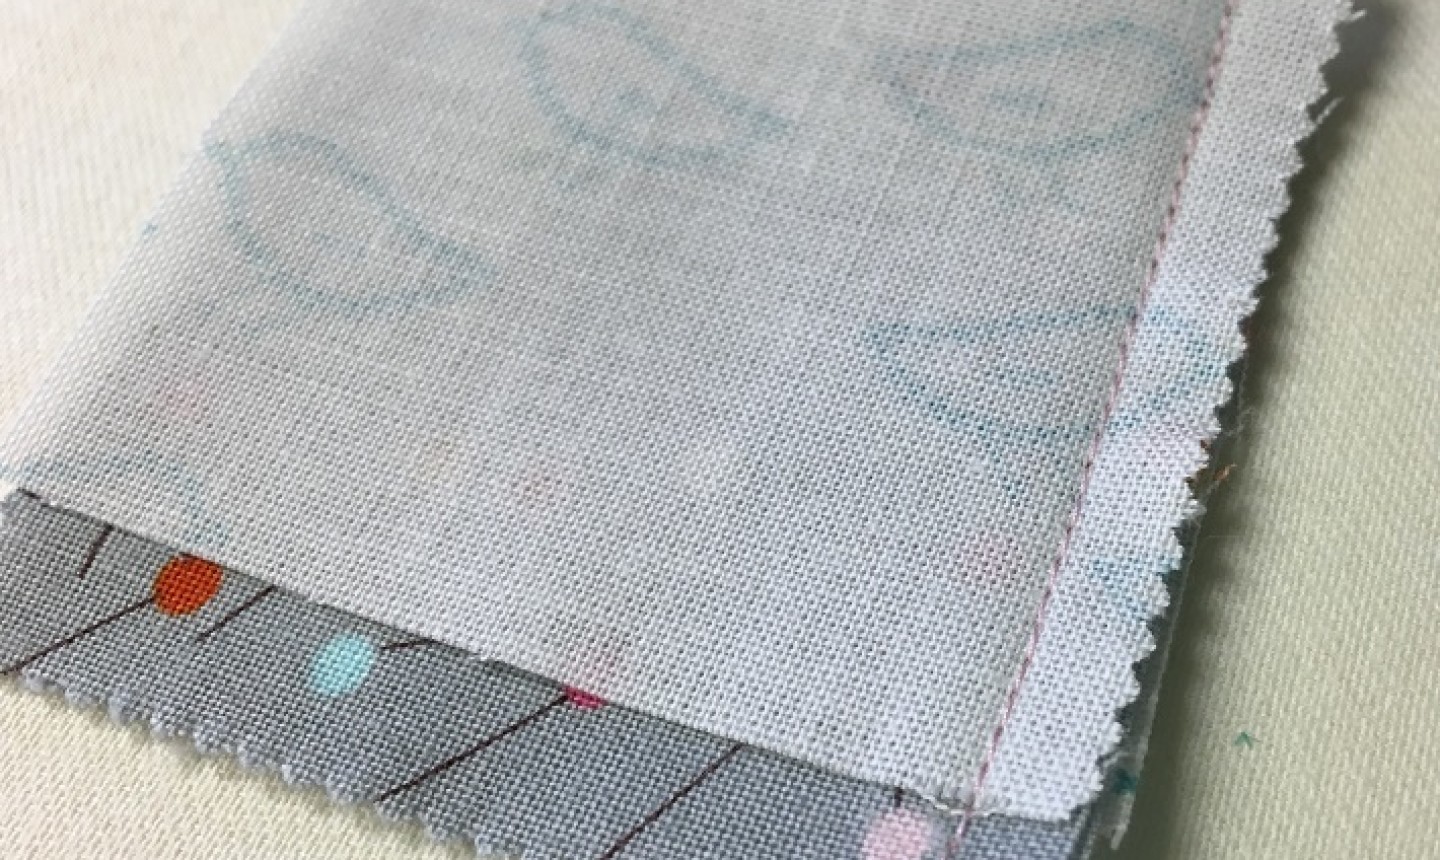
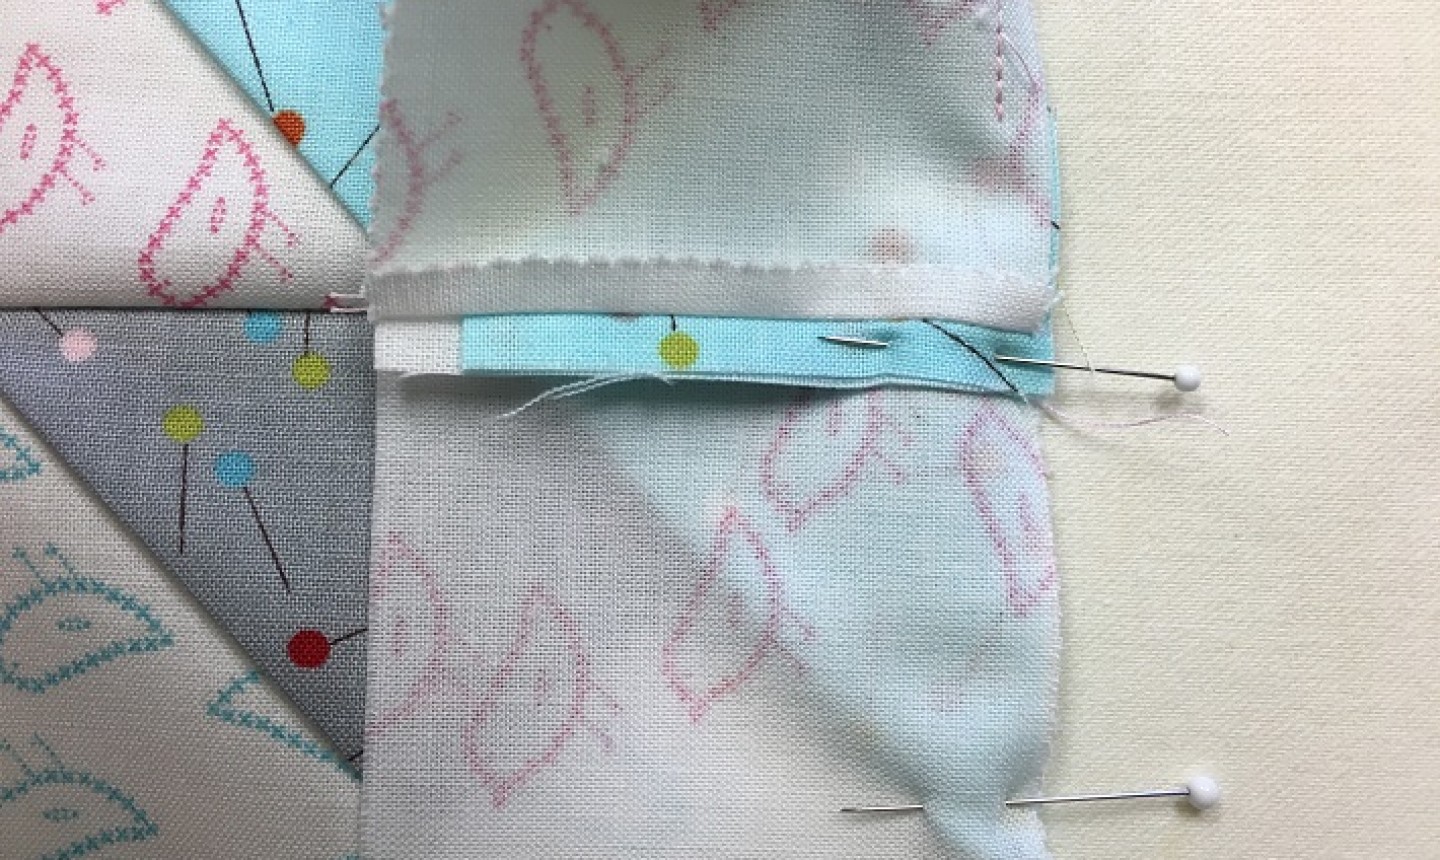
Fold the 2½” x 5″ strips in half, wrong sides together, and press the seam across the middle. They should now be 2½” squares, folded.
Sandwich the folded strip between two background squares. The right sides of the background squares should face the folded strip. The fold should be across the top; you’ll stitch along the side with four raw edges.
When you layer, make sure the background units are offset ¼” from the folded unit — this will create a ¼” seam allowance.
2. Sew and Press Open

Sew along the raw edges. Unfold and press the seam open. You should have a ¼” seam allowance at the top and excess fabric at the bottom (this will be trimmed off later).
Sew four of these units and press them all in the same manner. You may need to insert the tip of the iron into the folded unit to get the fabric to lay flat.
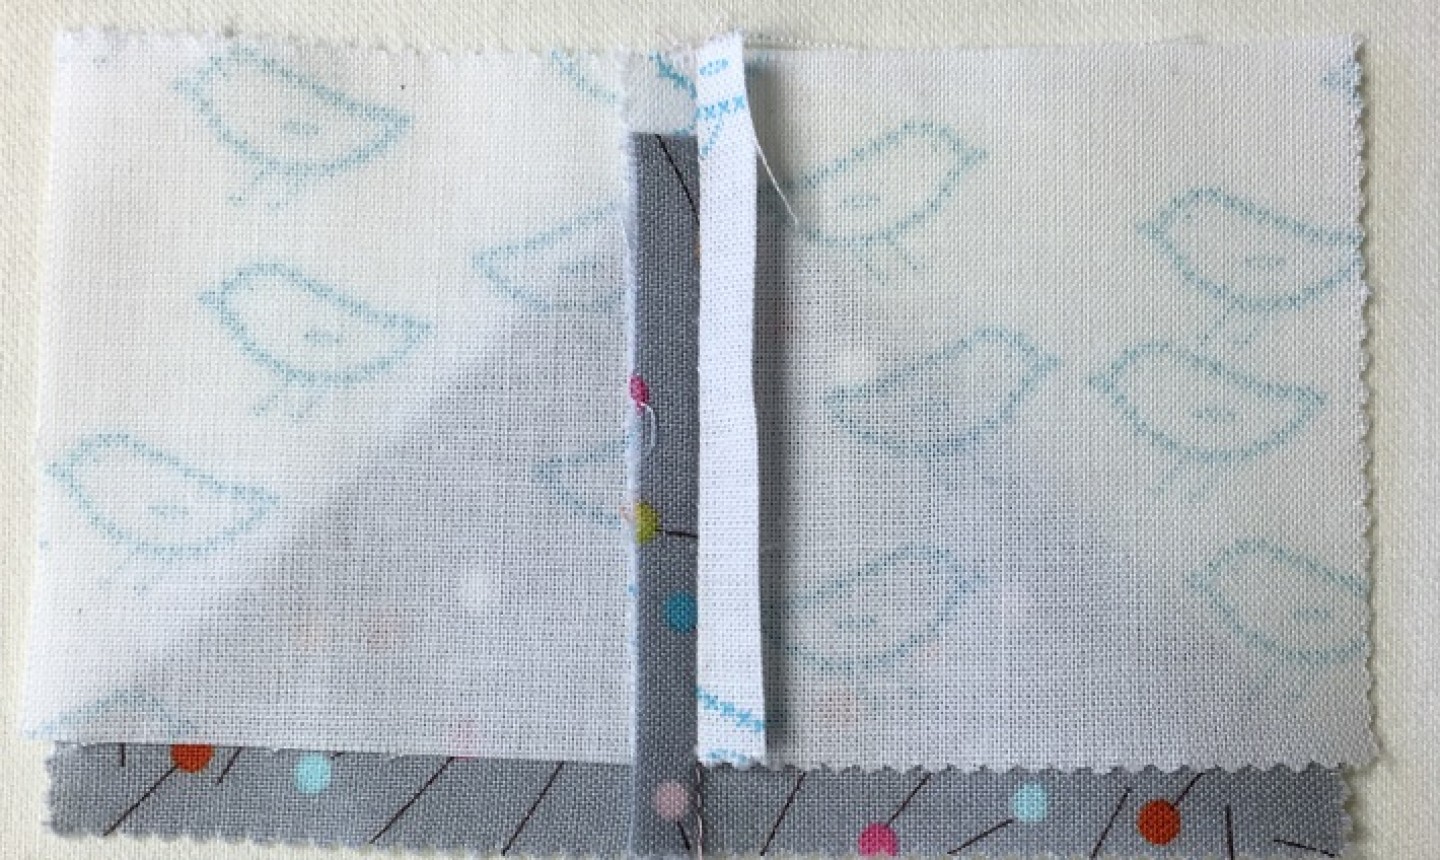
Press the seams open on the back of the folded flying geese units as well.
3. Trim
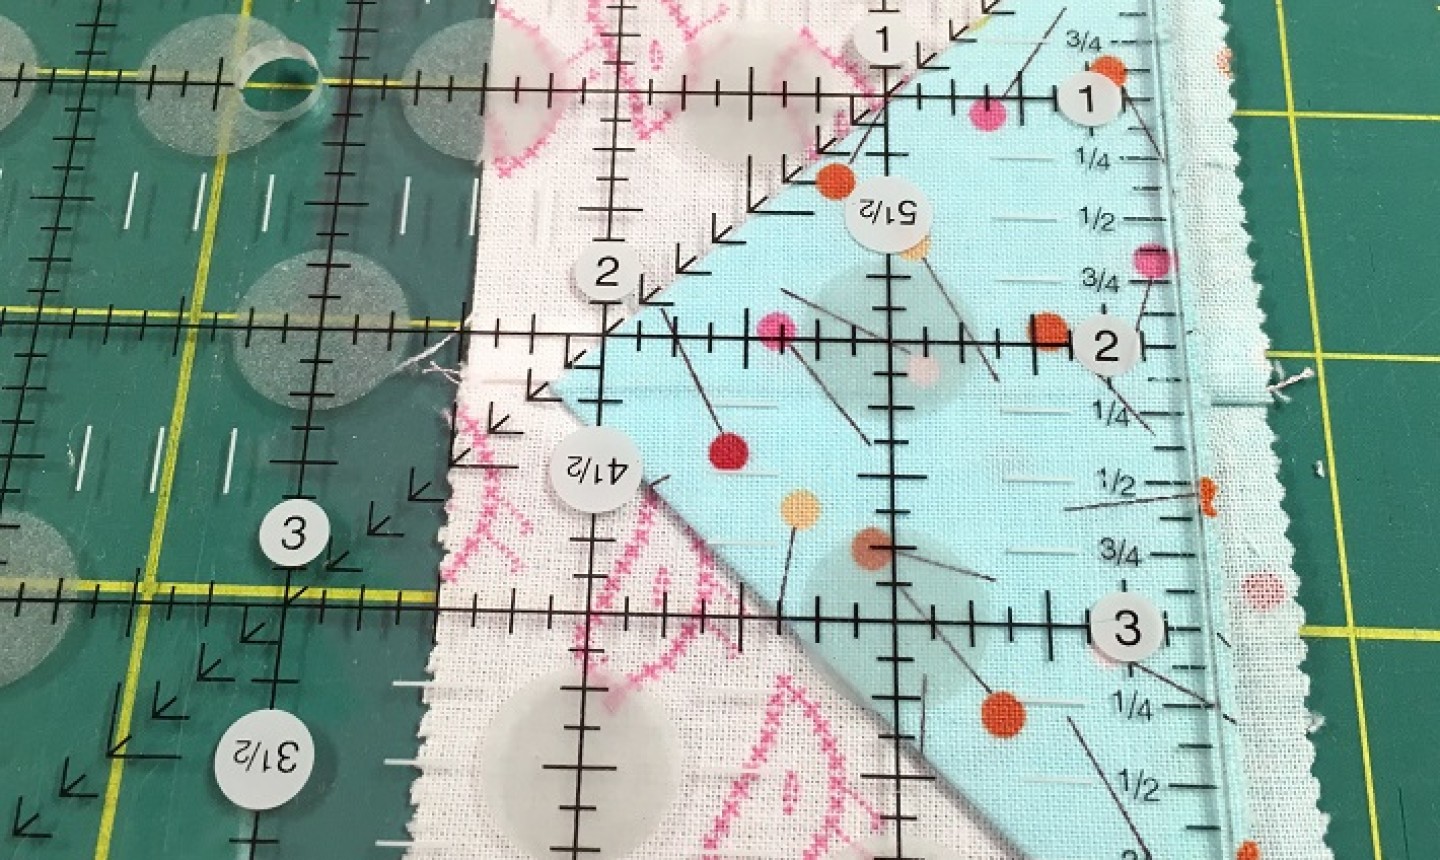
When all four units are sewn and pressed, trim the edges along the bottom so each unit is 2½” x 4½”.
4. Sew the Partial Seam
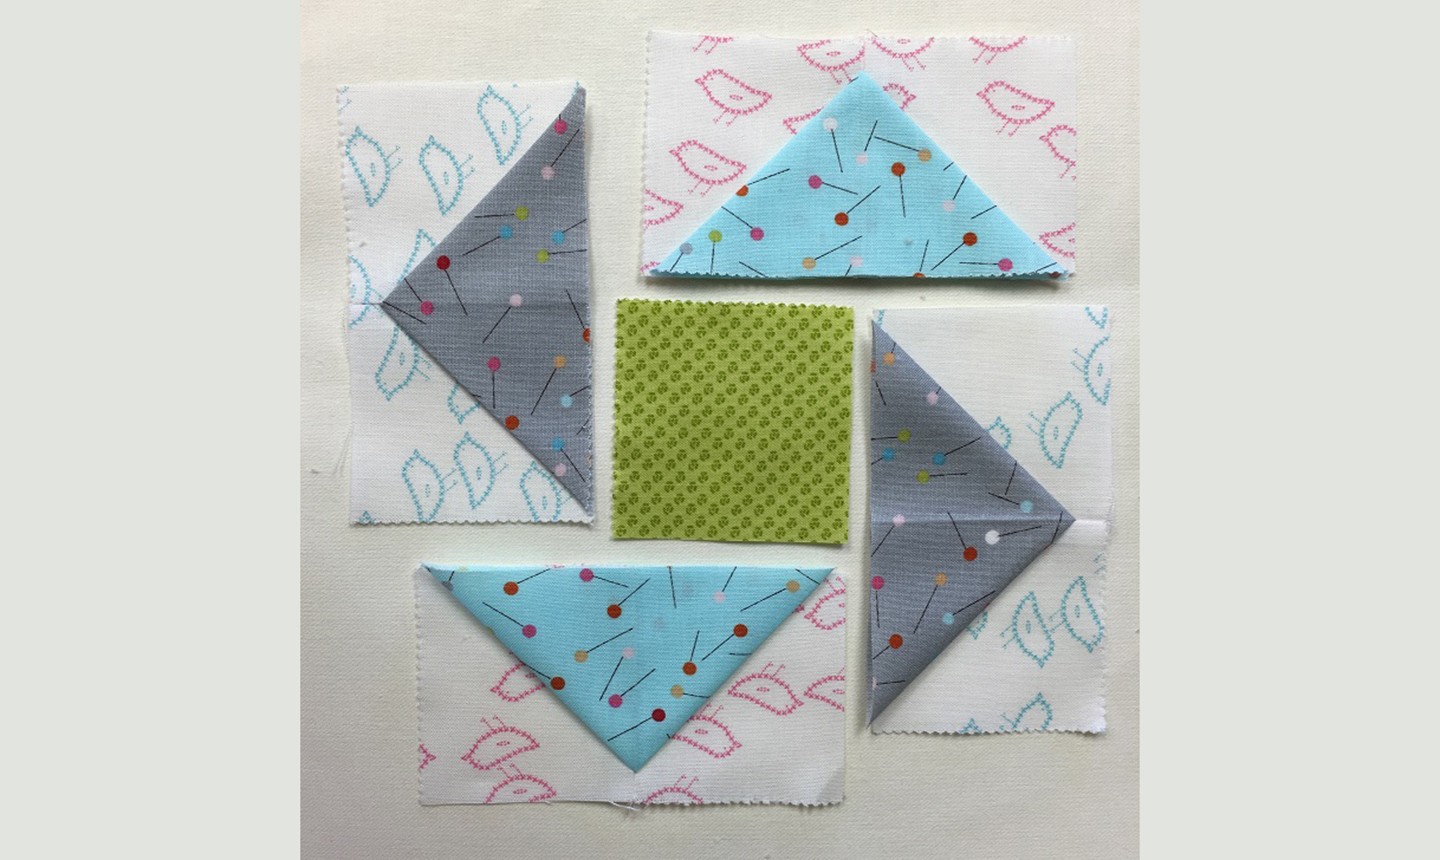
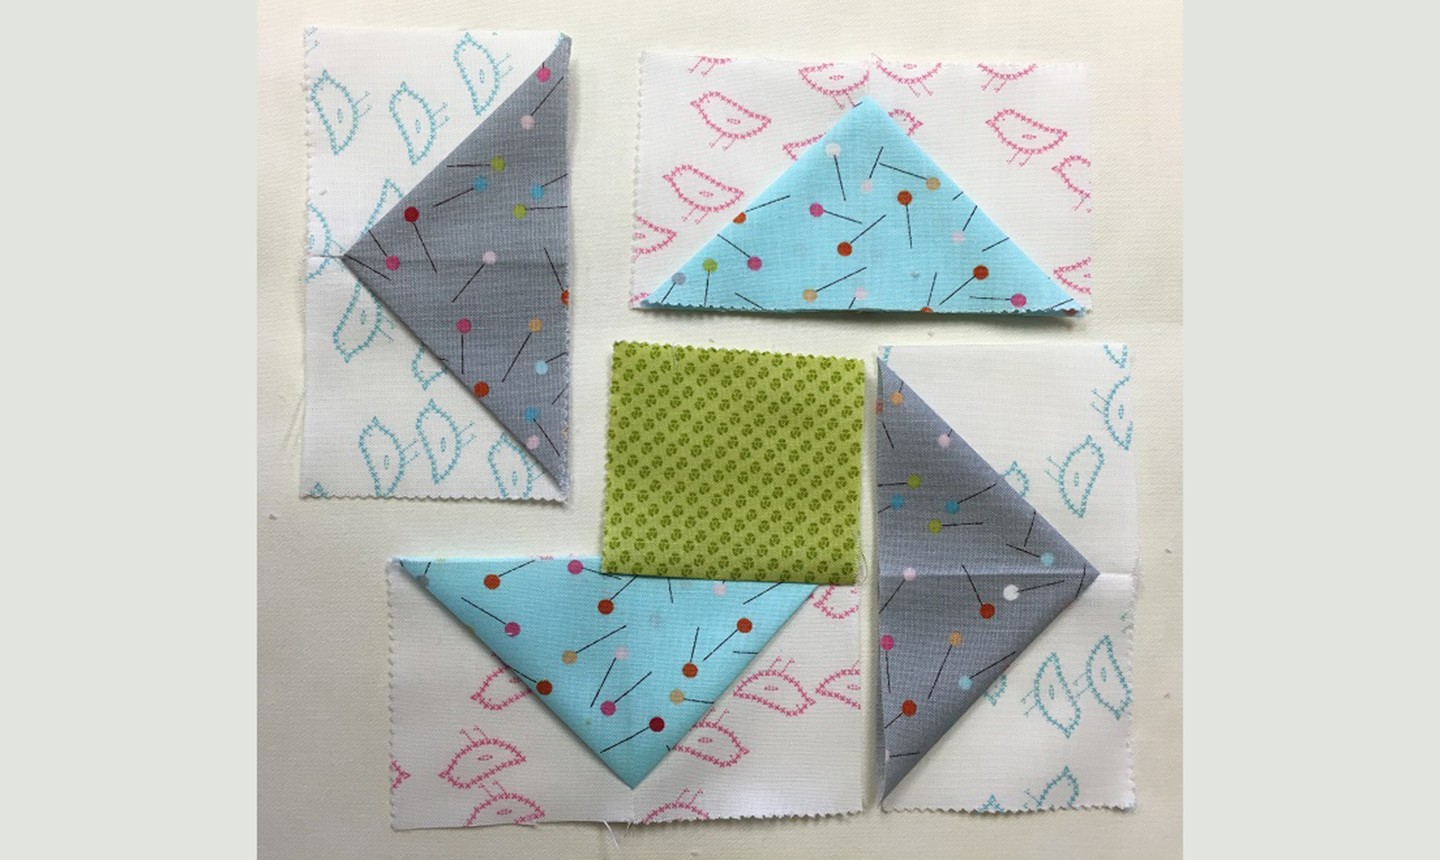
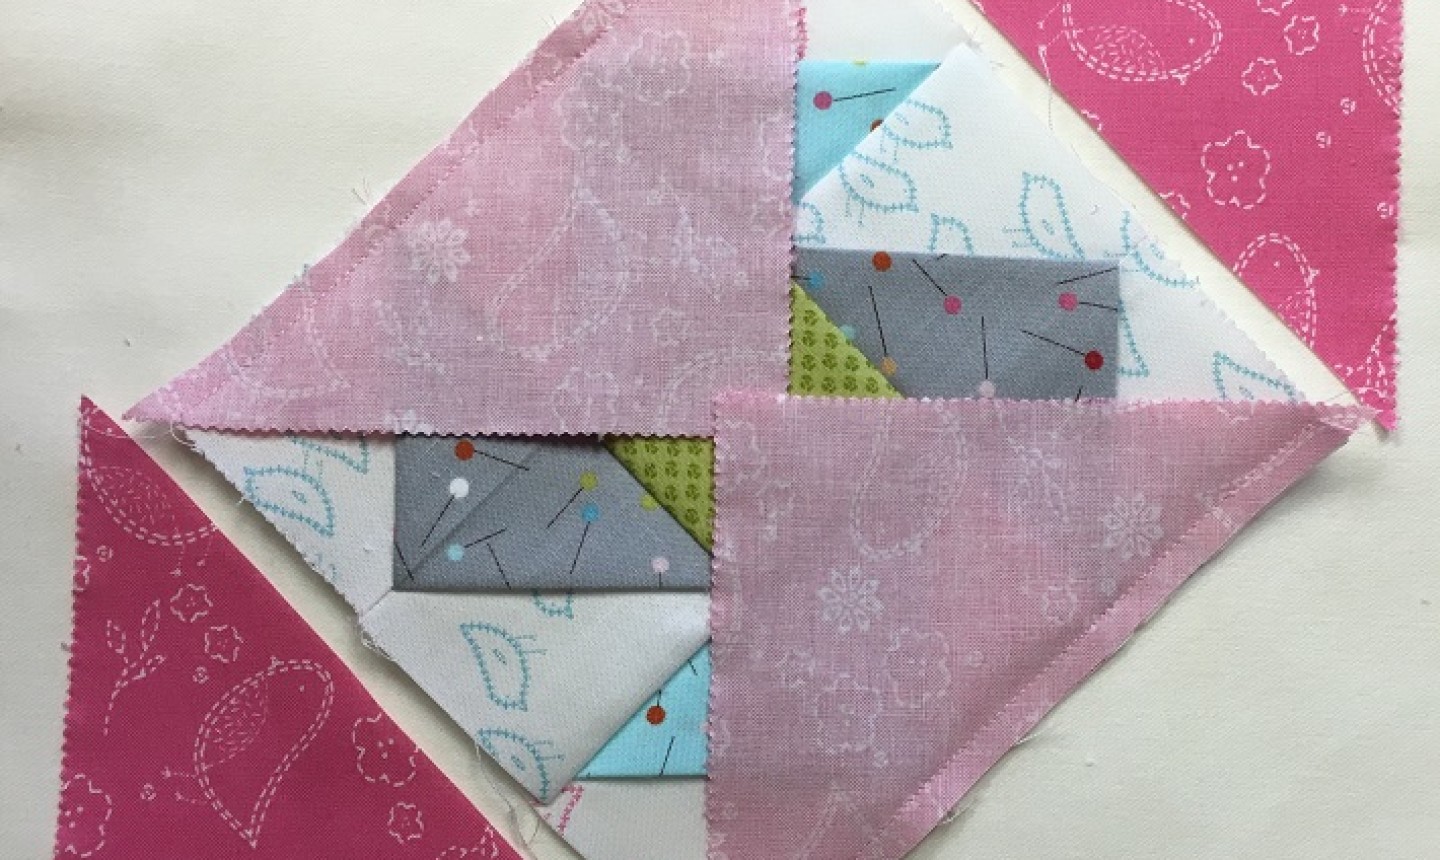
Place the folded flying geese units around the center square, as shown above.
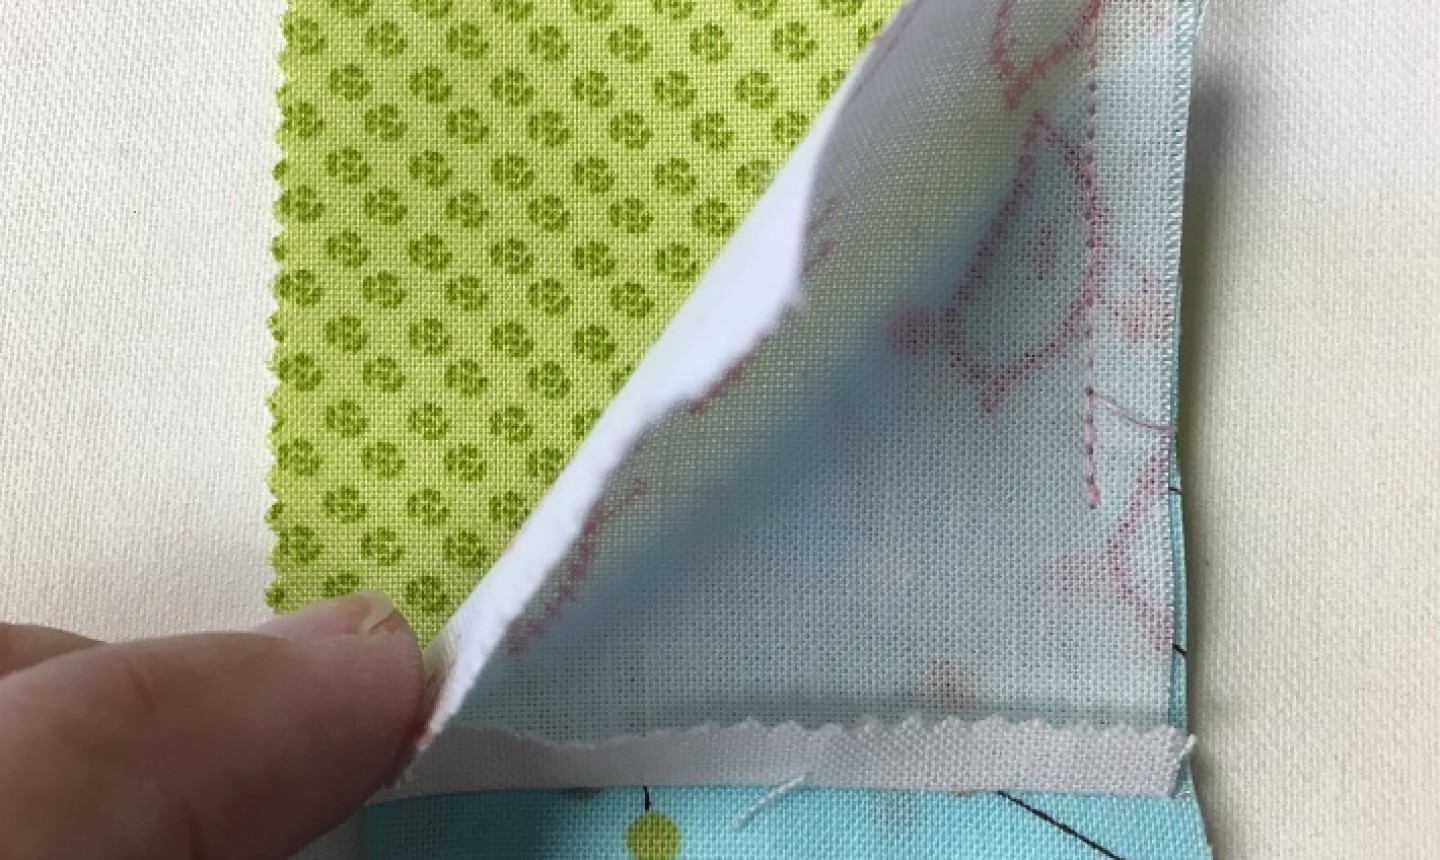
Layer the first flying geese unit on top of the center square, right sides together, lining up the top two corners. Sew the pieces together, making sure the folded unit doesn’t shift. Stop sewing about halfway to the seam and backstitch 2-3 stitches to secure.
Press the seam away from the folded flying geese unit. Repeat this step to sew the next two flying geese units to the center. Always press the seam toward the center.
5. Join the Last Flying Geese Unit
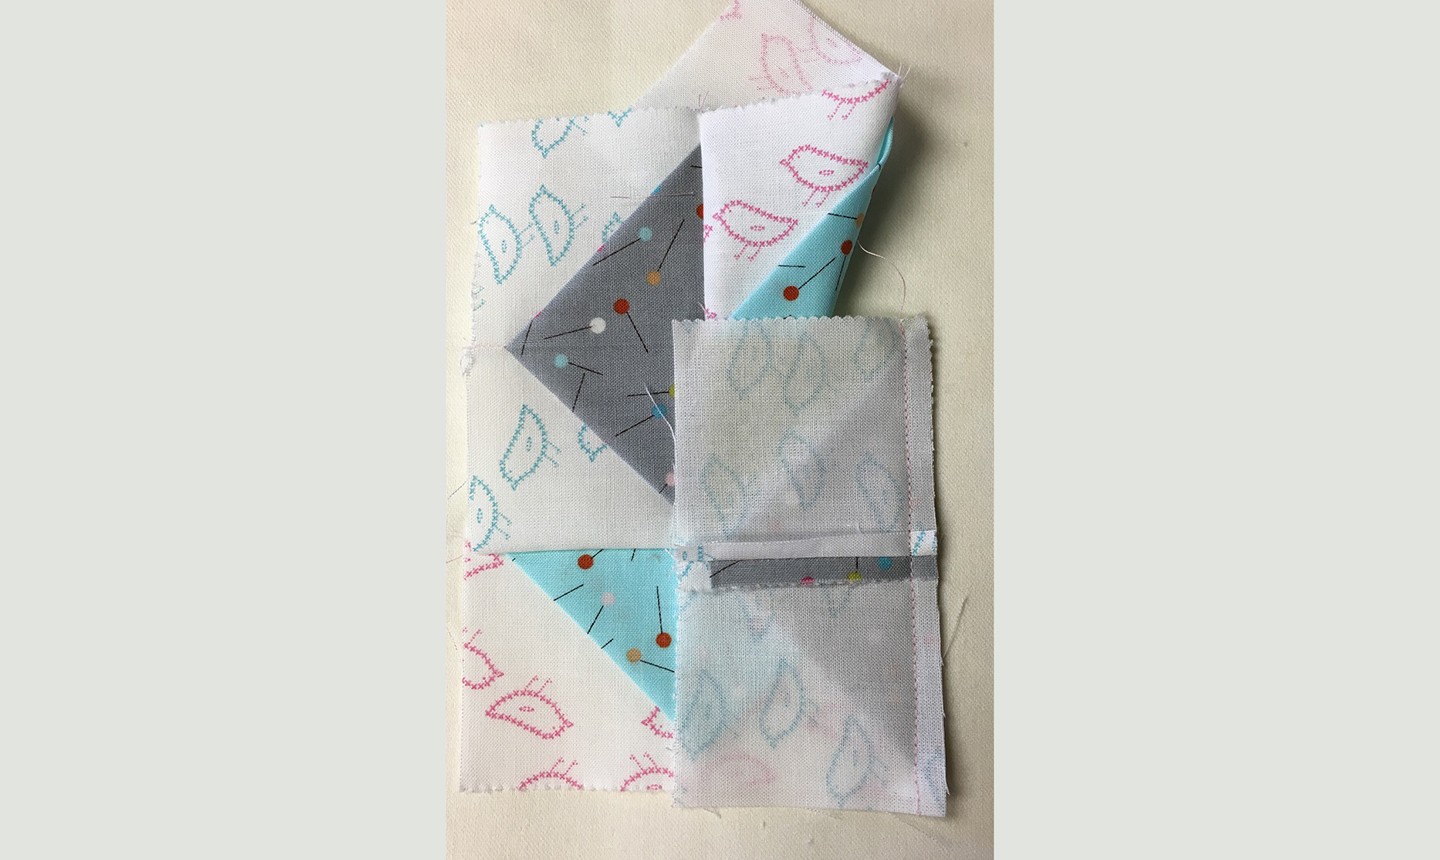
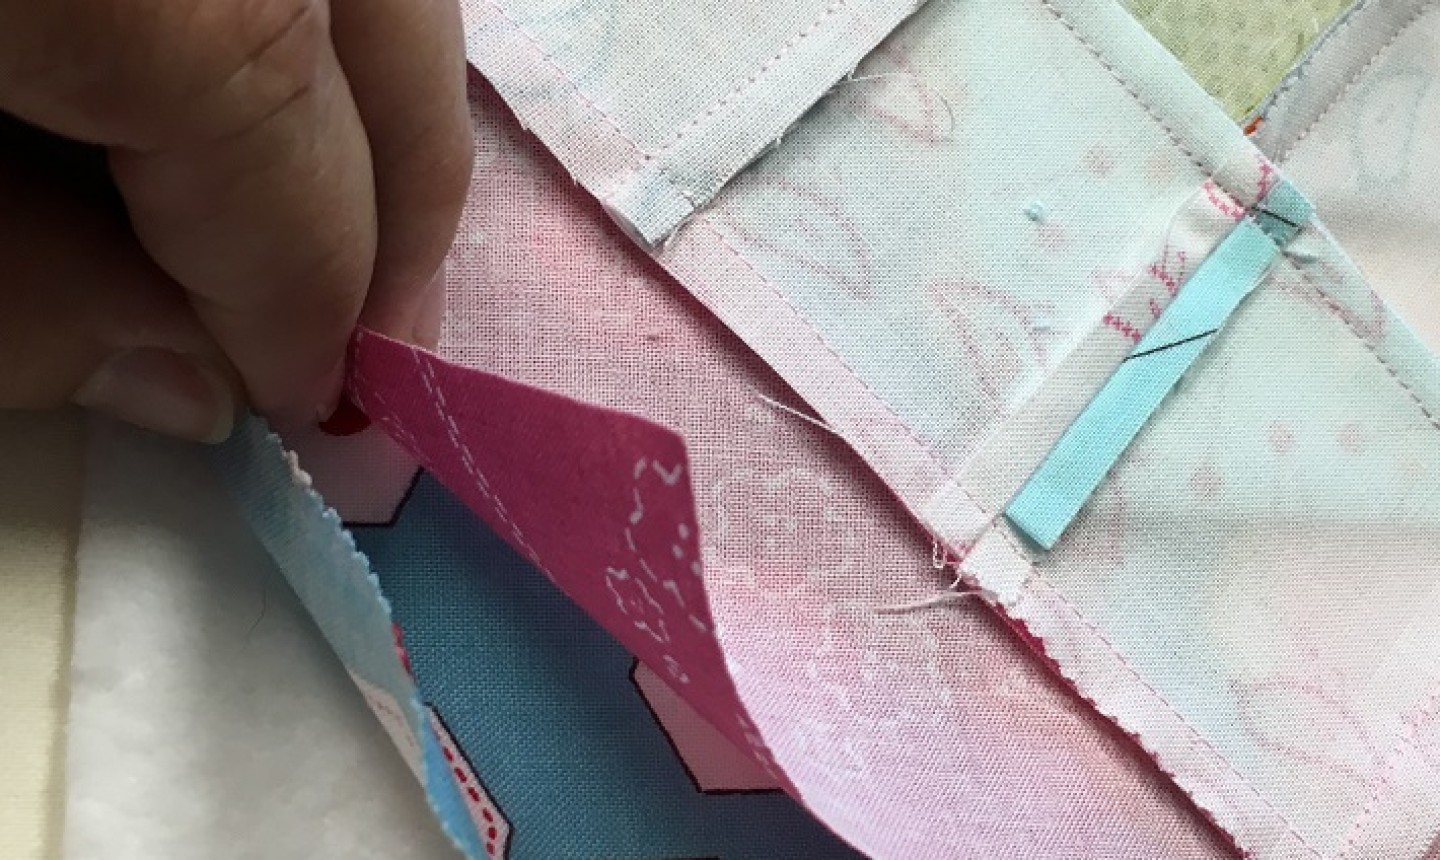
When adding the last unit, fold the first one out of the way, taking care not to catch it in the seam.
Pin the first seam that was left unfinished; the seams will line up with the last unit sewn. Start sewing a few stitches before the first seam ends and continue in the same manner as all of the other seams. Press the block.
The block is now secured together and should be a 6½” square.
6. Add the Corner Triangles
Place the triangles along each side of the flying geese units, as shown. Turn two opposite triangles onto the unit, right sides together, and stitch along the edge with a ¼” seam allowance.
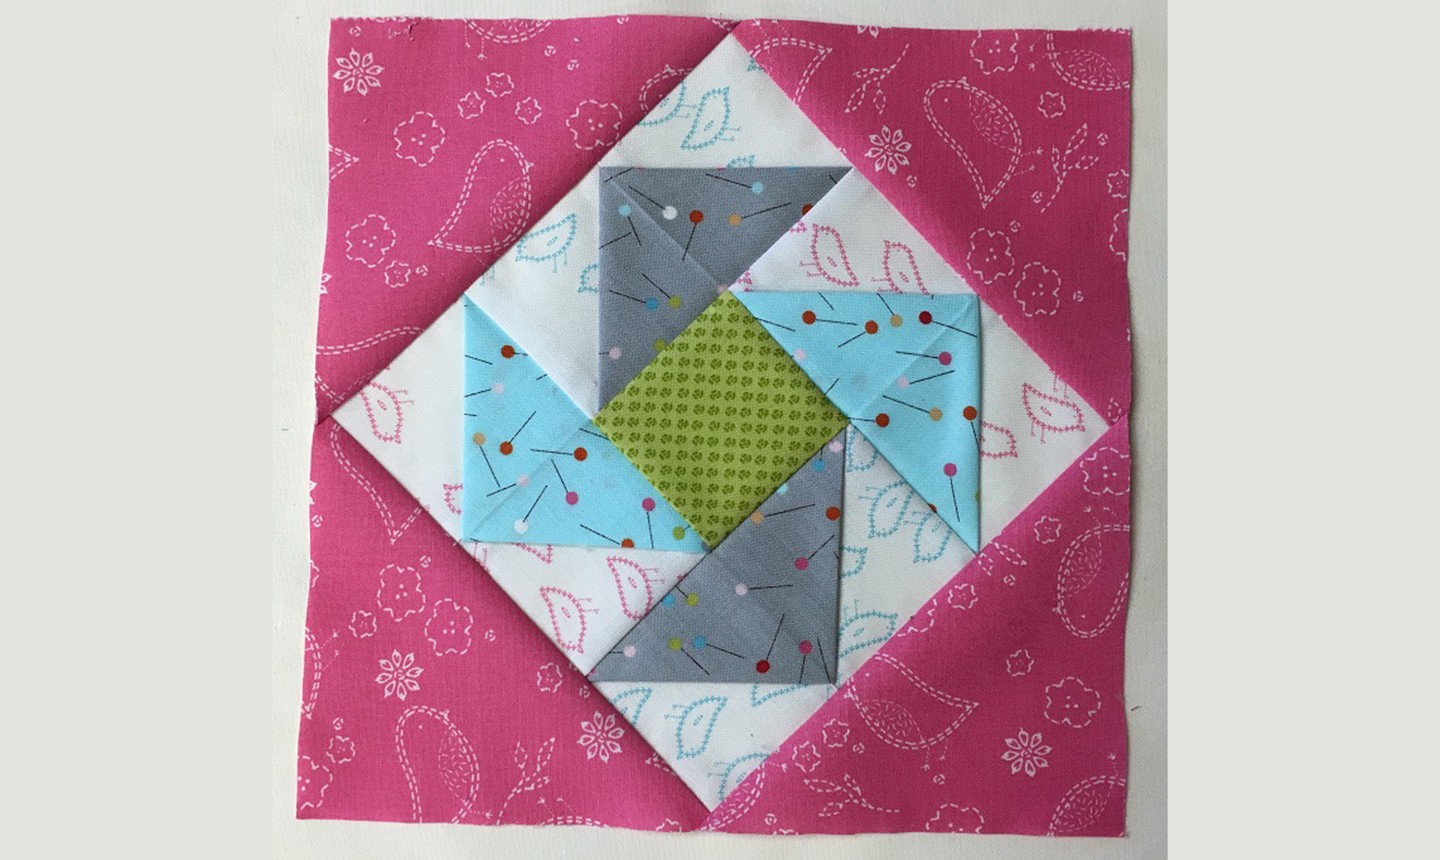
Open and press the seams toward the pink fabric. Repeat with the other two triangles. Trim the block so it’s an 8½” square.
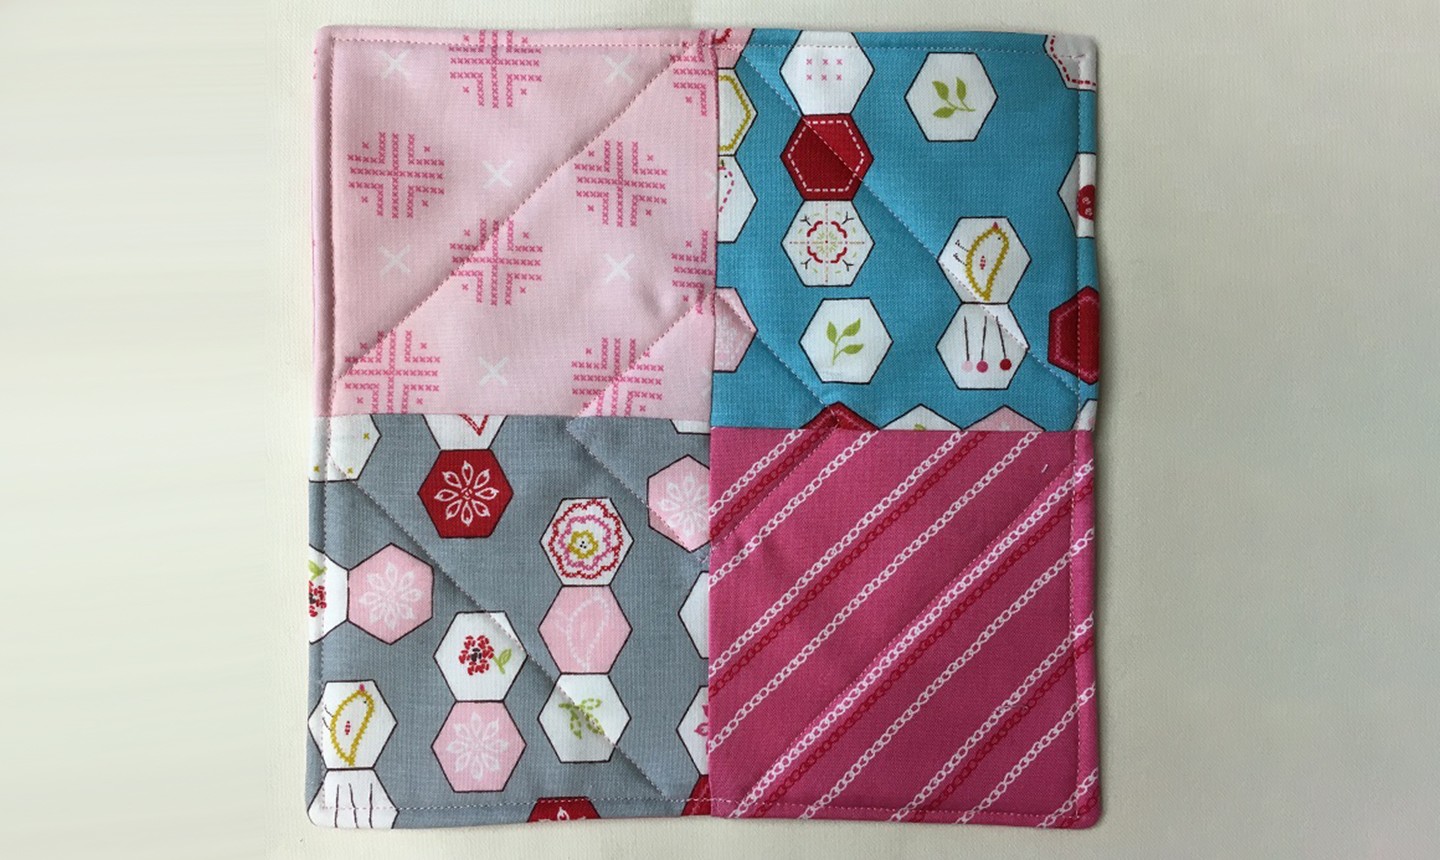
7. Sew the Backing
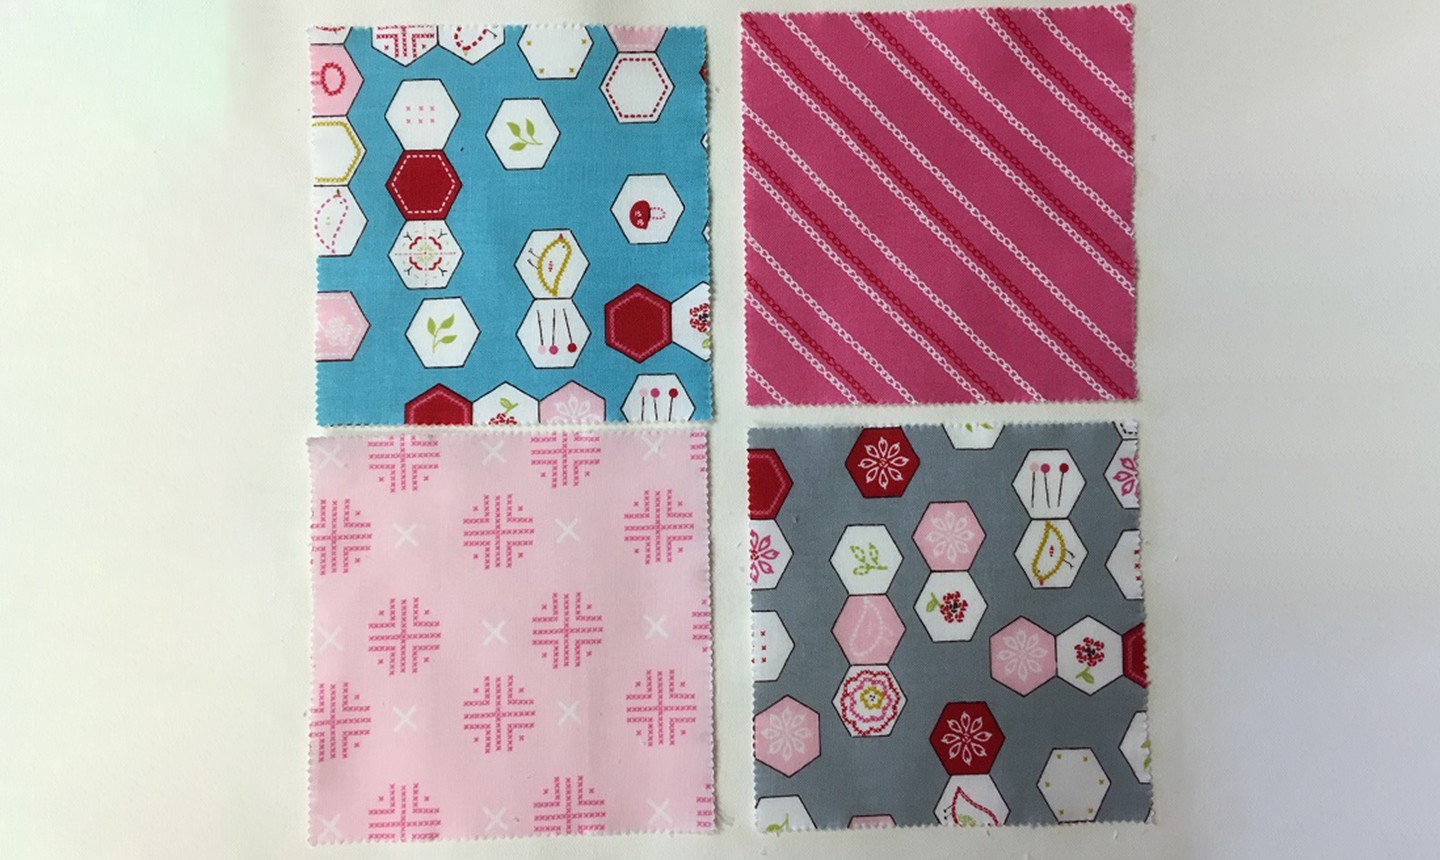
Sew four charms into a four-patch. Then pinwheel press the seams.
8. Make a Quilt Sandwich

Layer the front, batting and backing to make a quilt sandwich. The batting should be on the bottom, followed by the backing and then quilt top. The backing and quilt top should be placed right sides together.
Trim everything to an 8½” square. Take care to center the backing so the seams line up with the points on the front.
9. Assemble the Mug Rug
Sew ¼” away from the edge around the perimeter, leaving a 3″ opening for turning.
Good to Know: This method of closing the edges is called a pillowcase binding, because it can be turned inside out like a pillowcase.
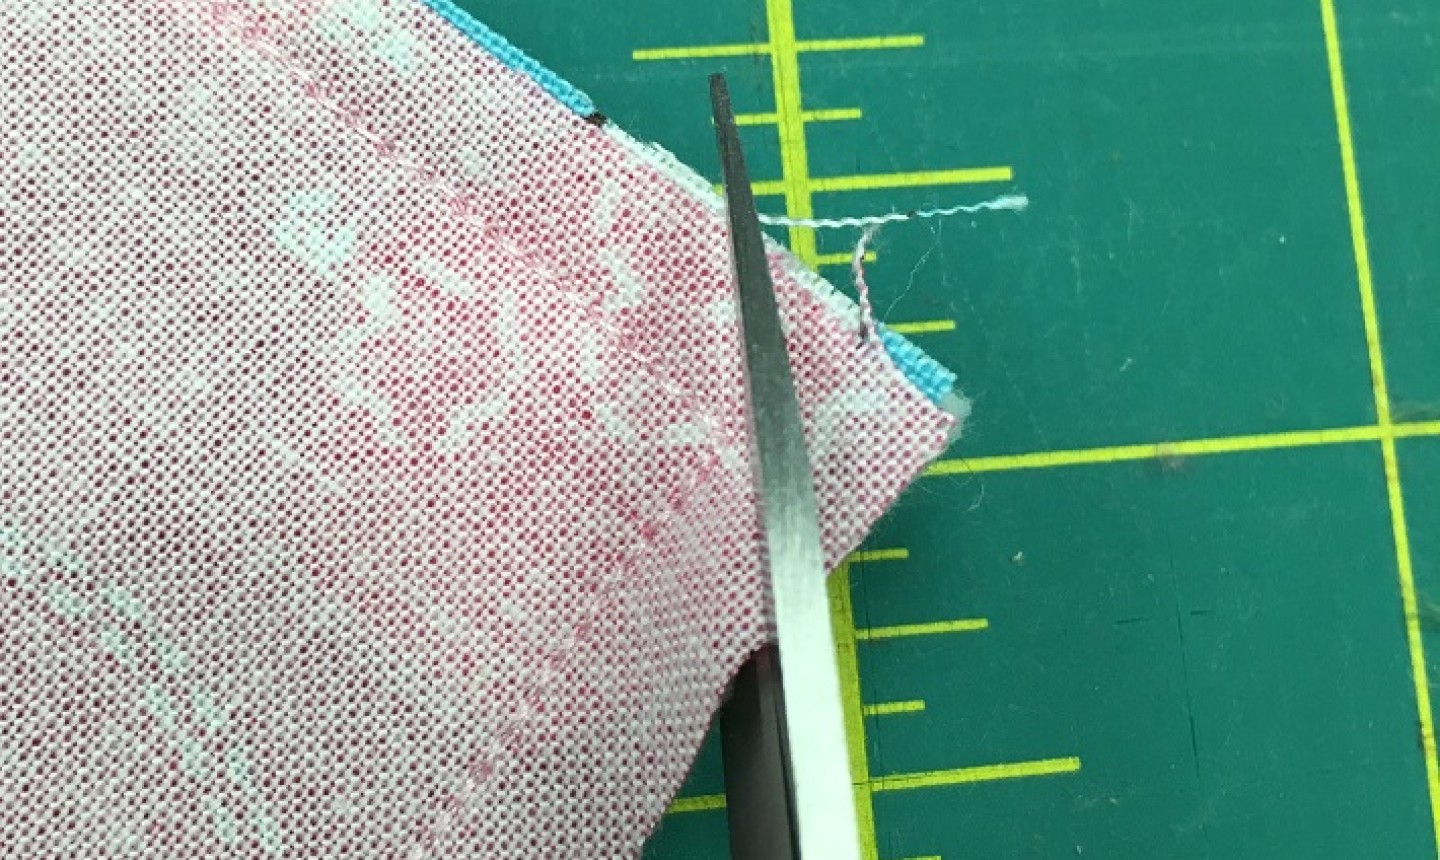
Snip the corners, being careful not to clip the stitches, to reduce bulk.
10. Turn It Out
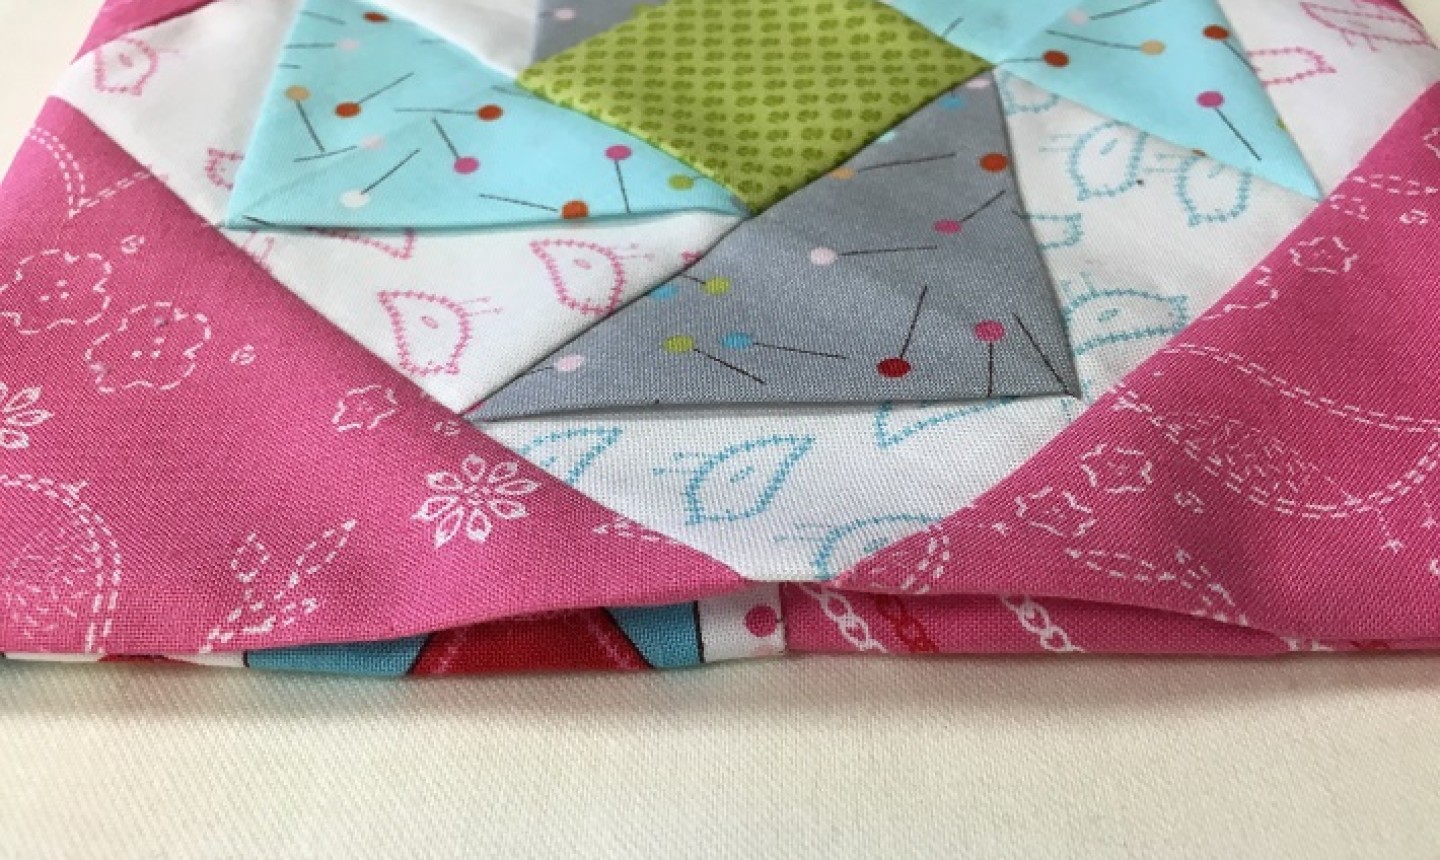
Turn the mug rug right-side out and press flat. Turn the seams of the opening inside the mug rug and stitch it closed.
11. Quilt
Quilt the mug rug as desired. We used a walking foot to stitch around the center square and the flying geese unit.
You’ve got a new mug rug!
I love doing that and flying geese blocks. They're easy and there's an unending way of putting them together. Thanks for this pattern pdf with the tutorial.
I think the instructions and photos are confusing even though I am an experienced quilter.
Is this a free pattern? Where do I download it?
Confused on directions for joining the flying geese to center square. A full size photo would have helped.