

Handmade mini paper baskets may just be the cutest way to gift candies, decorative eggs and other Easter treats. It’s all thanks to a simple technique: paper weaving. Move the strips through one another, secure it with glue, stuff it with colorful artificial grass and say hello to your festive DIY gift wrap.
Paper Easter Basket
Level: Easy
Finished size: 2″ tall x 2¾” wide
What You Need
Instructions
1. Print, Cut, Fold
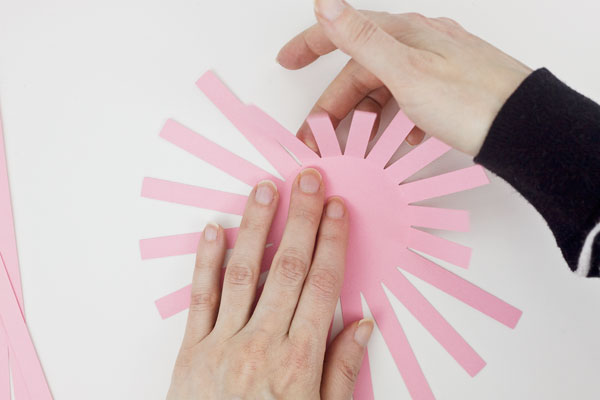
Print and cut out the basket template pieces and score along all of the dotted lines. Fold all of the basket base strips along the score lines around the circle.
You’ll also have five long paper strips and one shorter one. Set the short strip aside — you won’t use it until the final step.
2. Glue the Strips
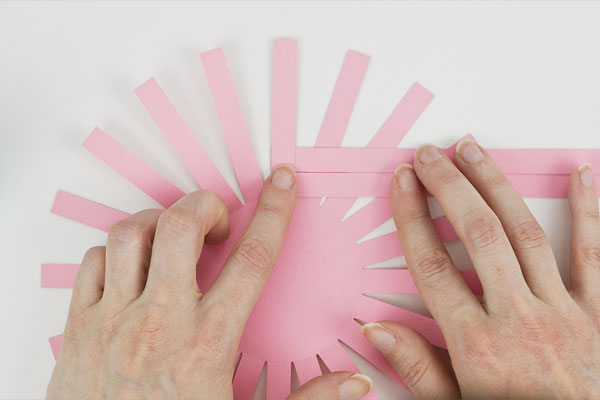
Use craft glue to attach the first paper strip to the inside of a basket strip, as close to the base as possible. Adhere the second strip just above the first, but this time on the outside of the basket base strip. Alternate adhering to the inside and outside until all five strips are glued to this one basket piece.
Pro Tip: Glue the strips as straight as possible and as close to each other as you can without overlapping.
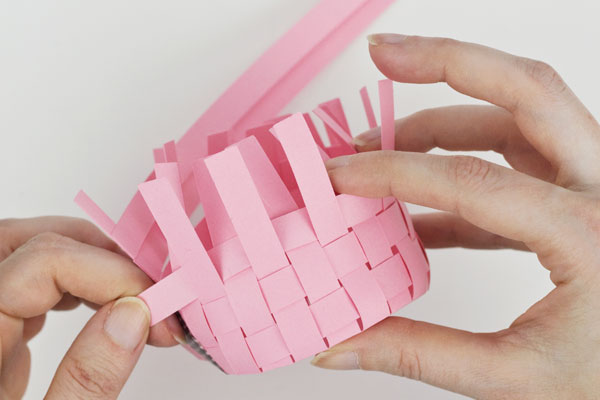
3. Weave
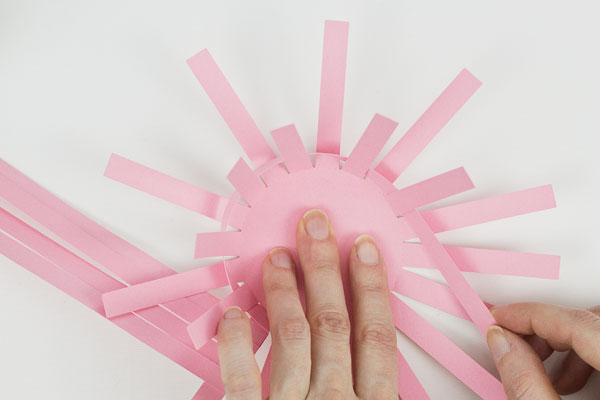
Weave the first strip around the basket base, alternating from inside to outside as you go around.
Pro Tip: It’s OK if the weaving is loose at this point. You’ll tighten it up later.
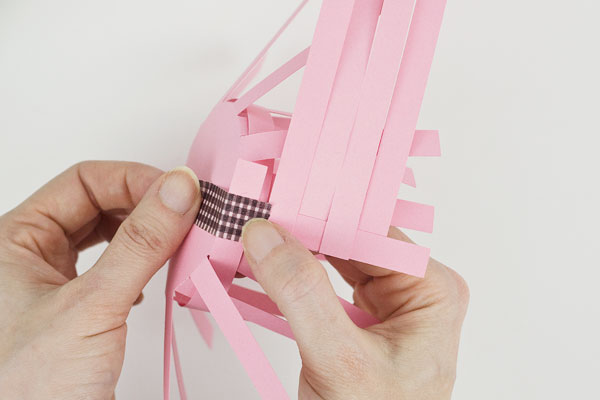
4. Tape
5. Repeat
Weave the remainder of the long paper strips, pushing them toward the bottom of the basket as you work to tighten them. Adjust the vertical strips that are attached to the base as you work as well. (This also helps tighten them.)
Tape the end of each long paper strip to the base to keep them in place as you weave.
Continue to adjust, tighten and straighten the woven paper strips until you’re happy with the tightness of the weave. There should be at least ¼” of non-woven paper at the top of the vertical paper strips when you’re finished.
6. Fold the Top
Fold the non-woven ends of the vertical strips over the top of the basket. The woven paper will tell you how to fold: When the top horizontal paper strip is outside of the vertical strip, fold the end over to the outside of the basket; when the horizontal paper strip is on the inside of the vertical strip, fold the vertical strip toward the inside of the basket.
Pro Tip: Don’t glue two or three of the vertical strip ends where you taped the horizontal strips. This makes it easier to do any final adjustments in the next step.
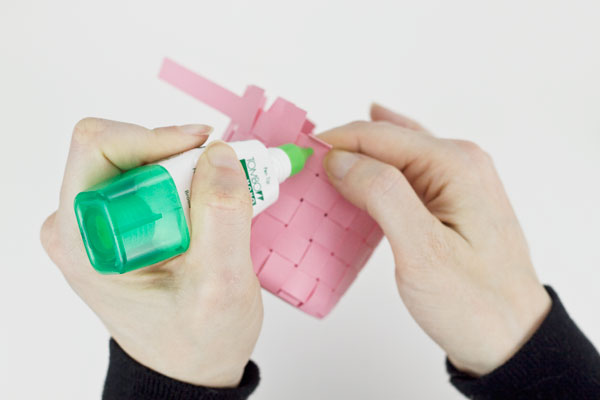
7. Finish the Basket

Remove the washi tape from the long paper pieces and tighten and adjust as needed. Trim any excess length with scissors.
Match up the cut ends with the horizontal woven strips on the far side of the basket. Don’t sweat if they don’t line up perfectly — real hand woven baskets aren’t perfect, either!
To close the basket, glue the ends to the same strip where you began. We glued the ends in an alternating fashion for uniformity, but you can glue all of them to the outside or the inside of the basket if you prefer.
Fold and glue the remaining vertical strip ends to finish the basket.
8. Add a Handle
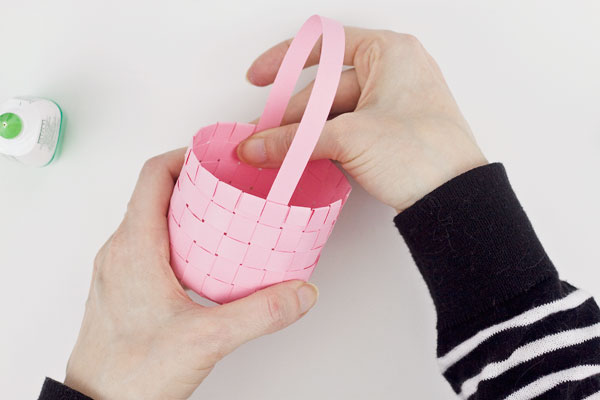
Add glue to each end of the shorter paper strip you set aside in step 1, and attach it to the basket to make a handle. Your basket is now ready to be personalized with a bow, stickers, glitter or anything else you’re feeling!
cutee
Thanks, we made it today as a basket for a school project to go with The Lighthouse keeper’s Lunch. Thanks again x
so cute
thanks for the idea!
Can't wait to try this! I know the kids will love this challenge