

It’s a fundamental law of nature that you’ll never have the right zipper in the right size and color exactly when you need it. But there’s no need to interrupt your creative flow and race out to the nearest sewing store. You can make any longer zipper in your stash work just fine — and in just a matter of minutes.
Just zip through our easy tutorial on how to shorten the three most common zipper types: a regular zipper with plastic teeth, an invisible zipper with plastic teeth and a metal zipper with metal teeth. Then, zip up that project!
A quick note about zipper sizes: The length of a zipper is measured from the top zipper stop to the bottom zipper stop, not by measuring the length of the zipper tape itself.
Regular Zipper with Plastic Teeth
On a regular zipper with plastic teeth, you’ll be removing the extra length from the bottom of the zipper tape and creating a new bottom stopper by sewing it either by hand or by machine. Ready?
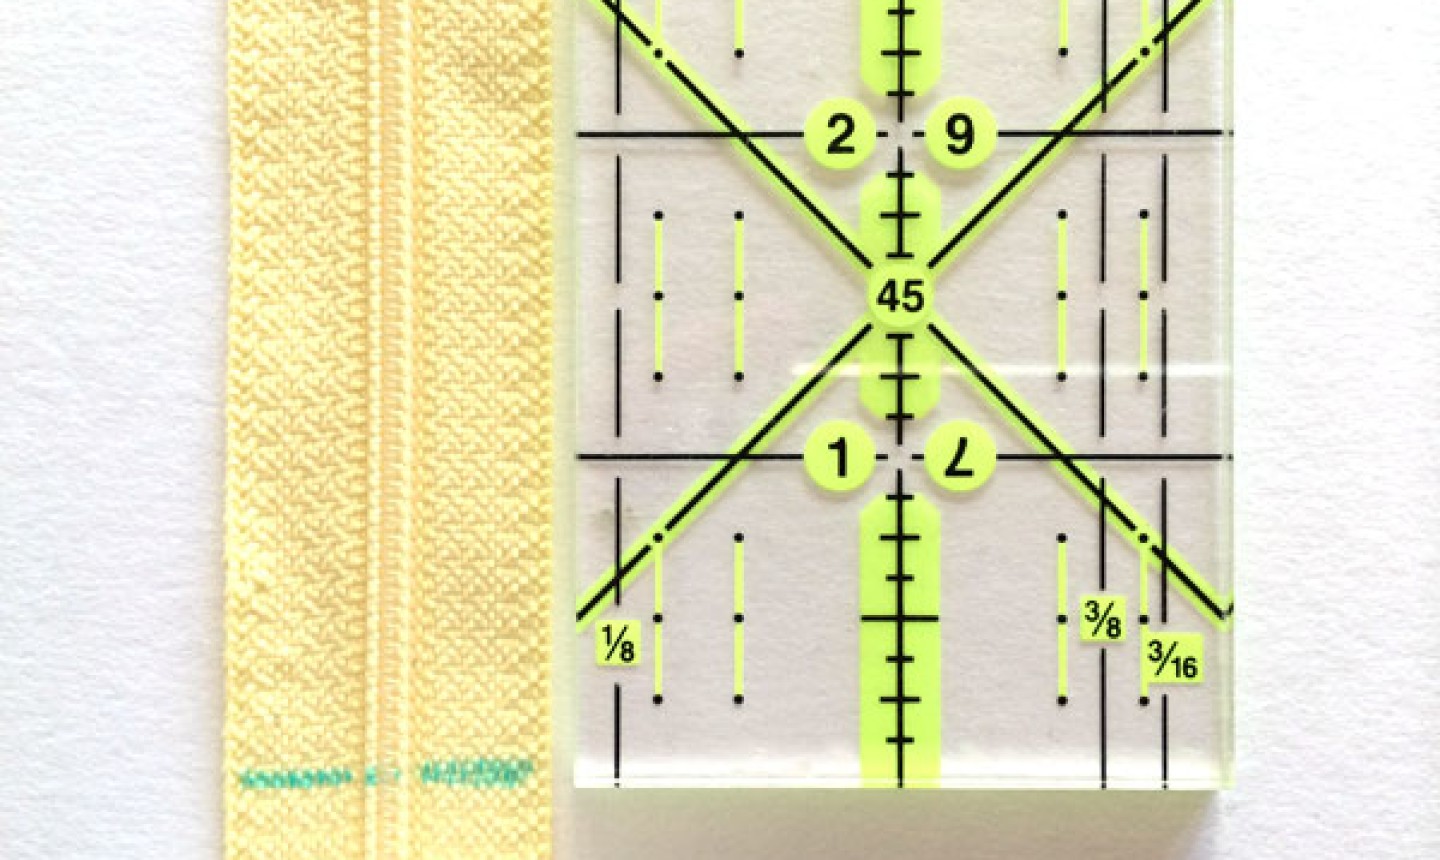
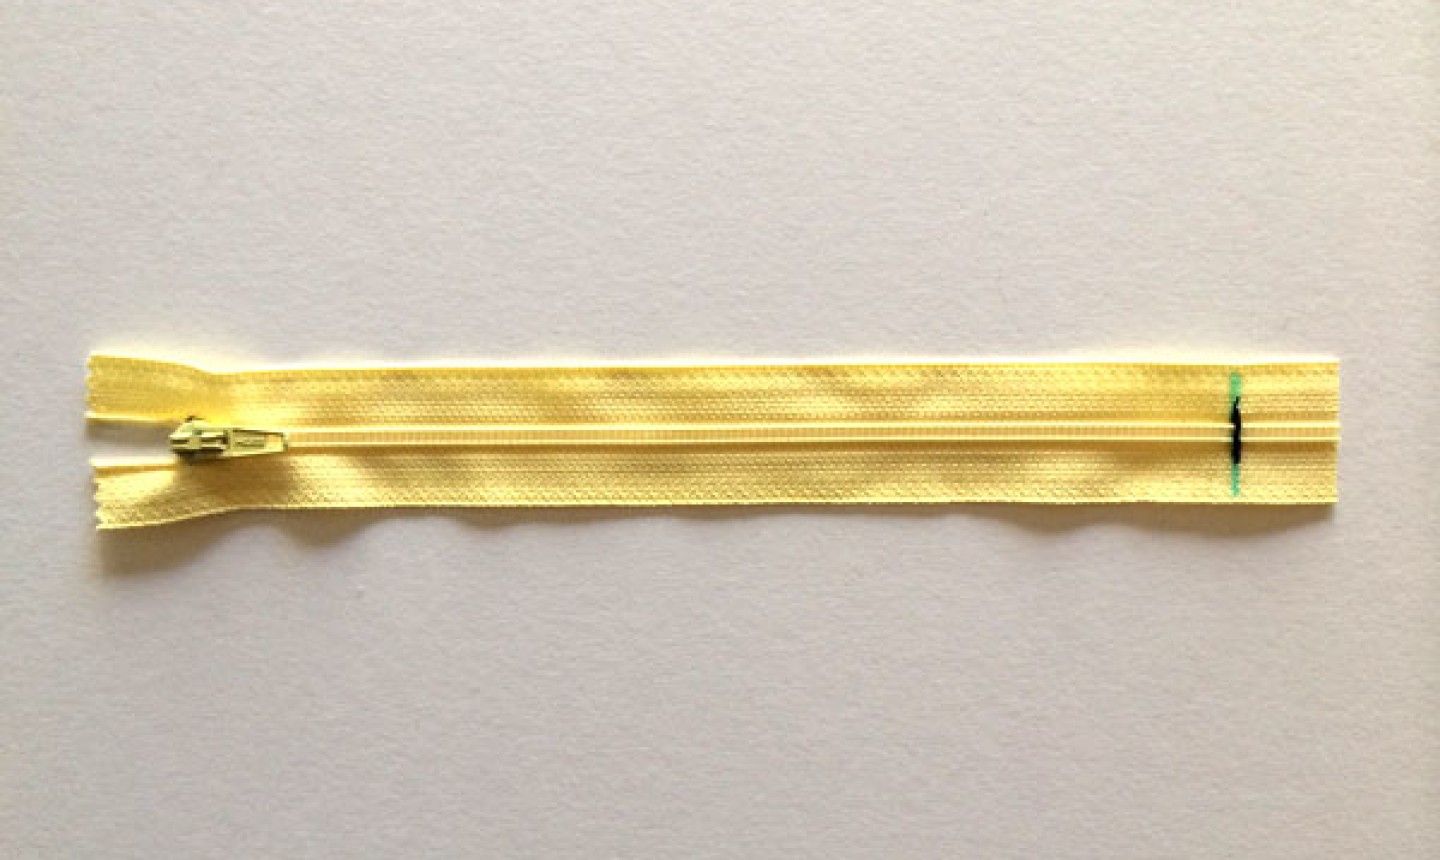
1. Measure

Measure down from the top towards the bottom to the preferred length. The spot you are marking is where you will be making the new bottom stopper.
2. Mark
Mark the zipper tape where you will be placing the new bottom stopper.
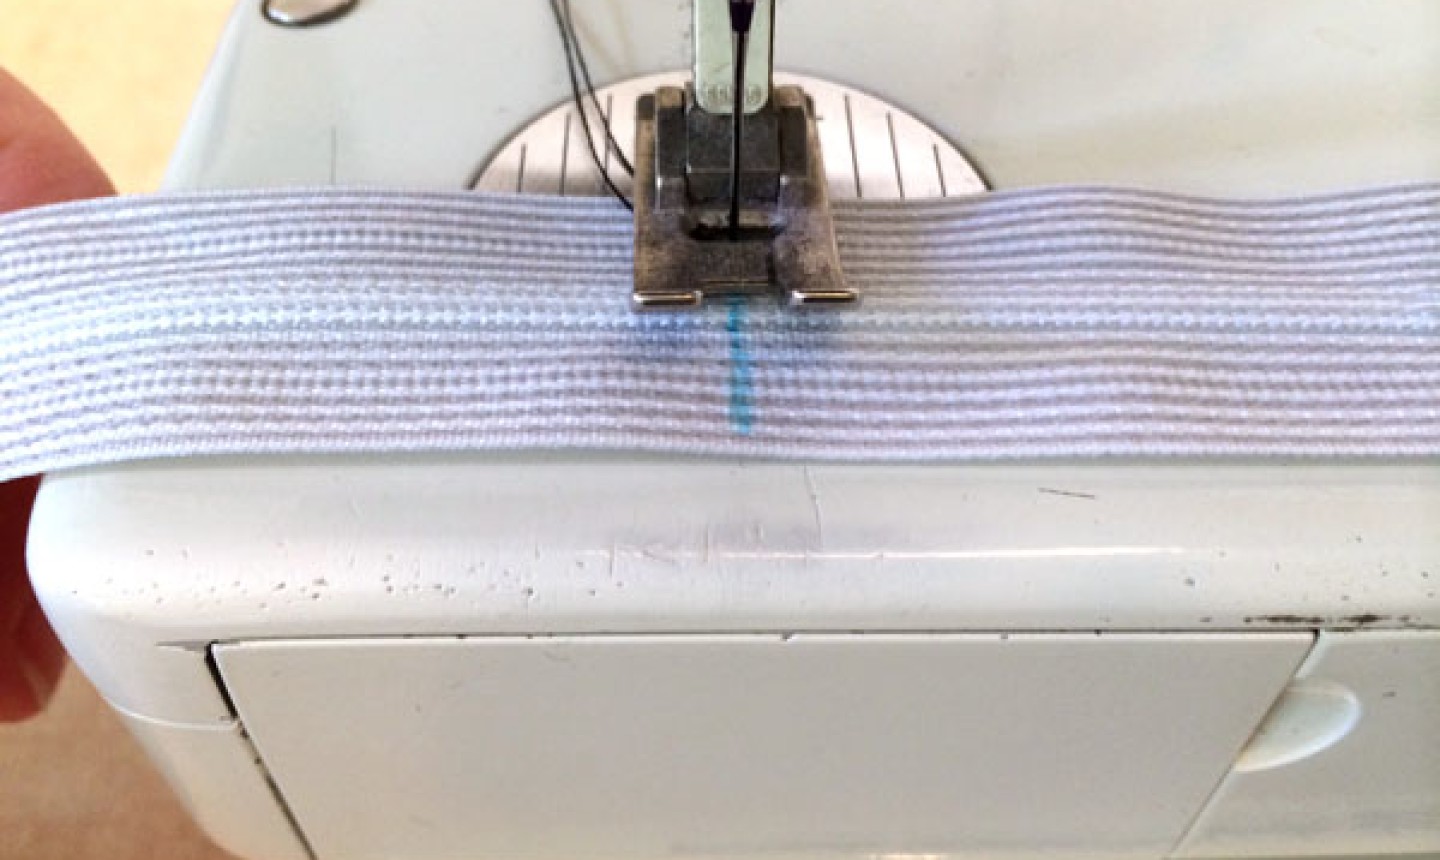
3. Sew
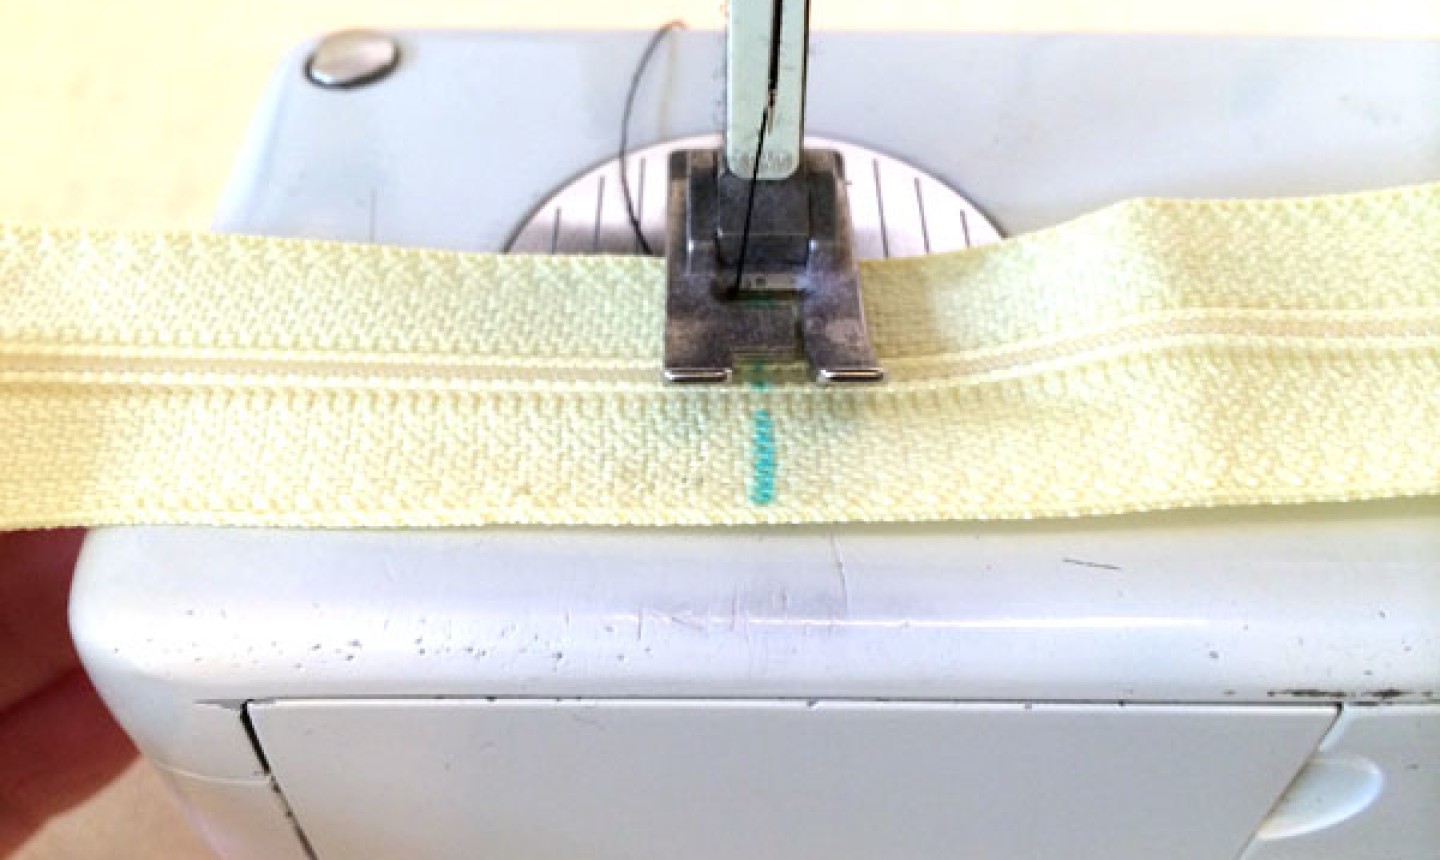
Use your sewing machine to make a line of straight stitches across the tape, starting a few stitches before the teeth and extending a few stitches on the other side of the teeth. Go back and forth a couple of times to form a strong stopper.
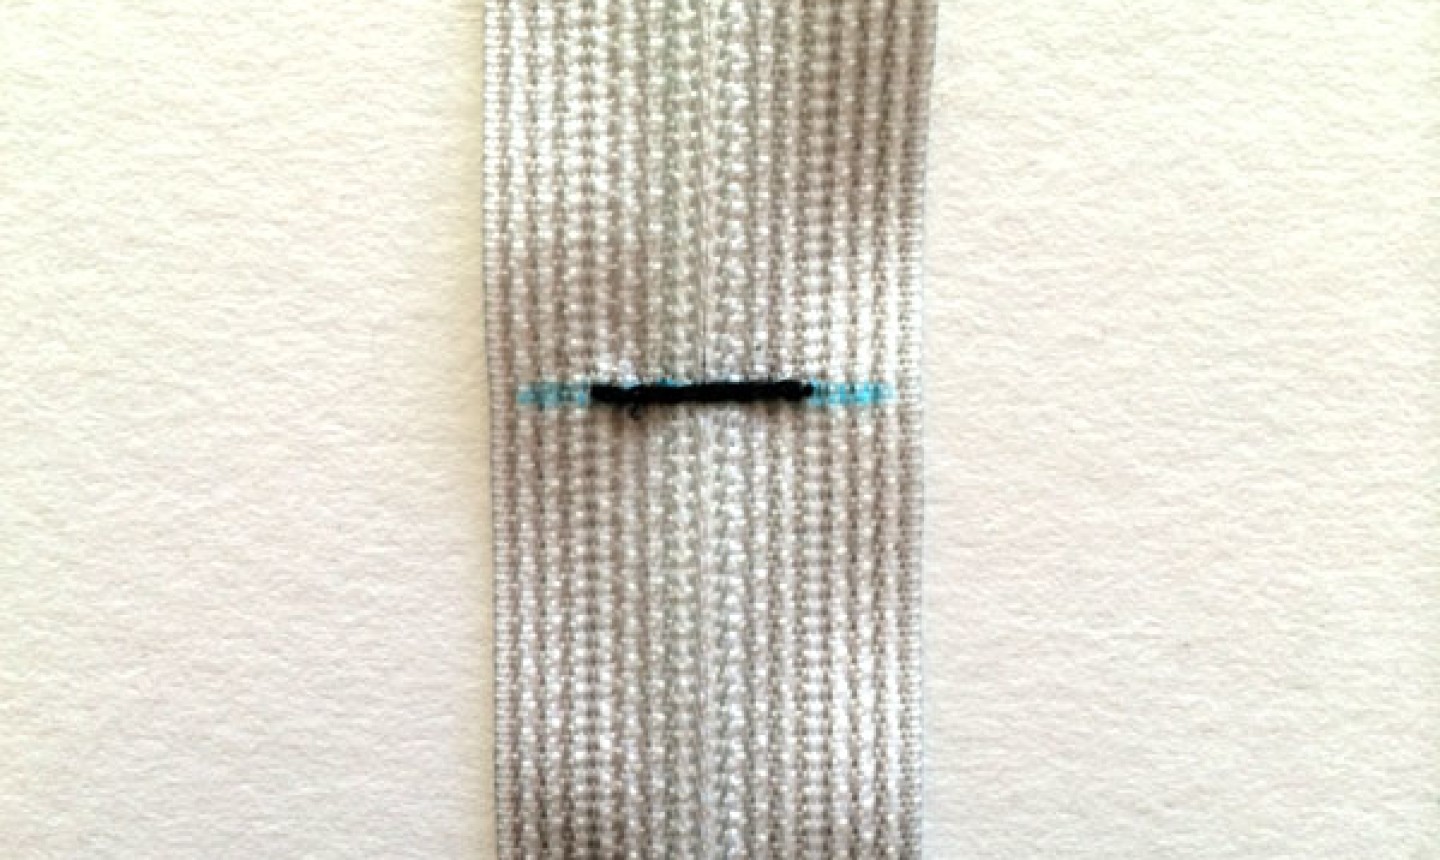
To sew this by hand, simply stitch over the zipper teeth using a bar tack; this means inserting and exiting the needle just on either side of the teeth. Go back and forth several times.
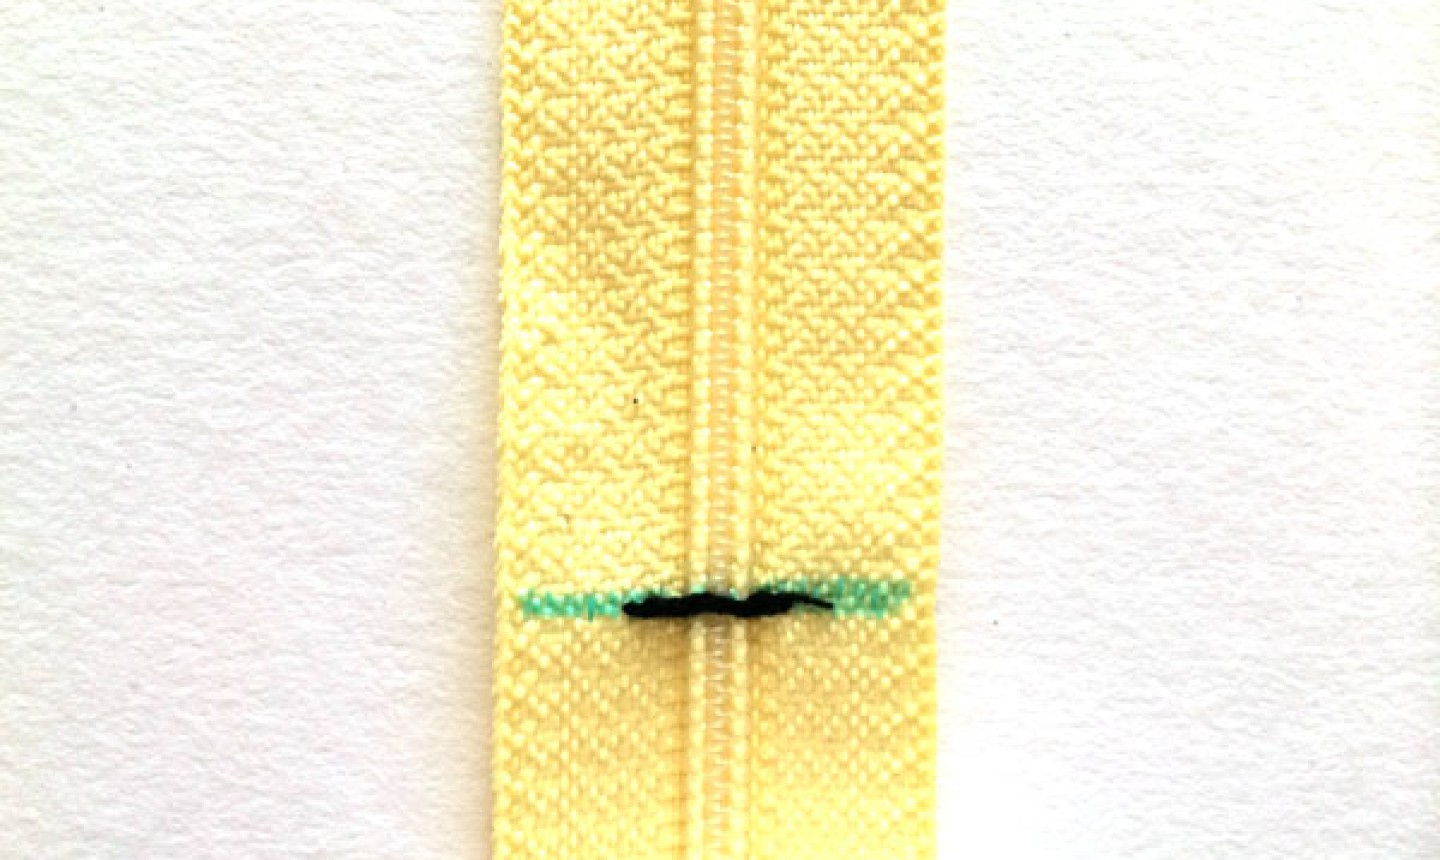
The new stopper will now look like the image above. Since most zippers are inserted into a garment or project on the inside (and the fabric is what actually stops the zipper pull), the stopper won’t be visible.
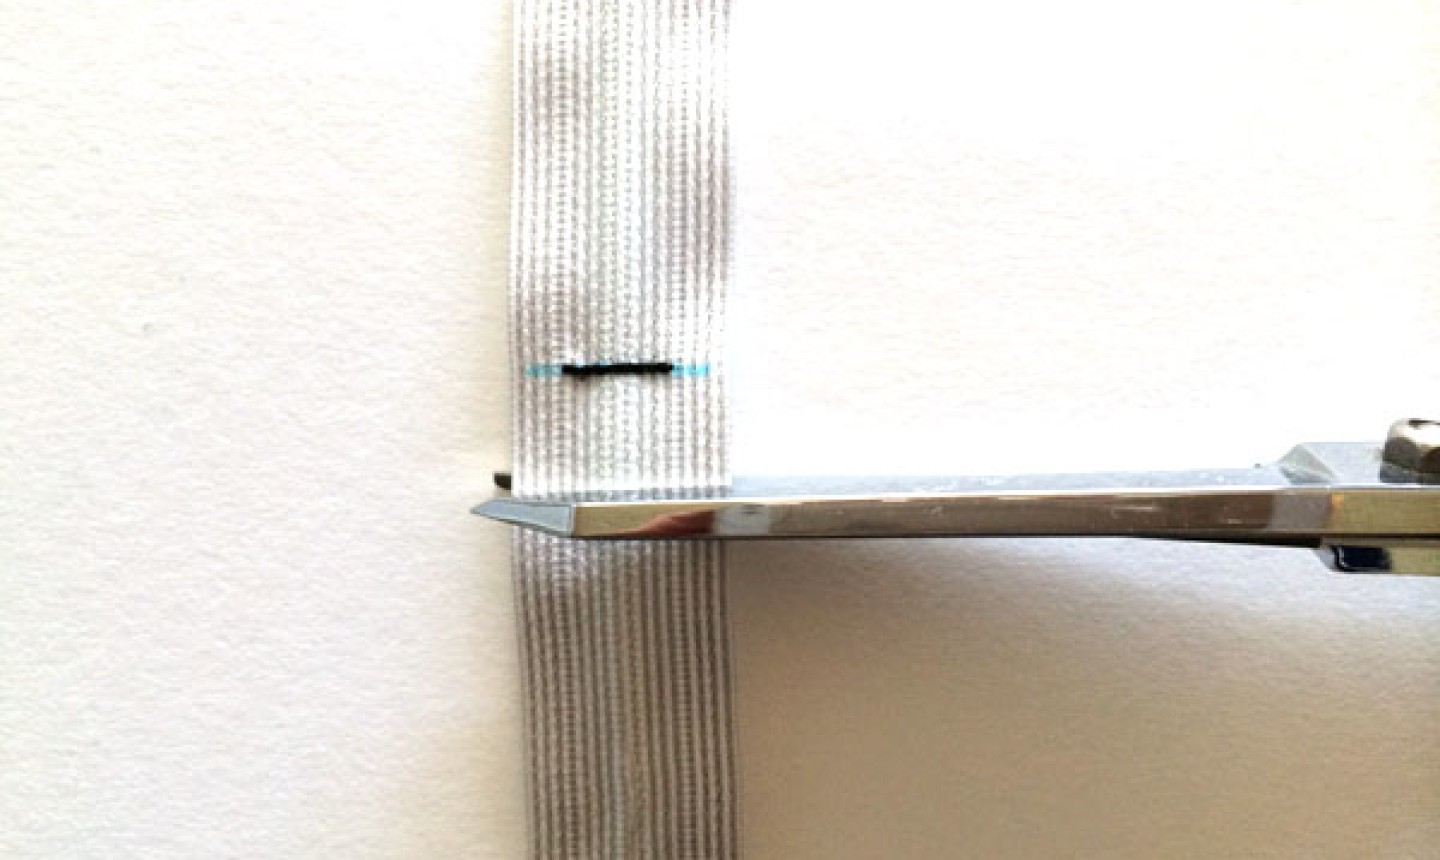
4. Snip
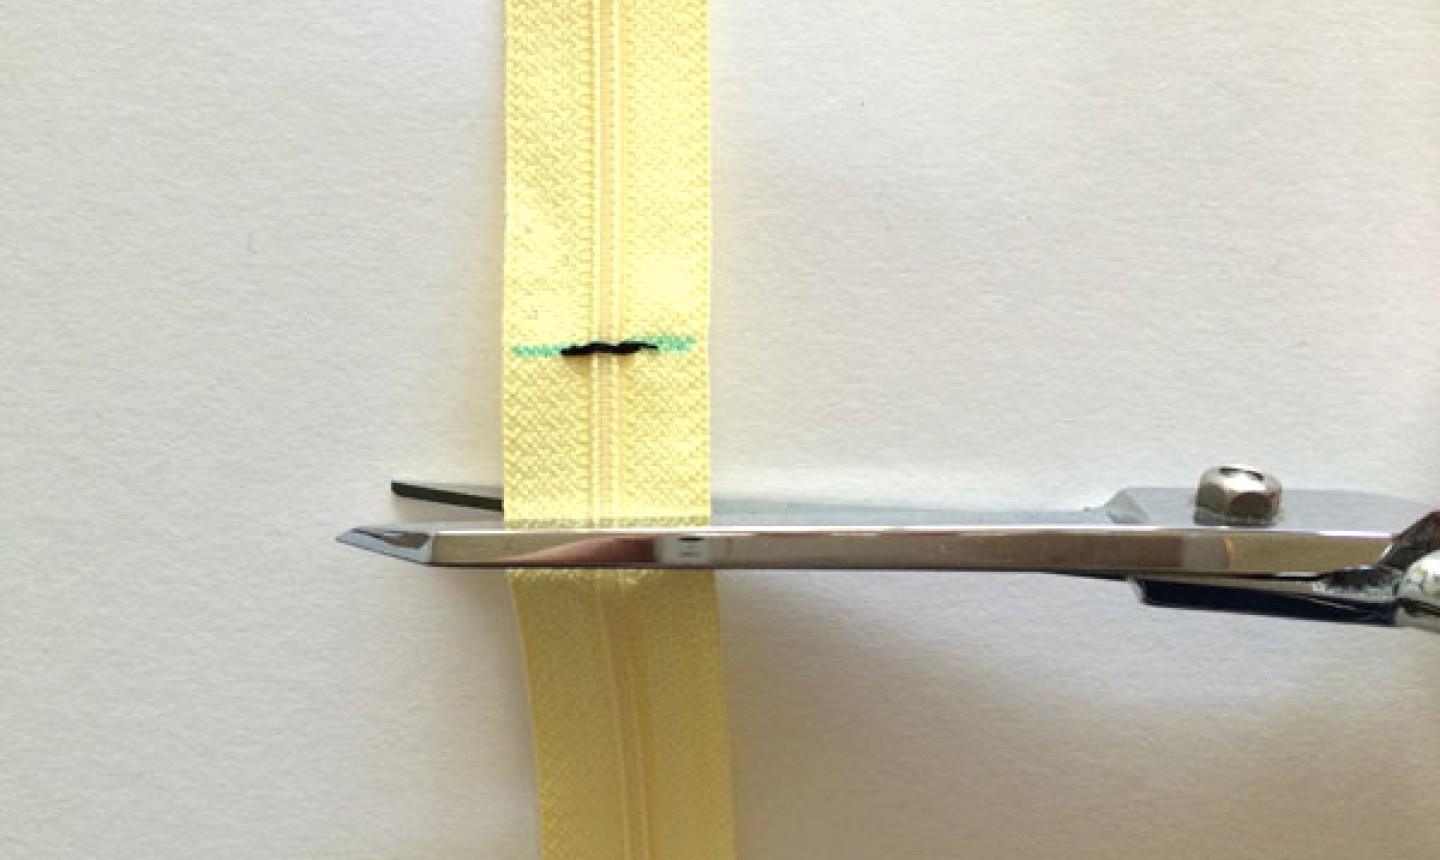
Use scissors to trim off the excess zipper tape about 1″ under your newly sewn stopper.
You’re done, and now you can sew your zipper into your project!
Invisible Zipper with Plastic Teeth
Just as with a regular zipper, with an invisible zipper you remove the excess zipper length from the bottom.
1. Measure

Measure down from the top to where you want the new stopper to be.
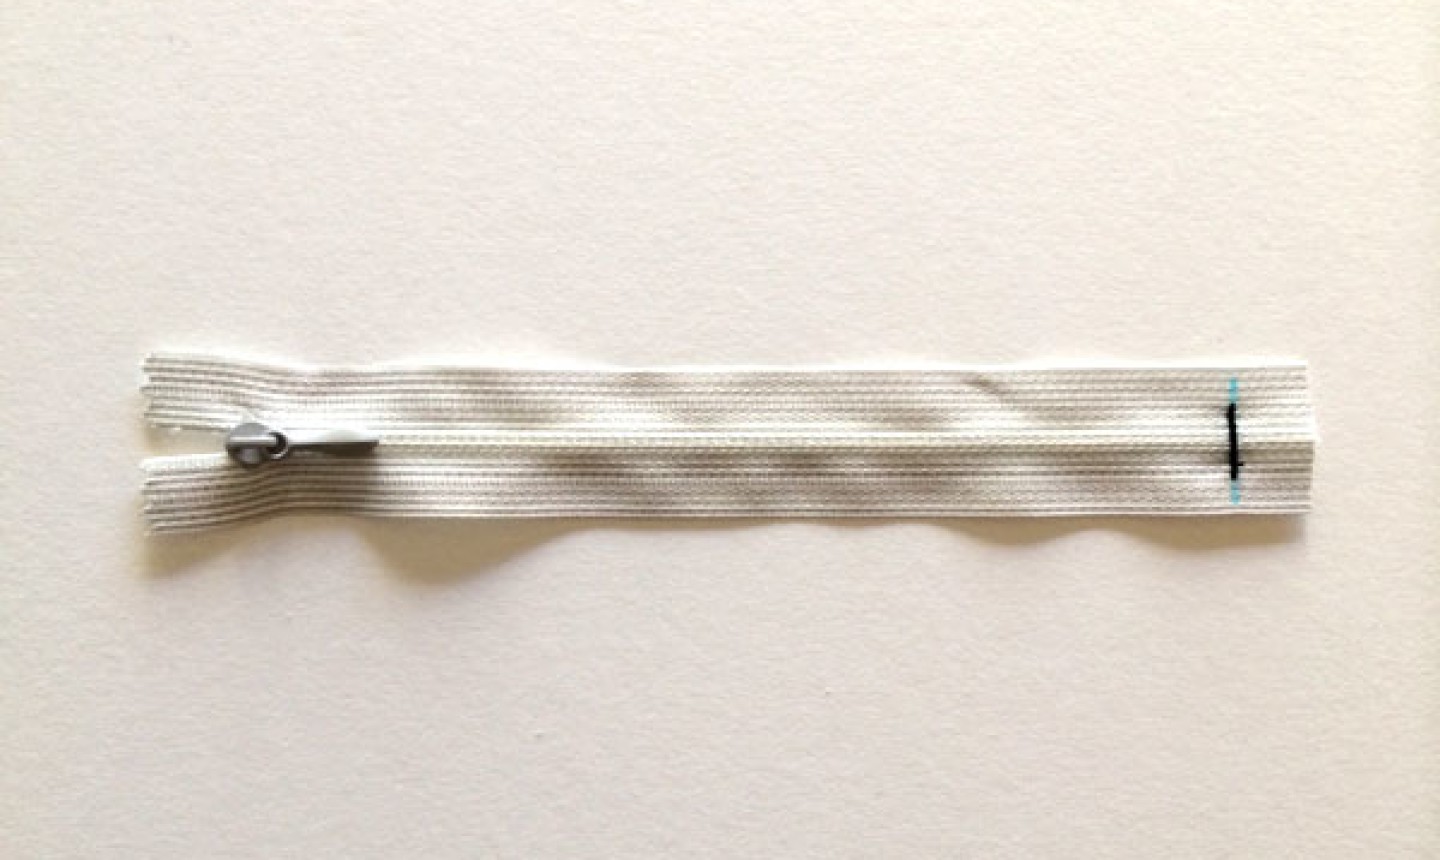
2. Mark
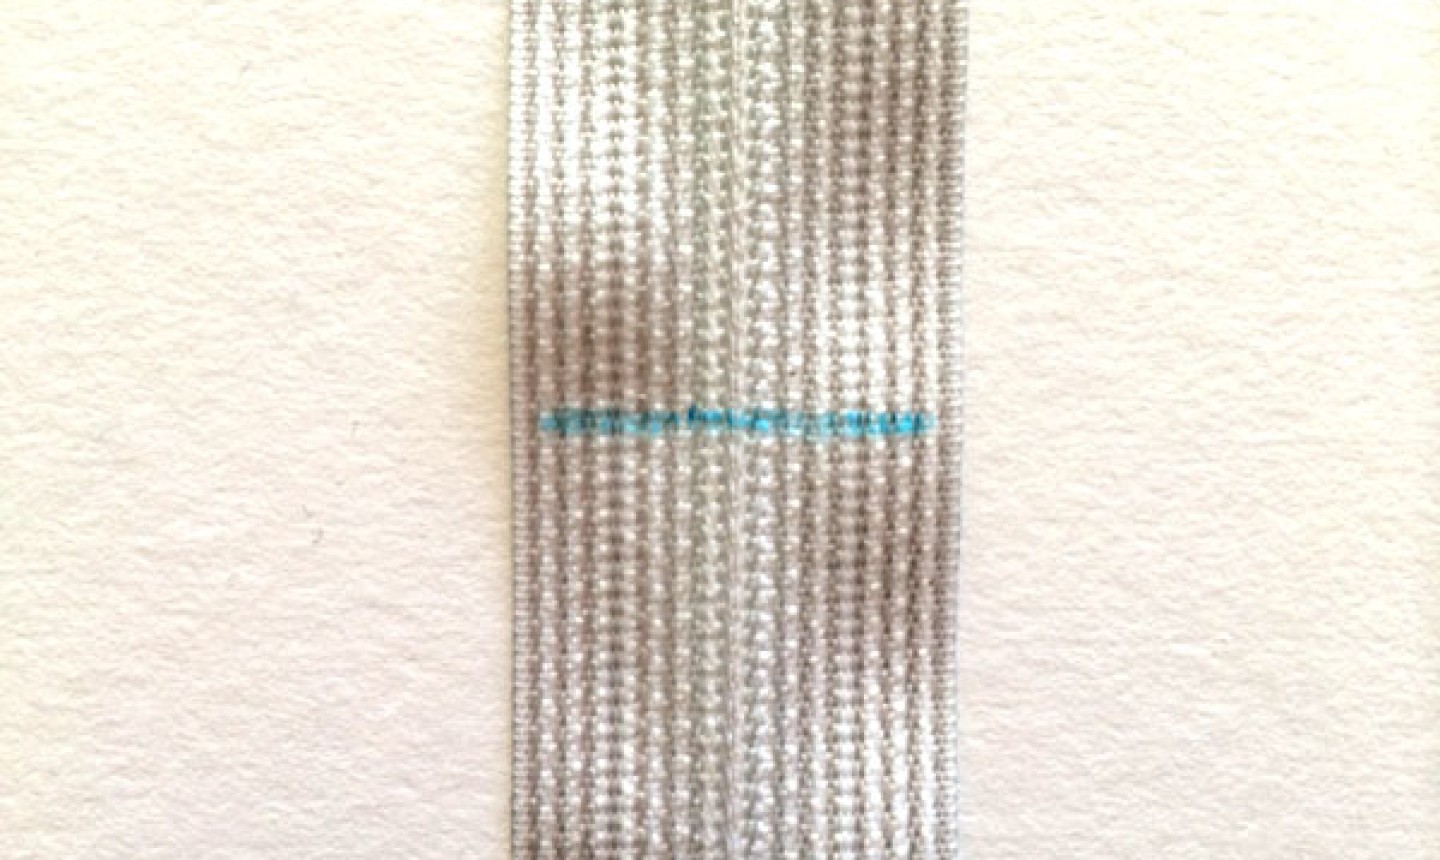
Mark straight across the zipper tape and teeth. Note: For an invisible zipper, the teeth are on the back side of the tape.
3. Sew
As with a regular zipper, use your sewing machine to make a line of straight stitches across the tape, starting a few stitches before the teeth and extending a few stitches on the other side of the teeth. Go back and forth a couple of times to form a strong stopper.
To sew this by hand, simply stitch over the zipper teeth using a bar tack, which involves inserting and exiting the needle just on either side of the teeth. Go back and forth several times.
Your stopper should now look like the image above.
4. Snip
Trim off the excess zipper tape, leaving about 1″ under the new stopper.
There you have it: a lovely invisible zipper in just the right length (and you never had to leave the house!).
Metal Zipper with Metal Teeth
You’ll want to remove the excess length on a metal zipper from the top, instead of off the bottom.
1. Measure and Mark
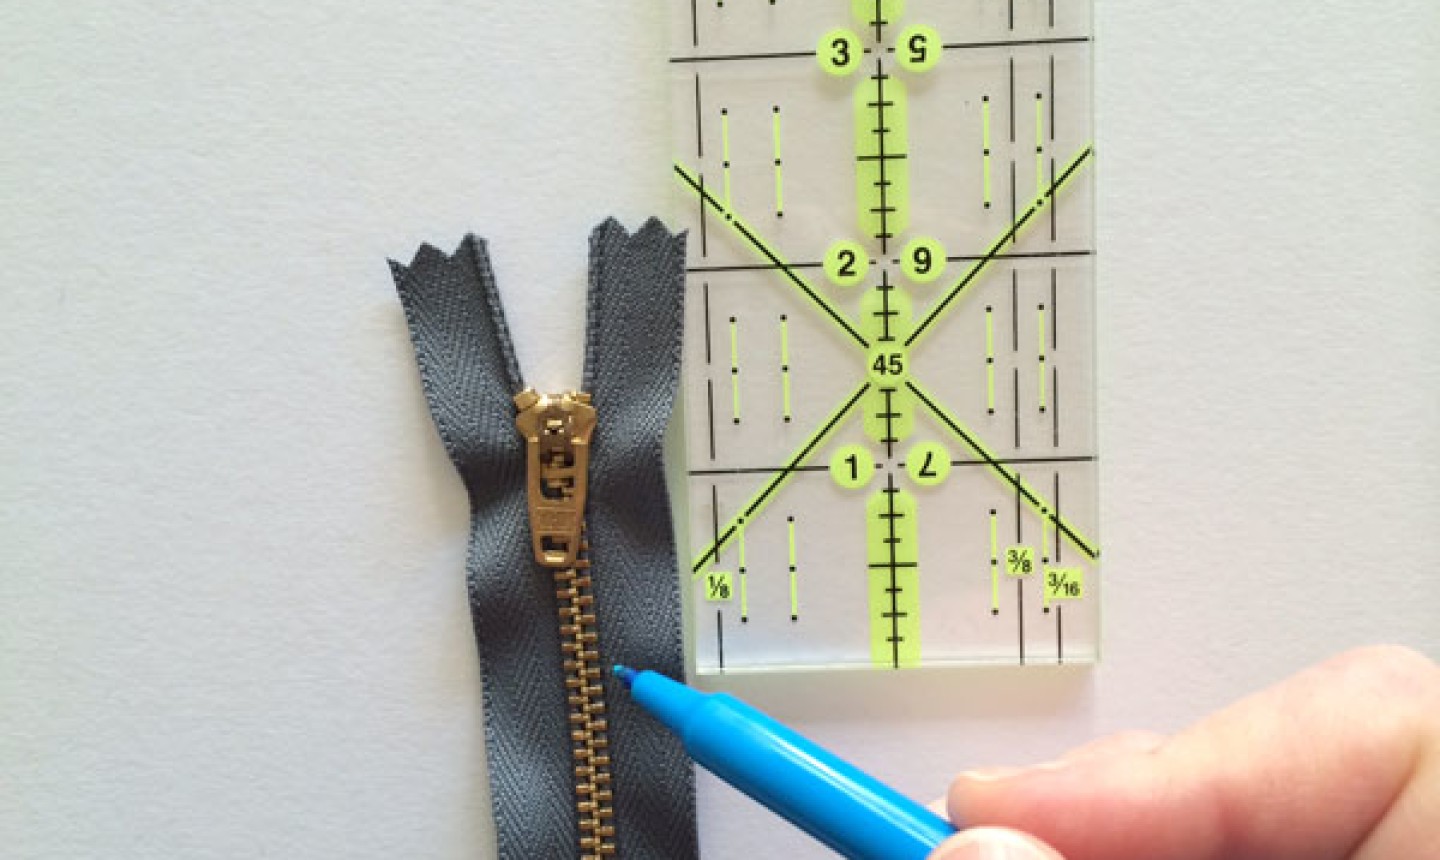
Measure down to where you want the slider to stop (keeping in mind that the length of a zipper is measured from the top stop to the bottom stopper and not by the length of the zipper tape). What you are marking here is where the pull will stop at the top of the zipper.
Your zipper should look as it does above, with your mark showing the new top stop of the zipper.
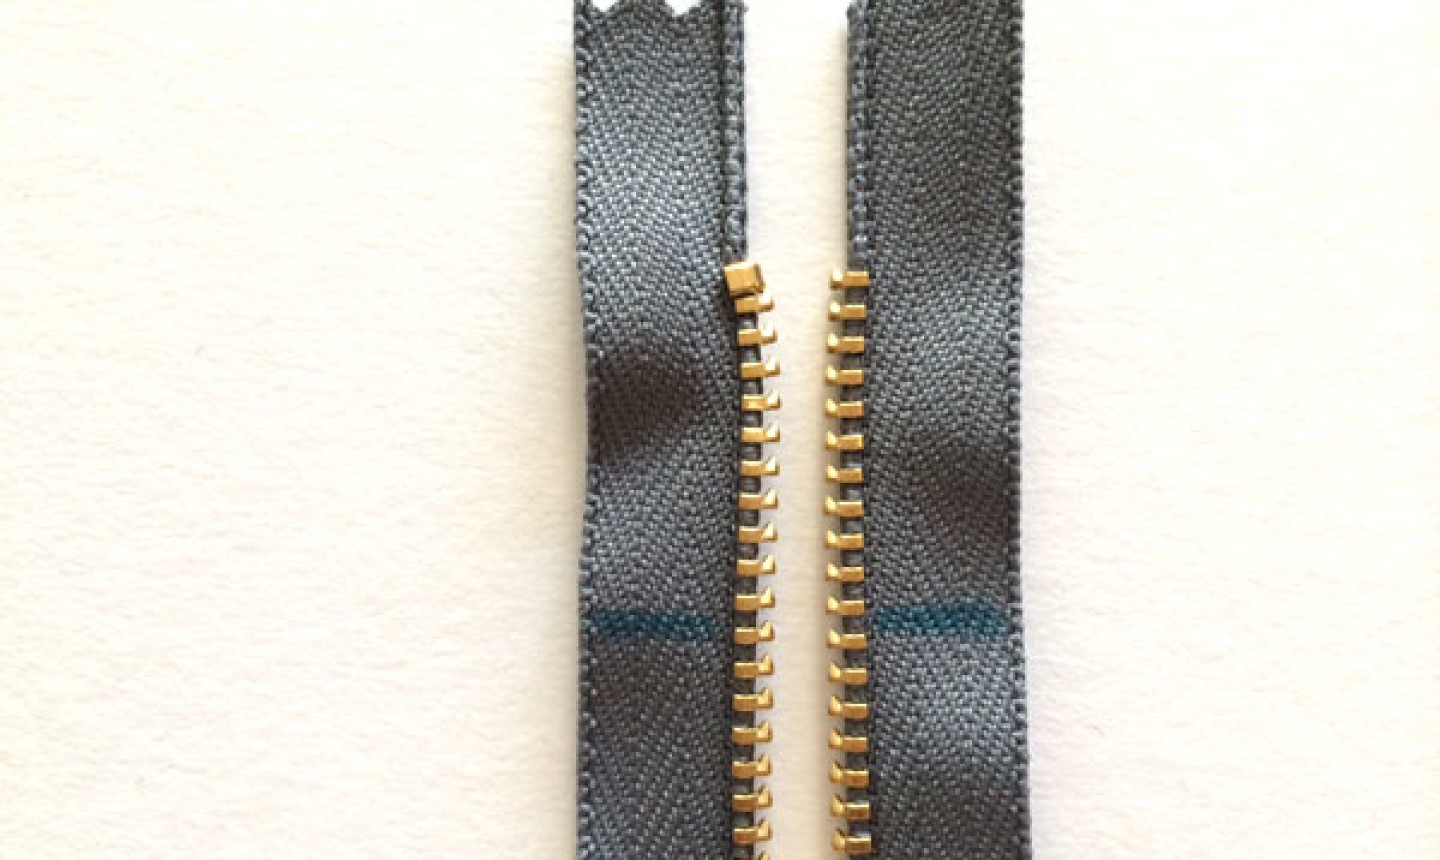
2. Pull Some Teeth
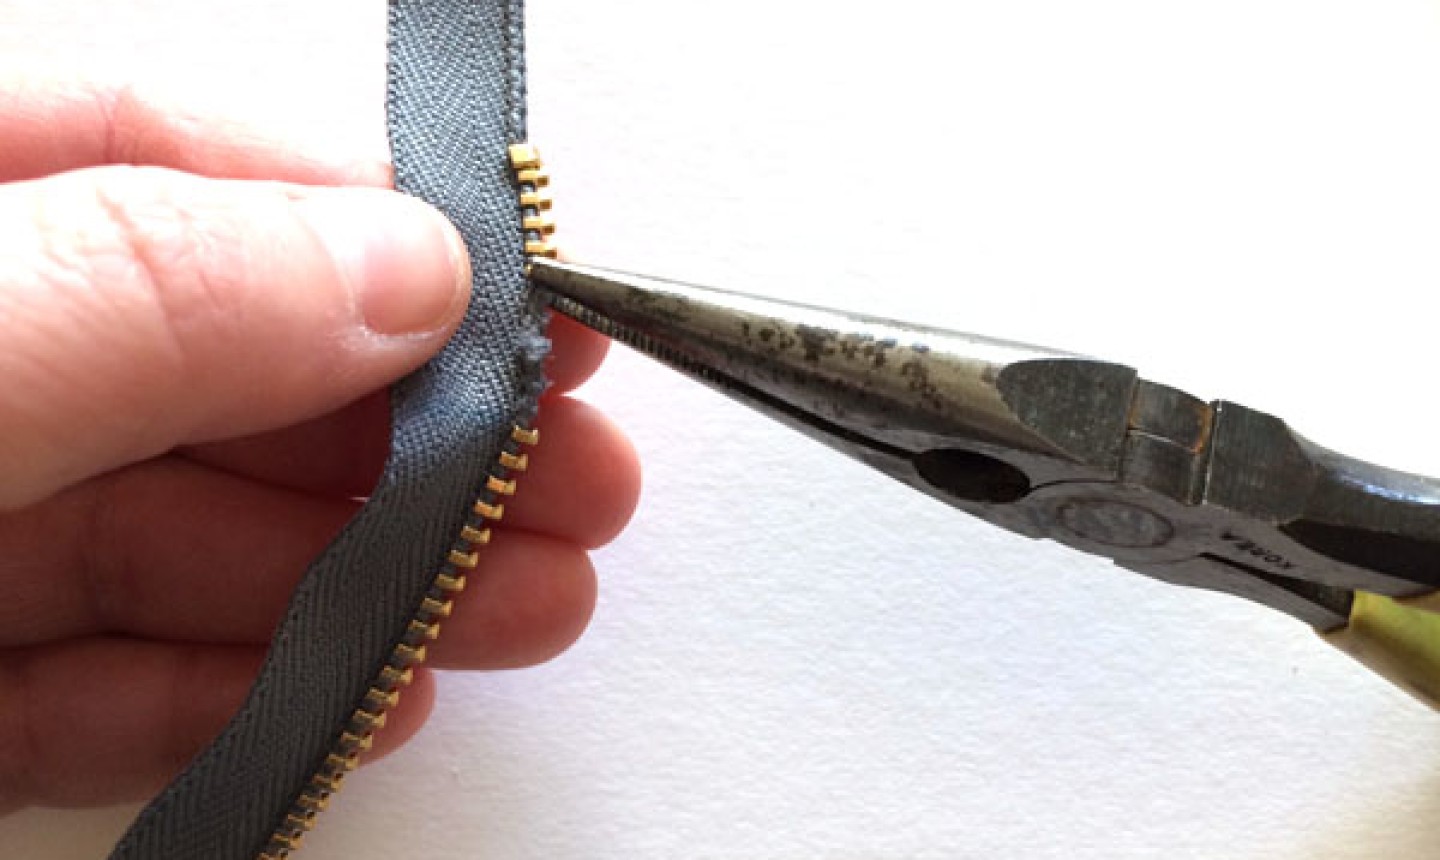
Because the teeth are metal, you can’t just cut them off (it’ll wreck your scissors!). Instead, you’ll need to pull the teeth off with pliers. This can be a little tricky and, as you can see from my tape above, can also leave some damage behind on the edge of the zipper tape. You may do better, but if not, never fear — the mess will not be seen in the end.
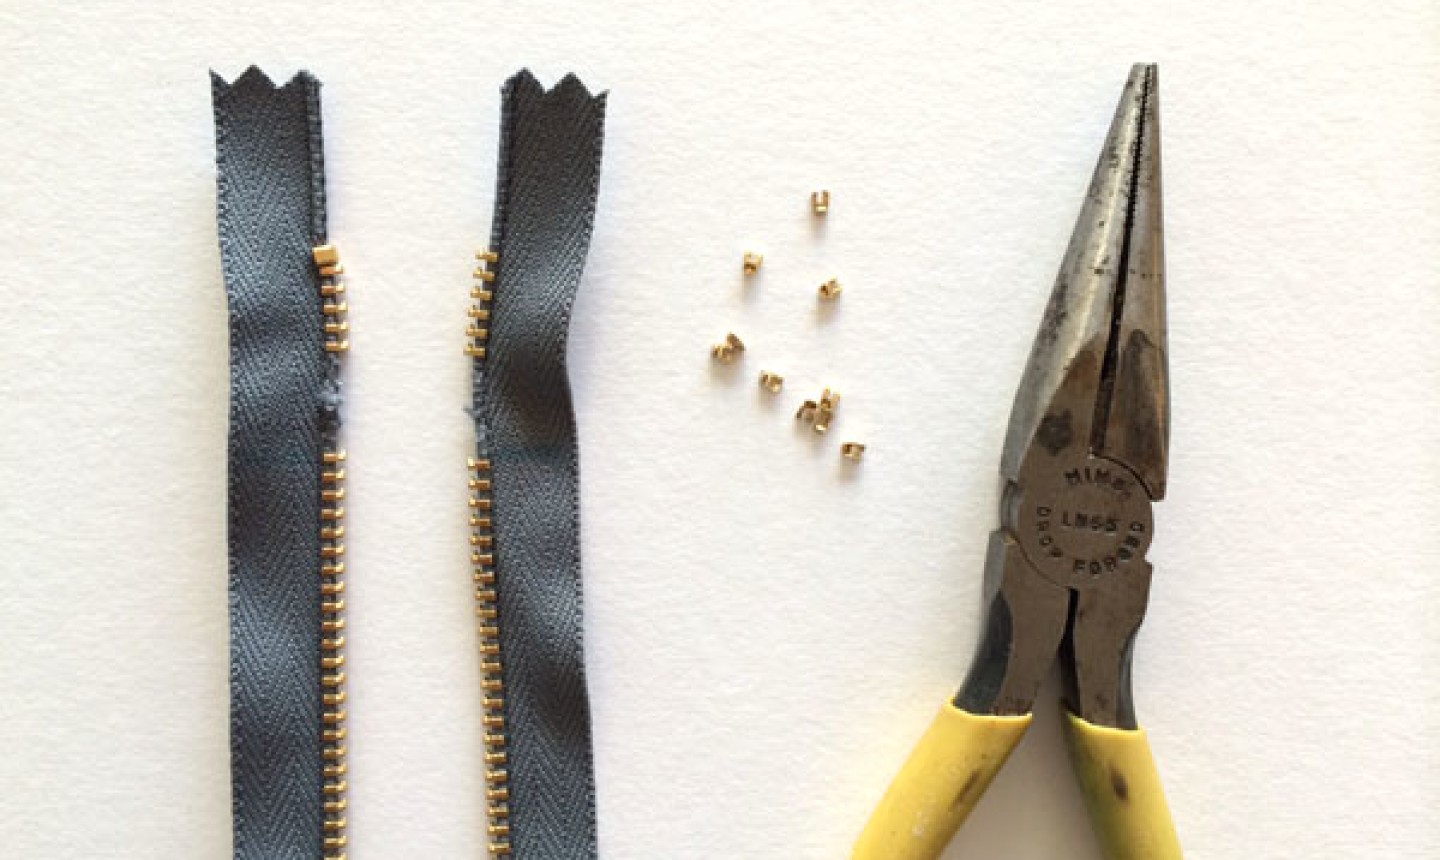
Carefully pull the teeth off the zipper tape until you have about 1″ of tape teeth-free.
3. Reattach
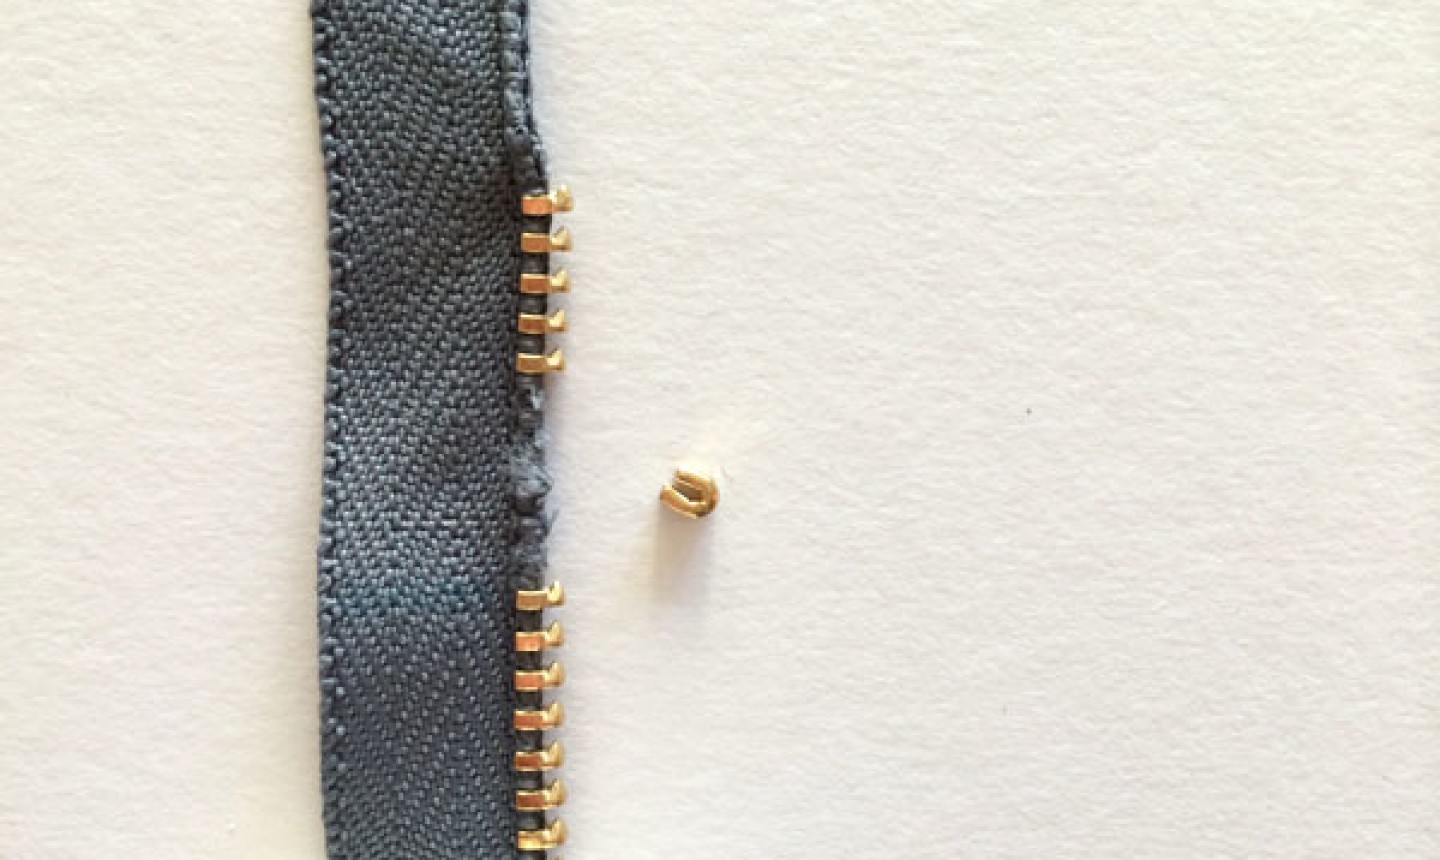
If you want to reuse the metal stopper at the top, remove that as well and reattach it at the new top of the teeth. But if your zipper is being sewn into a seam and the fabric will hold it all in place, you don’t need to remove and reattach the stopper. (Quick caution: If you do remove the stopper, be careful not to accidentally yank the zipper pull off before you replace it.)
4. Snip
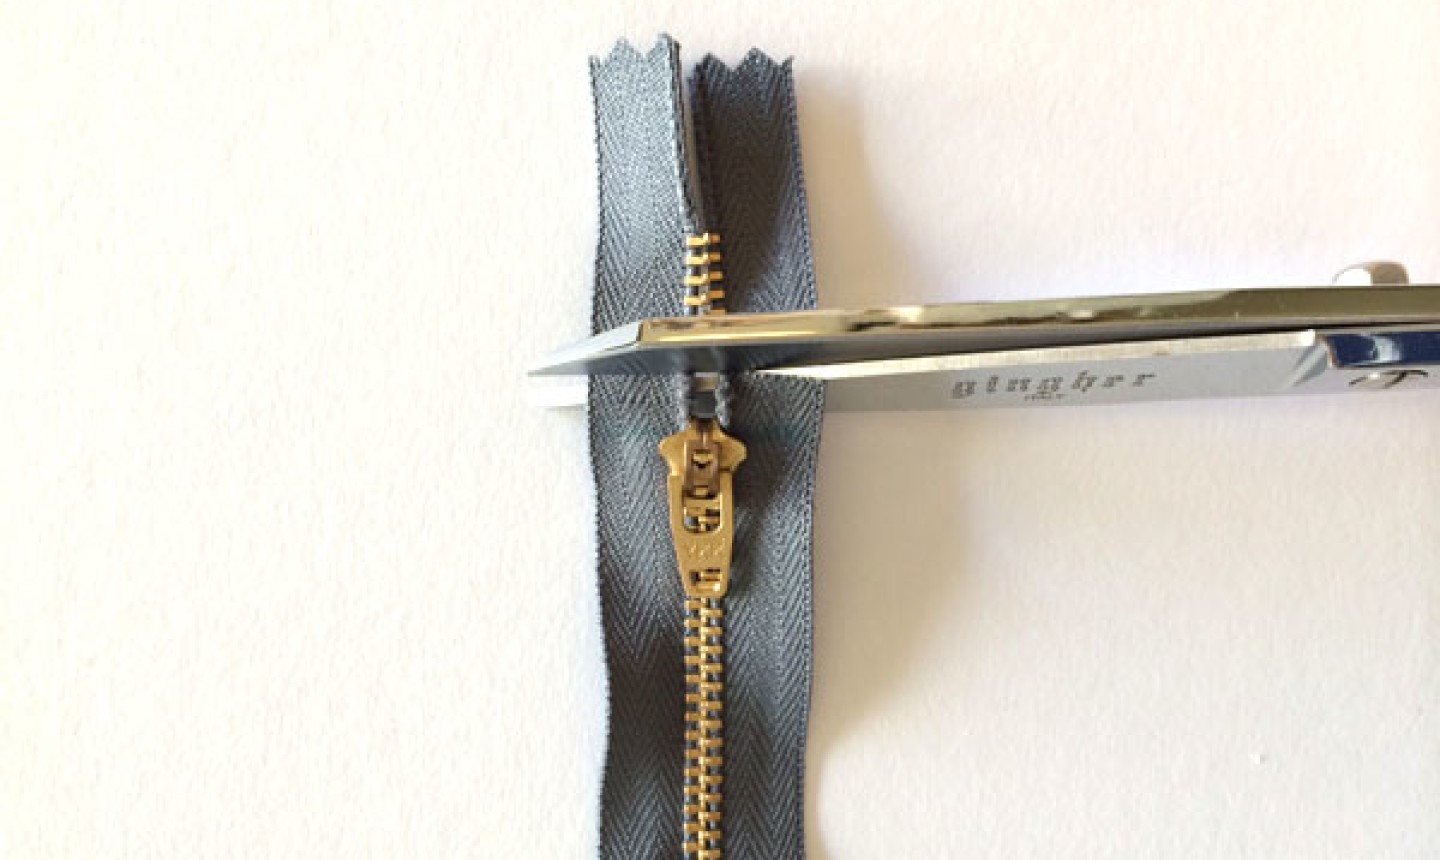
Carefully cut away the zipper tape about 1″ above the new top of the pull. Be sure not to come in contact with the metal teeth!
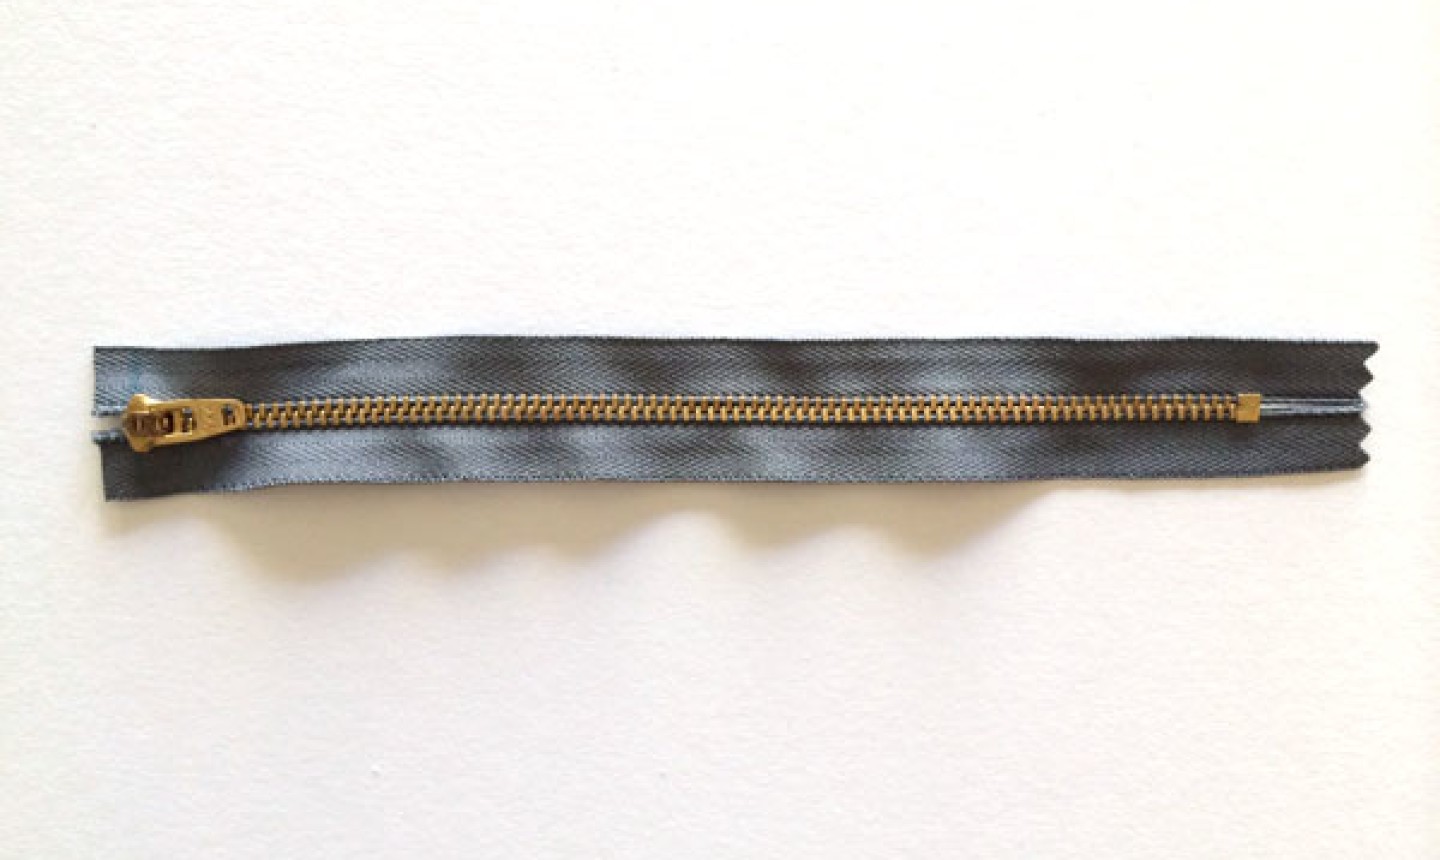
Your re-sized metal zipper is ready for service.
And now you can zip back to work!

You can run the sewing machine right across the teeth of any zipper as long as it is not metal? I have been thinking of ordering rolls of zippers to use in my hand made purses. But I was not quite sure how to sew the ends of the zippers.
Wow i usually cut the excess zipper I don't need from the top, now i know better. Thanks
I use a lot of separating zippers. I never even thought about shortening them above the top of the zipper. There is a tip I will definitely be using. :)
This is really fun