
Pencil skirts make a great wardrobe basic and, since they can be made with almost any fabric, they can be the starting point for a variety of looks. Best of all, pencil skirts are fairly straightforward to sew, so you can make a few and create endless styling options.
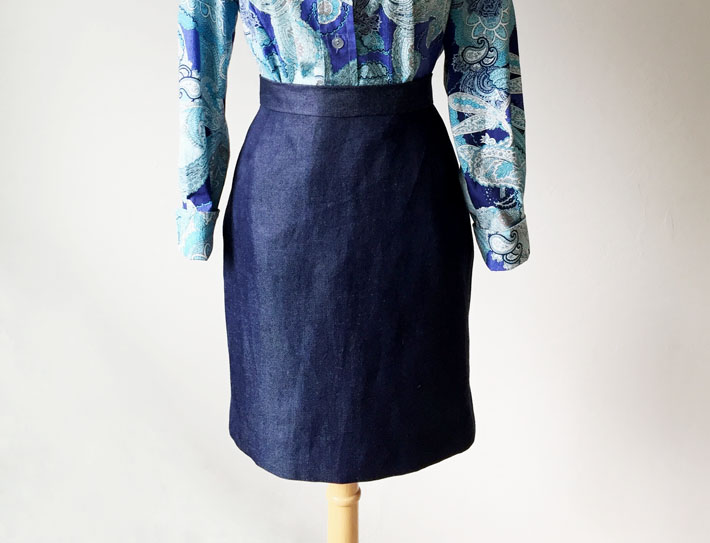
Defined as straight skirts, pencil skirts typically have minimal seaming, front and back darts for shaping and a waistband. Of course there are lots of variations within that theme — ockets, pleats, seaming, etc. — but to start, a simple skirt with a side or center back zipper closure is a good choice.
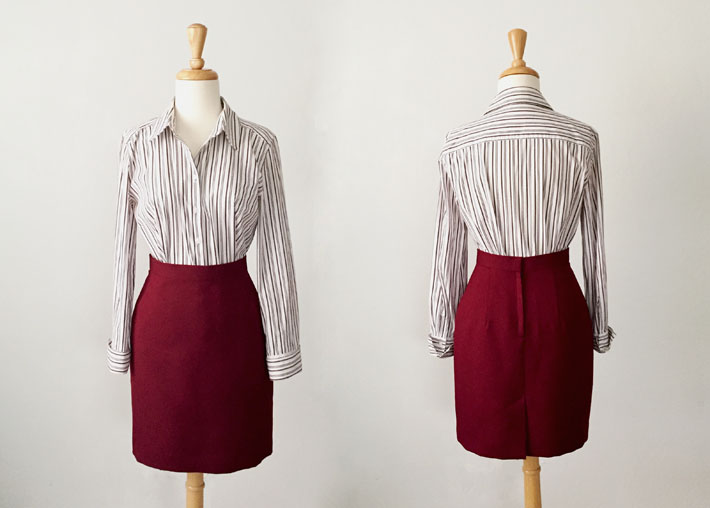
Learn how to sew a pencil skirt with this free tutorial!
For this skirt, I used this free downloadable pencil skirt pattern, and I’d recommend downloading the pattern or a similar pattern to follow along with the tutorial.
Step 1: Cut out your skirt pattern pieces
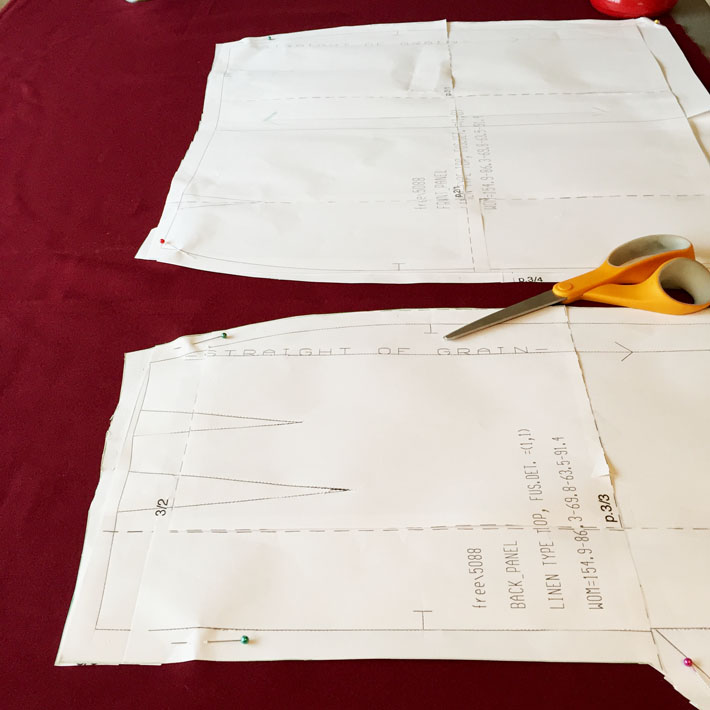
Cut out your pattern pieces, making sure you lay out the pattern pieces according to the grain lines indicated.
Step 2: Transfer pattern markings to your pieces
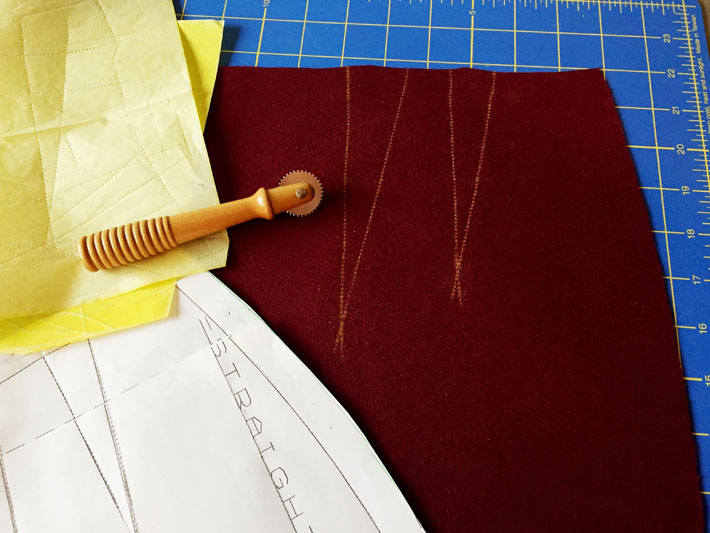
Carefully transfer your pattern markings to your skirt pieces. You can use dressmaker’s carbon paper, which is a paper coated with chalk on one side. Place the chalk side against the wrong side of your fabric and use a tracing wheel to transfer the dart markings to the fabric. You could also use tailor’s tacks to mark the darts and other markings. Be sure to transfer all the markings, such as the zipper placement and any hem pleat.
Step 3: Sew and press the darts
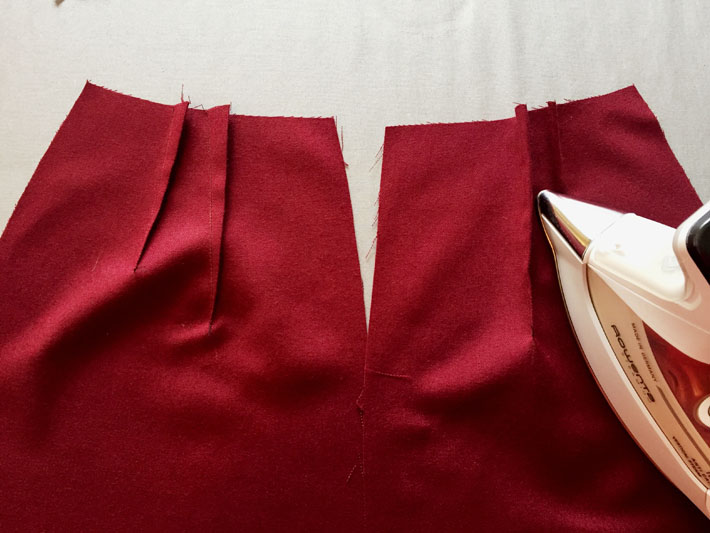
When sewing these waist darts, start at the waist and stitch toward the point, taking the last few stitches very close to the edge. Tie off your threads in a knot. Carefully sew the darts on the front and back pattern pieces, and then press towards the center.
Step 4: Insert the zipper
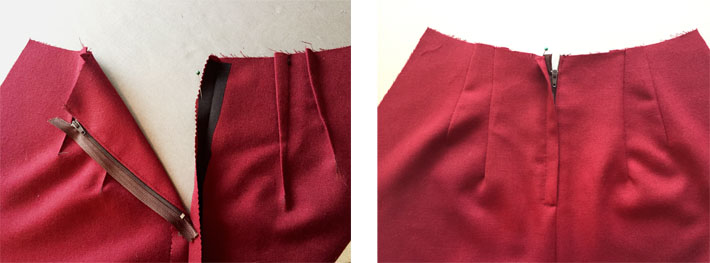
Here I decided to do a lapped zipper as my zipper didn’t quite match my fabric. A lapped zipper can hide the zipper entirely, so it’s a good choice for that instance, and also looks very nice when placed on the side seam.
In the center back you can use a lapped zipper, a centered zipper or even an invisible zipper. Add strips of lightweight interfacing to the seam allowance where you will be inserting the zipper to support the fabric and eliminate any pulling or puckering.
Step 5: Sew the seams
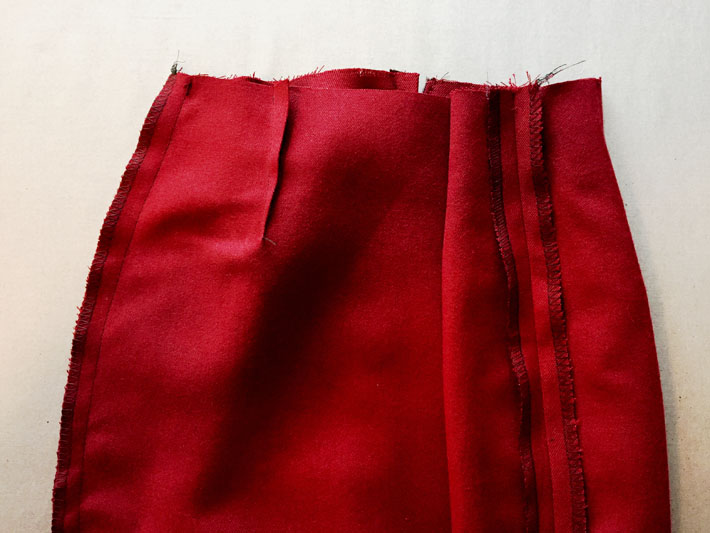
Sew up the remaining seams of the skirt and then press the seams. For this example I chose to overlock the side edges of each pattern piece, which allows the seams to be adjusted if need by for additional fitting. Also you can press the seam open, which gives you a less bulky seam allowance than if you overlock both sides of the seam allowance together.
Step 6: Interface the waistband
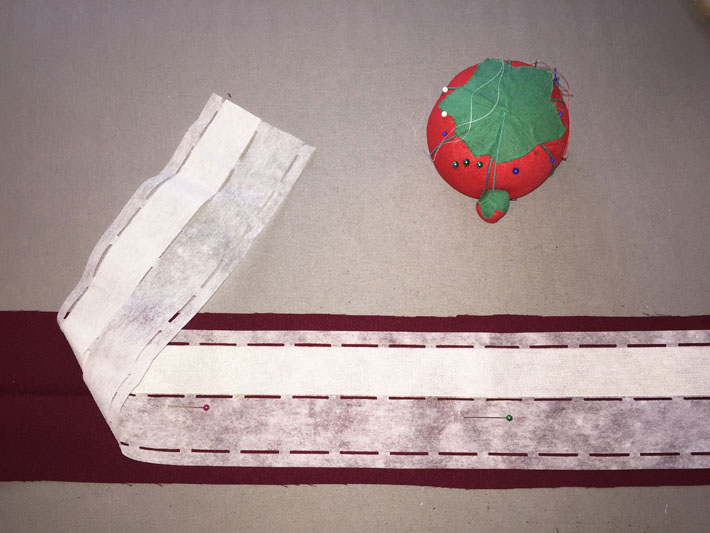
Apply interfacing to the skirt waistband. Don’t be tempted to skip interfacing in the waistband. A smooth waistband is part of the charm of the pencil skirt, giving the shaping of a belt. Without interfacing, the waistband can crumple or wrinkle when worn.
There are lots of methods for interfacing a waistband. Since this is a very straight waistband with no shaping, I used fusible interfacing specifically designed for waistbands. It has a stiff section on one side and then a non-woven fusible on the rest, plus the added feature of perforations, which allow the waistband to fold easily at the center and where the stitching will be located.
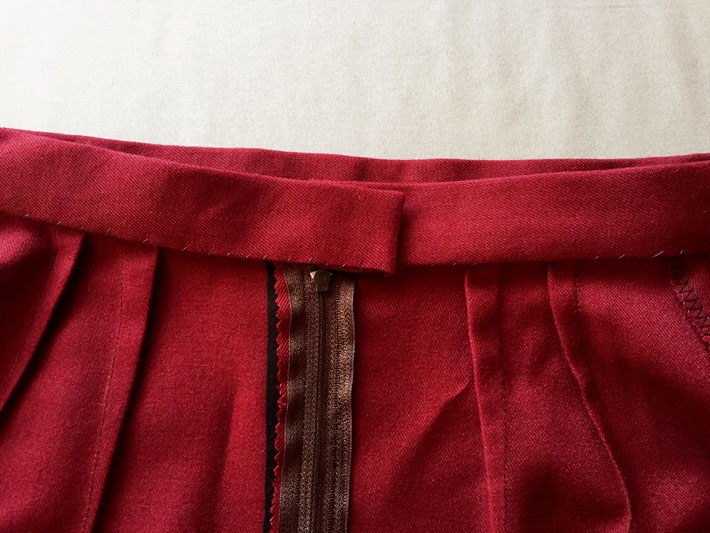
Step 7: Attach the waistband
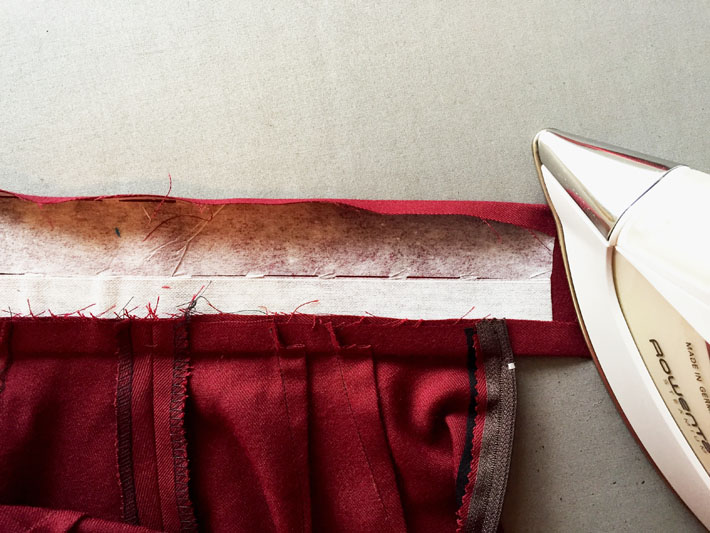
Attach the waistband to the skirt, matching the markings for the side seams and any other pattern notches. On one side of the zipper make sure the waistband extends at least 1″ past the zipper, to allow for a space to attach a button or hook to secure the waistband. Press the seam up toward the waistband, and press under the other edge of the waistband since it will be folded over at the center to create a clean finish inside your skirt.
Step 8: Finish off the waistband ends
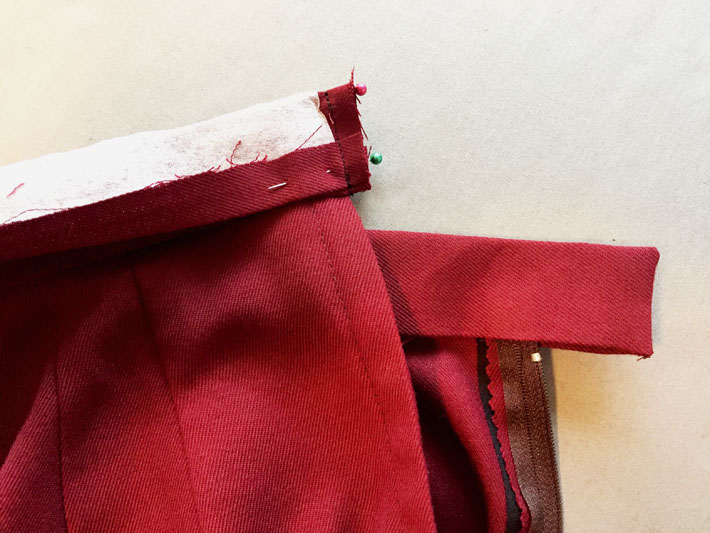
To finish off the waistband ends, turn the waistband back so it is right sides together and stitch perpendicular to the waistband seam. If you want a sleek finish on your skirt closure, make sure to stitch one end of the waistband perpendicular to the zipper seam, as shown here with the pins. The other end of the waistband is the longer end, which creates a tab that goes under the other side. That is where you can sew the button or hook closure. Here are more tips on finishing the ends of your waistbands.
Step 9: Sew the inside of the waistband
Once you have machine stitched the ends of the waistband, trim, turn and press. Attach the folded edge of the waistband to the seam allowance with a quick hand stitch. Here I used a slip stitch.
Step 10: Sew the kick pleat
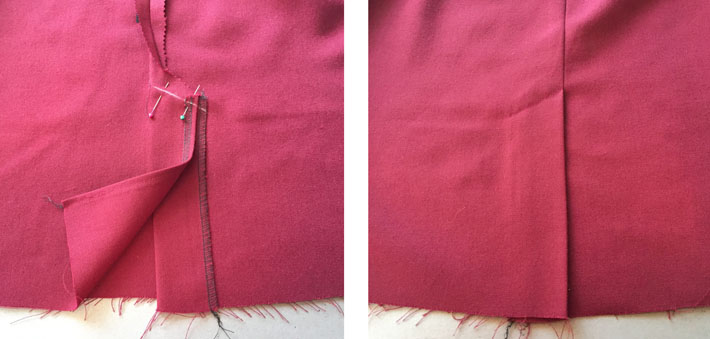
Most pencil skirts are like their namesake — quite slim. Even if your pattern doesn’t include one, you can add a kick pleat. Sew the seam as usual and finish off the edges of the pleat. The side of the pleat that is folded back actually will not be seen; however, the other side will show as you walk, so finish that side by turning it under and stitching in matching thread. Then press the pleat and mark the diagonal line, which will hold the pleat in place. Stitch as indicated and now you can stride comfortably in your pencil skirt.
Step 11: Sew the hem
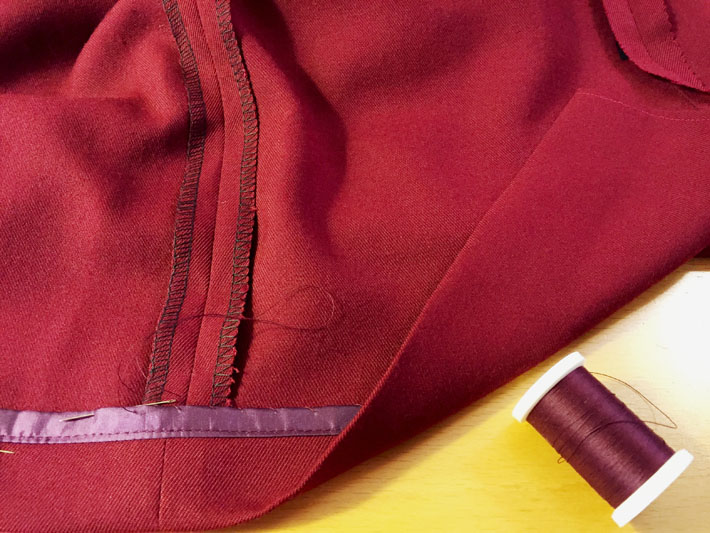
Just about complete! Time to sew the hem. For a seam finish on a hem you can overlock, apply hem lace or hem tape, or even do a Hong Kong finish as shown. This technique works really well on straight edges like hems. For the hem stitch, you can do a slip stitch, a catch stitch or a machine hem — the key is well matched thread and small stitches for a nearly invisible hem.
This is great. Glad I found it!