
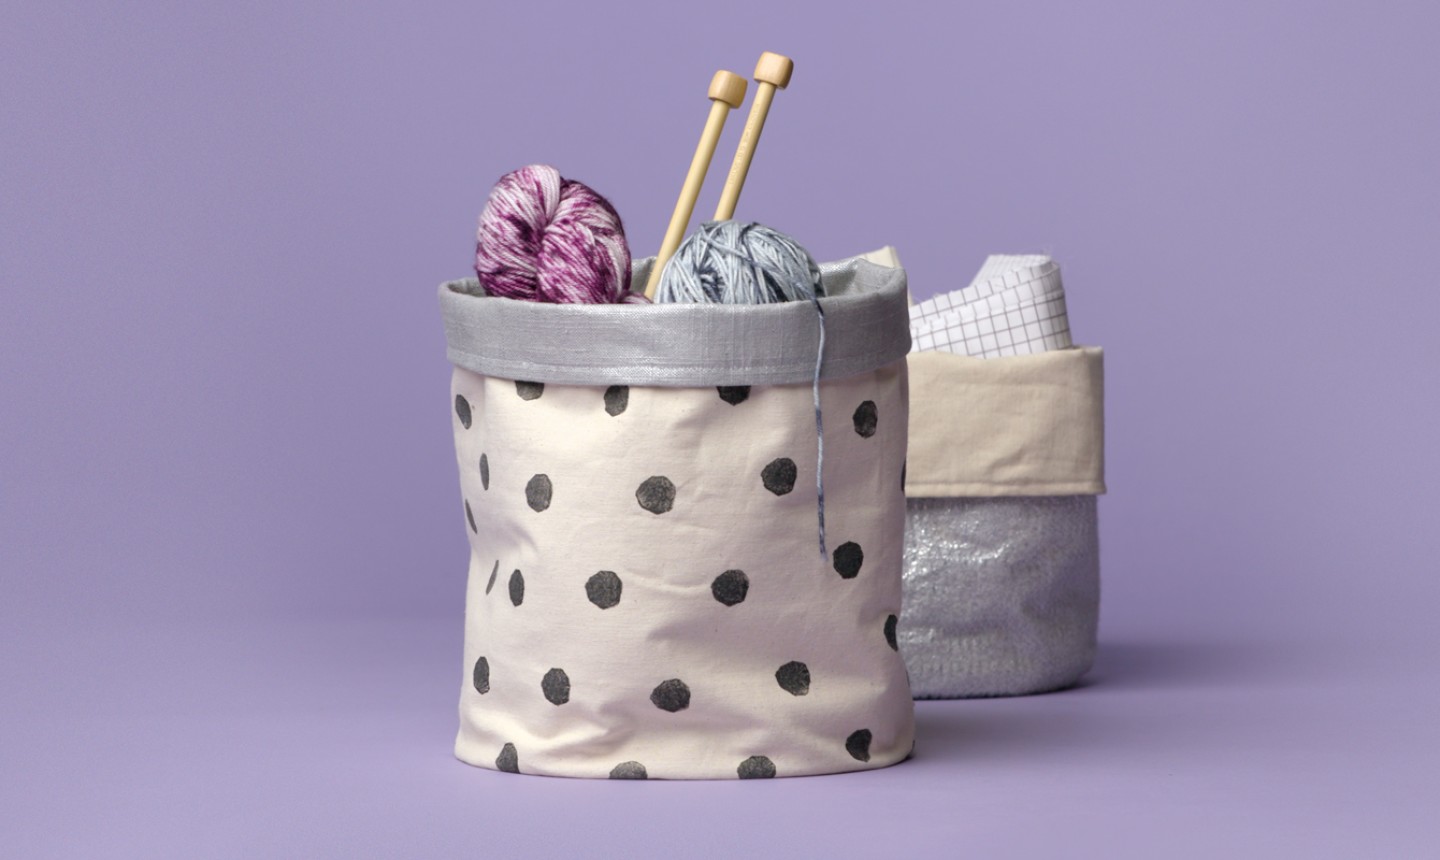
There’s no better way to store your crafting gear than in a cute fabric bin — that you sewed yourself, of course.
DIY Fabric Basket
Level: Easy
What You Need
Instructions
1. Cut the Base
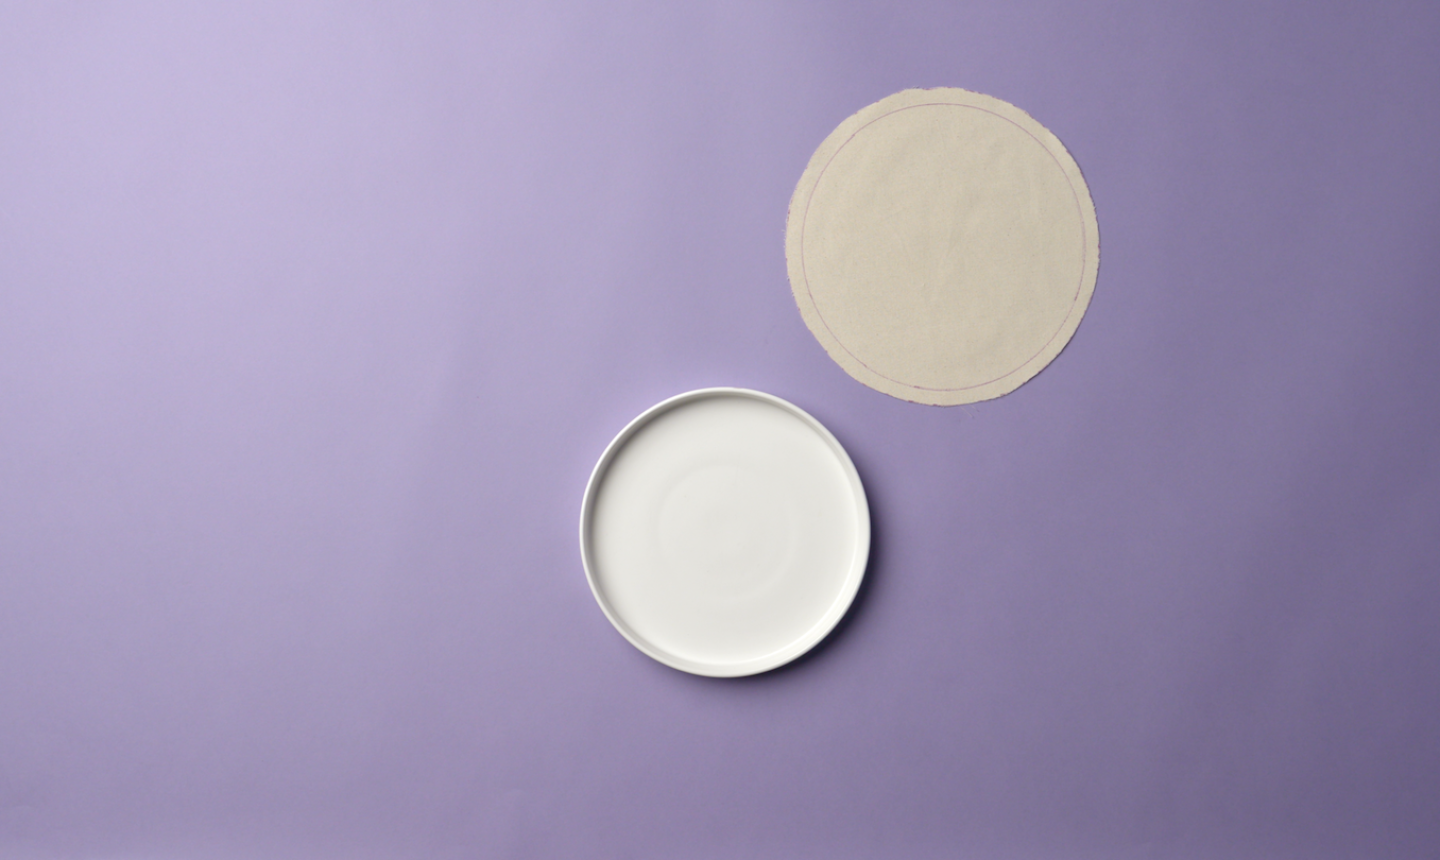
Place a 12″ plate on top of a piece of your fabric and trace around it with disappearing ink. Cut around the tracing, leaving a 1″ seam allowance.
2. Cut the Sides
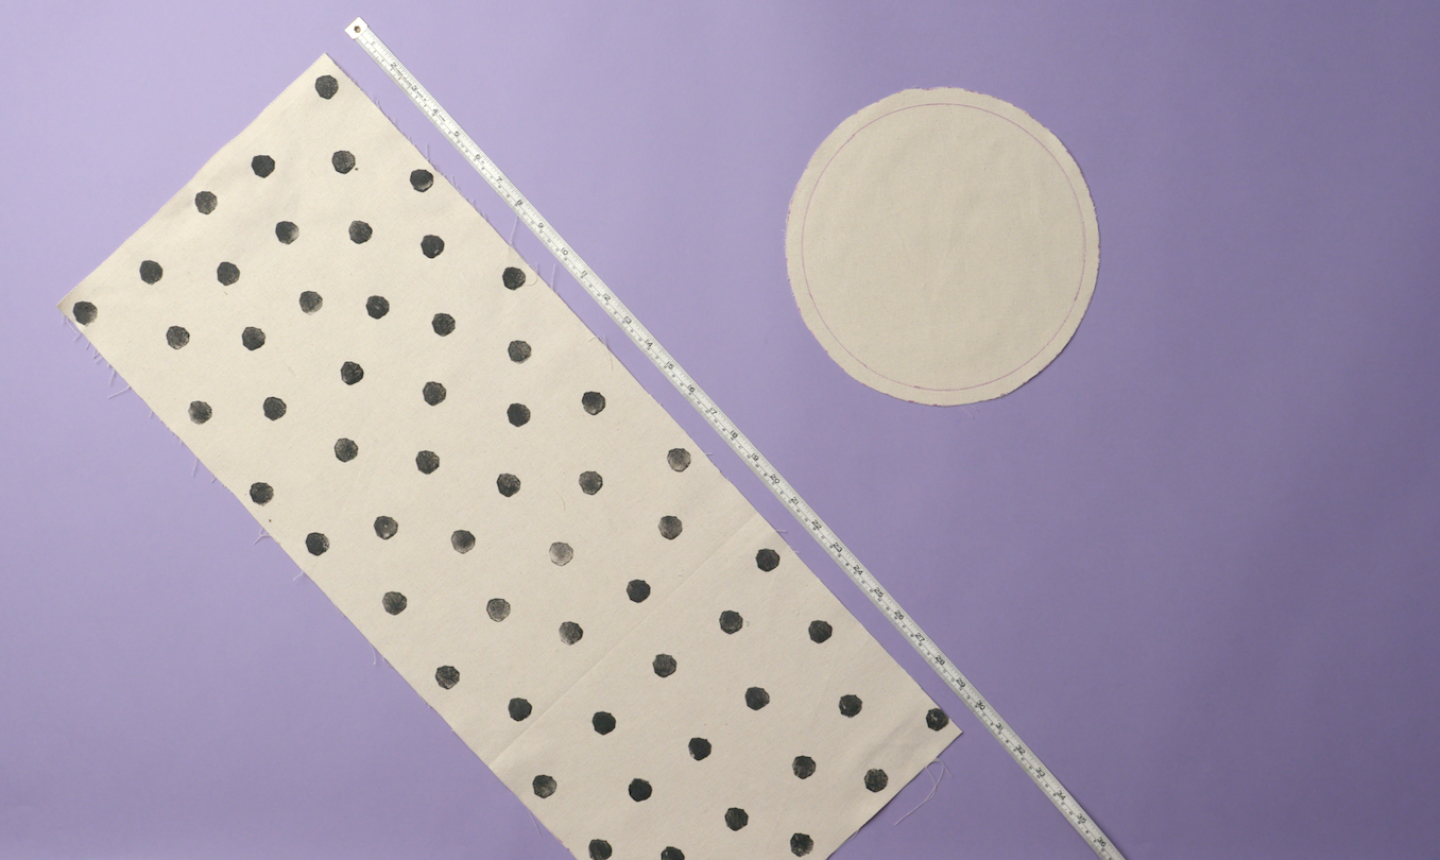
The fabric for the bin’s sides is easy to determine: it should be the plate’s circumference plus one inch long, by 12″ wide. Just measure it out and cut!
3. Repeat
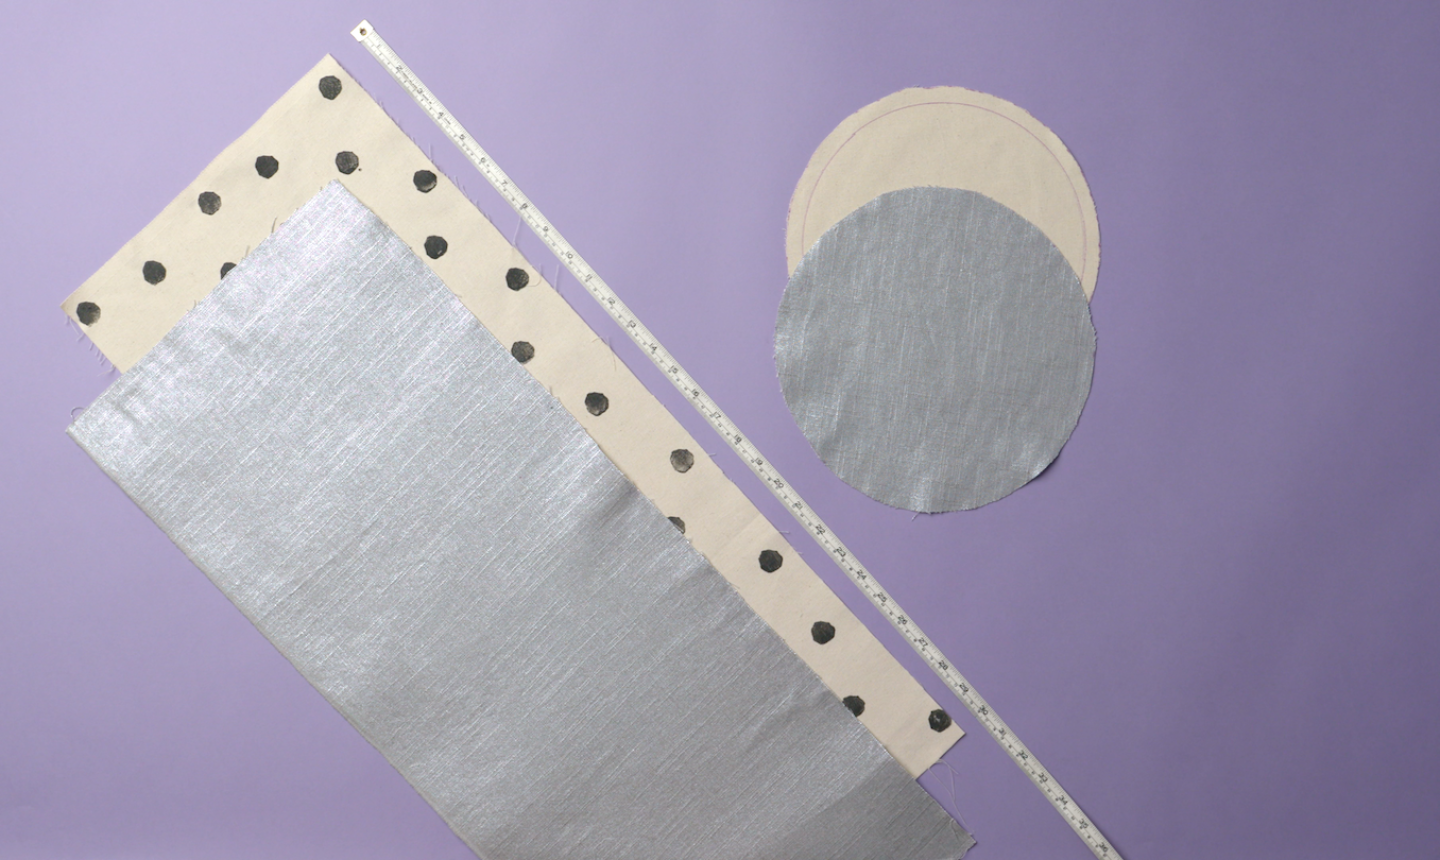
Repeat the first two steps with liner fabric. You can add fabric stabilizer to the wrong side of the liner if you want, but it’s totally optional.
4. Fold and Stitch
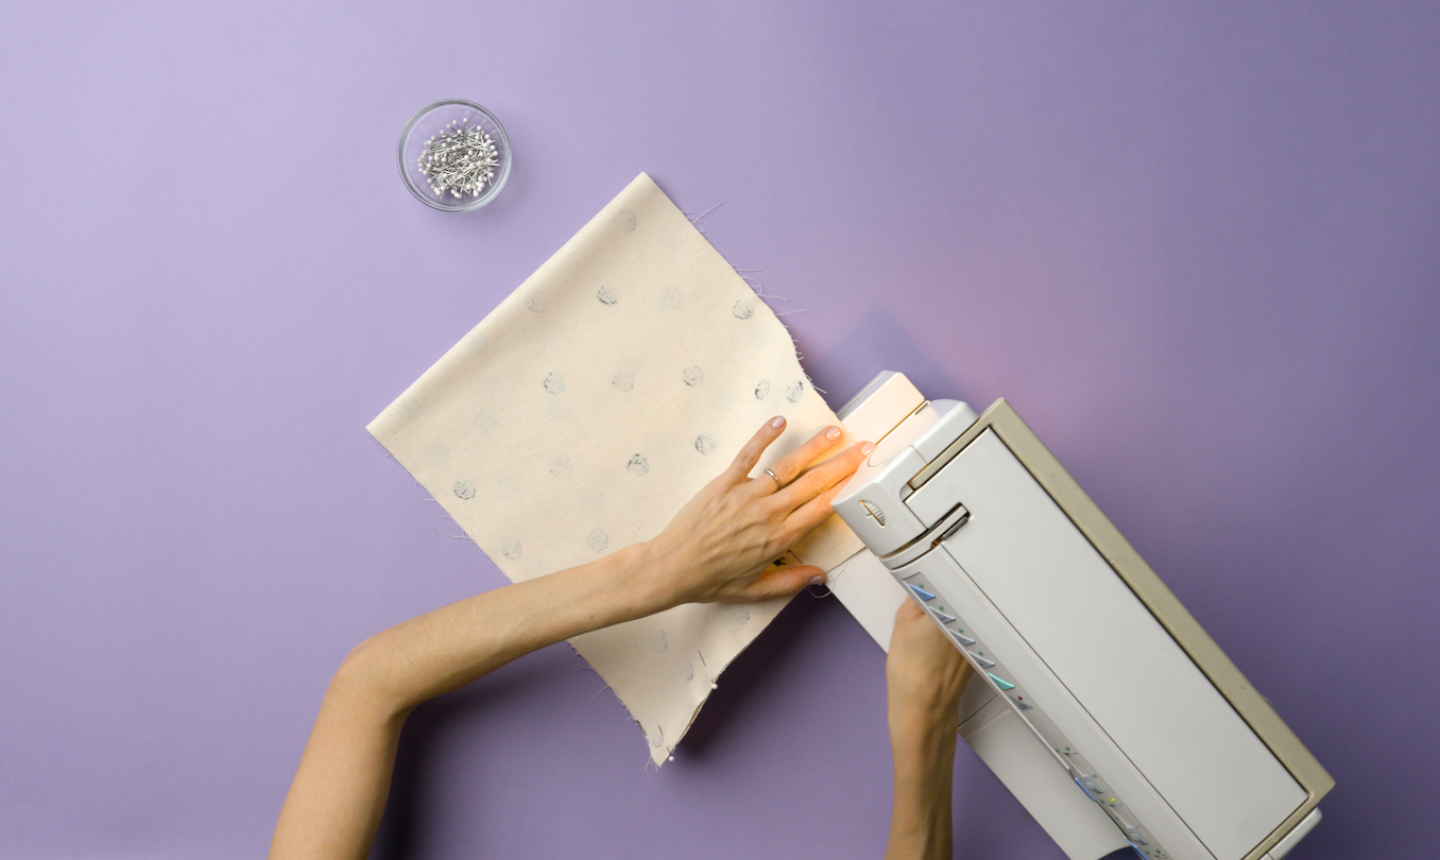
Fold your outer fabric in half, bringing the two 12″ sides together, wrong side out. Pin these short edges together and sew.
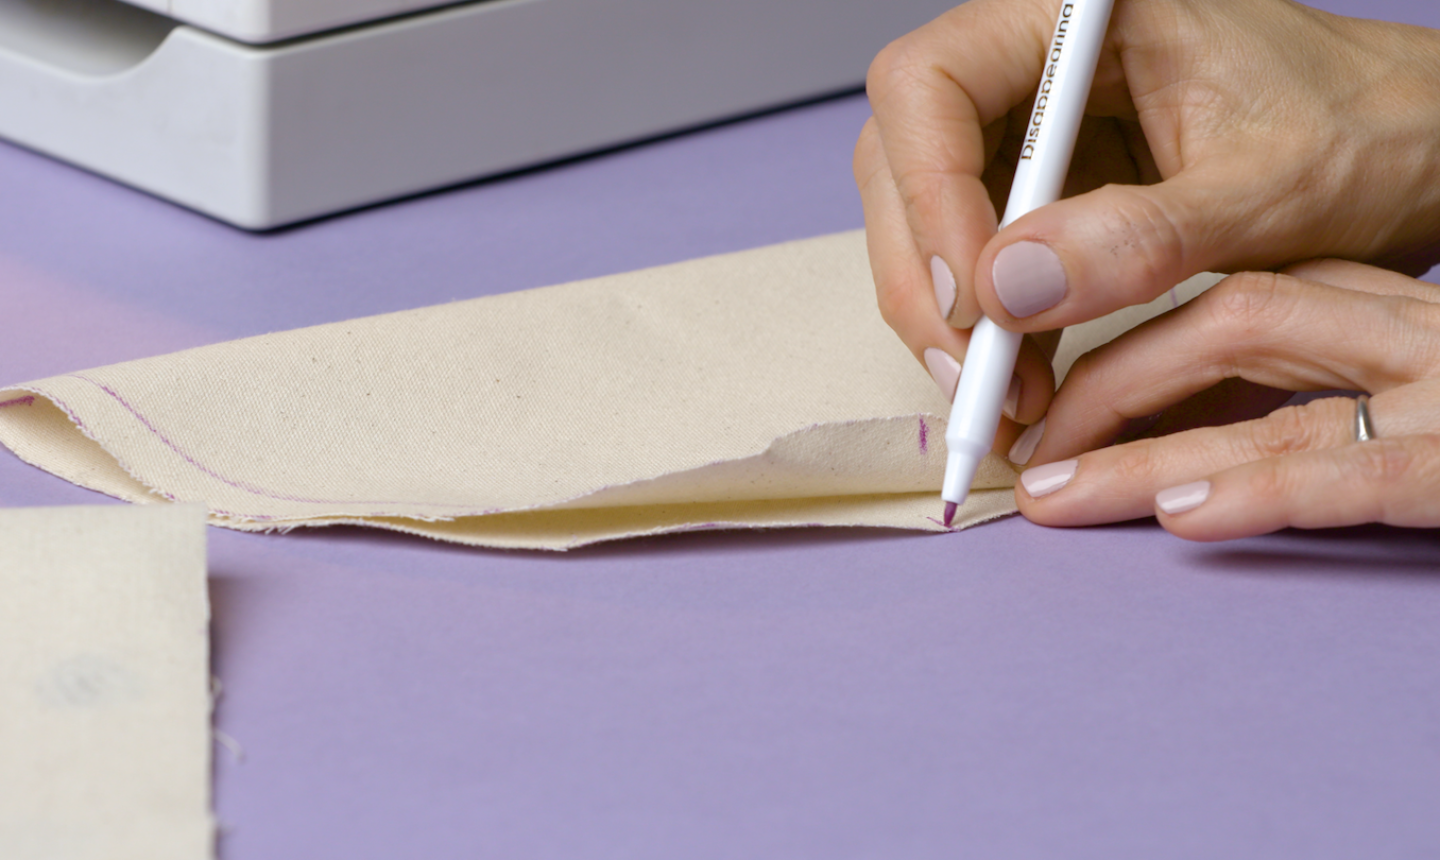
5. Make Your Marks
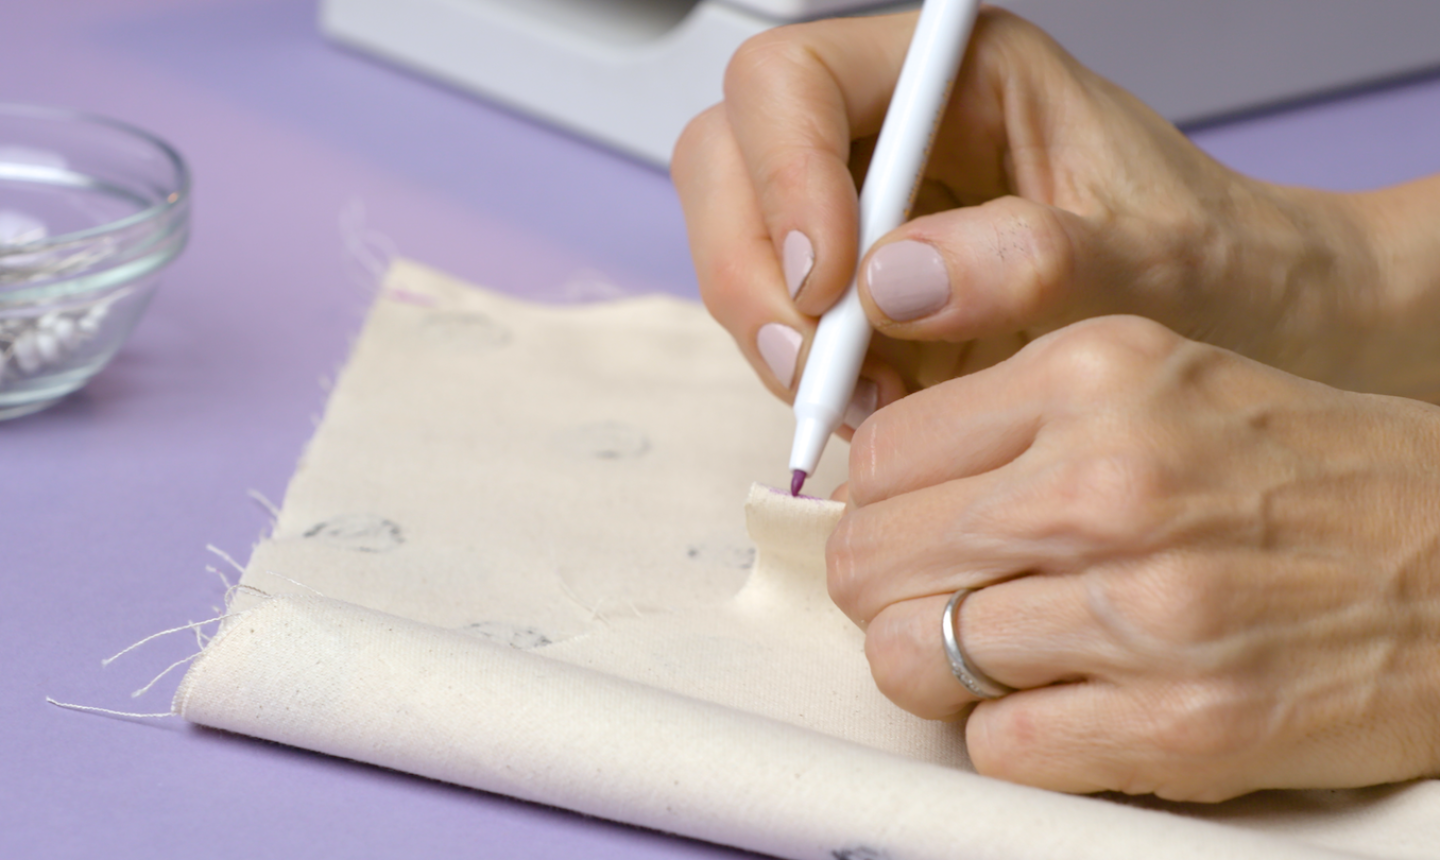
Remove the pins and pick your fabric pen back up. Make a mark where the stitches are, then mark the opposite side (right on the fold!).
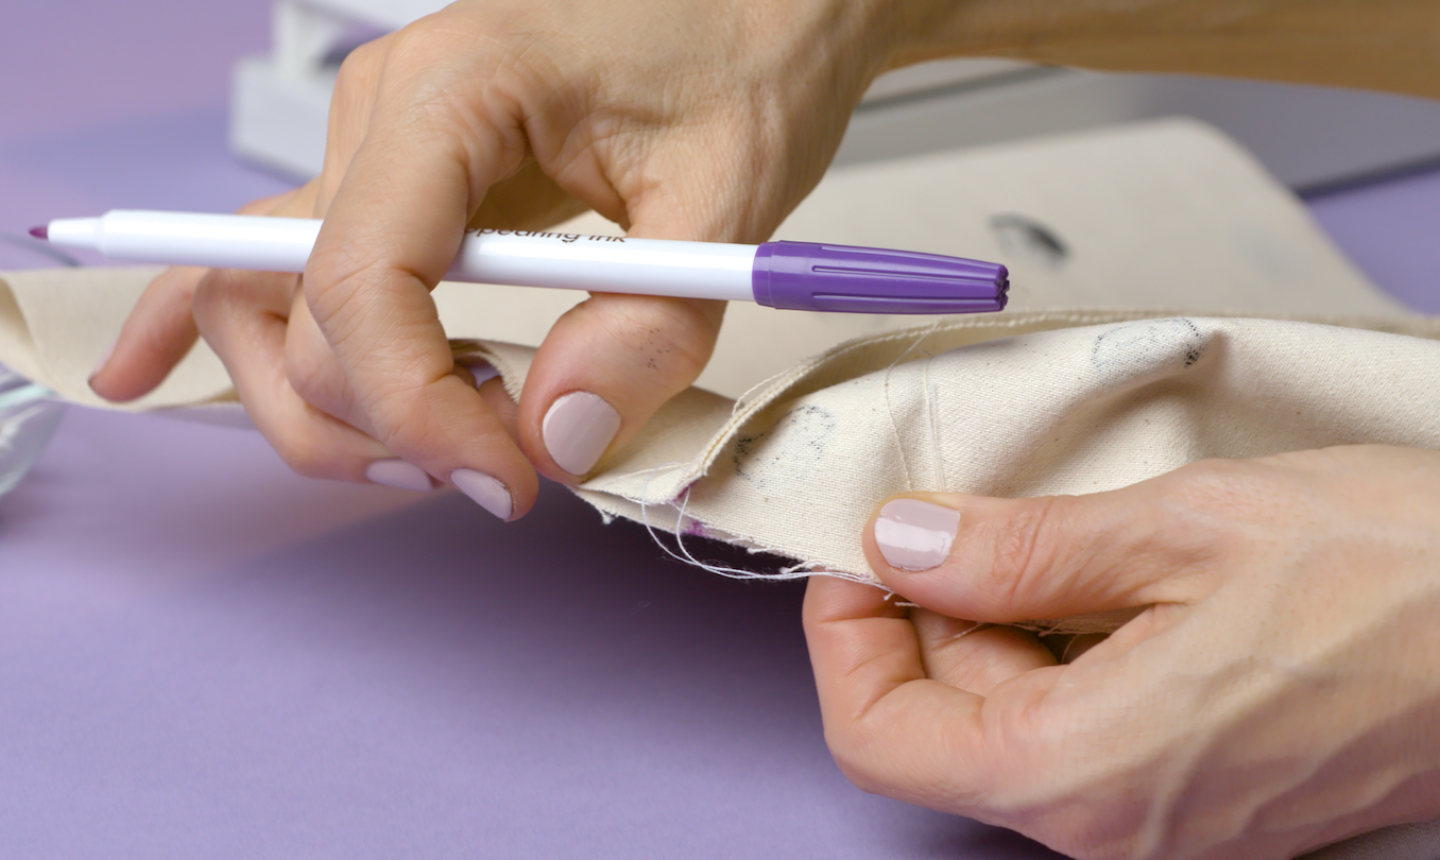
Bring these two marks together, so the seam is against the opposite side of the fabric.
Then make two marks on the other opposite sides of the fabric — you should have four evenly spaced marks around the edge of the fabric.
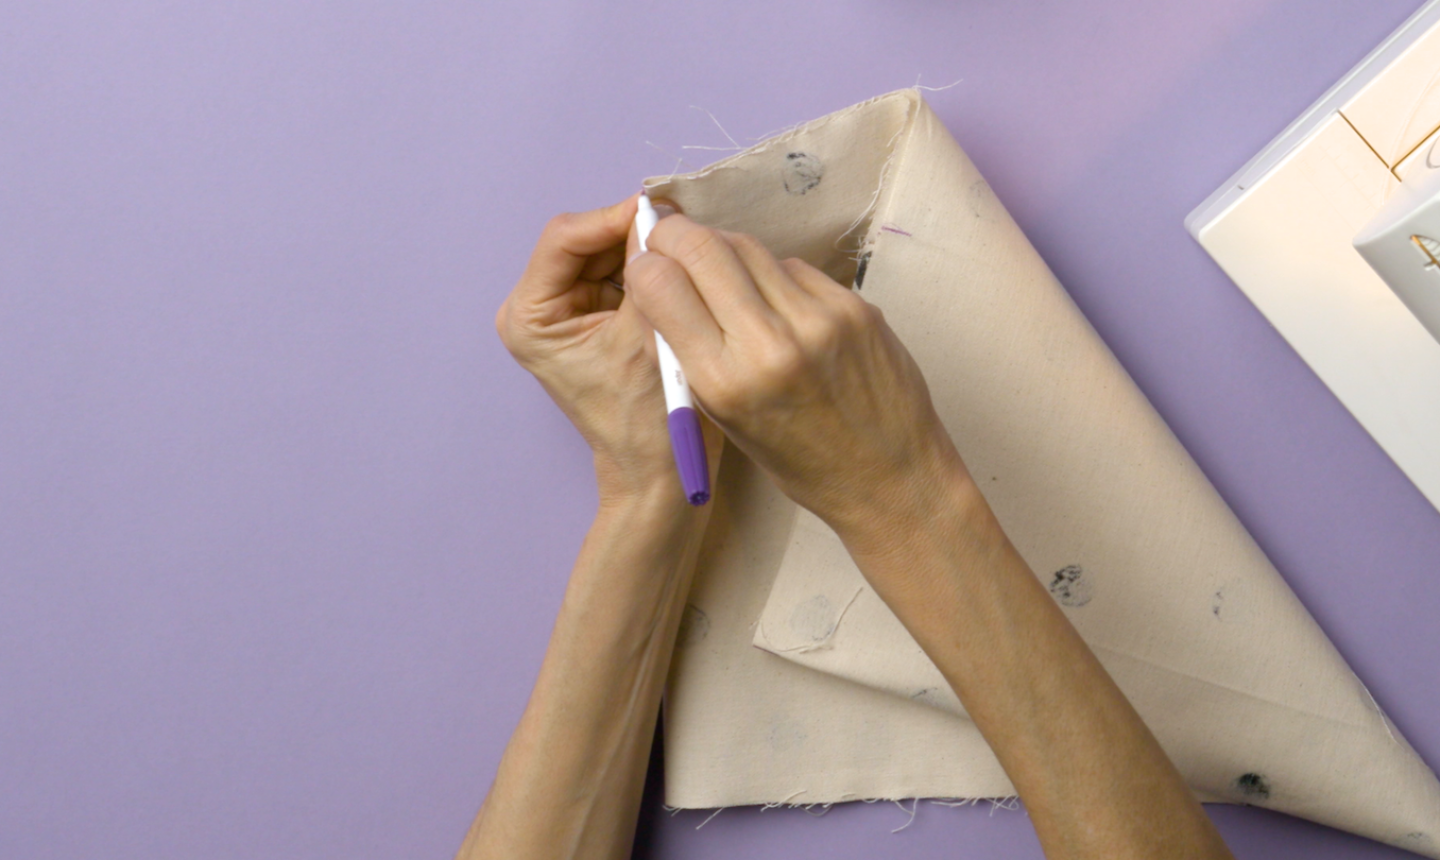
6. Mark the Base
Fold the circular fabric base in half and mark the folds within the seam allowance in disappearing ink. Unfold, then fold the base in half in the opposite direction and make two more marks. You’ll end up with four evenly spaced marks around the base’s circumference.
7. Pin the Pieces Together
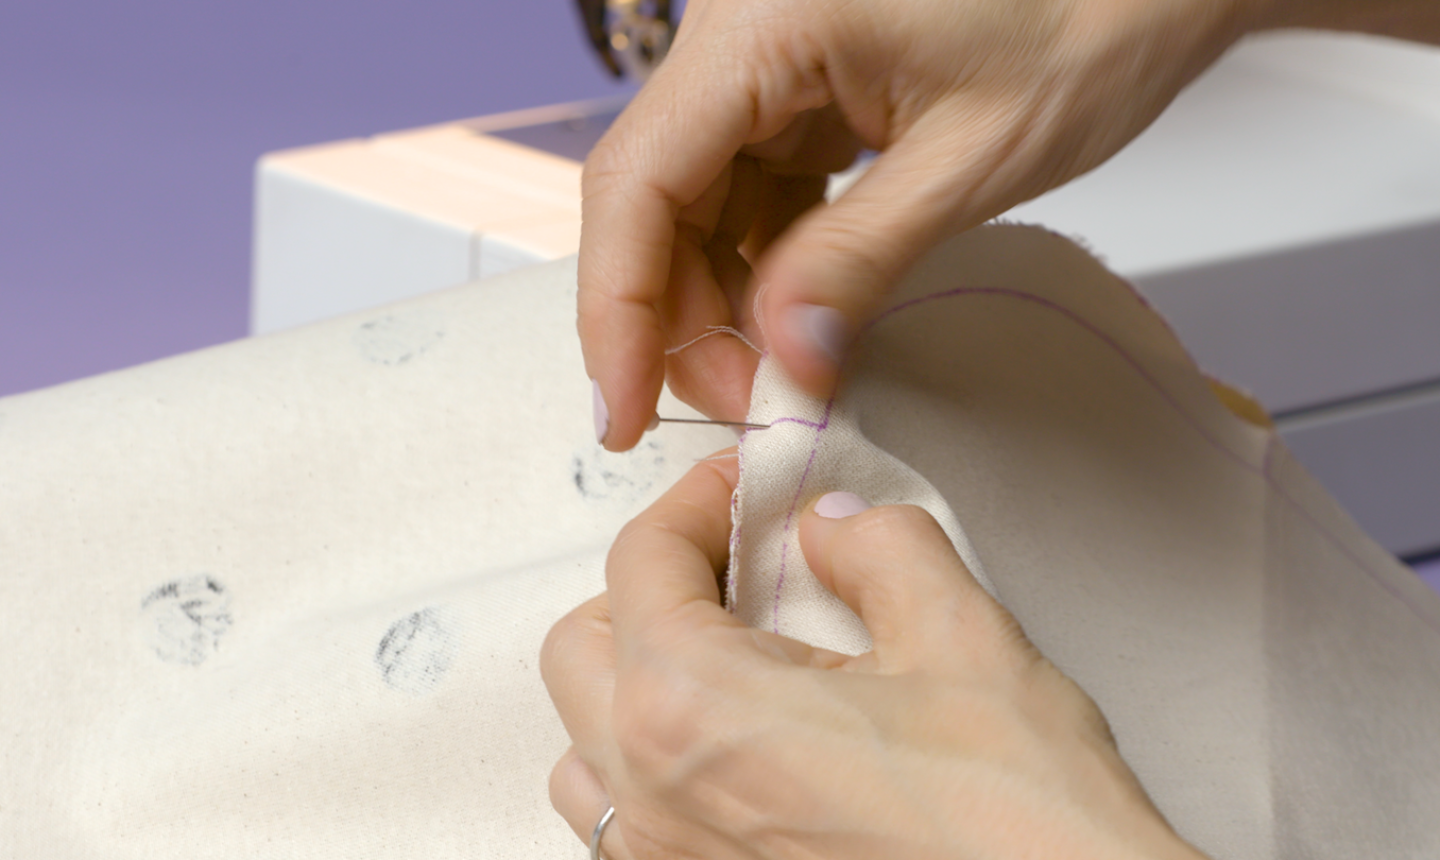
Line up the marks on the side fabric and base fabric, wrong sides out. Pin them together at these markings to secure everything in the right place.

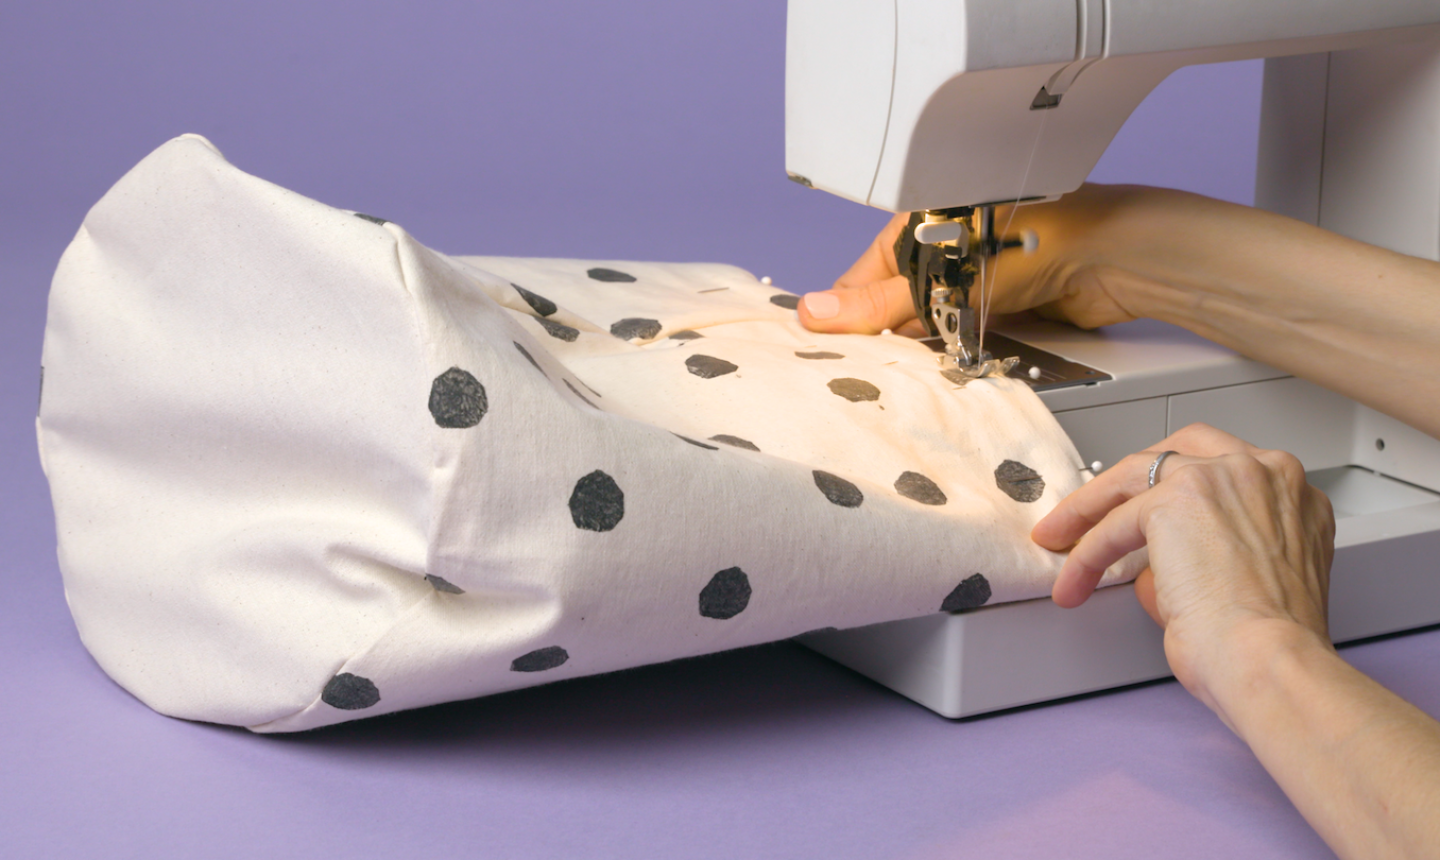
Now add more pins until the entire base is secured to the sides. Sew along the line you originally traced around the plate, leaving that 1-inch seam allowance. Remove the pins.
8. Repeat!
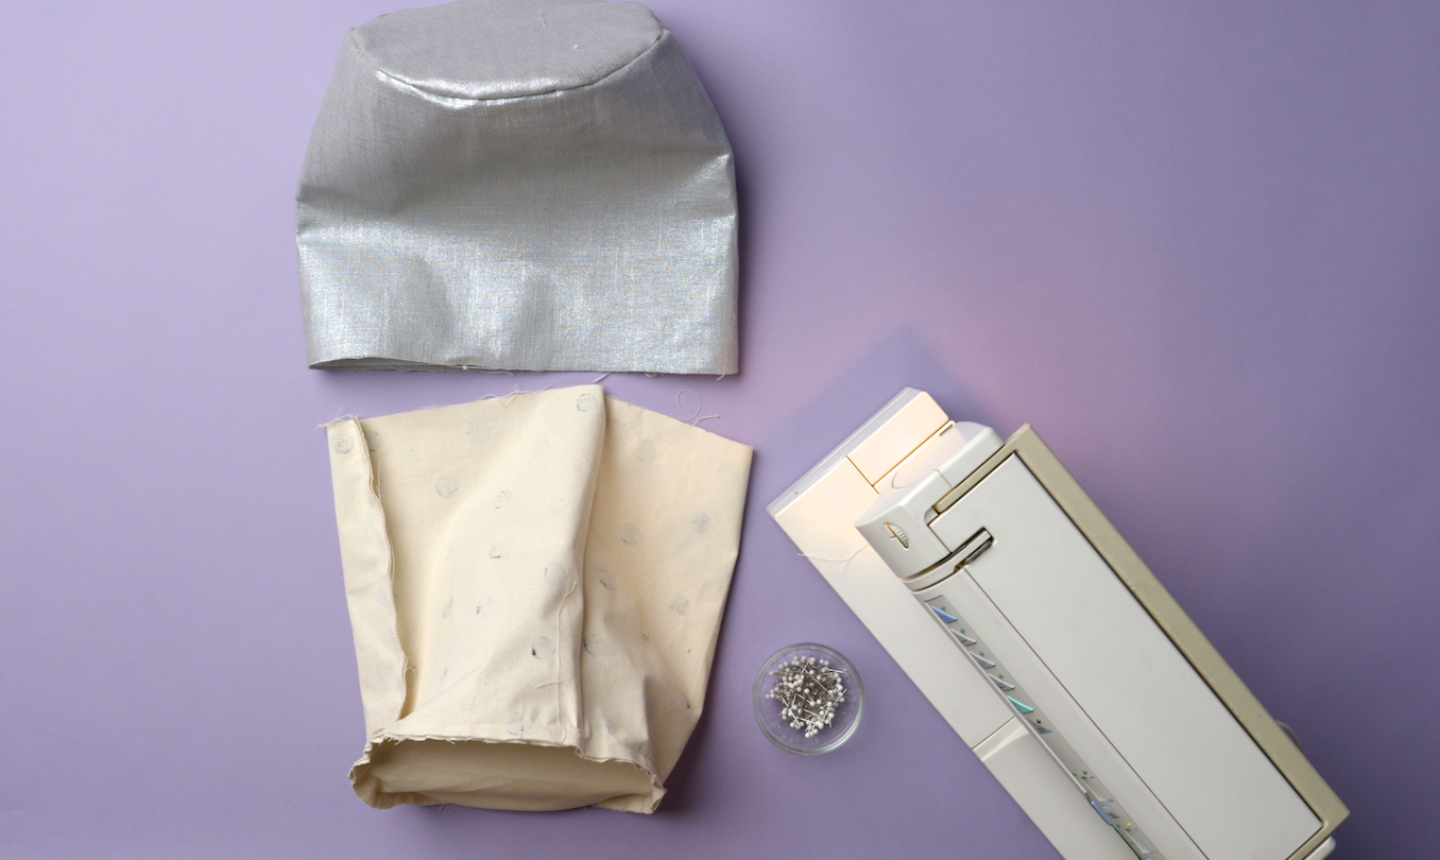
Work through all these steps with the liner fabric, until you have two bins. The outer fabric should be wrong side out, and the silver liner should be right side out.
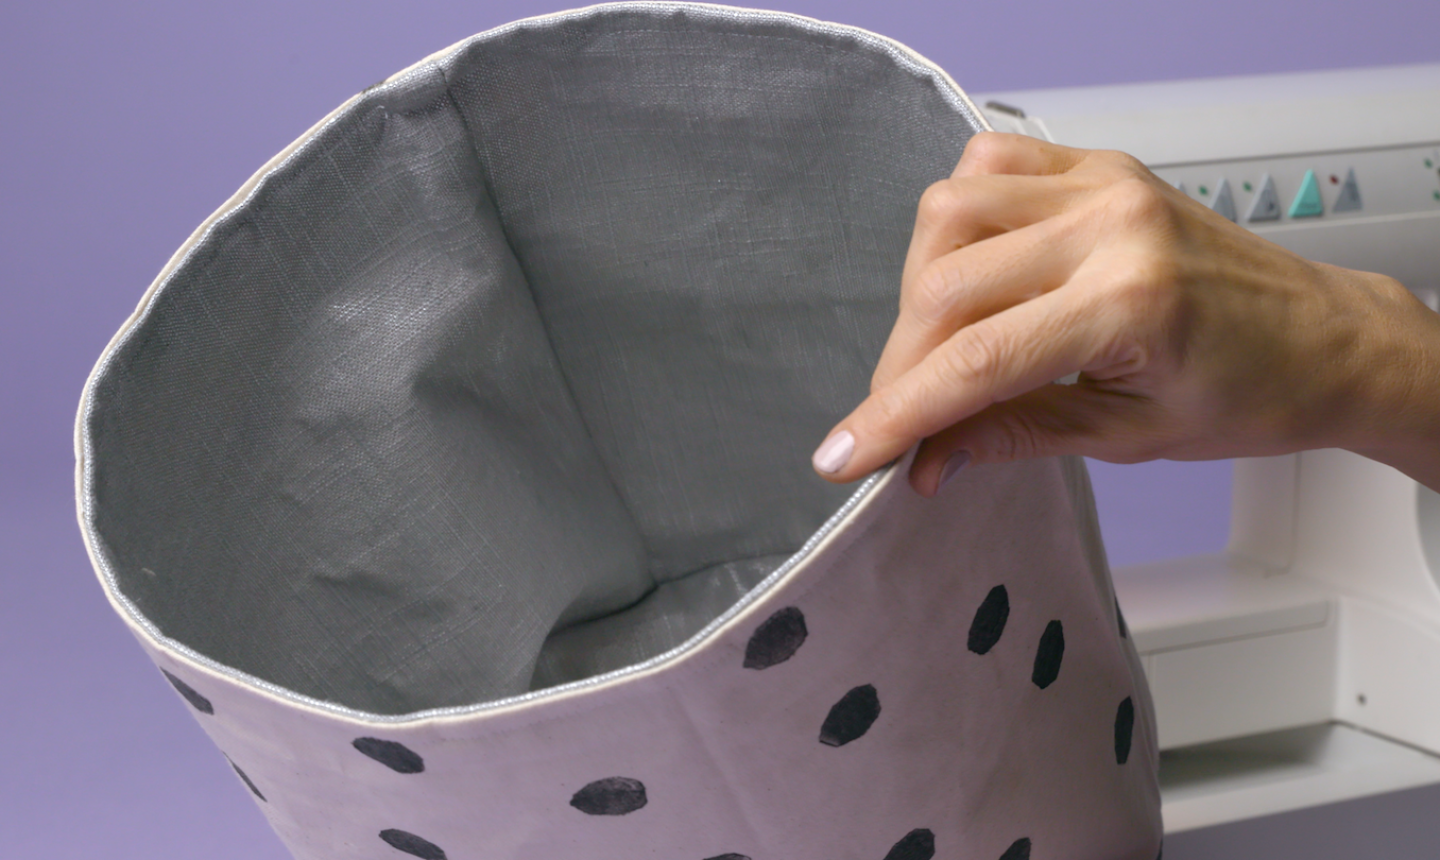
9. Put it All Together
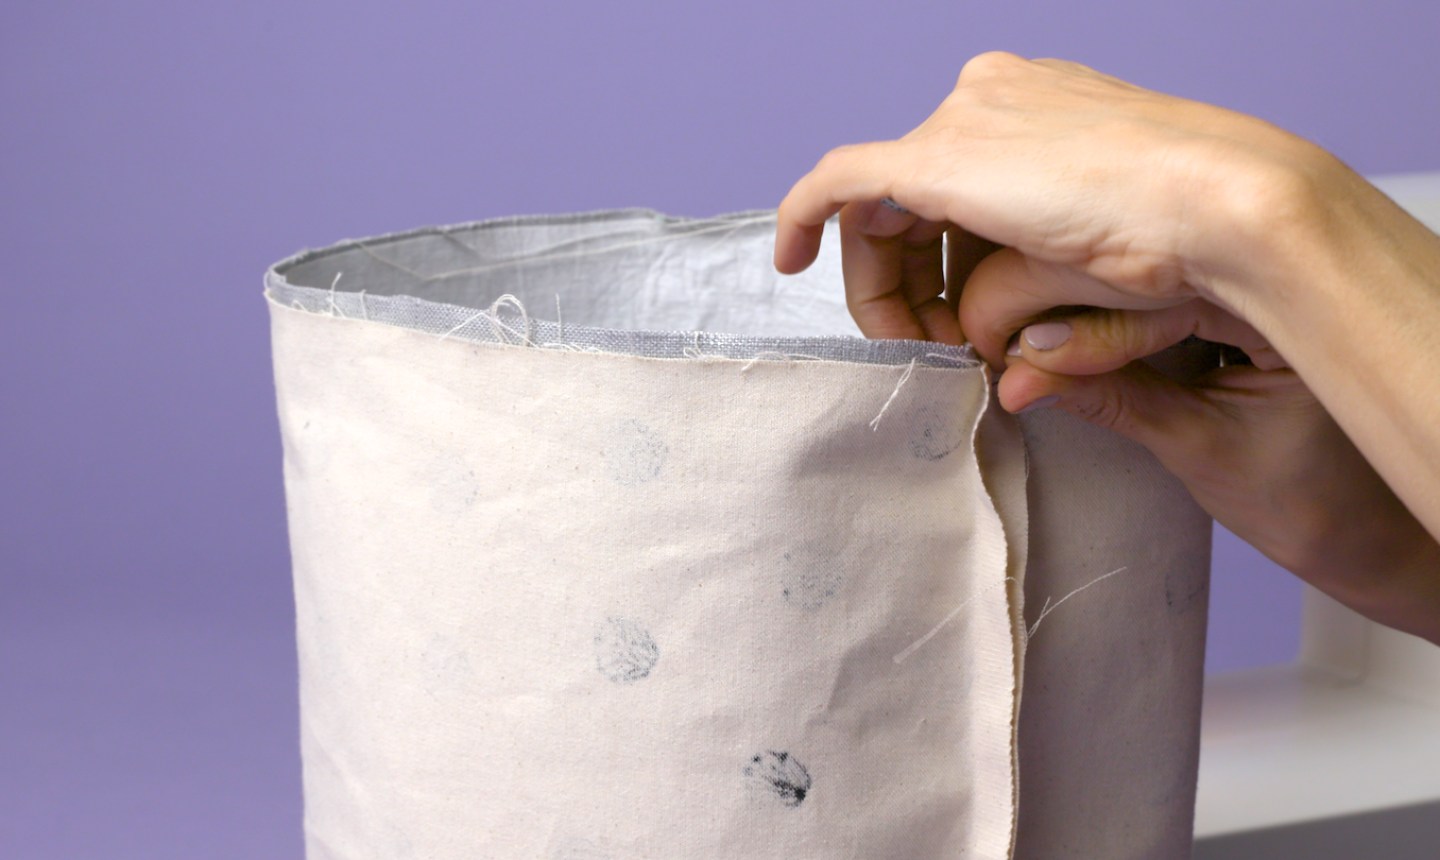
Place the liner into the outer fabric, wrong-side-to-right-side, and pin around the top. Sew the pieces together along the top rim, making sure to leave a 3-inch opening.
Remove the pins and pull the fabric through the opening you left. The outer fabric will now be facing right side out, and the liner will be just as you want it, with the right side exposed. Pin around the top once again. (This is just to make sure everything stays in place nicely along the top edge as you sew your finishing stitches.) Sew to complete the bin!
And there you have it — a cute fabric bin for storing your yarn, crafting tools…. or more fabric.
Grea idea, this will be in my "To Do List" in 2024.
love it