
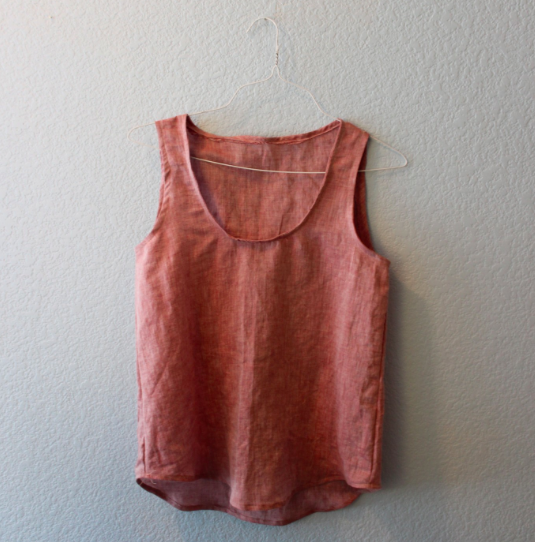
Tank tops are the best. When it’s hot, a tank is the only shirt you need; when it’s cold, you’ve got the perfect under-layer. You can wear a tank top with shorts to weed the garden, or you can throw on a necklace and go out for drinks. Did we mention tank tops are also super easy to whip up, and a great beginner sewing project?
You can find lots of patterns for tank tops online, or you can make your own by tracing a tank or blouse in your closet. Just be sure that if, say, you’re planning to sew your new tank with a woven fabric, you pick an existing tank in the same fabric. Then off you go.
How to Sew a Tank Top
Level: Easy
What You Need
Instructions
1. Wash and Iron
Fabric can shrink with the first wash, so never, ever skip this step.
2. Cut Out Your Pattern
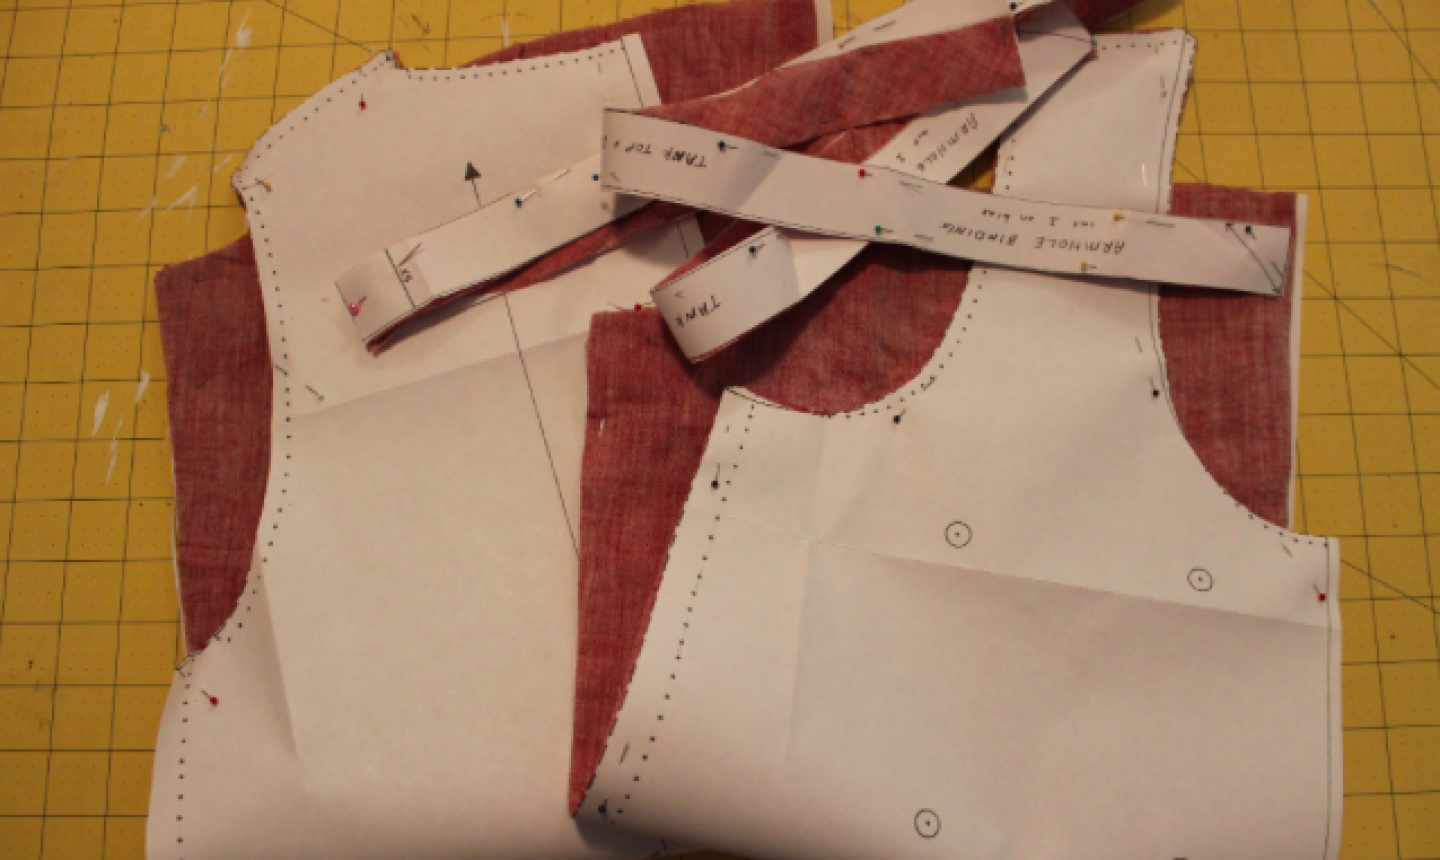
The pattern here has five pieces total to cut: front, back, one neckline facing and two armhole facings. If you’re drafting your own pattern, don’t forget to cut the facings on the bias so they can stretch. The front and back should get cut on the fold (unless you want a seam down the front and/or back of the tank).
3. Pin
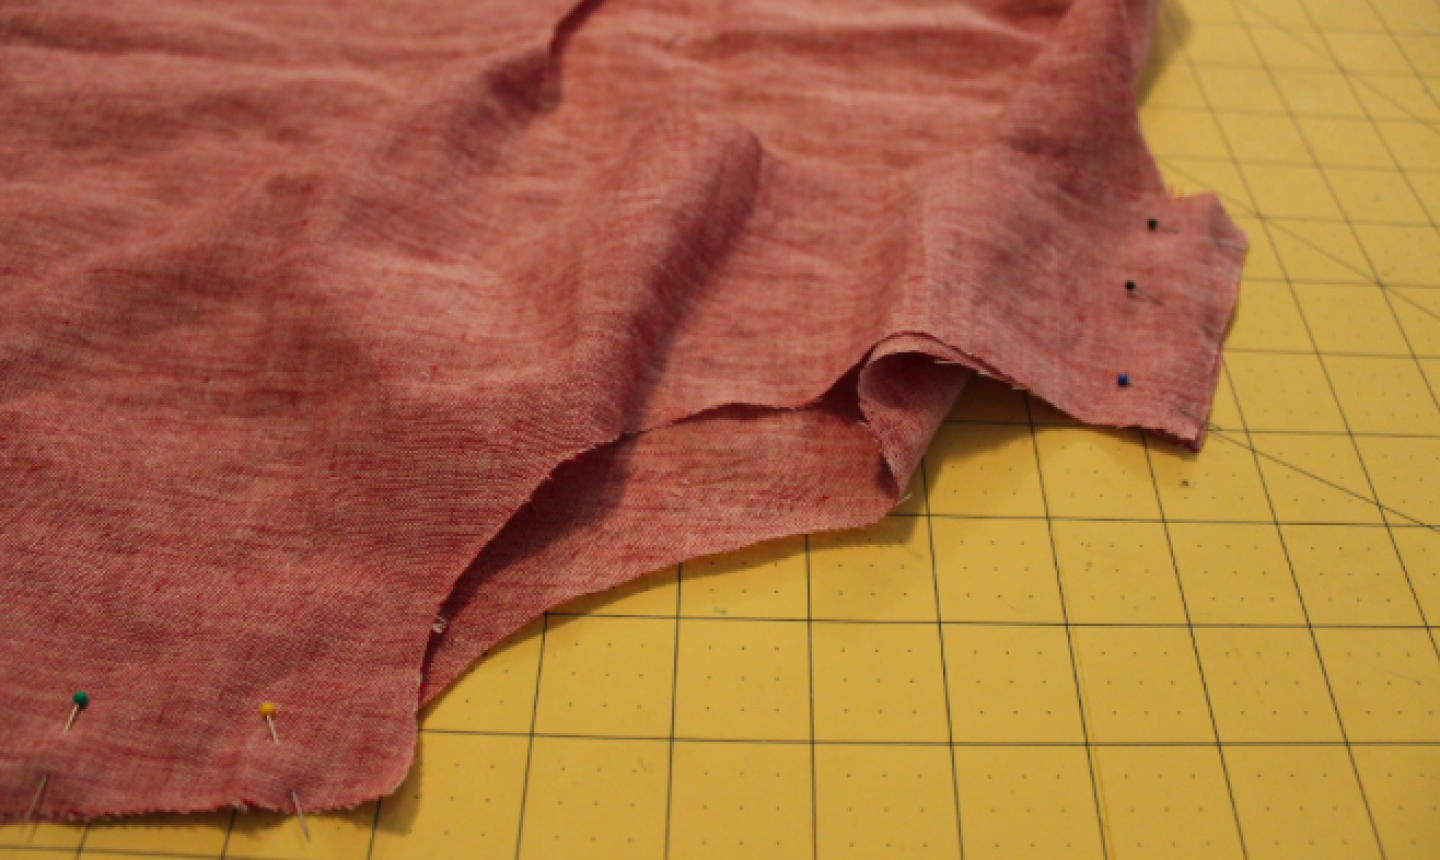
Pin the front and back sides of your tank top together. Do this with the right sides facing each other, and match the shoulder and side seams. Sew using a ⅝” seam allowance. Turn the tank right side out and press. Finish the shoulder and side seams (here we’ve used pinking shears, but a French seam would also work well).
4. Hem the Bottom
Pin the bottom of your tank into a hem. We did a narrow rolled hem, but a blind hem is another option, depending on the shape of your tank.
5. Sew the Short Ends
With the right sides together, sew the short ends of each facing together with a ⅜” seam. Press the seam open.
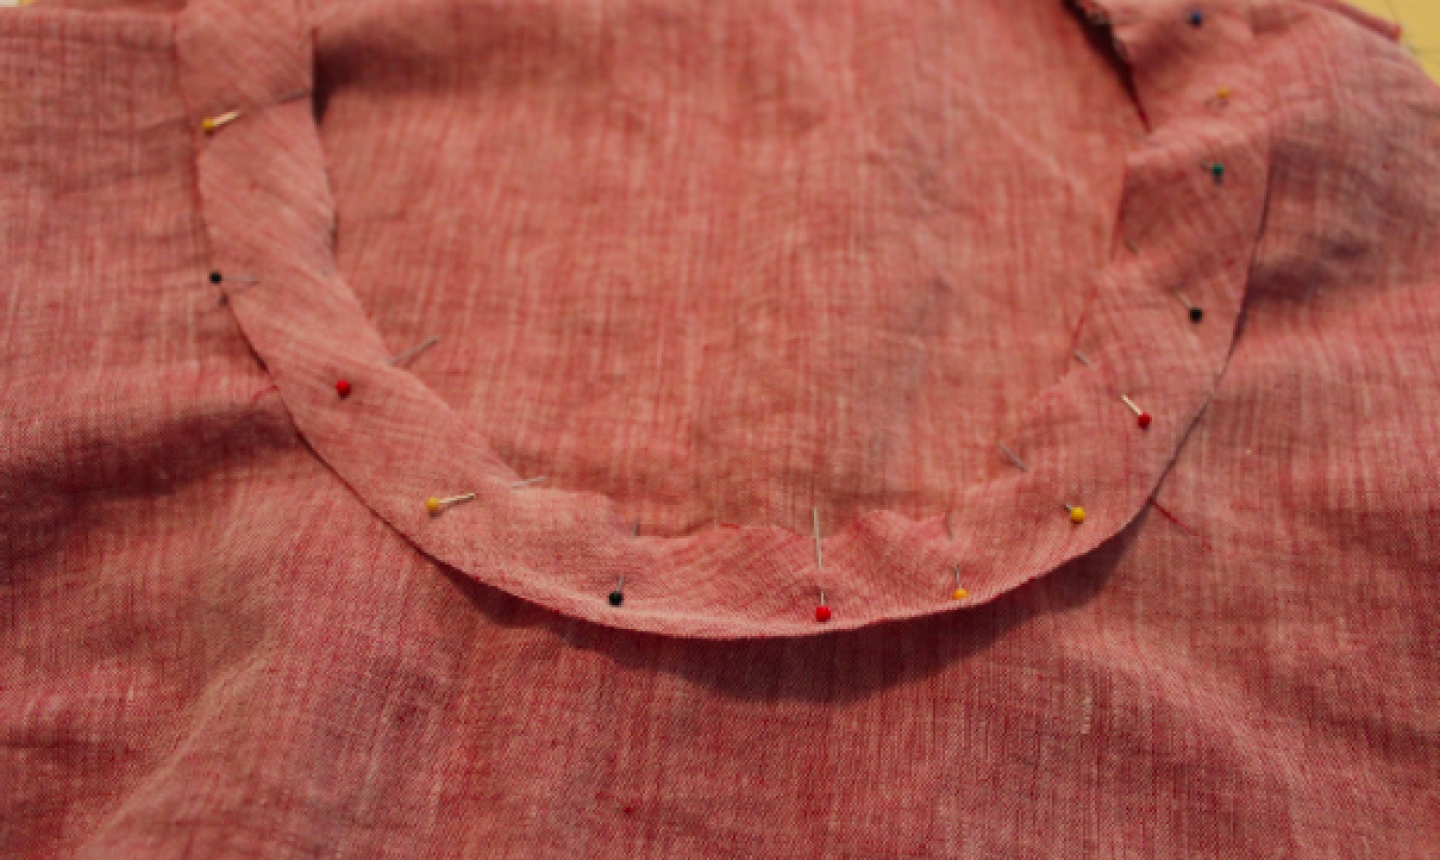
6. Pin the Facing to the Neckline
Make sure the tank is right side out, and start pinning the facing to the neckline. If you want, you can try to match the seam on the facing with one of the shoulder seams. Now sew, using a ⅜” seam allowance.
7. Press
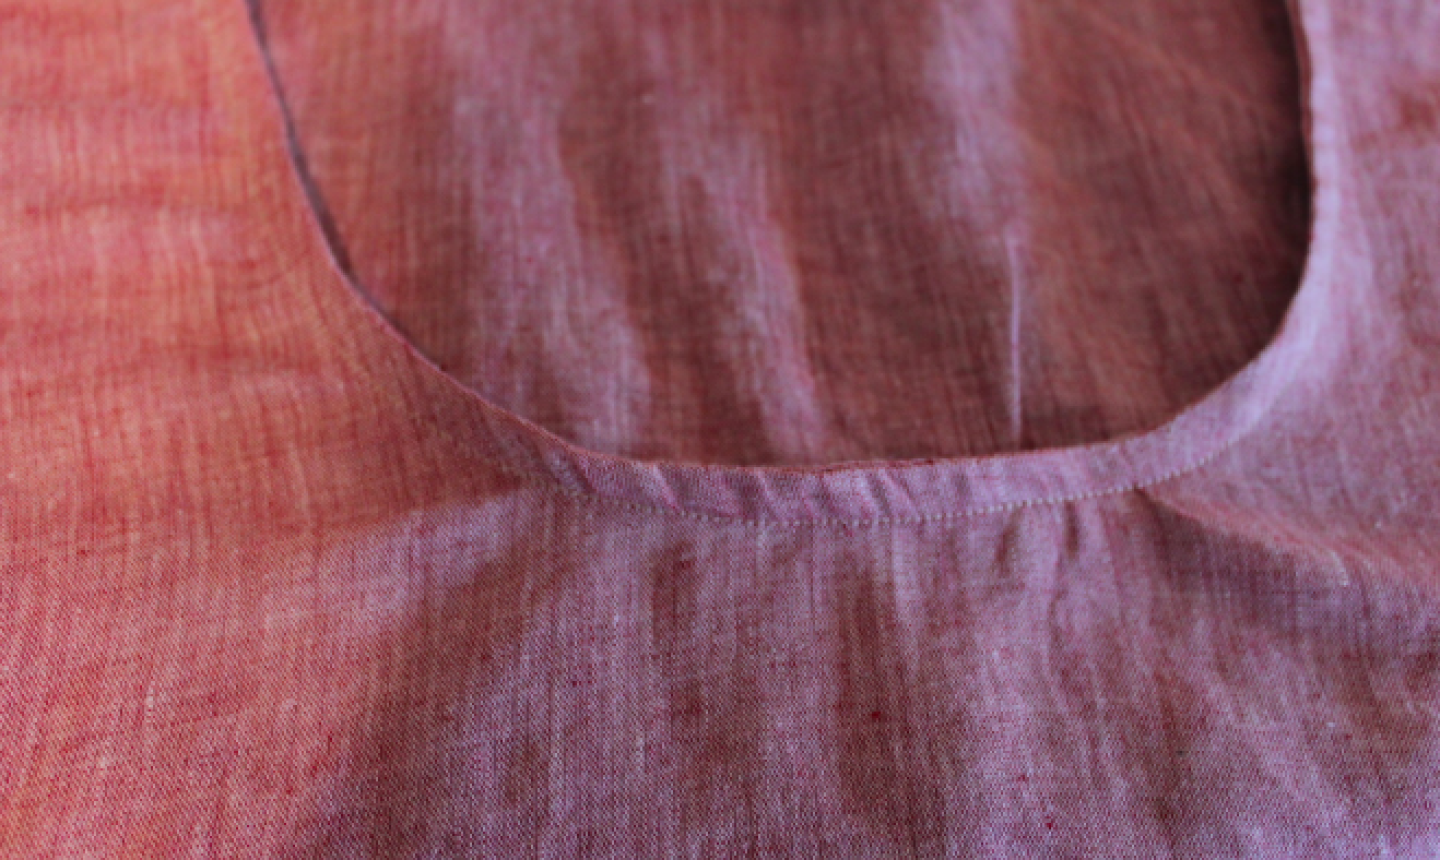
Press the facing toward the inside of the tank. Then top stitch along the neckline, using a ¼” seam.
8. Repeat for the Armholes
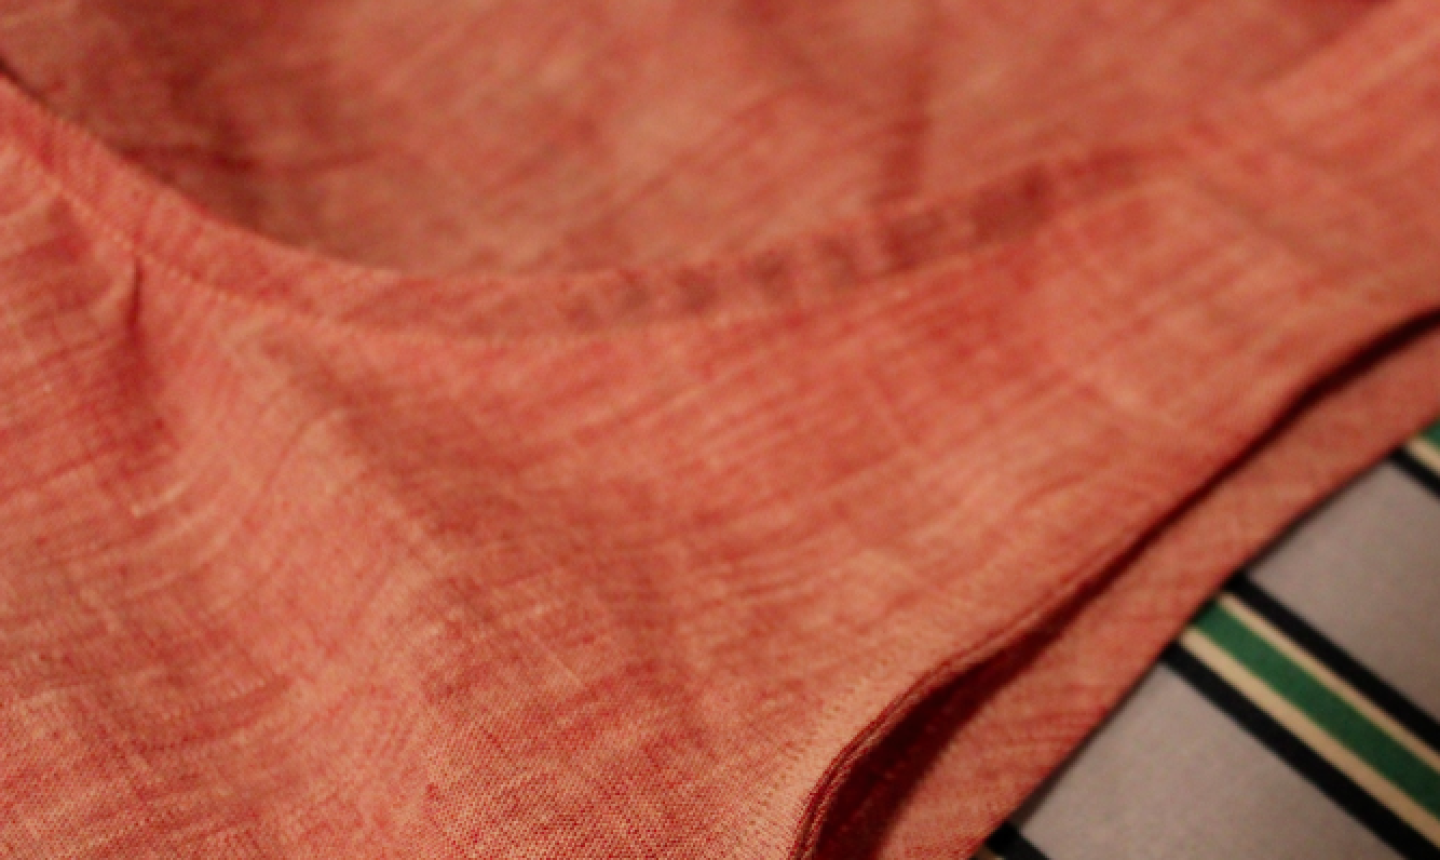
Repeat the neckline facing process for each of the armholes.
9. Finish
Finish the facing seams and press. Bam! There’s your first DIY tank top!But why stop at one? Once you have a pattern that works for you, you can create all kinds of variations on a basic tank top: add a pocket, change up the neckline, lengthen the tank into a dress or make it out of a sheer fabric. Once you know how to sew a tank top, you’ll want one in every color — and every style, and just about every fabric — for every single day of the week.
I would like to try and learn this, but I do not see the pattern available. Can someone help?
Thanks for the pattern
What is the fabric content on the material that is being used here? I'm wondering what fabric types this pattern is suited to.
I love this tank top. The link to the Wiksten pattern leads to an error page -- is there any way I can get my hands on this pattern? Thanks so much!
Would like to add to my Pinterest. How can I do this?