
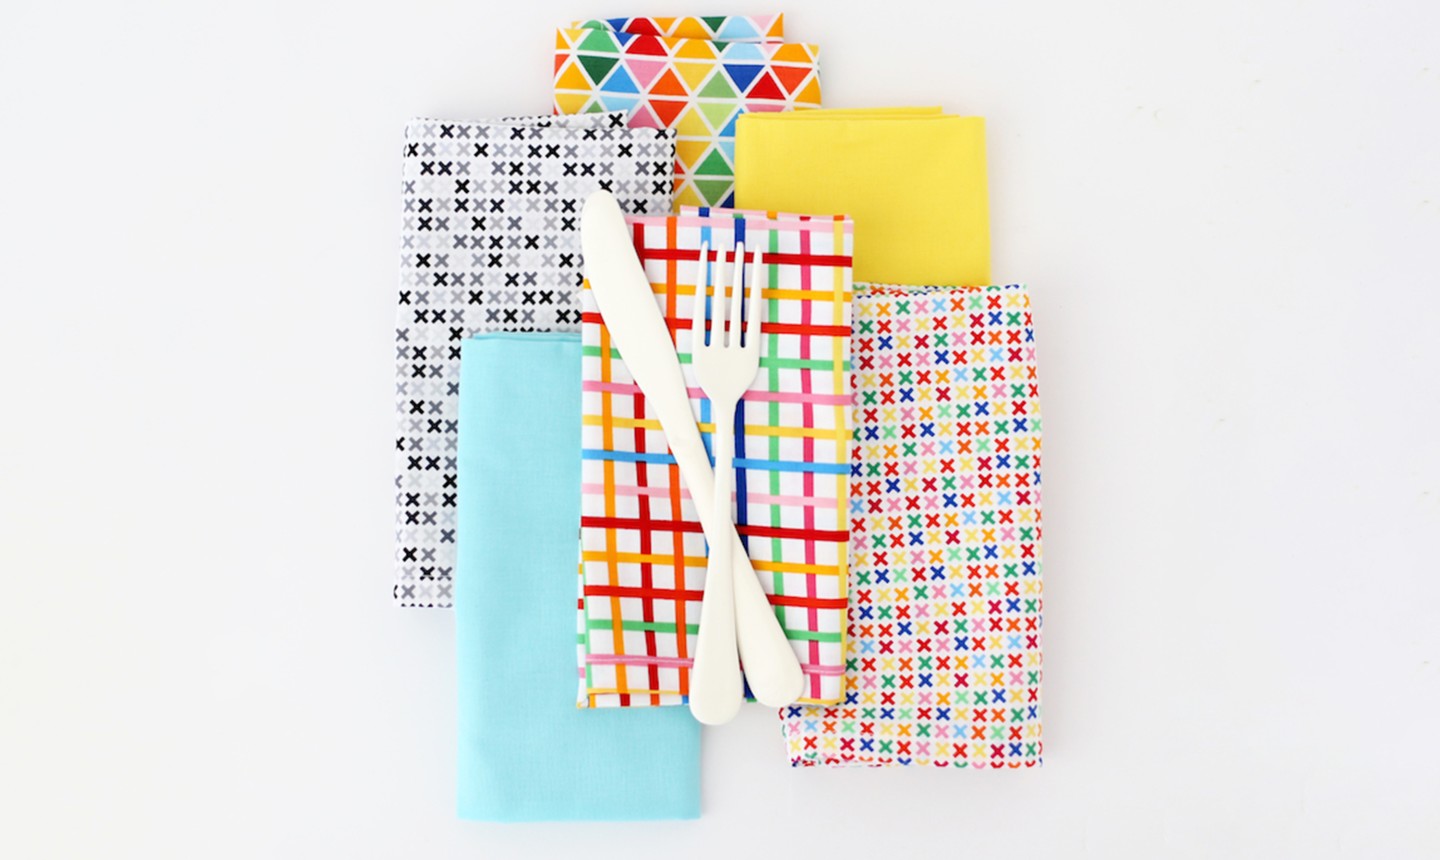
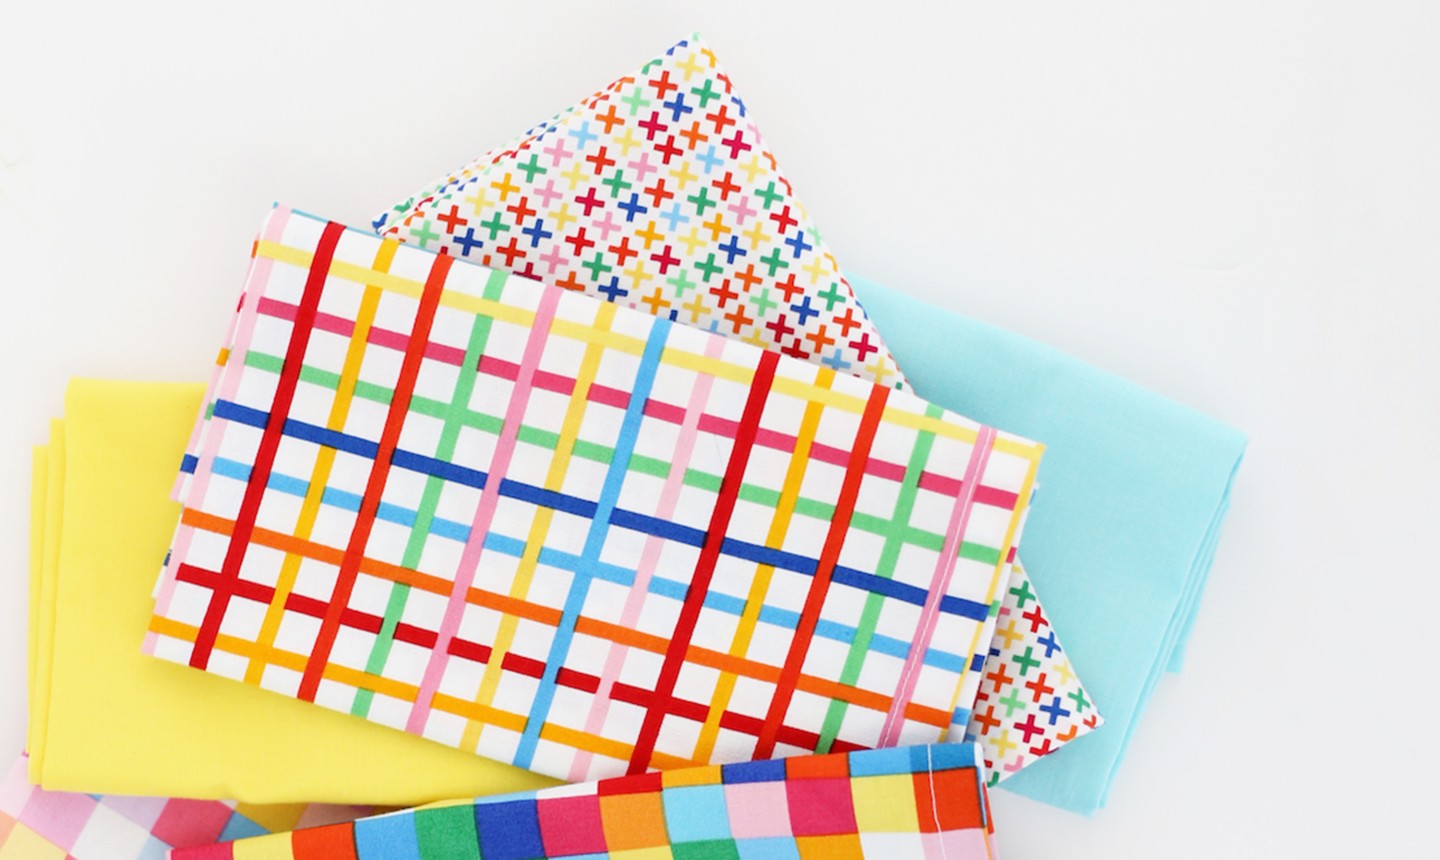
If you’re looking to add a little style to your next dinner party, don’t buy it: DIY it. We’d like to propose cloth napkins with mitered corners, sewn up in coordinating prints so each guest gets something unique.
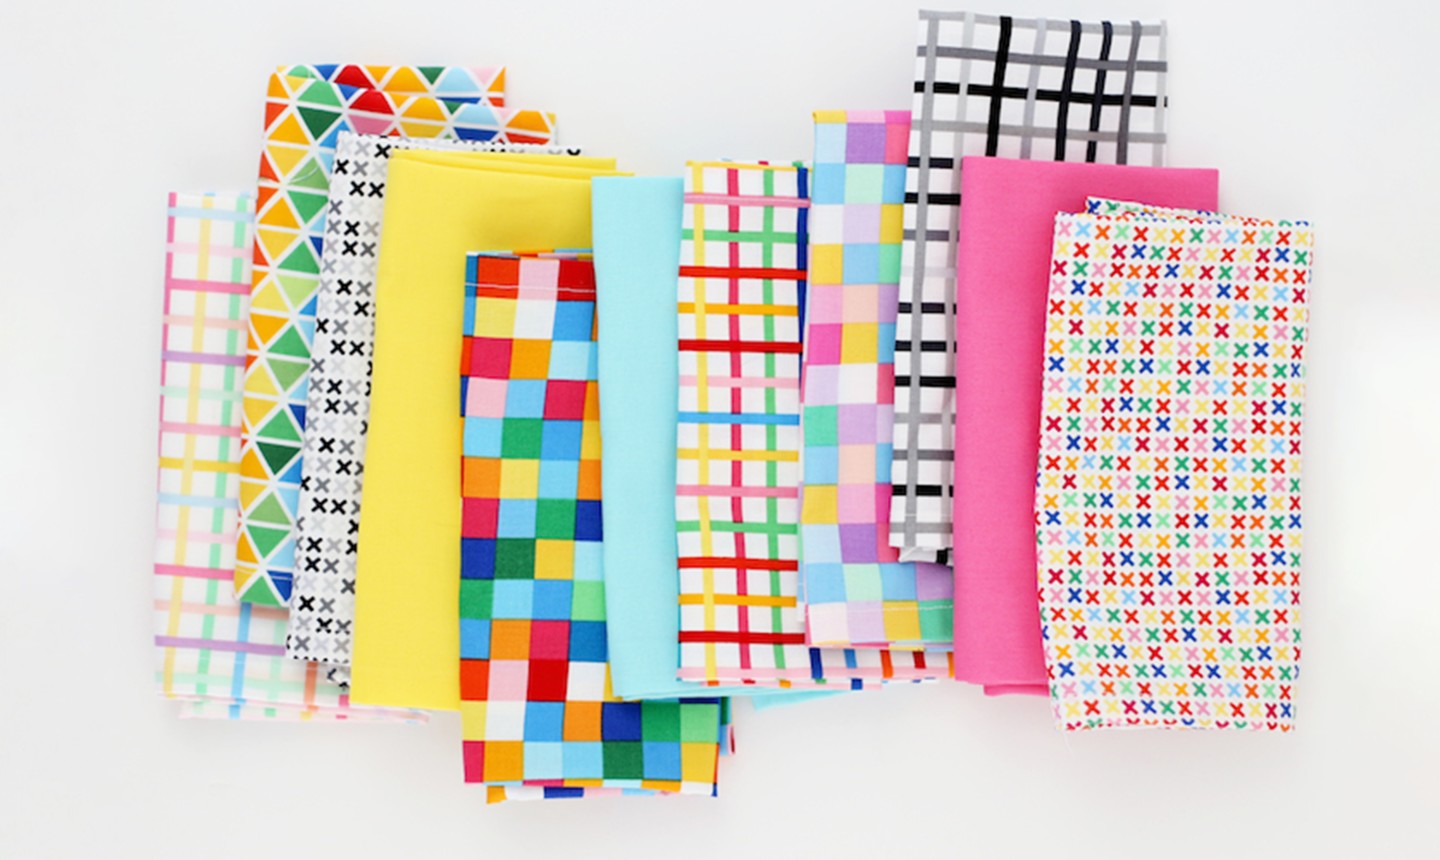
Sewing your own cloth napkins is a fun, inexpensive way to set the table. Plus it’s eco-friendly — think about all the paper napkins you’re not using. Do you know what else is great? You can make each napkin with just one fat quarter of fabric.
Mitered Corner Cloth Napkins
Level: Easy
What You Need
Instructions
1. Trim the Fat Quarters
For each napkin, trim one fat quarter (18″ x 22″) into an 18″ x 18″ square to make a 17″ square napkin.
2. Mark Out the Corner
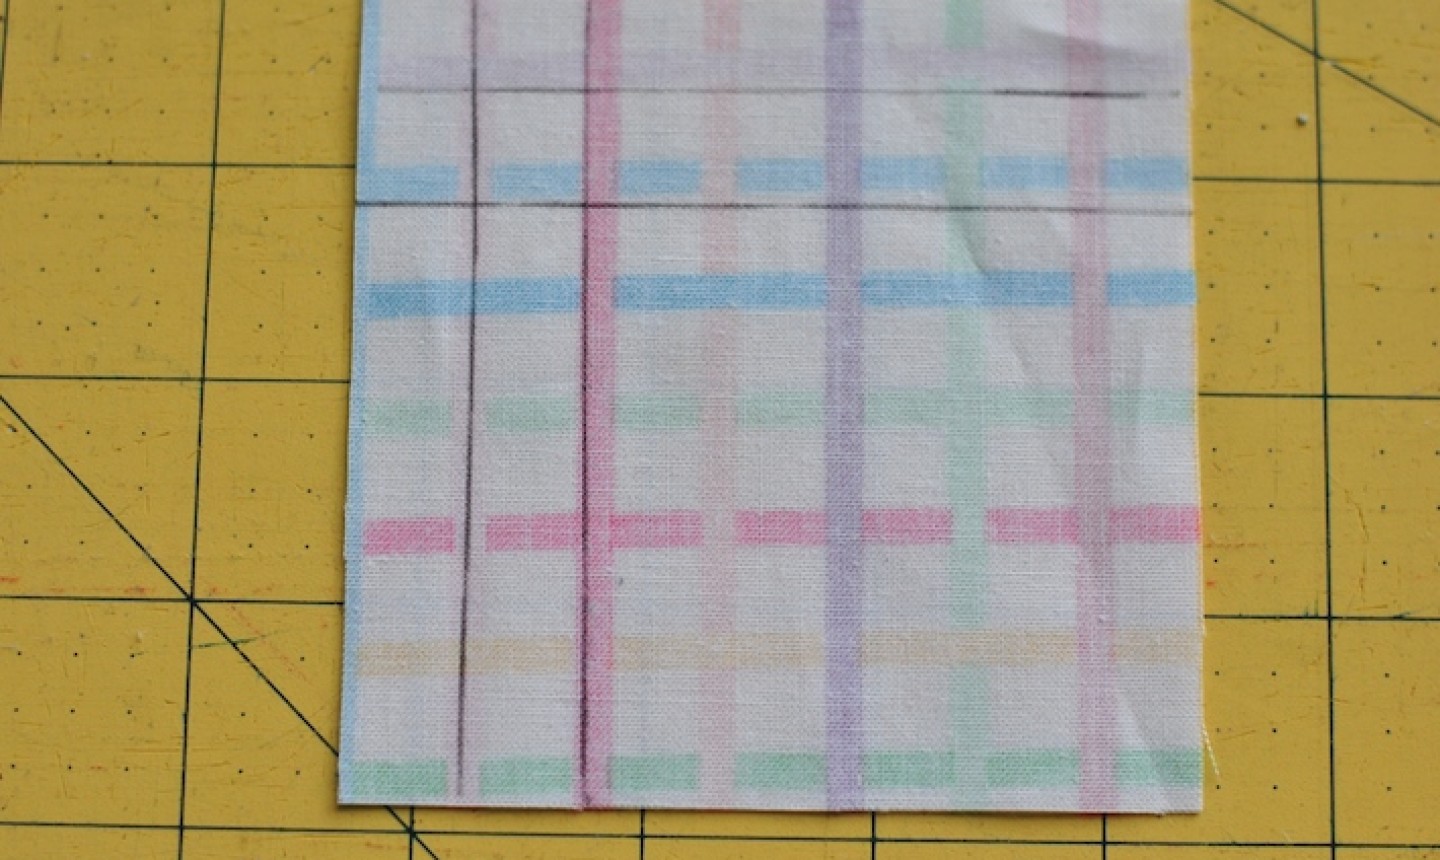
For this demo, we’re going to use a 4″ fabric square to show you how to sew one mitered corner, instead of the 18″ x 18″ square you’ll use for your napkins (but the method is exactly the same!)
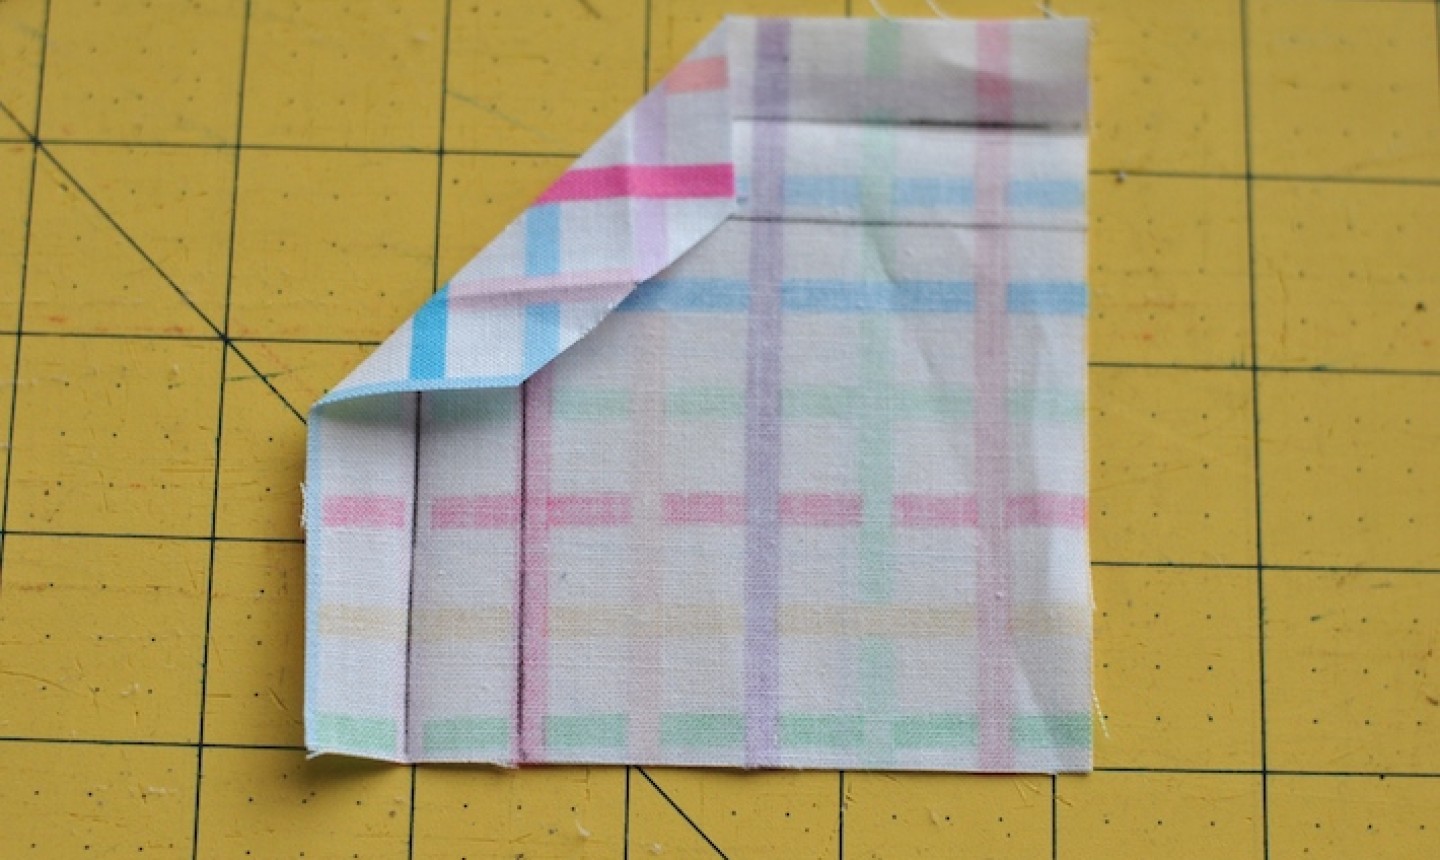
Measure and mark a line ½” from the border. Measure and mark a second line 1″ from the border. We used a ballpoint pen for visibility, but you might want to use a pencil or fabric marking pen.
3. Cut the Corner
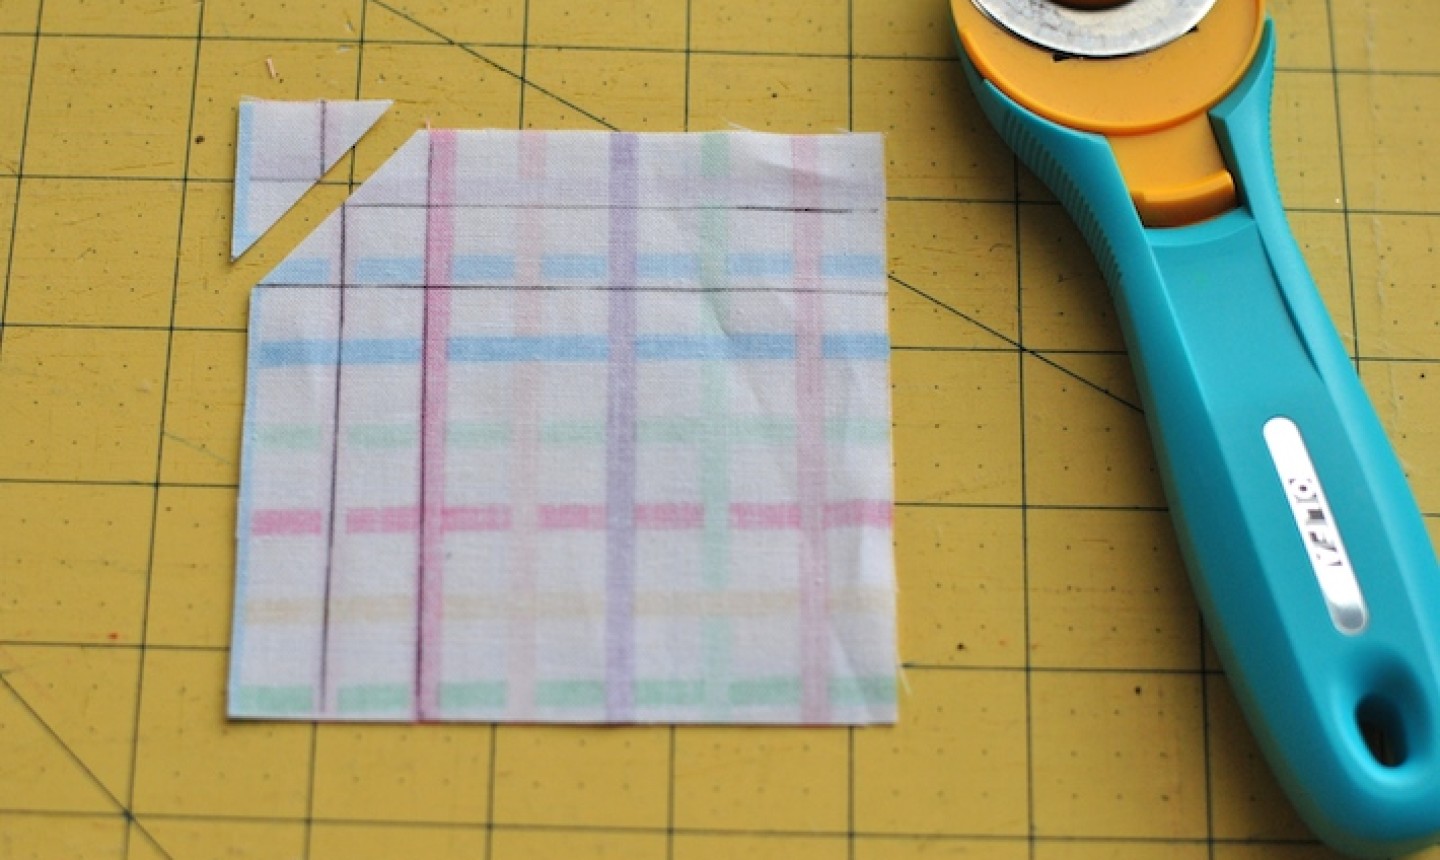
Fold and press the fabric along the ½” line so it touches the 1″ line. Unfold and trim off the corner as pictured — trim off the whole box in the upper corner and dissect the two adjacent boxes with your rotary cutter.
4. Align and Fold
Fold the corner you just trimmed so that the fabric points align with the 1″ pen marking.
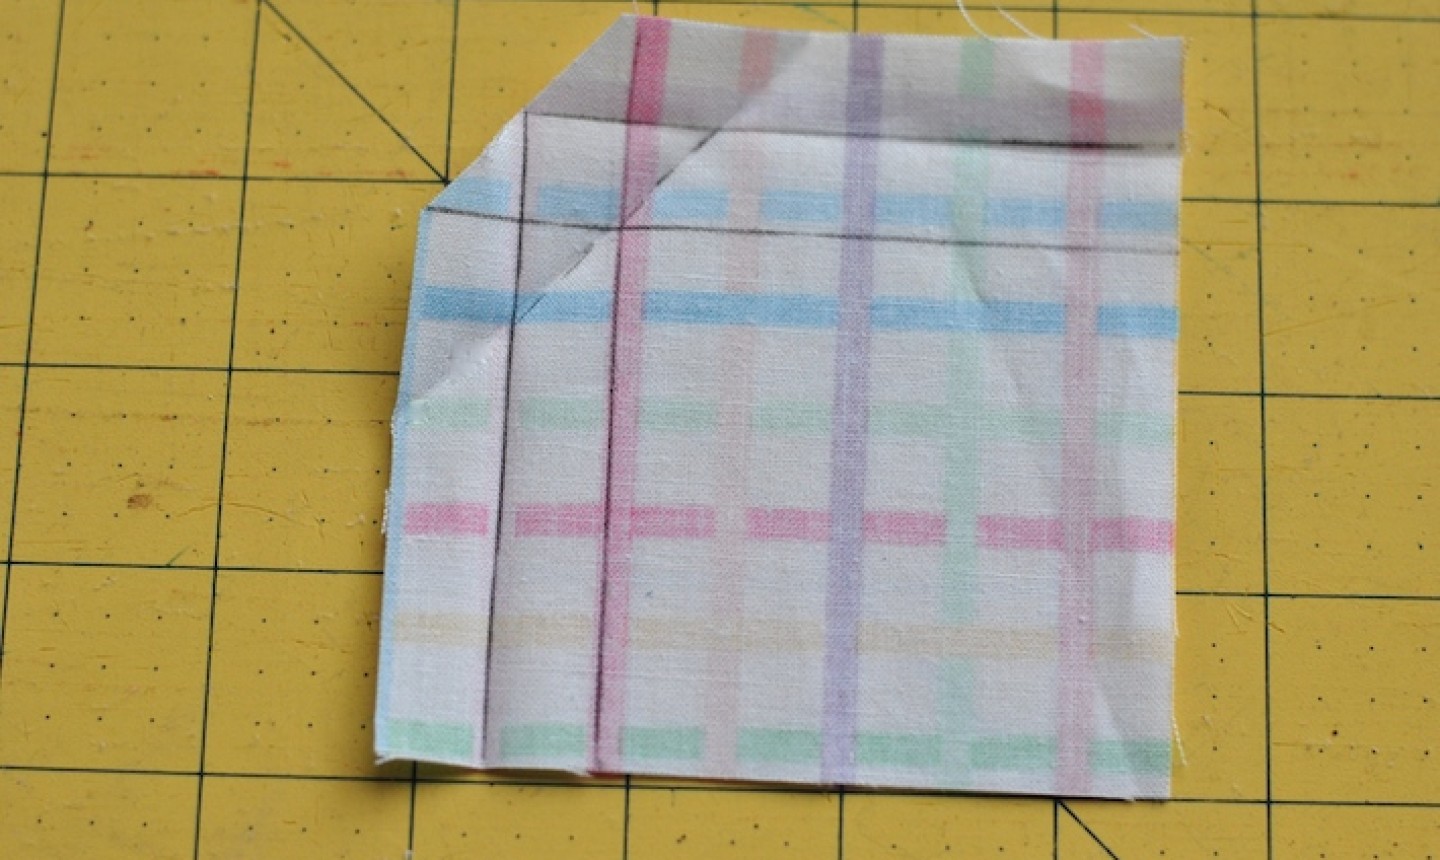
Open up the fold and draw a line along the diagonal fold. The line should not touch the edges of the napkin, but just stay inside the center portion (like the dotted line pictured).
5. Right Sides Together
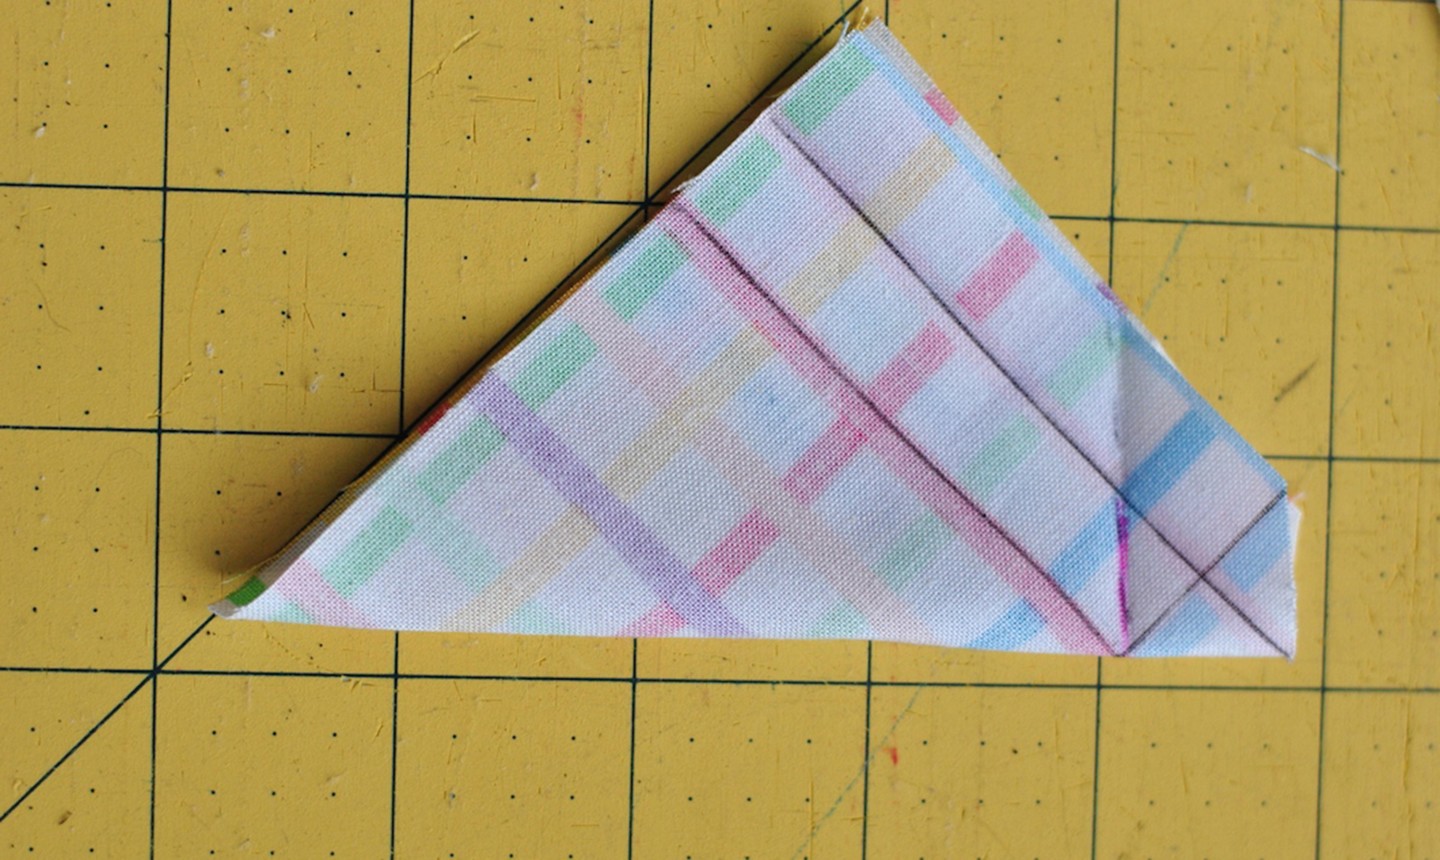
Fold the fabric so the right sides are together. Sew along the dotted line that you made in the previous step.
Here’s a view of the line after it’s been stitched. In this example, the section you stitch is highlighted in yellow, and the fabric is opened up slightly.
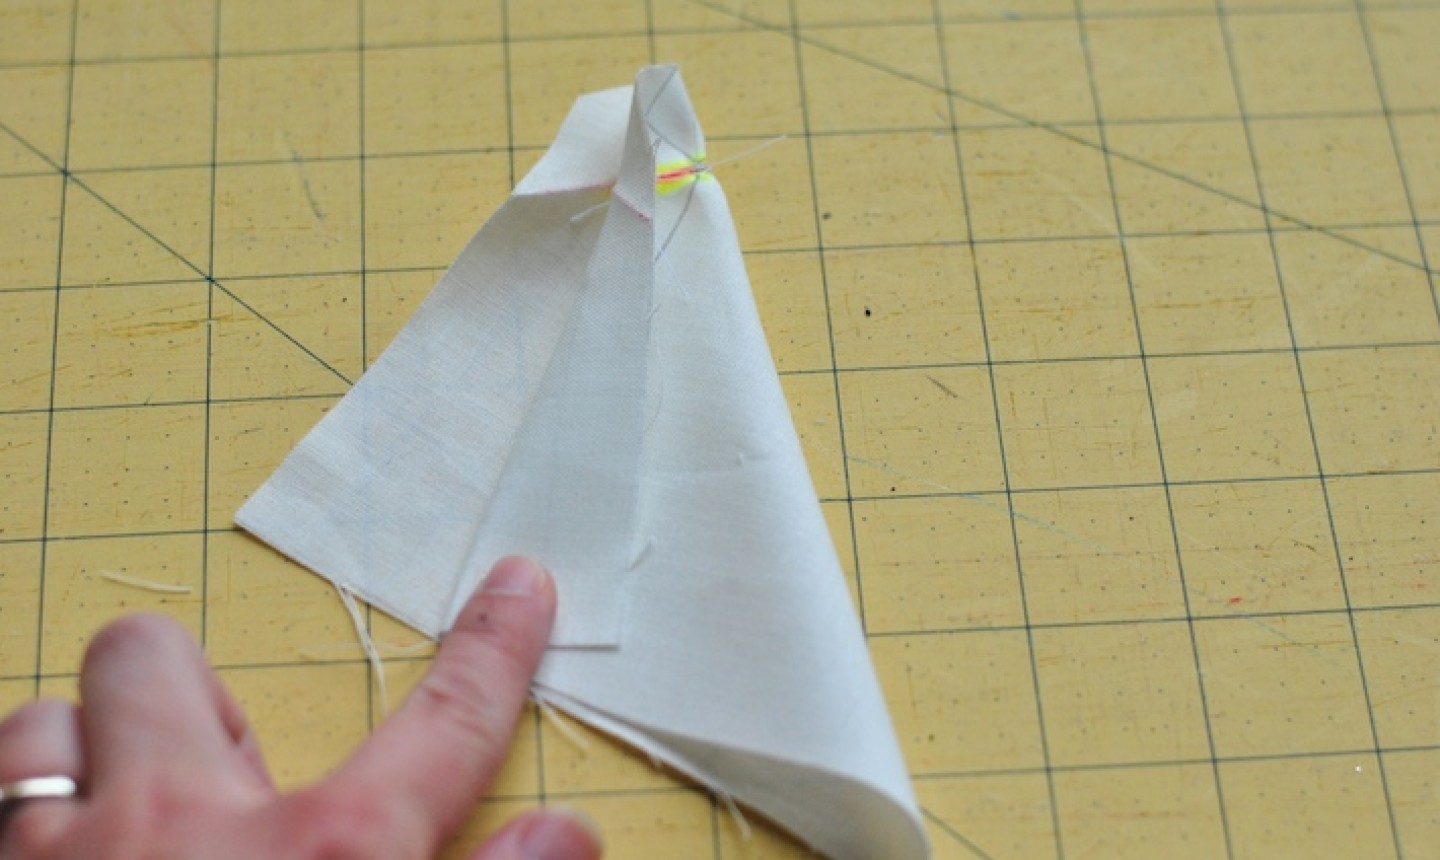
6. Bring the Right Sides Out
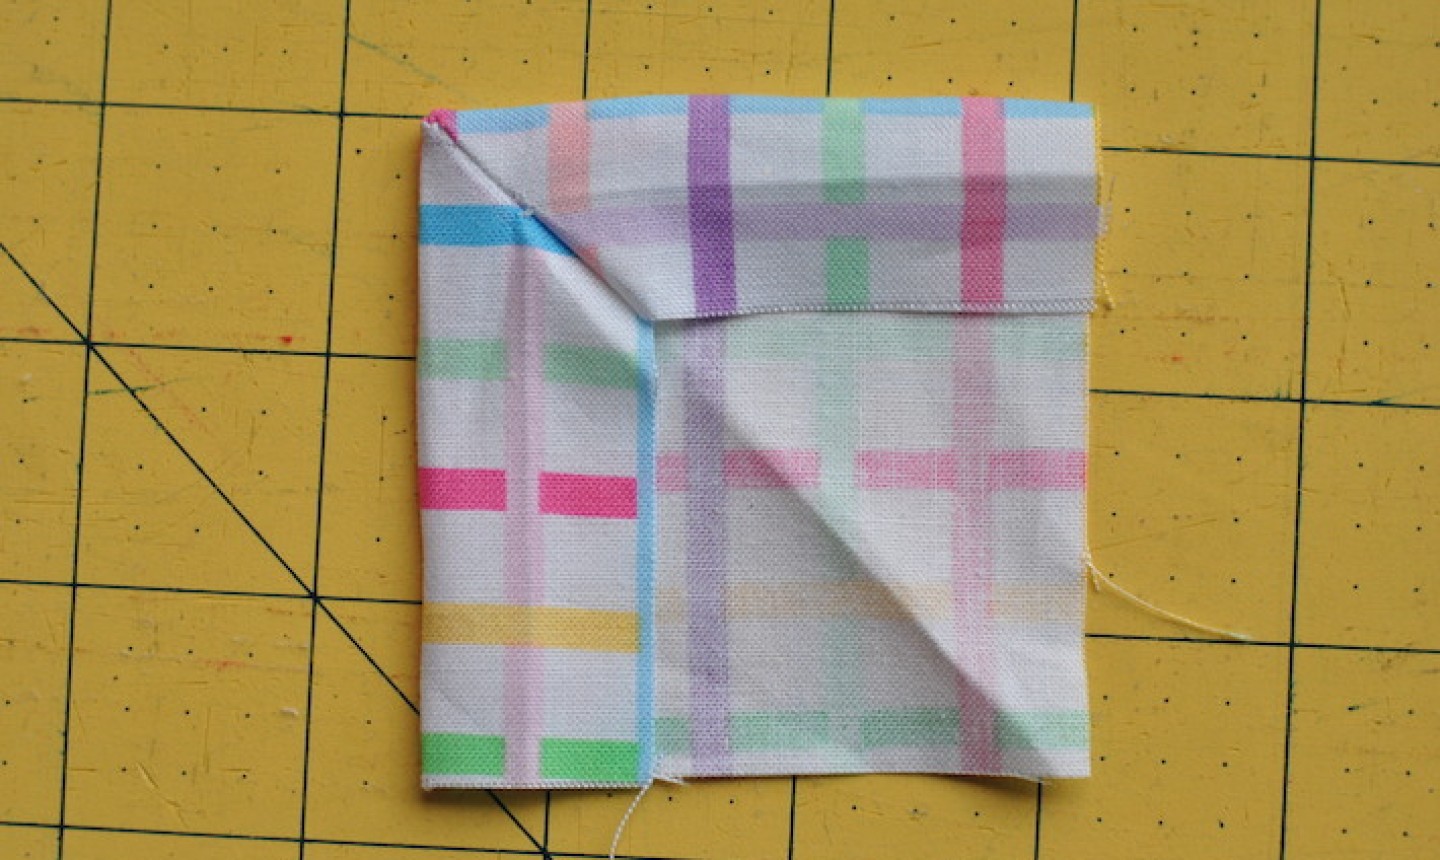
After stitching the dotted line, flip the fabric right side out, and poke the corner out. Use a tool with a small point to help with this step. Then, you’ll fold the raw edges of fabric under, using the fold from step 2 as your guide.
7. Topstitch
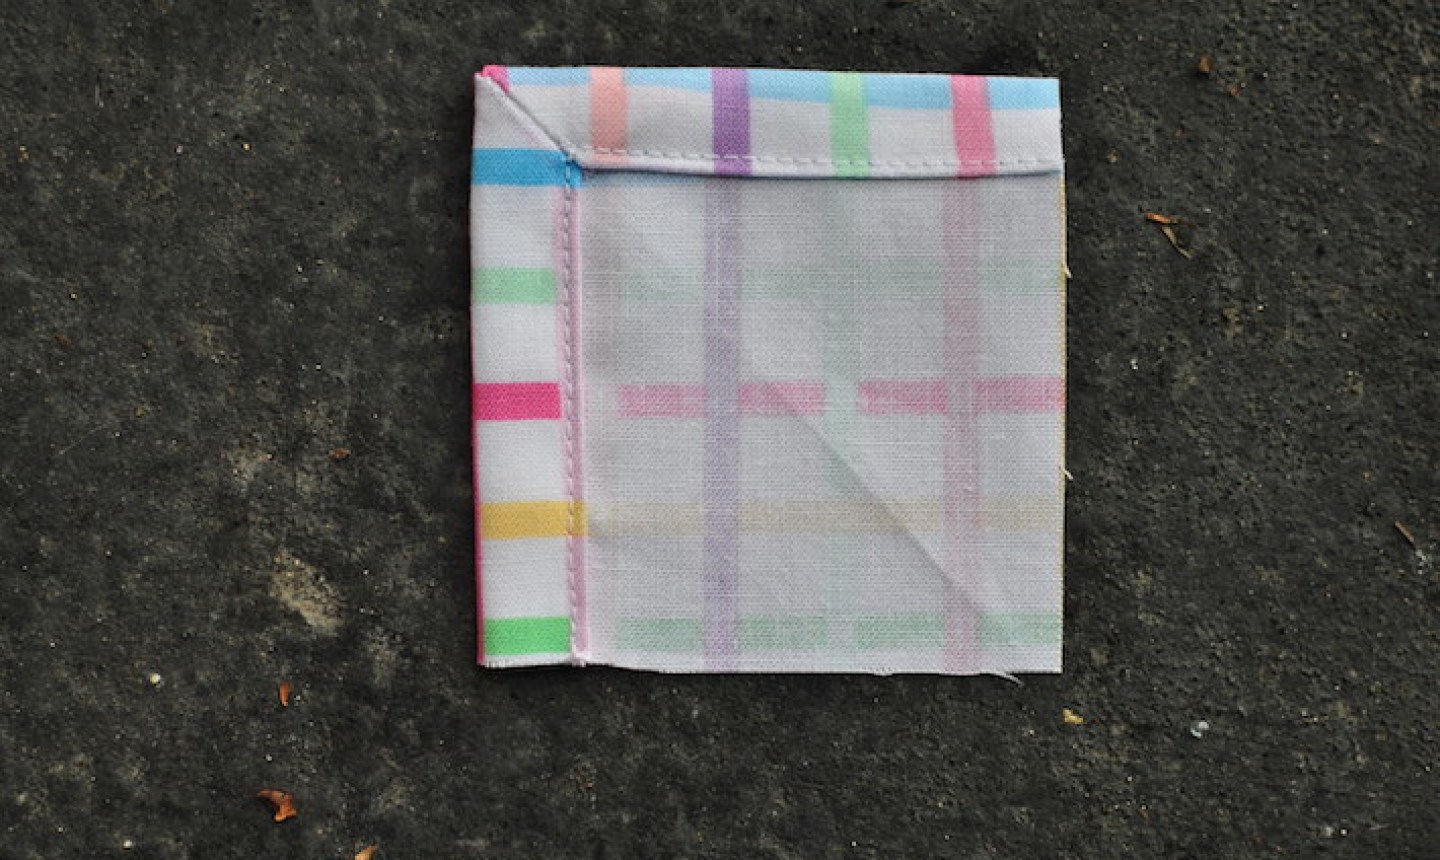
Once the raw edges are folded under, topstitch ⅛” from the folded edge.
You can make it super easy for yourself if you use a stitch-in-the-ditch foot along the folded edge and move your needle position a few steps to the right to get an accurate topstitch.
And you’re done! Wasn’t that easy? Repeat this method until you’ve got a whole dinner set.
Quibble - method takes an inch off each side, so from an 18" square, one will have 16" napkins, not 17".
I am truly a beginner, I am not sure what to do after step 7, or are they to be unfinished as in the picture?
i love it
I’m having trouble keeping the corners even... in the last step when I’m rolling the edges over and seeing the perimeter, the corners seem bunched and like there’s too much fabric... anyone else have issues with that?