
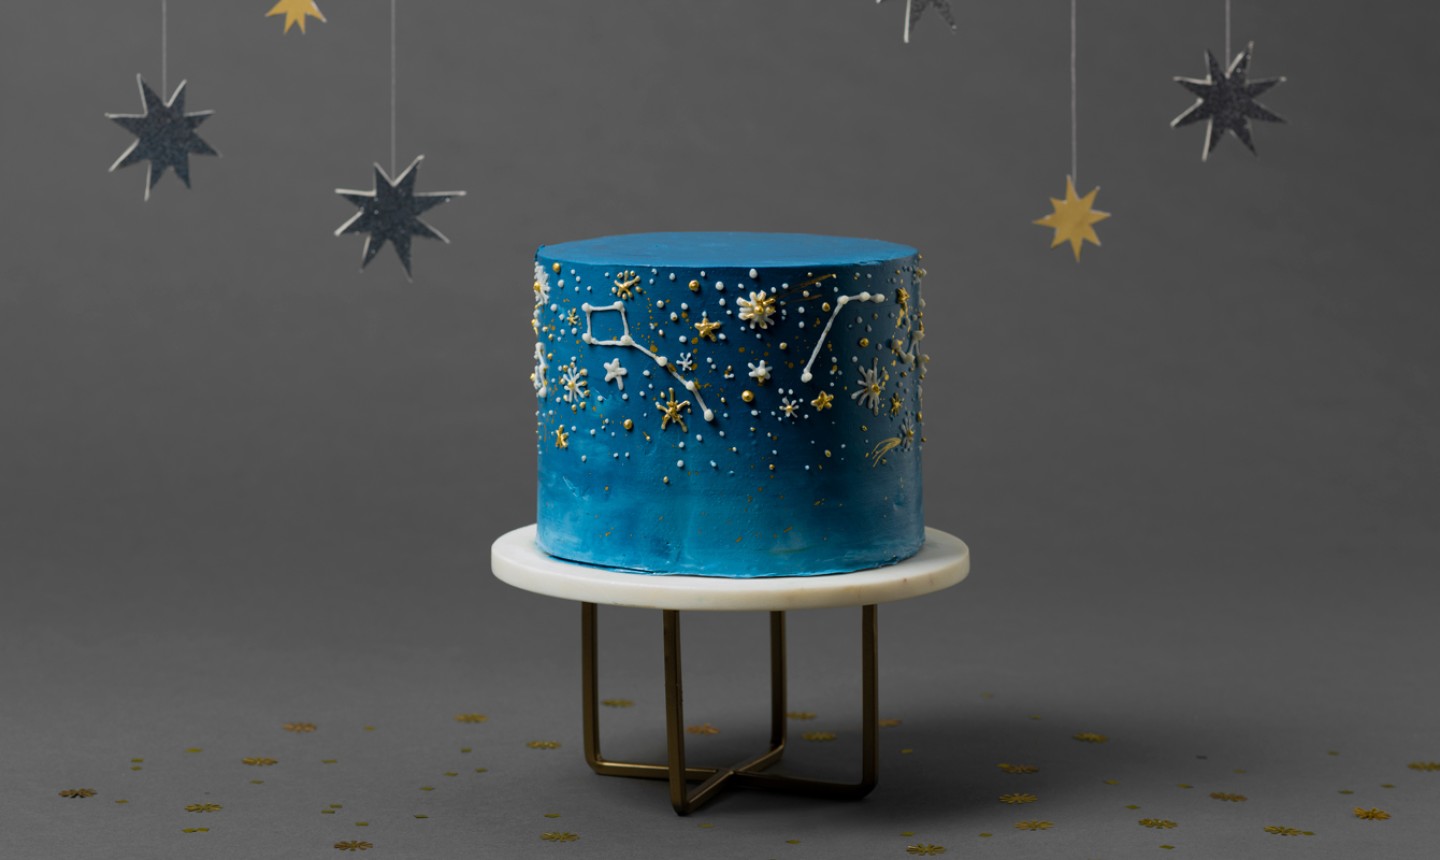
It’s hard to beat a warm summer night spent stargazing, but this cake sure comes close! So once you put the telescope down, dig into this design that features a dark-blue ombre finish and the prettiest piped designs.
Night Sky Cake
Level: Easy
What You Need
Ingredients
Tools
Instructions
1. Prep Your Cake
Cut each cake in half horizontally, then stack your cake, spreading blue buttercream between each layer . Crumb coat your cake in white buttercream.
2. Ice It Up
Using an offset spatula, ice the top of your cake in the darkest shade of blue buttercream. Then, place your 3 shades of blue buttercream into piping bags. (You don’t need any piping tips, just snip off the ends of your bags.) Roughly divide the side of your cake into 3 horizontal sections. You can just eyeball this as you go, or use a spatula to mark a line as a guide. On the bottom section, pipe thick lines of buttercream in your lightest shade of blue all around the cake. (These don’t need to be perfect, we’ll be smoothing them out later!) Fill the middle section with your medium blue shade, and the top with the darkest shade.
3. Smooth It Out
Use your bench scraper to smooth and blend the colors all around the sides and top of your cake. (Pause and clean the scraper as needed.) Keep going until you have a smooth, finished surface and are happy with the ombre color change.
4. Add the Stars
Fill a piping bag fitted with #2 tip with white buttercream. Look at some reference images online, and start by piping large and medium-sized dots for the “stars.” Now connect them with lines to make constellations. (Add a crescent moon while you’re at it!) Make 5 or so of these around the cake so you can see one from every angle. Next, pipe on some medium-sized stars. You can freehand these and vary the design and size however you want! Then, fill in your sky with lots of small specks for more stars. (We kept our designs to the top half of the cake, but you can fill the whole thing if you like.)
5. Make It Shine
Once your buttercream stars are fully set and firm, add some gold accents! Mix edible gold dust with a little high grain alcohol to create paint. Randomly paint a few stars with gold to create a look you love. Then, dip your paintbrush into the paint and flick it to create gold splashes and flecks all around. Don’t worry about gold flecks landing on some of your piped stars — that randomness just adds to the celestial effect!
Share tips, start a discussion or ask one of our experts or other students a question.
Already a member? Sign in
No Responses to “This Constellation Cake Will Be the Star of Any Party”