
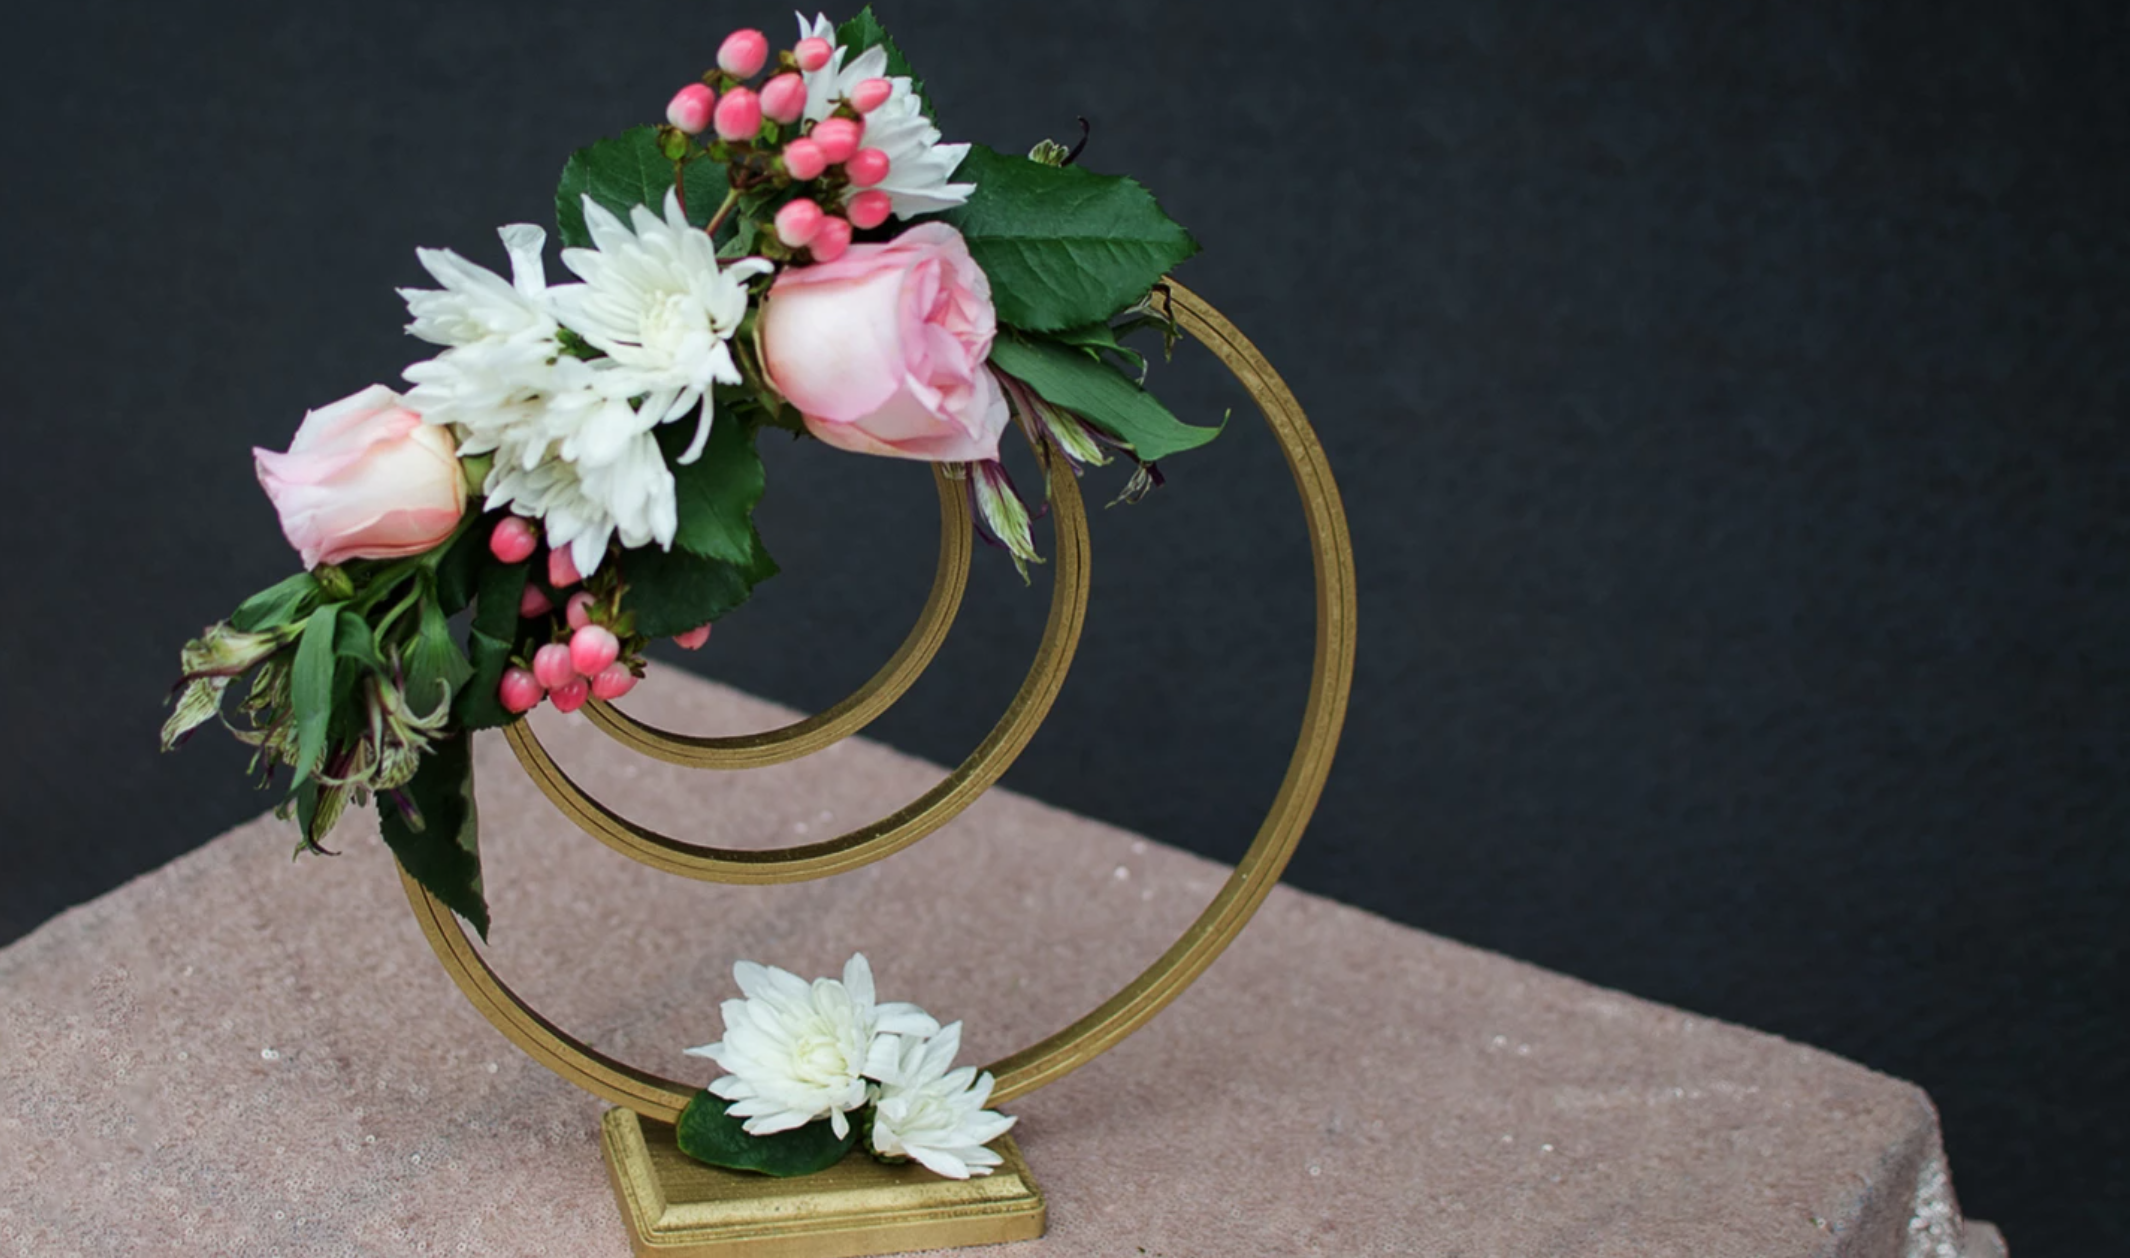
When it comes to DIY wedding crafts, it’s gotta be beautiful, budget-friendly and easy to put together. This elegant centerpiece checks every box. Plus, it’s totally unique — we guarantee your guests haven’t seen anything like it — and it’s completely customizable to your season, color scheme and theme. Go on, let those wedding bells ring!
Embroidery Hoops Centerpiece
Level: Easy
Size: About 13″
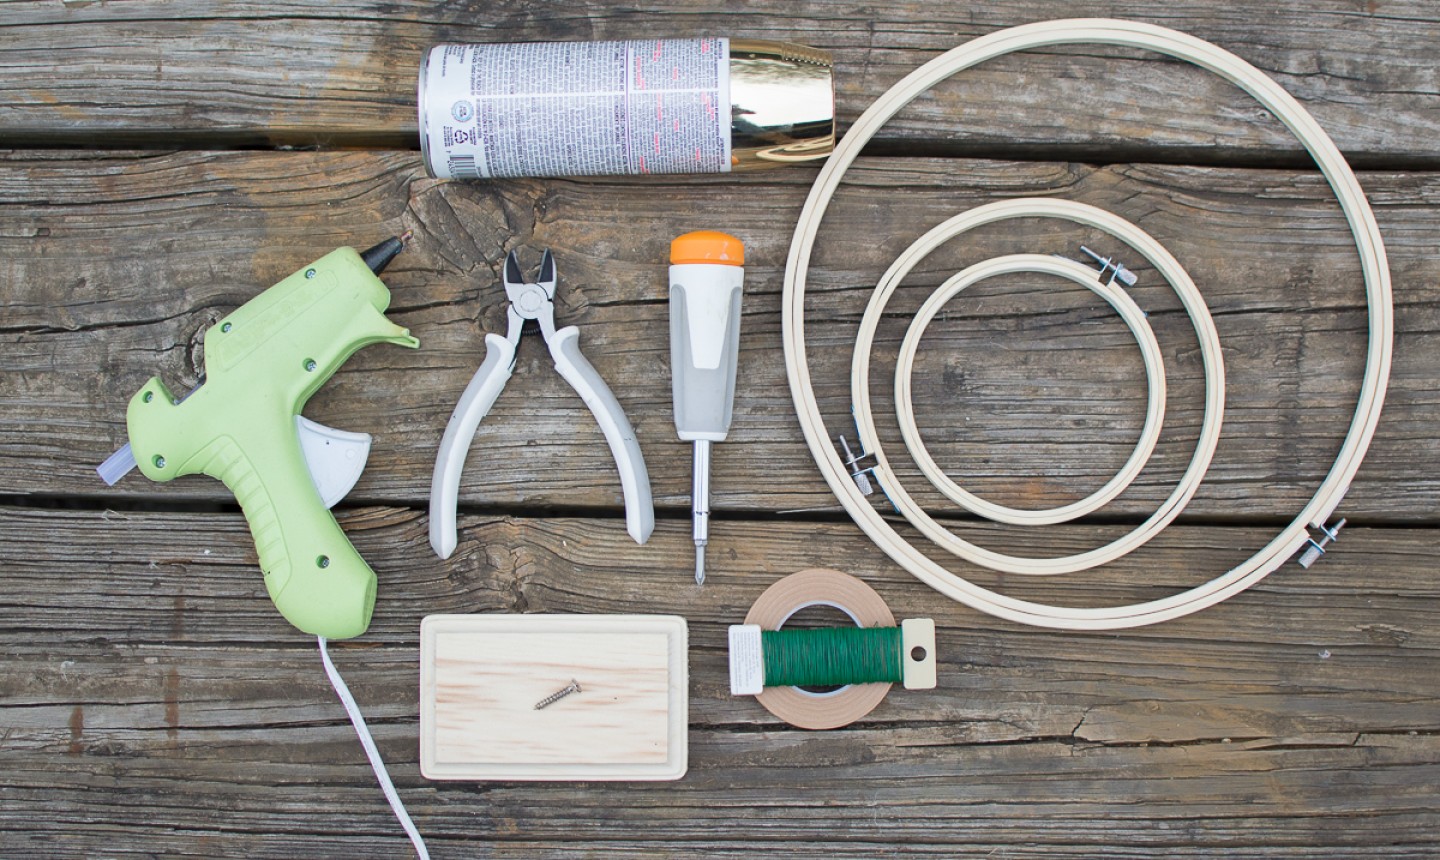
What You Need
Instructions
1. Paint the Hoops and Base
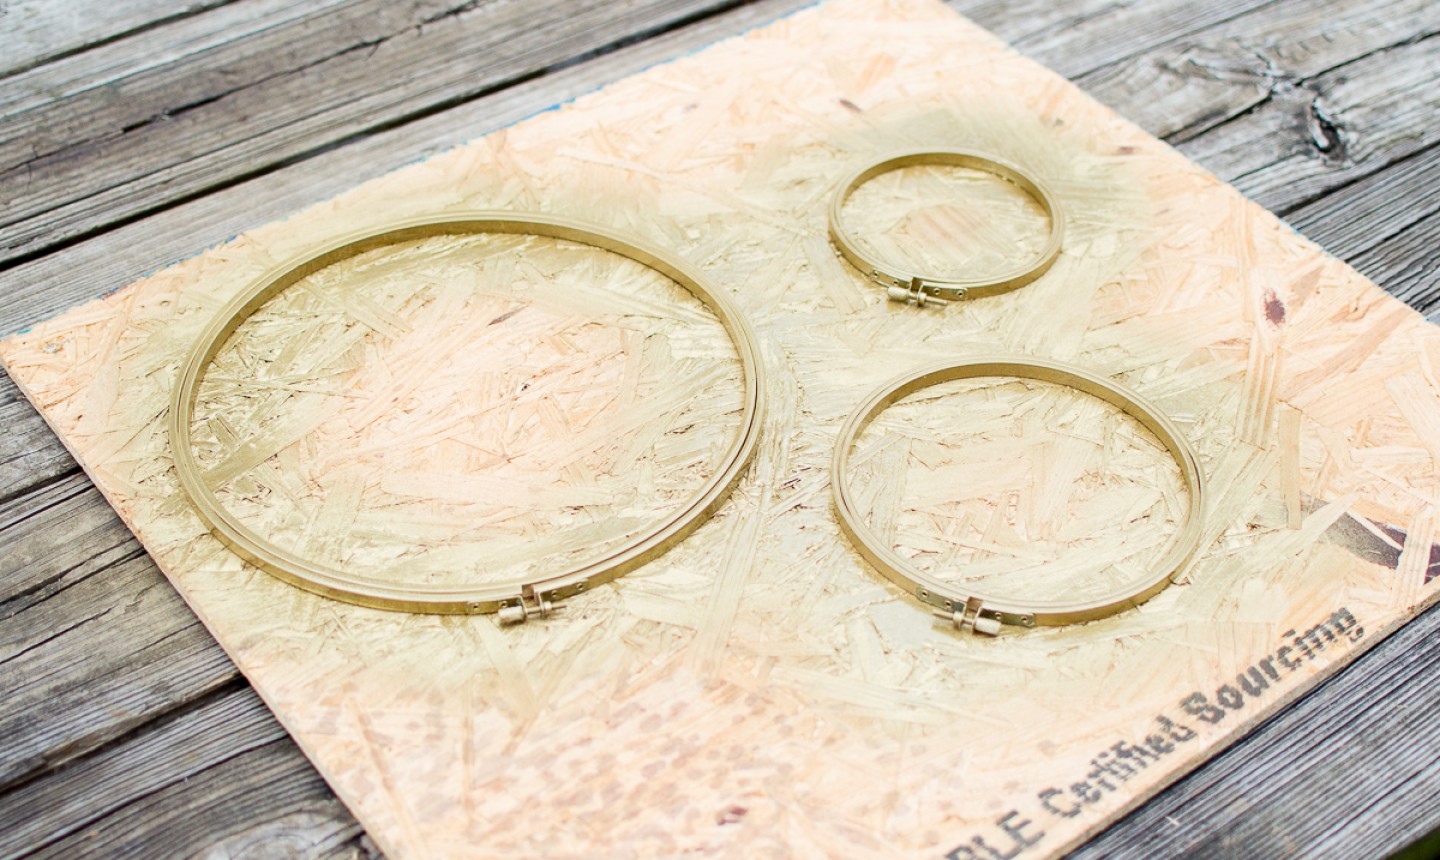
Lay your embroidery hoops and wooden base on a tarp, paper or any surface you don’t mind getting messy. Spray paint or stain them completely gold, making sure to cover the inside and outside edges. Remember: layers are your friend! You want to paint the first layer, let the hoops and base completely dry, then apply another layer. Repeat this process until you are happy with the color.
Pro Tip: If you are spray painting, hold the bottle about 8” away. Spraying too hard and close will cause your paint to drip and look uneven.
2. Connect the Hoops

Once your hoops are dry, layer them within each other from largest to smallest, so that each one touches the next in size. (You’ll see a really cool layered circle pattern develop.) Make sure all of the tightening mechanisms on your hoops are gathered together at the top. To give them a temporary hold, add hot glue right where the hoops connect to one another.
3. Wrap the Hoops
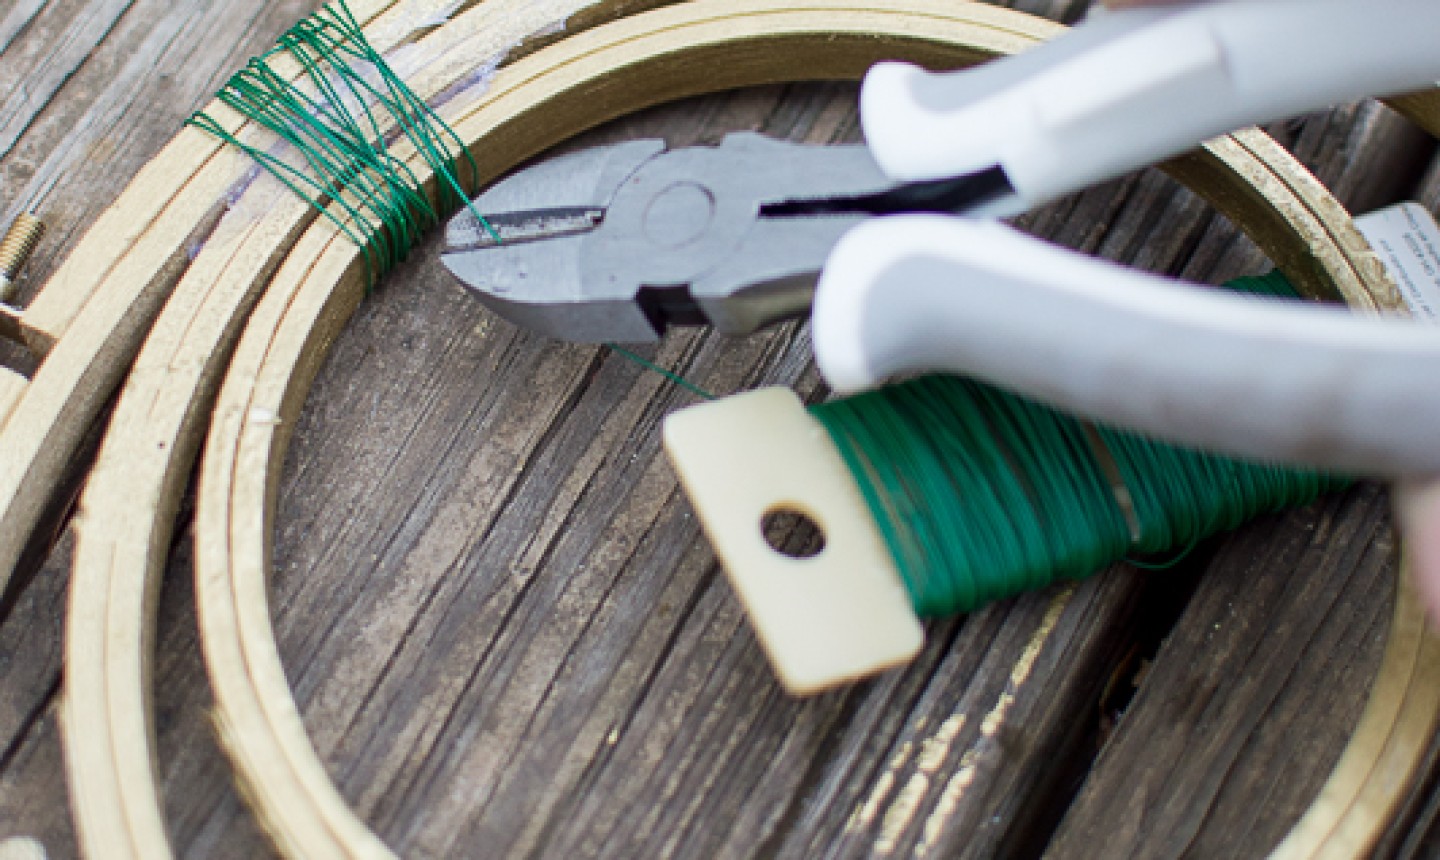
Using firm pressure, wrap floral wire around all three of your hoops (right where they connect) at least 5 to 7 times to make sure they’re secure. On the last wrap, twist the wire to make it extra snug. Once the wire is in place, wrap floral tape over the wire. This will give it a cleaner appearance (because that wire isn’t super cute).
4. Secure the Base
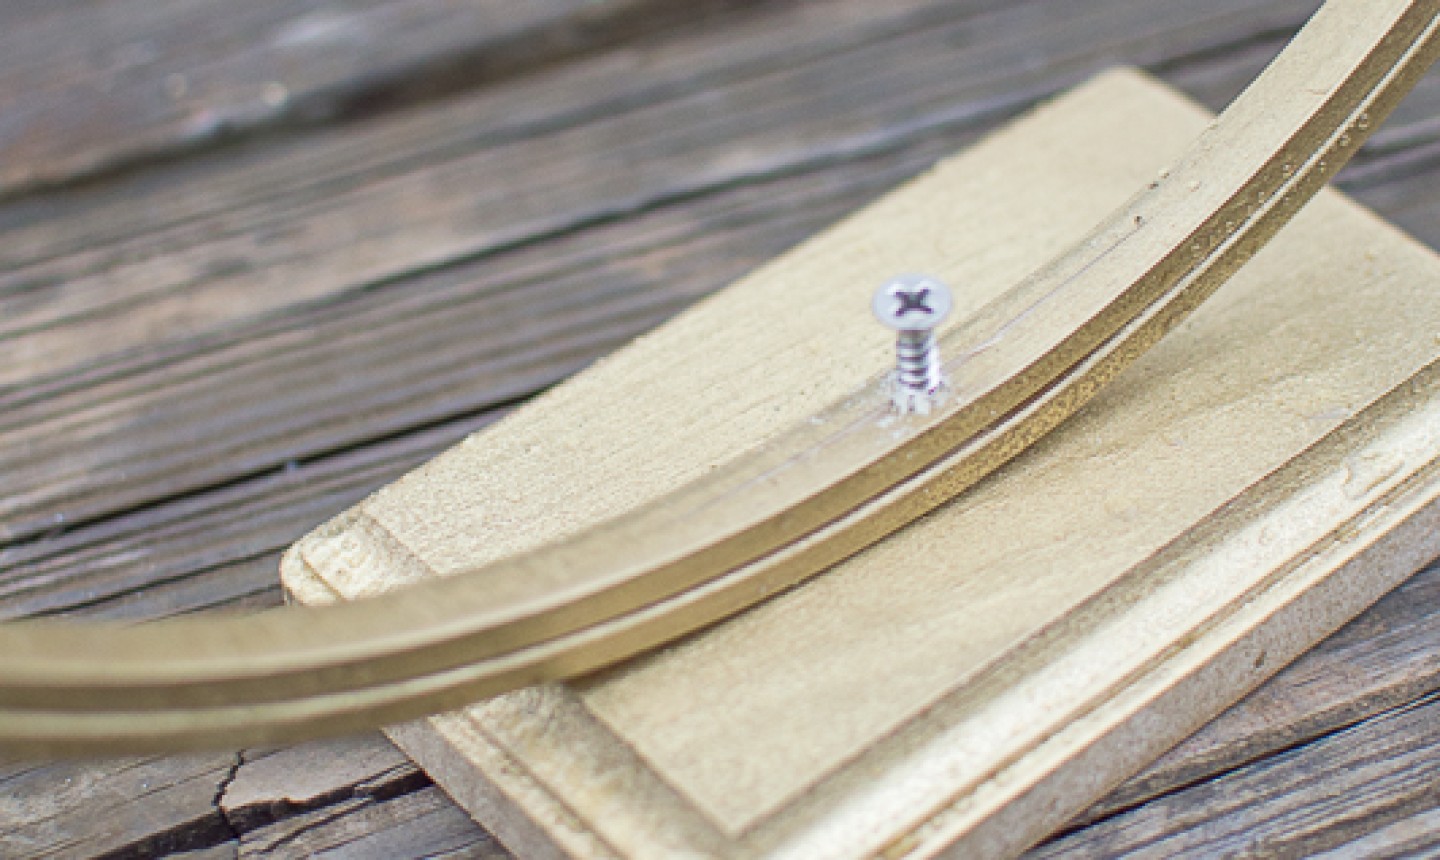
Stand the hoops up on the base. Using your screwdriver (or even a drill if you want more power), drive a screw straight down into the center of your base.
5. Lay Out the Greenery
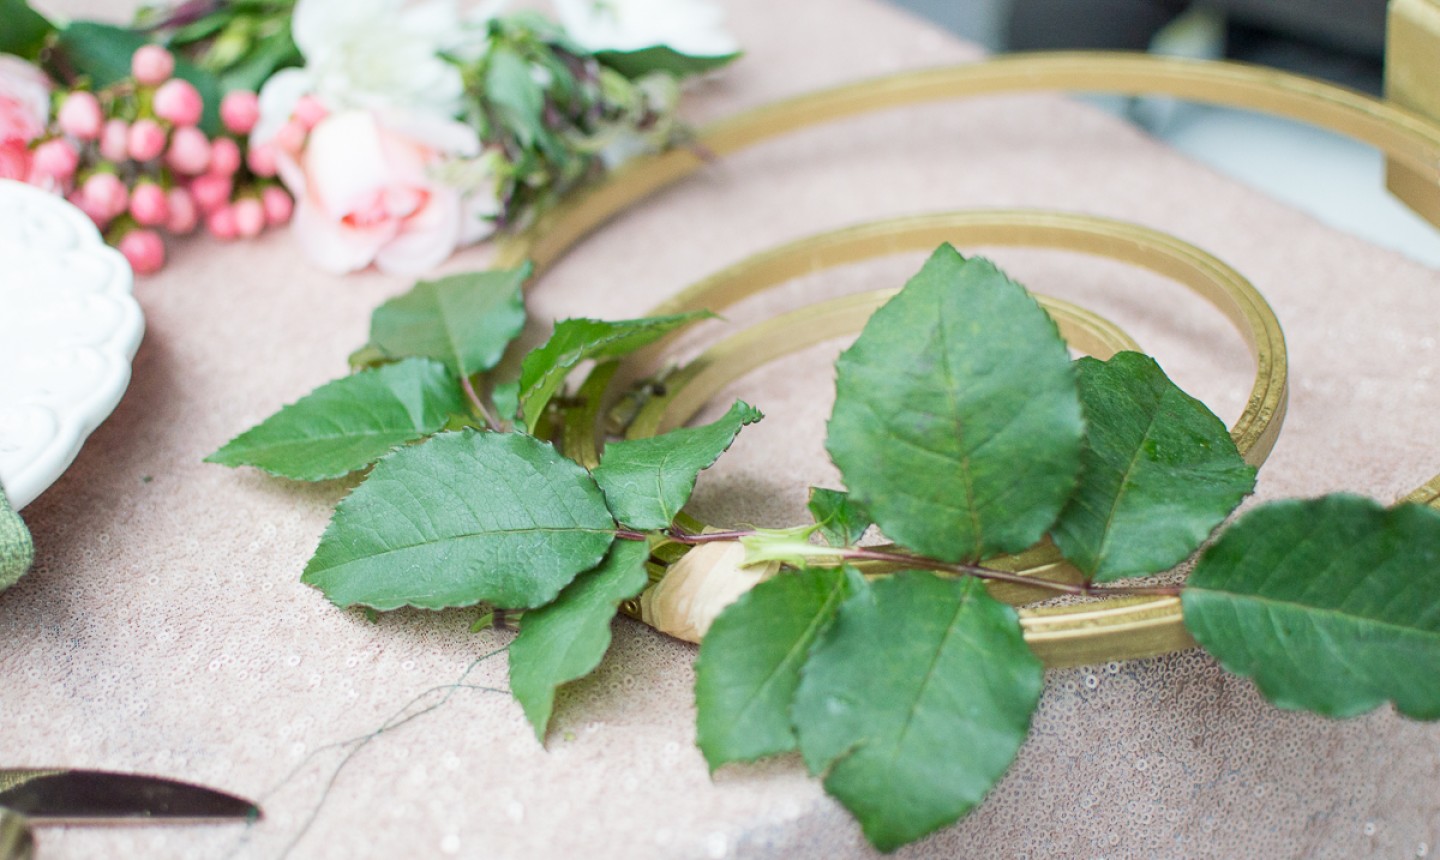
Now that your piece is intact, it’s time to layer the greenery. These leaves will make a great background for your flowers (not to mention they’ll hide those tightening mechanisms on the hoops). First, place your longer, leafy stems down so they span across the outside hoop. Then layer in structured, more dense pieces, working your way down over the second and third hoops. Use floral wire to secure the greens directly onto the hoops.
Pro Tip: This is where your creative freedom really comes into play: You can use anything, from paper or felt leaves and flowers to fresh fauna — let your imagination run wild! When layering, think of it like dinner: first you need the plate to serve your meal on (the hoops), then the side dishes (your greenery), and then the hearty main (flowers)!
6. Add Flowers
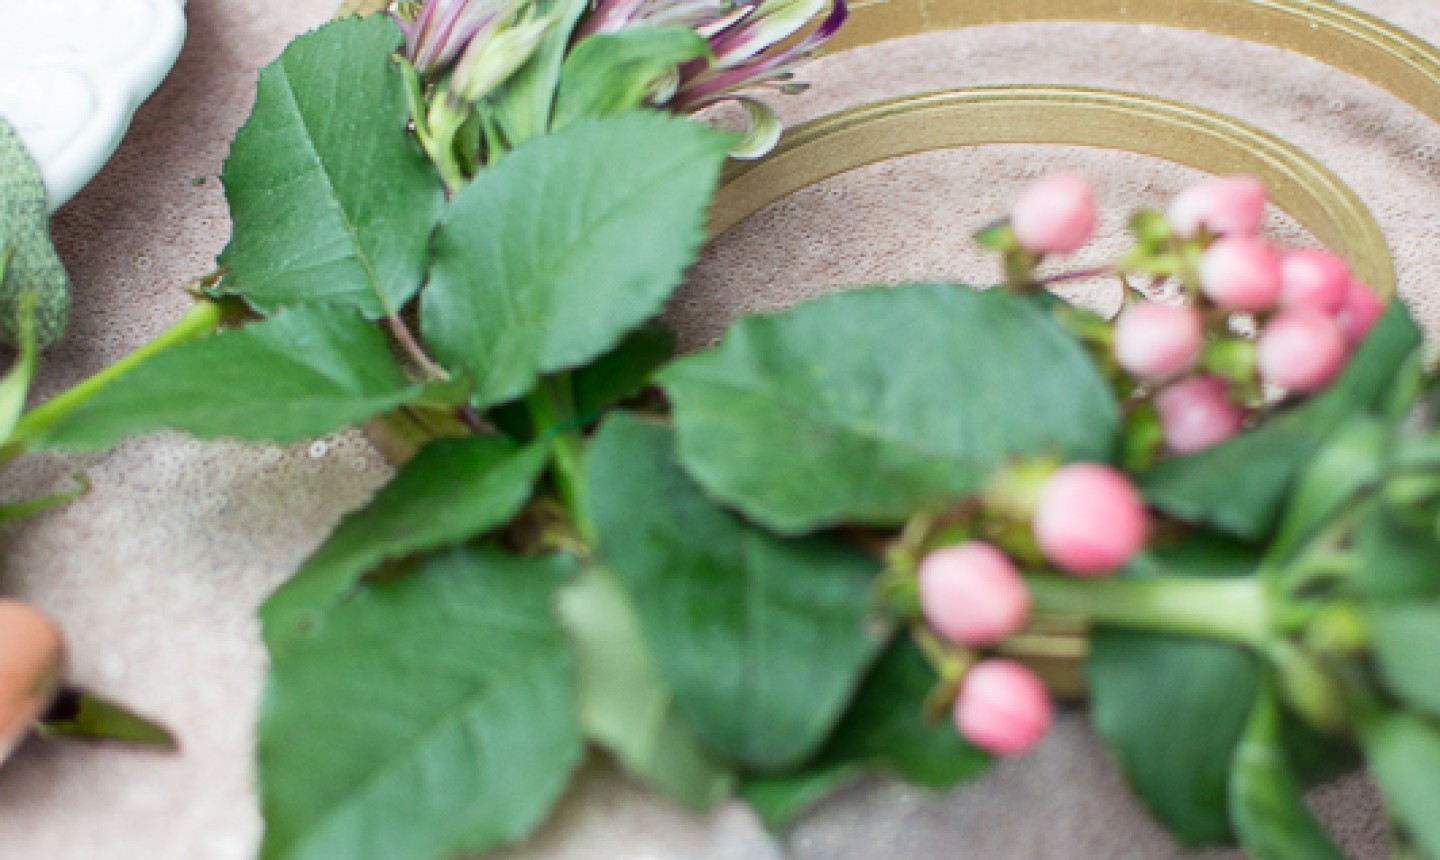
Once you have your greenery in place, layer in the flowers, wiring each stem on as you go for stability. We used roses, mums and hypericum berries from the grocery store, but let the flowers speak to you! You want this piece to reflect your personality. And don’t be afraid to experiment: this project can easily be taken apart and redone as many times as needed (just snip that wire and go!), so you can feel free to play.
With the main flowers set, choose one or two more (with a piece of greenery for good measure) to add to the base of the centerpiece. It’ll cover that exposed screw with another touch of romance.
Pro Tip: The height of your final piece can vary based on what hoop sizes you use. But don’t worry: no matter how tall or low you go, it’ll be mostly see-through so the conversation between guests will still flow. Don’t be surprised if the table talk ends up being all about these fabulous custom centerpieces!
really innovative
very nice
I'm looking for something like what you show in acetate, but in felt. Do you have such a pattern?