
This fresh and funky pixelated heart quilt block is easy to make if you know quilting basics, and it’s gorgeous in traditional Valentine’s Day hues. Use this beauty in a larger quilt, or frame it to gift to your sweetie. Talk about a modern romance!
Pixelated Heart Block
Level: Easy
What You Need
- Scrap fabric in shades of red, orange and white
- Rotary cutter
- Cutting mat
- Quilting ruler
- Iron and ironing board
Instructions
1. Cut the Squares
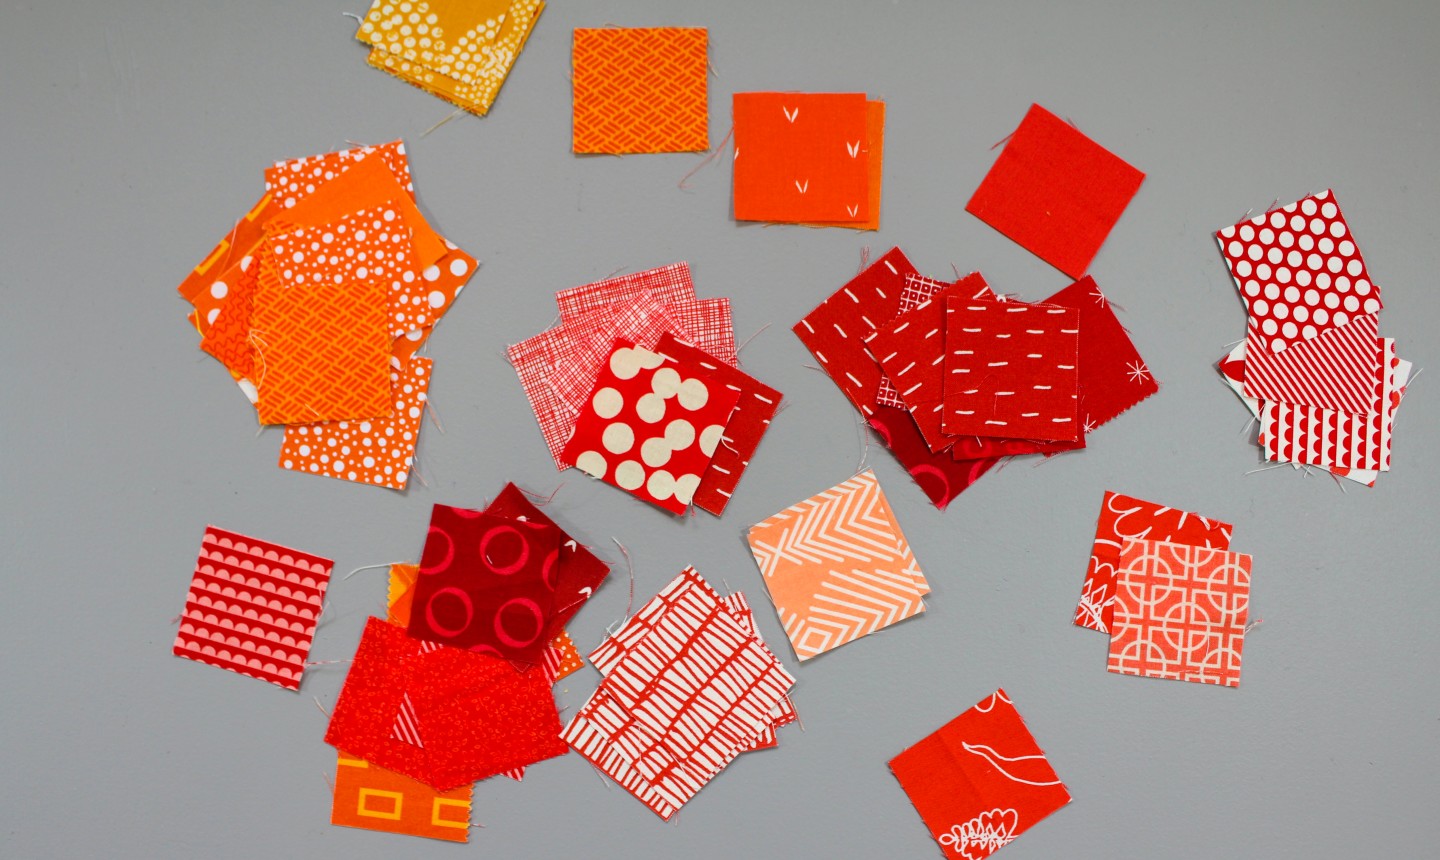
Cut 1¾” squares from your fabric scraps. For this block you need around 50 red squares, 30 orange squares and 50 white squares. (But it’s always smart to cut a few extra squares in each color so you can play around with layout.)
Group the squares by color before you start piecing.
2. Lay It Down
To create this heart block, you’ll build 11 rows and 10 columns. Lay out your fabric to create your design, using the photo above as a guide. Play around with your squares: you’re going for a smooth and subtle color transition from the top of the heart to the bottom.
3. Start Sewing
Starting at the top left corner, place the second square on top of the first, right sides together. Sew along the right side with a ¼” seam allowance. Press the seam to one side. Flip the block right side up and press the block open.
Place the third block on top of the second, right sides together. Sew again, using the method above. Be sure to press your seam allowance in the same direction as the previous seams in this row. Continue working your way across the row in this manner.
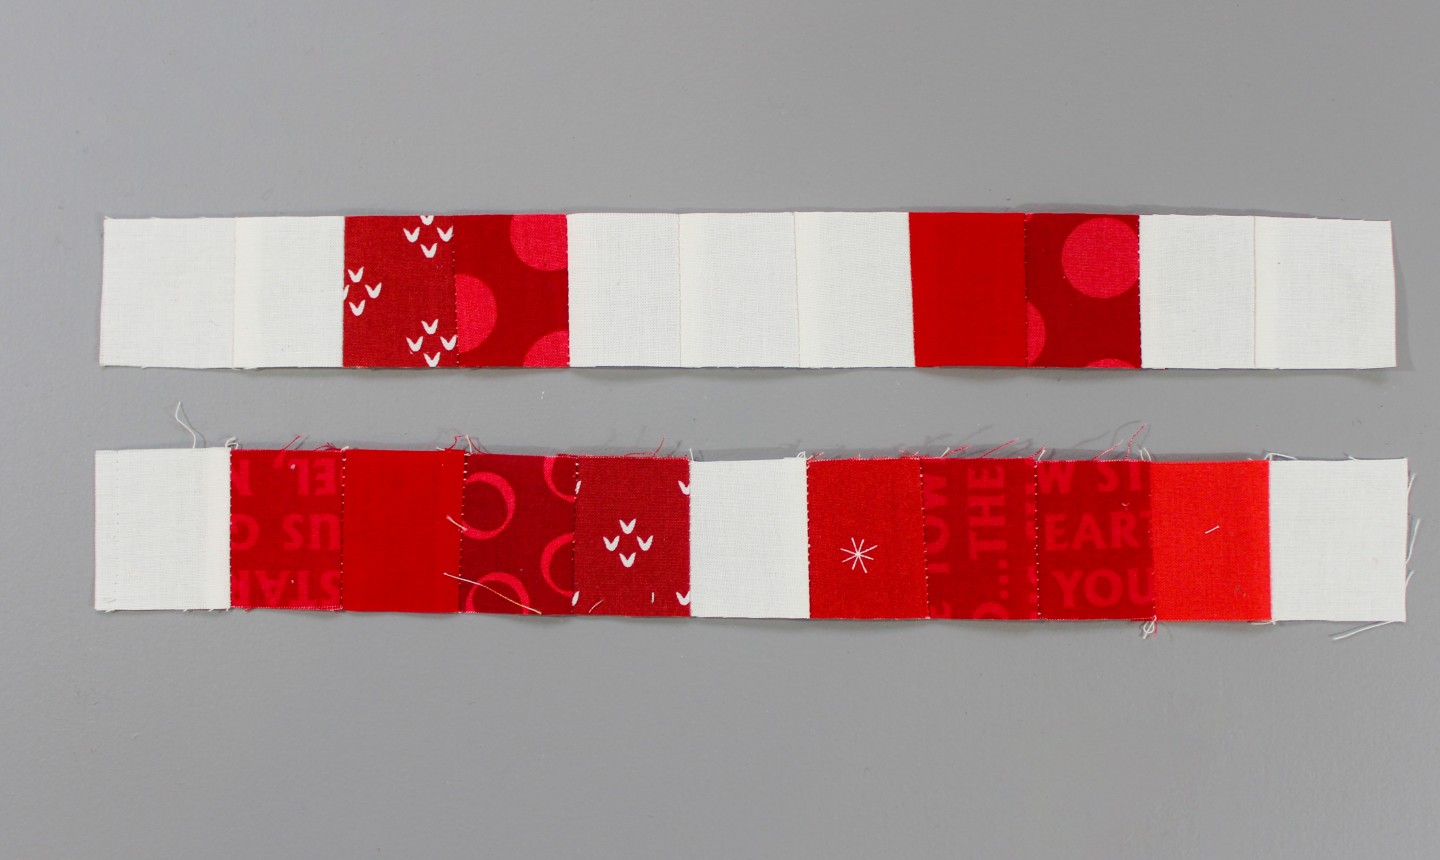
The next row is assembled in the same way, except you need to press the seams in the opposite direction. (This is important for the next step!)
Keep assembling your rows, alternating the direction of the seam allowance every row.
4. Join the Rows
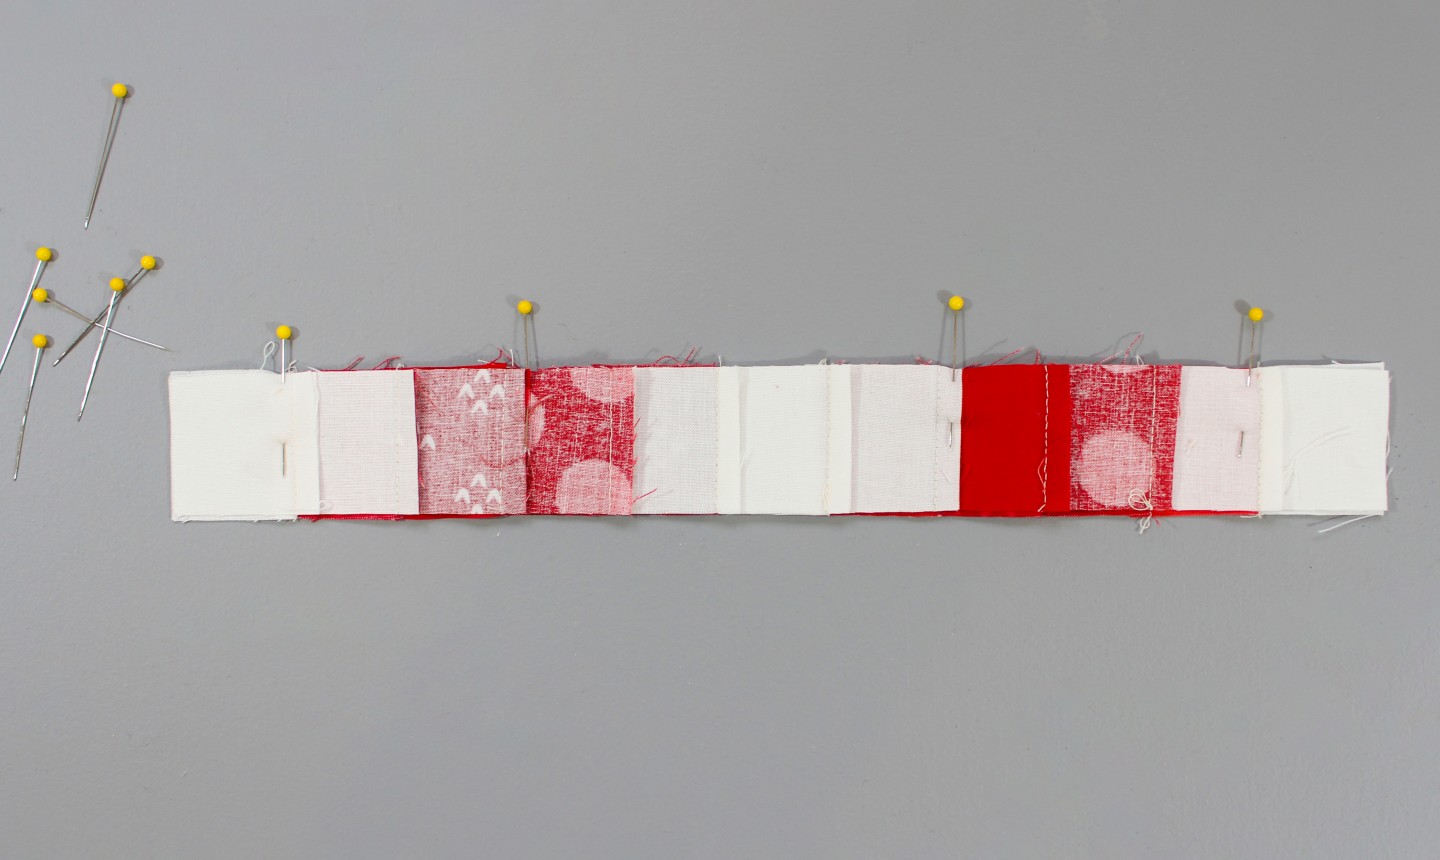
Once all your rows are formed, lay the first row onto the second and pin together at each seam allowance. Because you pressed the seam allowances in opposite directions, the seams should nest together and lie flat. Stitch the rows together with a ¼” seam allowance.
Add the next row to the group you just sewed, right sides together. Stitch a ¼” seam allowance and press your seam. Keep adding rows until the the whole block is joined, then press the seams open.
5. Square It Up
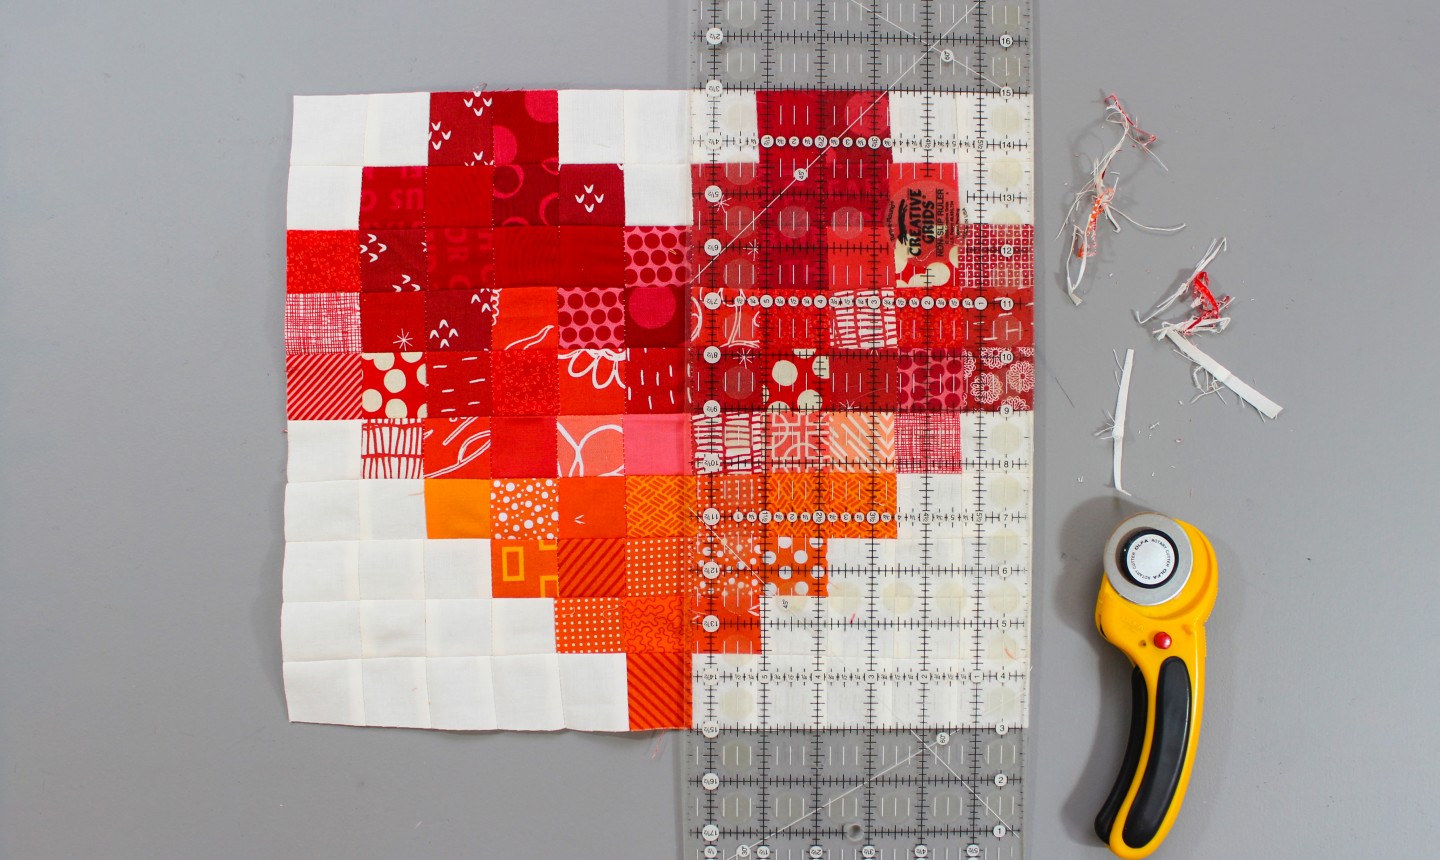
Place the block onto your work surface and square it up using a rotary cutter, quilting ruler and mat to trim away the excess.
You’re done! Now stand back and soak up the love.
Photos by Marni Weaver

Love this block! It would be really useful to me if the pattern was downloadable as a one-page pdf ... I tend to print things to have beside me in the quilting room ... Thanks!
"To create this heart block, you’ll build 11 rows and 10 columns." There are 11 columns and 10 rows. Also, as Tracy pointed out the first picture is missing a white square. But it's Super cute - I will make one
Thank you
The first picture of the layout is wrong. The second row should have a white square in the middle. 1 white, 4 red, 1 white, 4 red, 1 white.
Please give the unfinished and finished size of the block.