
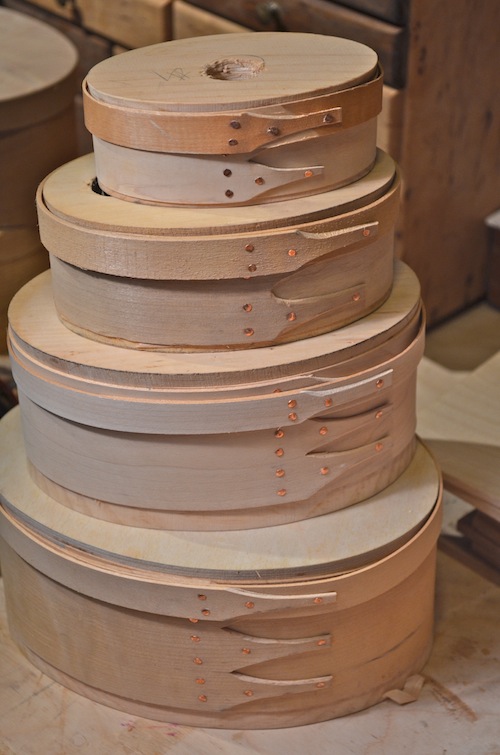
Creating the traditional look of Shaker boxes isn’t too simple, but is good practice for developing your woodworking skills.
If you followed part one of this series, you have now made a beautiful base and top band for your Shaker box.
Next, it’s time to fit the top and bottom.
Photos via wooden-box-maker.com
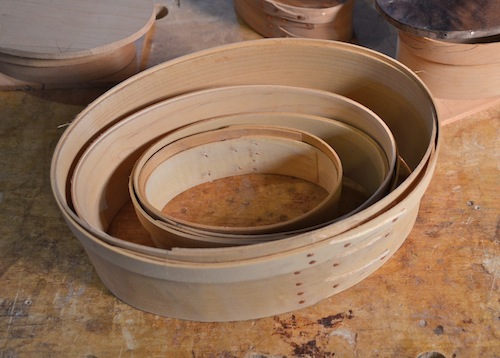
Your bands are cut and dried and now when you pull out the cores, the bands will retain their shapes. That means it’s time to fit the tops and bottoms for the next step in making Shaker oval boxes.
Materials needed:
- Your dried top and bottom bands
- 1/4″-5/16″ thick wood for tops and bottoms
- Saw to cut the wood (bandsaw, coping saw or scroll saw)
- Sander (stationary or belt sander)
- Pencil
- Clamps (optional)
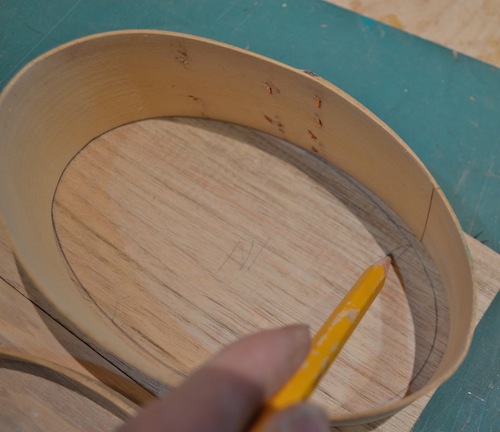
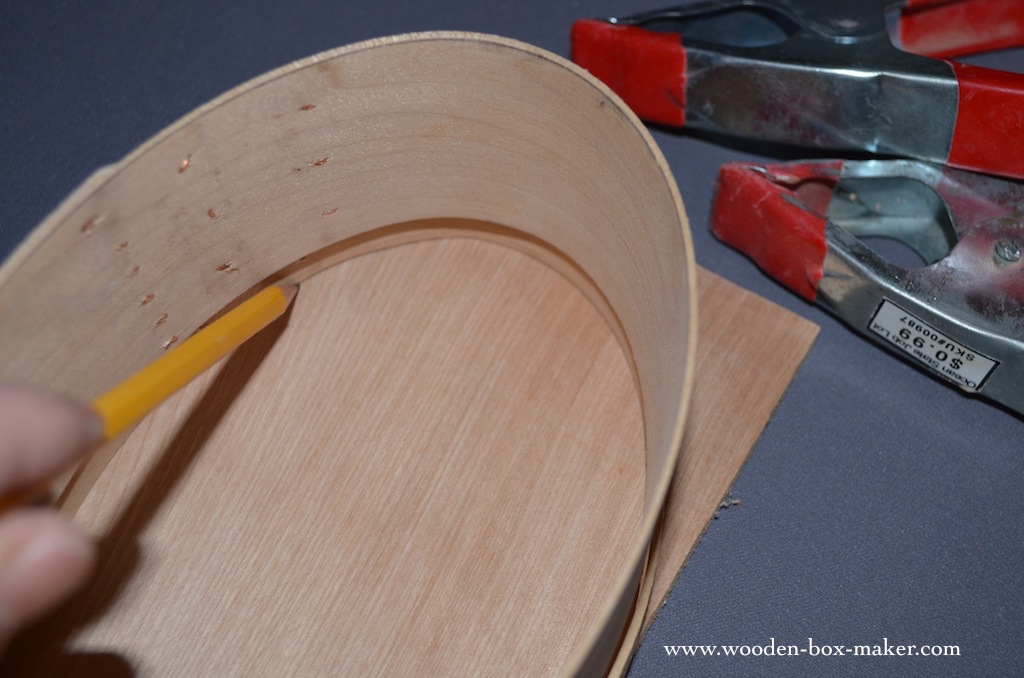
Step 1. Trace the outline of the bands
To fit the top and bottom begin by tracing the bottom of the box onto the wood that you are using for the bottom. Be careful not to flex the box while you do so. The bands are thin and it’s easy to shift about while marking, so be sure to hold it steady. I also like to mark where the band ends on the inside. That gives me a reference point when fitting.
Now repeat the process with the top. It’s a bit awkward to trace out the top band. The problem is that the top band won’t hold its shape perfectly once you remove it from the base band, so you need to leave it on the base while you trace it. Of course, when the top band is on the base band you can’t get at it to trace the inside.
Tip: Make sure your tails are facing in the right direction (traditionally they face to the right, but the important thing is to make sure the bottom and top face in the same direction).
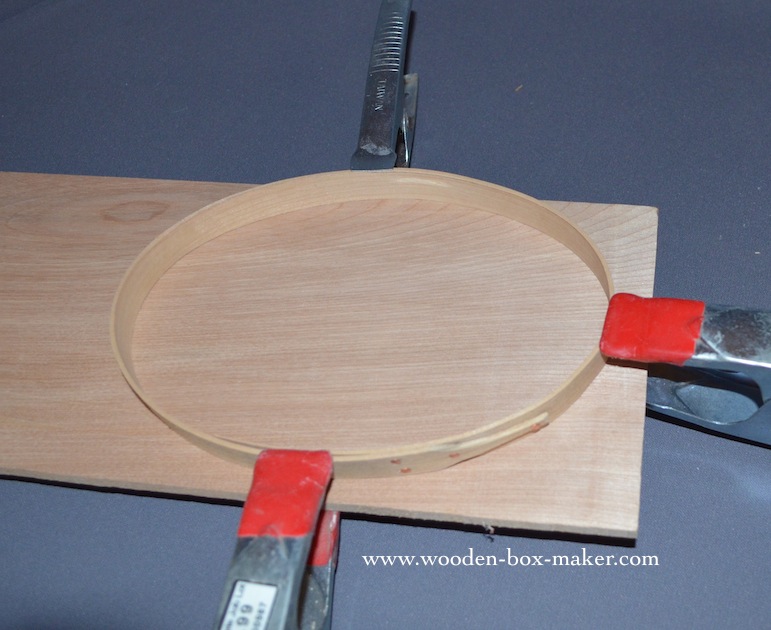
I get around this problem in one of two ways. One way is to put the top band on the base and then carefully clamp the top band onto the piece of wood that I need to outline. In effect, I am clamping the entire box to the wood that I want to use for the top. Then I pull the base out of the top band. In theory, the top band will remain clamped to the top so I can easily trace my line.
Unfortunately, what often happens is that when I try to take the base out of the top band, one or more of the clamps pops off and the top band goes flying. So, when I get frustrated with that technique I will leave the top band on the base but pull the top off just far enough so that I can get a pencil around the edge. That sometimes works better. Of course, it only works if the bottom band is still without the bottom itself.
You will need to play around to find your favorite technique. Once you are satisfied with your tracing, you can cut (almost) to your line.
Cut to your line

Begin by rough cutting close to the line with a coping saw, scroll saw or bandsaw.
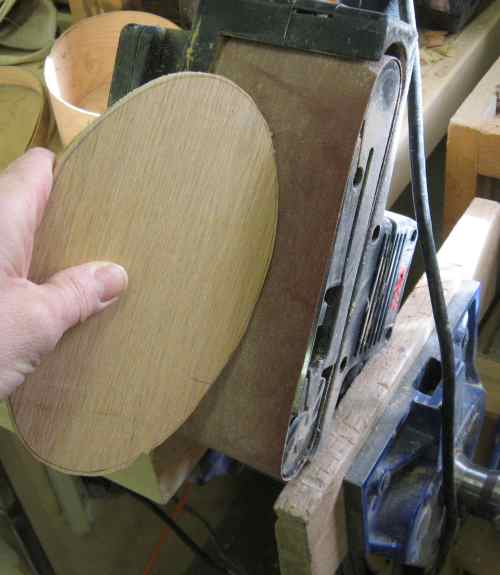
Then take the rough cut wood to a sander and sand to the line. I have a stationary sander with a table that tilts, so I set it at a slight angle (around 3-4 degrees) to make it easier to get the bottom into the band. If you don’t have a stationary sander, you can take a belt sander and flip it upside down and clamp it in place to make a nice stationary sander.
Check the fit as you go and sneak up on the line. You want it to be snug and it is easy to sand off too much material so go slowly.
Tip: If you work on the top first then if you sand past your line you can still use that piece of wood for the bottom of the box. It doesn’t work the other way around.
Once you have the fit you want you are ready to fix the top/bottom into place. To do that check out part three of this blog series.
Share tips, start a discussion or ask one of our experts or other students a question.
No Responses to “Making Shaker Boxes: Fitting the Top and Bottom”