
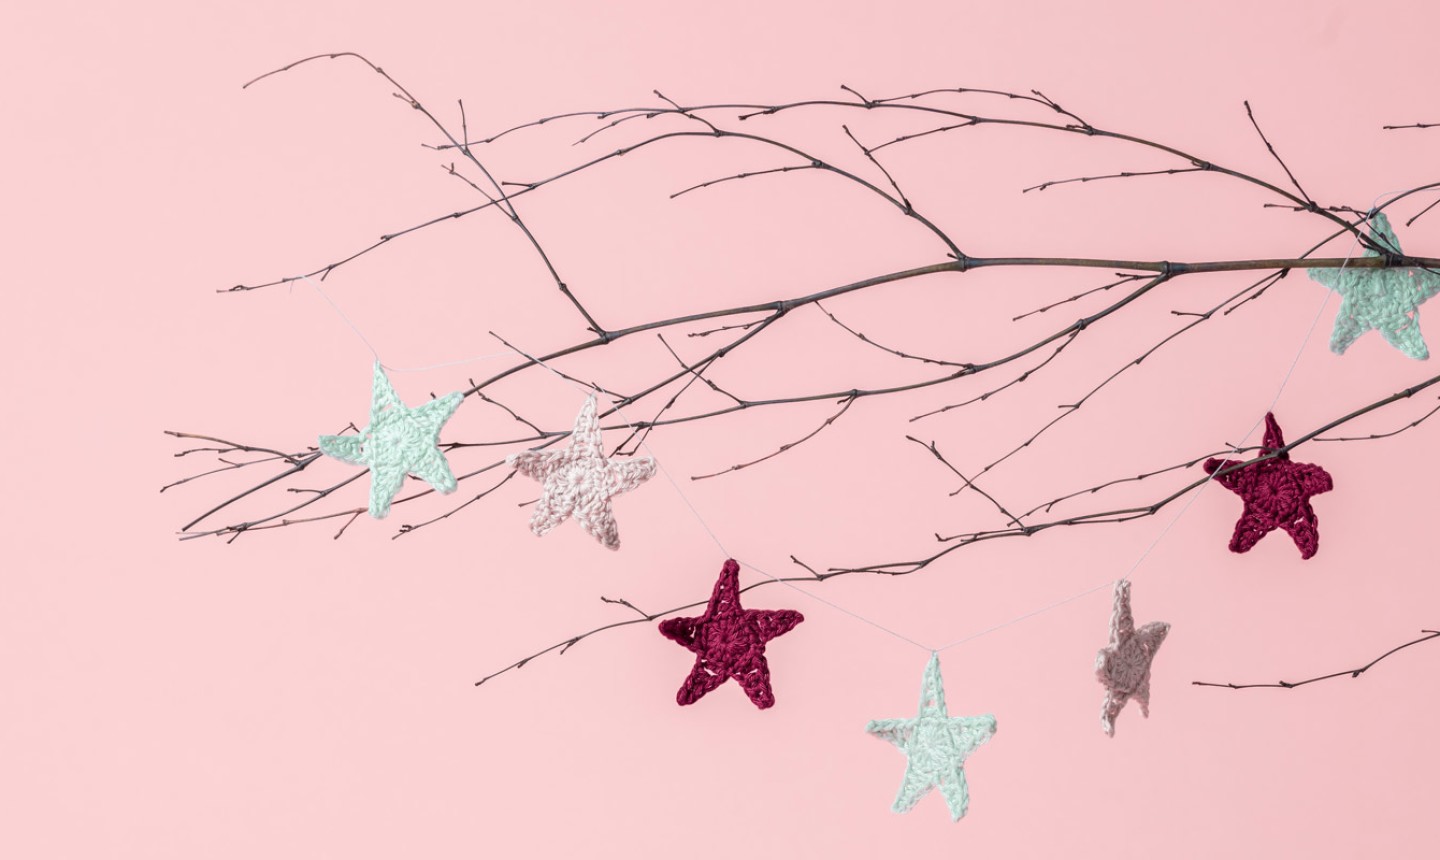
A night under the stars is even better when those stars are crocheted. String these cuties on a garland, turn them into a mobile, or keep it simple and hang ’em on a tree. There’s no wrong way to bring a little star power into your life.
Crochet Star Motif
Level: Easy
What You Need
Abbreviations
Instructions
Make the Center
Make a magic ring, ch 2 (these do not count as a stitch).
Work 3 half double crochets (hdc) into the ring, followed by a chain stitch. Repeat 4 more times. After the last chain, join to the first hdc with a slip stitch.
You will have a small pentagon (five-sided shape) with a chain space at each point. Do not tighten your starting circle too tightly at this point, and do not weave in the tail end.
Make the Points
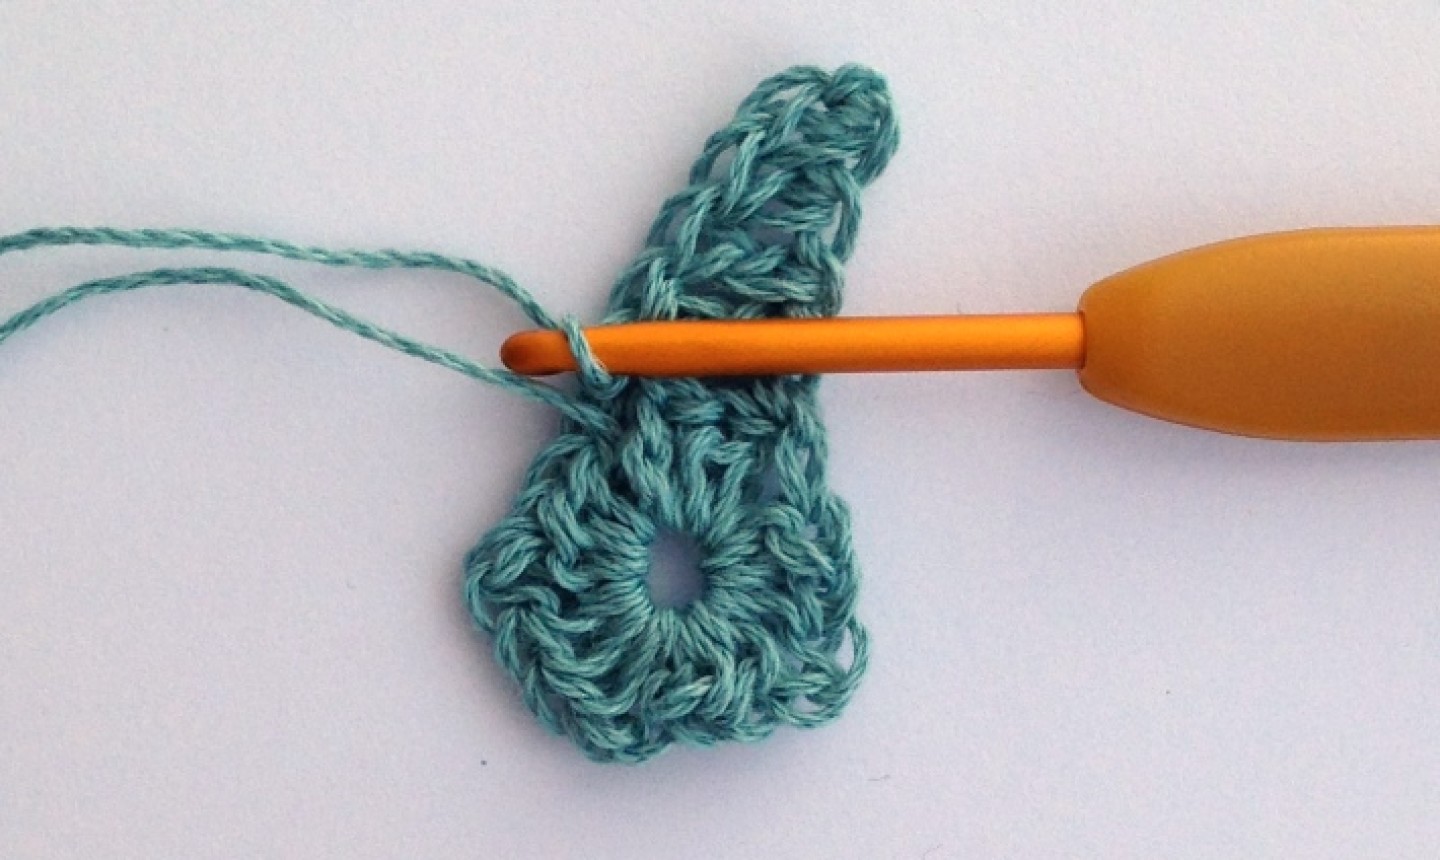
Make a slip stitch into the next stitch and then into the chain space that forms the next point of your pentagon. This brings you to exactly the right position to start the first point of your star.
Ch 5. These stitches are numbered in the photo below to help you with the next step.
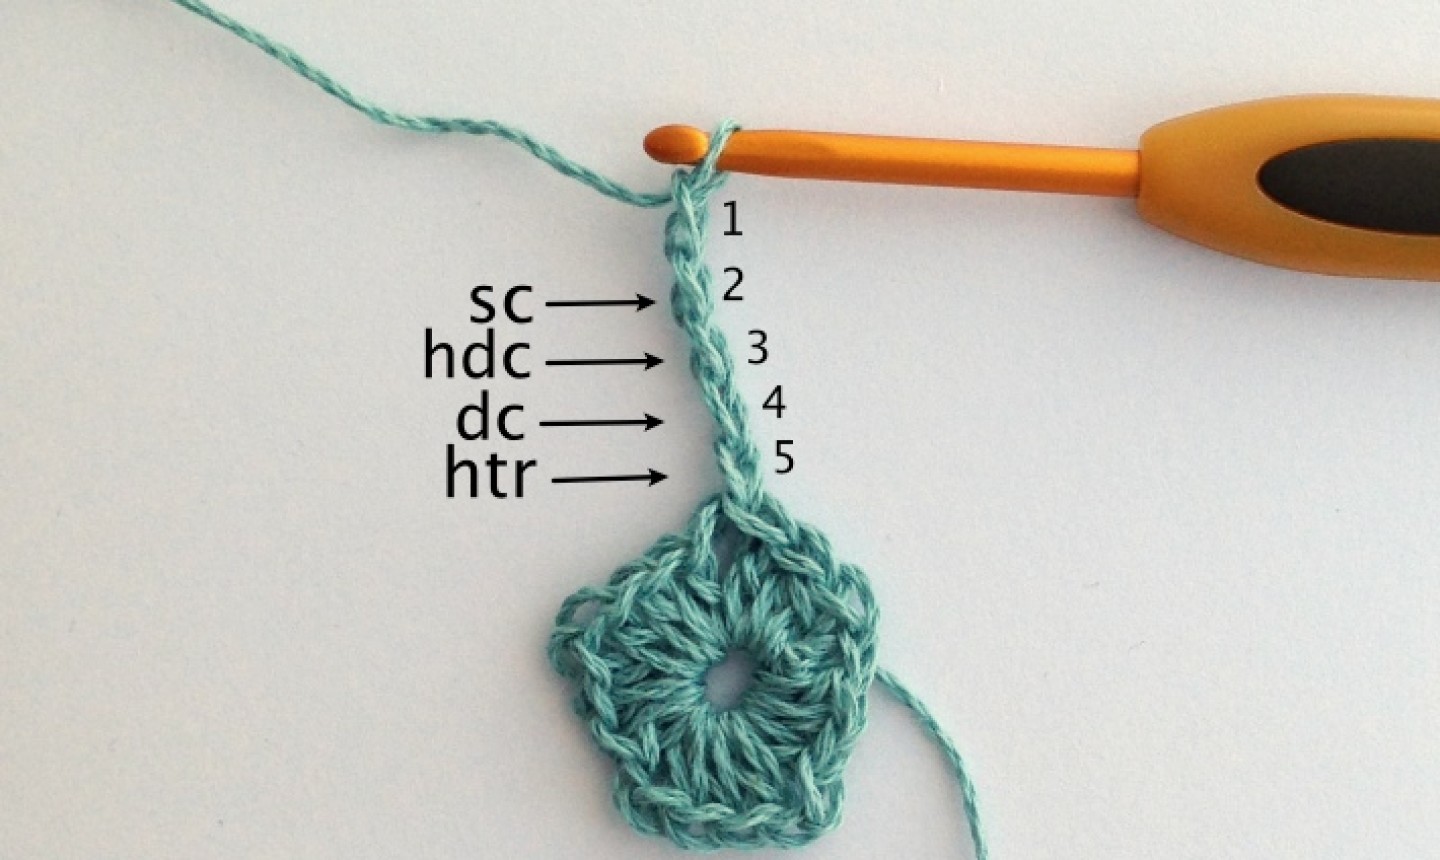
Now, work a sc into the second chain from your hook, then a hdc into the third chain, a dc into the fourth chain and a htr into the fifth chain.
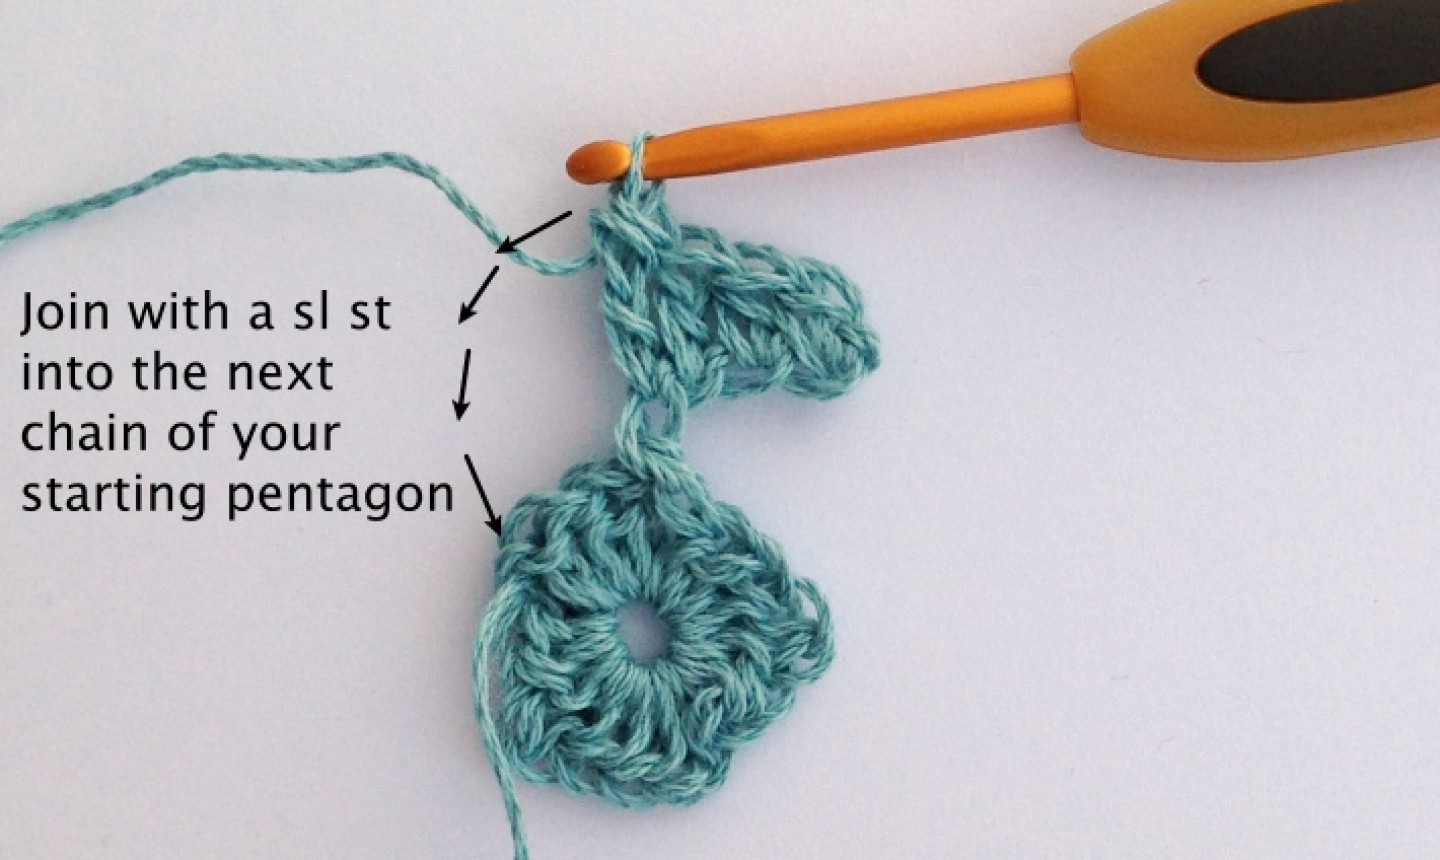
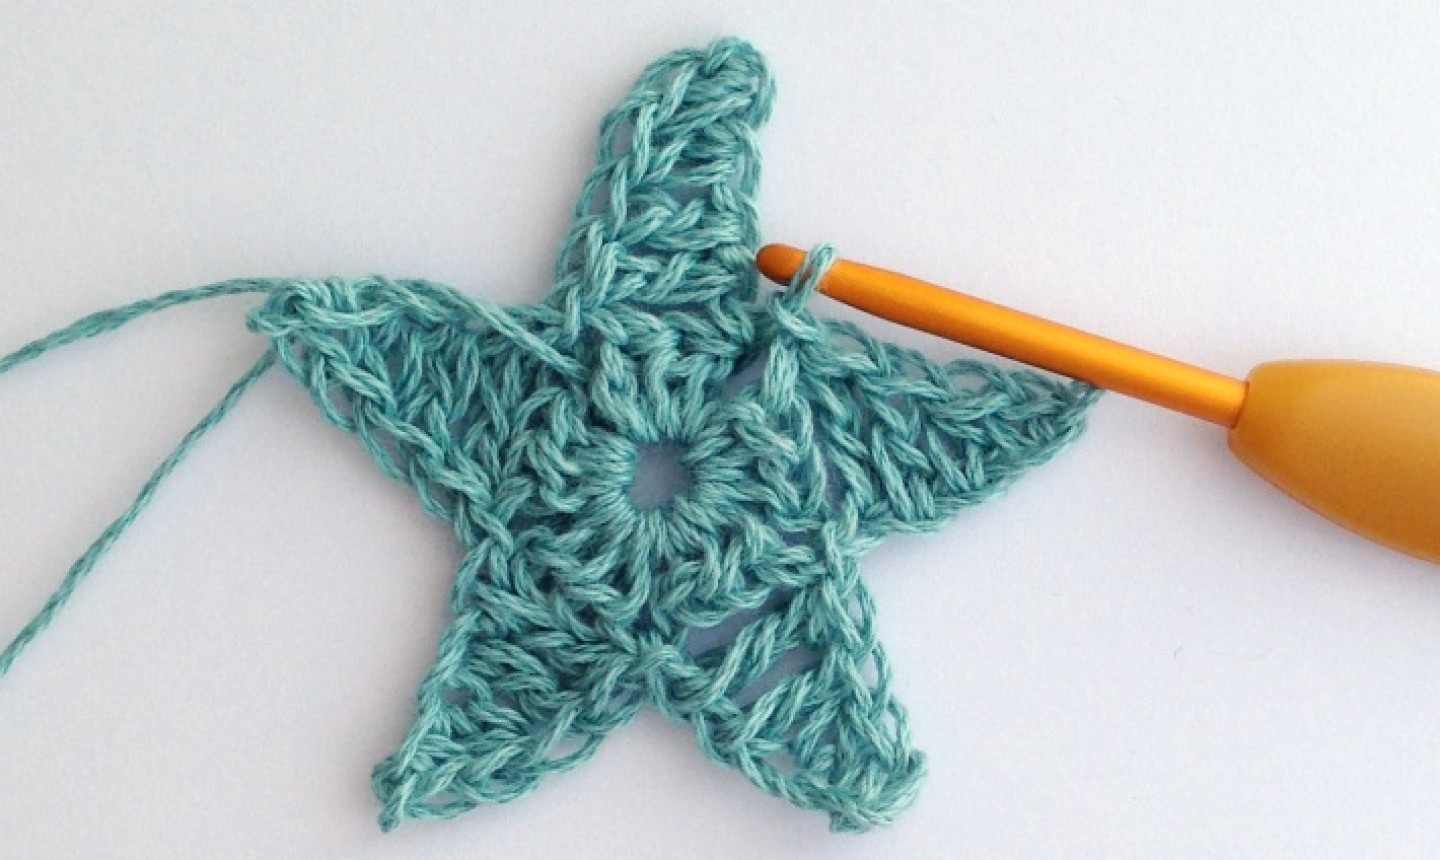
Join this point to the body of the star with a slip stitch in the next chain space on the starting pentagon.
You should now have something that looks like the photo above.
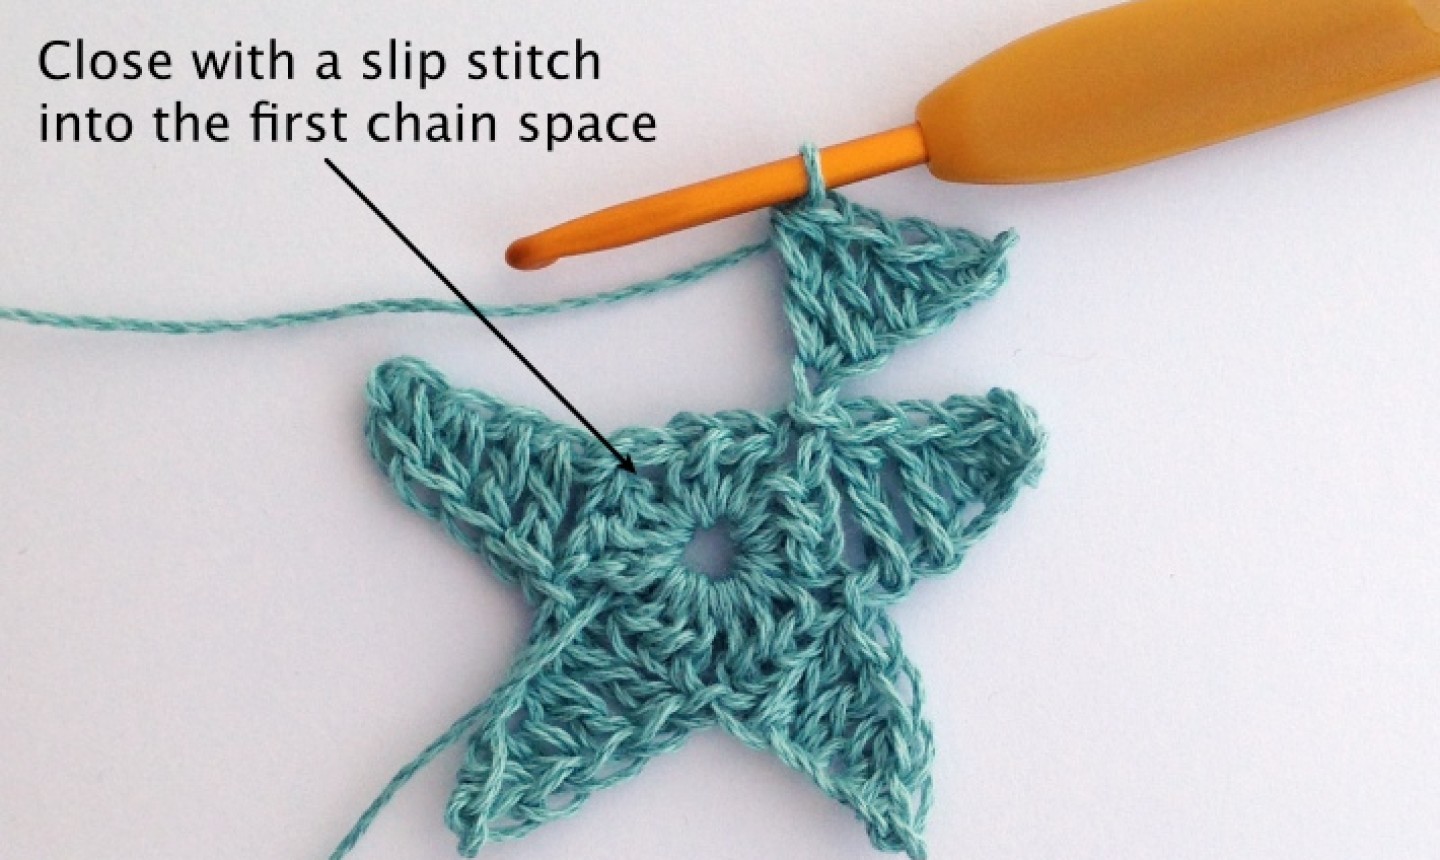
Continue working points all the way around, until you’ve made all five points. Join the last point into the first chain space of the starting pentagon with a slip stitch.
If you want to be done at this point, skip down to the finishing section.
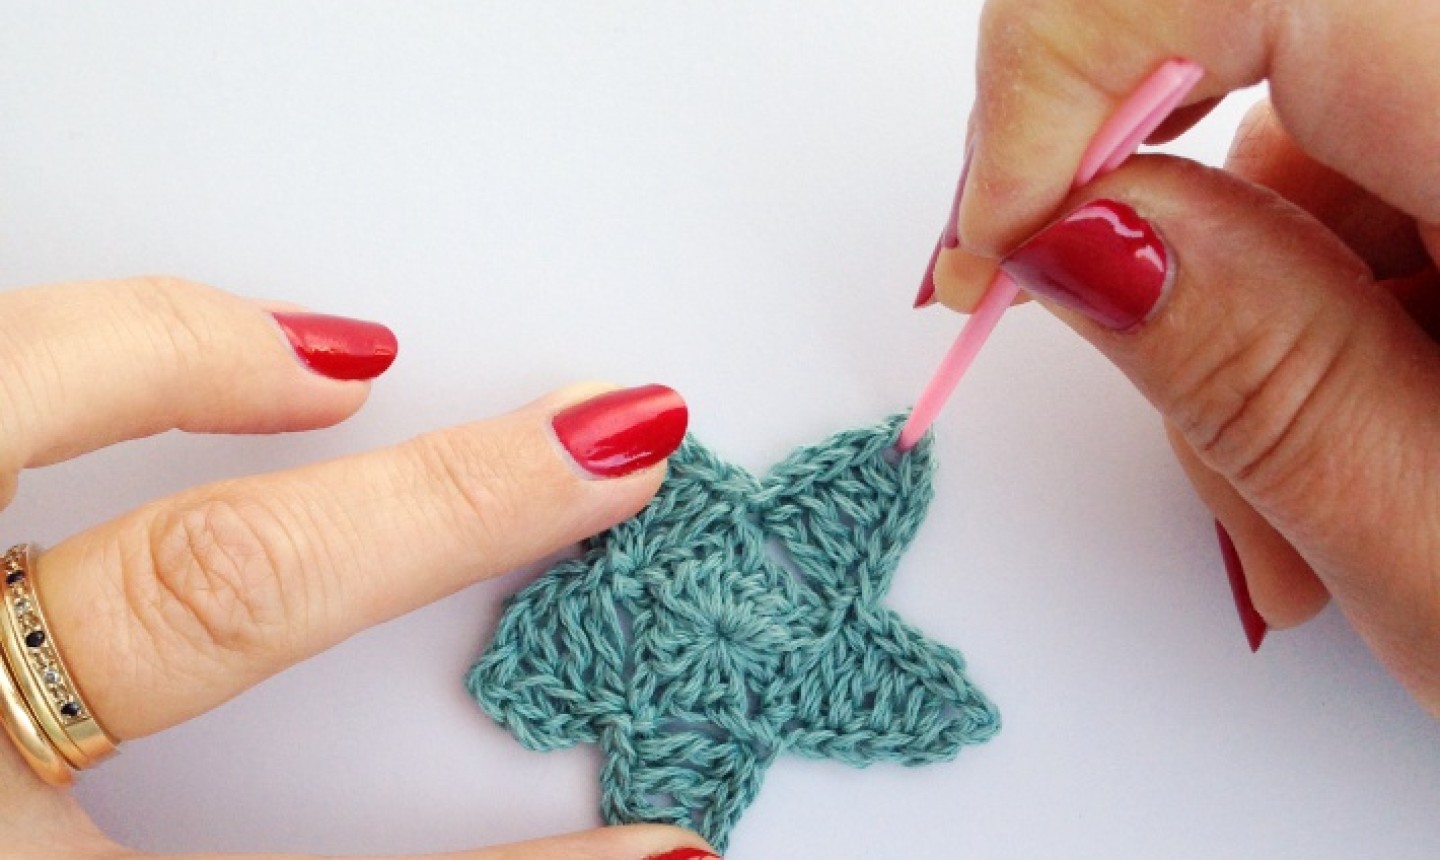
Slip Stitch Border (optional)
This step is optional — adding a slip stitch border will make the edges and points a little sharper and your whole star a bit sturdier. It’s totally up to you whether you try this step or not.
Working with the right side of the crochet star facing you, make a slip stitch in each stitch along the side of the first point of your star. When you get to the chain space at the top, work a slip stitch, chain 1, slip stitch, into the same space, then work down the other side of your point with slip stitch in each stitch. Continue working your way around, joining with a slip stitch to finish.
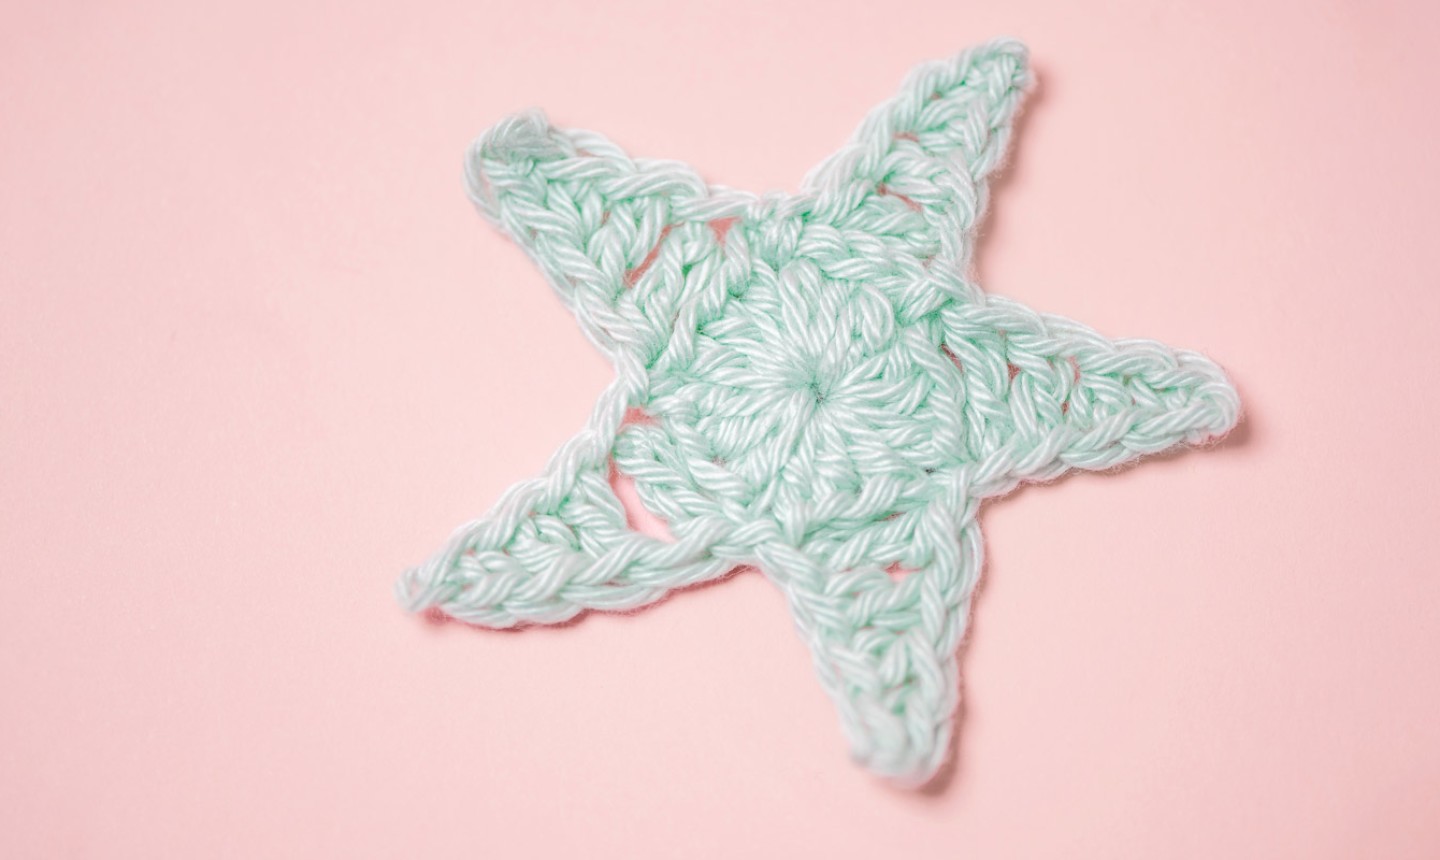
Finishing
Pull on the tail at your magic circle so the center closes up nice and snug. Weave in your ends.
Now let’s make those points pop. Place the star on a surface that won’t scratch. Insert the end of your yarn needle into each point of the crochet star and pull gently to stretch each point slightly.
If you’re a complete perfectionist, you’ll want to block your star — this will make its shape even sharper, and help keep those pointy points. If you used cotton, wool or another natural fiber yarn, pin your star out on a blocking board or a clean towel on your ironing board, spray with cold water to dampen and then leave it to dry for 24 hours. Unpin it and you’re good to go.
If your star is acrylic, pin it out and hold a steam iron about an inch above your work, gently steaming your star. Once the acrylic star has cooled, it’ll keep its shape.
Still not stiff enough? It’s time to bust out the big guns. If you’re planning to use your stars for a hanging decoration or garland, spray those bad boys with fabric stiffener while they’re pinned out and let them dry.
Wow honestly I have been crocheting since I was 8 I learned by watching my grandmother. Im a left handed crocheter (so my work always looks backwards) I have been doing stars all wrong! Thank you so much for this