

Good news, beginner knitters: all your handknit holiday fantasies are about to come true. Yep, you can totally knit this stocking! With a super simplified heel (it’s really just a rectangle) and fun fringe, you’ll be ready for Santa in no time.
Fringed Stocking
What You Need
Gauge
10 sts and 14 rows = 4 inches in stockinette stitch
Finished Size
15-1/2 inches long and 6-1/2 inches wide
Abbreviations
Notes
Instructions
Knit the Leg
With MC, CO 32 sts. Long-tail cast on is preferred, but go ahead and use whatever method is going to get those stitches on the needle for you.
Rnd 1: Place your stitch marker in your first stitch to mark the beginning, and join to knit in the round, being careful not to twist your stitches. Purl every stitch. This row of purl bumps gives us an edge to hang our fringe on.
Rnd 2: Knit every stitch of the round. Continue knitting every round, slipping your stitch marker as you come to it, until your stocking measure 9-1/2″ from the edge of the cast on.
Make Room for the Heel
Next rnd: Remove your stitch marker, and BO 8 sts, knit the next 16 sts, then BO the final 8 st. Cut your yarn and pull the tail through the last stitch to secure.
Knit the Foot
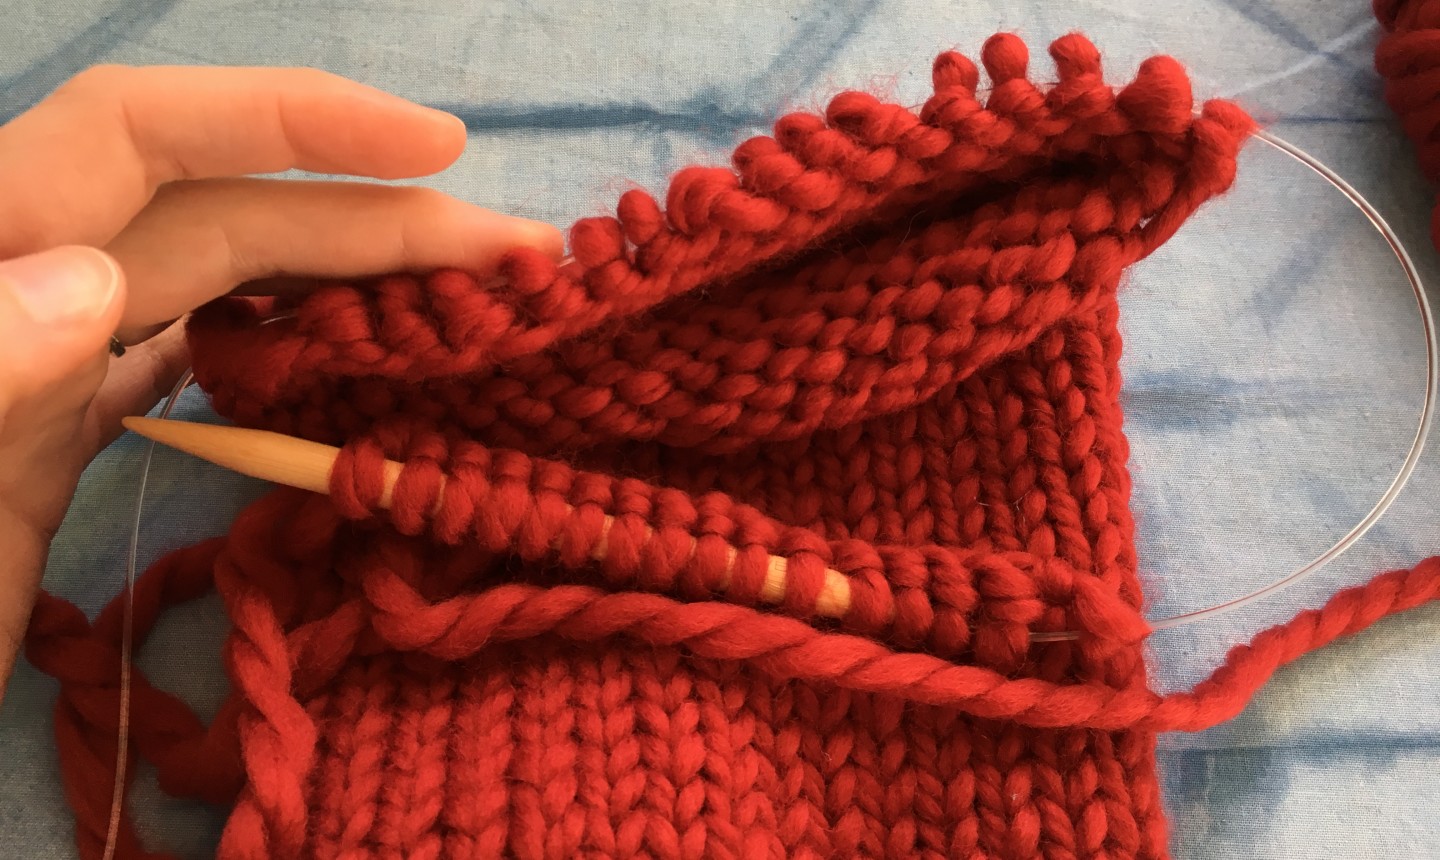
Next rnd: CO 16 sts. Take a second to readjust your sts on your needles. If you’re using them magic loop method, the sts you just cast on are on one needle, the rest are on the other side. Your round now begins after the sts you just cast on.
Join to continue knitting in the round. Knit every round until the foot of your stocking measure 4″ from the heel edge. Cut MC.
Shape the Toe
Next rnd: With CC, knit.
Dec rnd 1: K1, k2tog, k10, ssk, k2, k2tog, k10, ssk, k1.
Next rnd: Knit.
Dec rnd 2: K1, k2tog, k8, ssk, k2, k2tog, k8, ssk, k1.
Next rnd: Knit.
Dec rnd 3: K1, k2tog, k6, ssk, k2, k2tog, k6, ssk, k1.
Next rnd: Knit.
Dec rnd 4: K1, k2tog, k6, ssk, k2, k2tog, k6, ssk, k1.
Next rnd: Knit.
Dec rnd 5: K1, k2tog, k4, ssk, k2, k2tog, k4, ssk, k1.
Next rnd: Knit.
Dec rnd 6: K1, k2tog, k2, ssk, k2, k2tog, k2, ssk, k1.
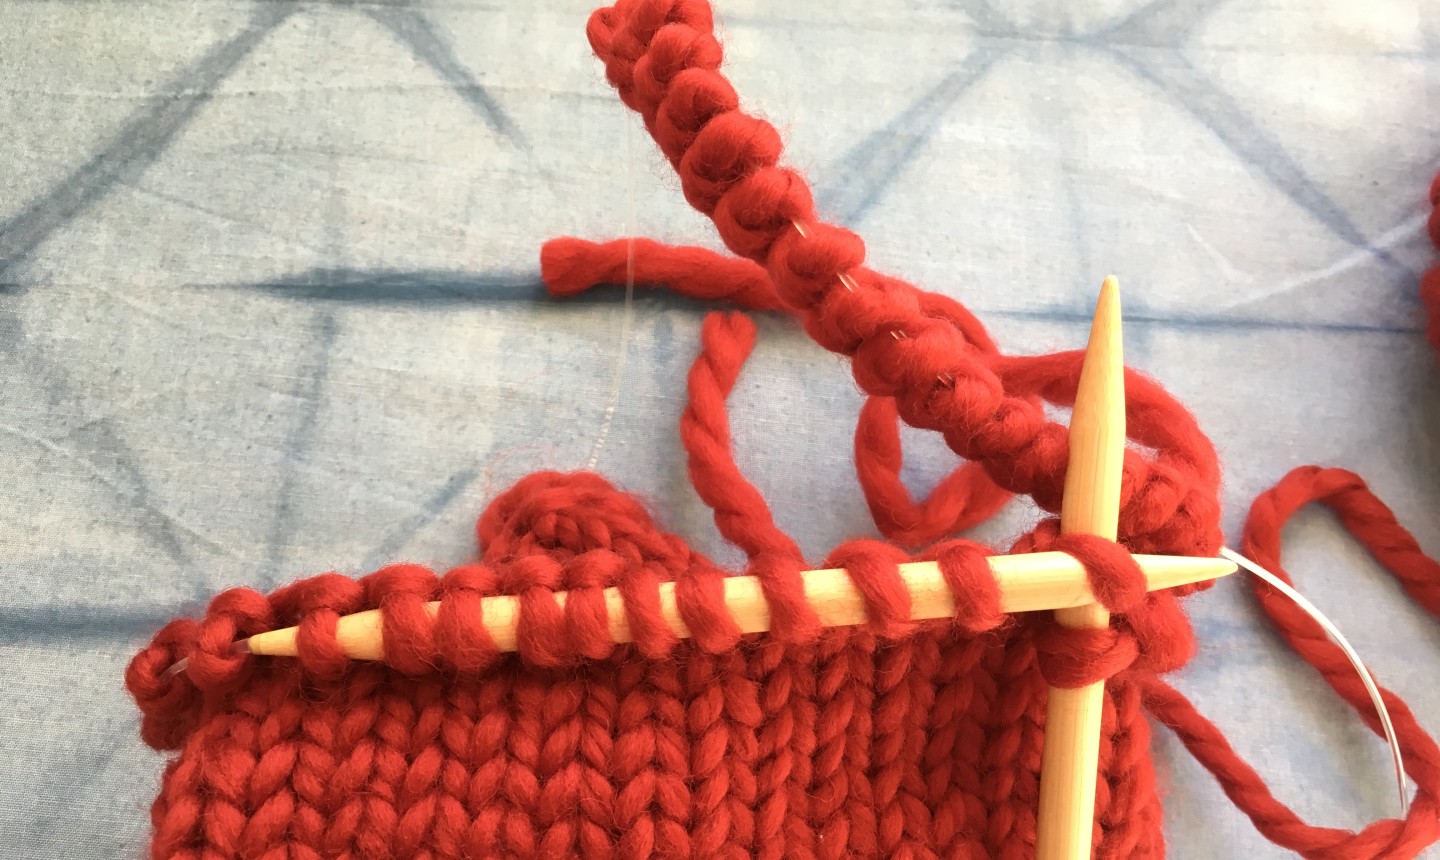
Next rnd: K2tog all the way around. 6 sts remain.
Cut your yarn, leaving an 8″ tail. Thread the tail through the remaining sts and cinch the toe shut.
Make the Heel
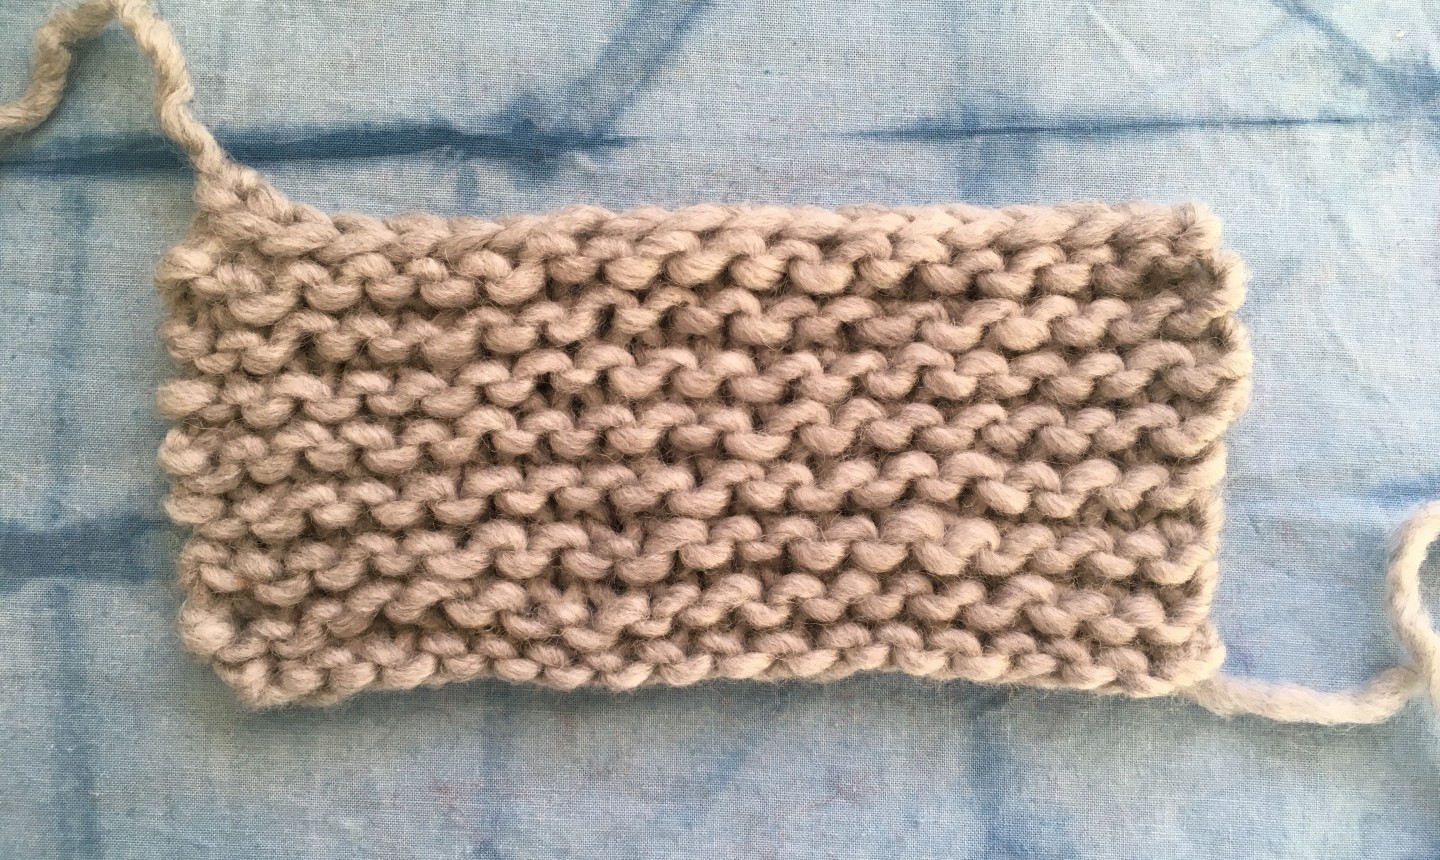
CO 18 sts. Work in garter stitch (knit every row), until the heel measures 4″. Bind off.
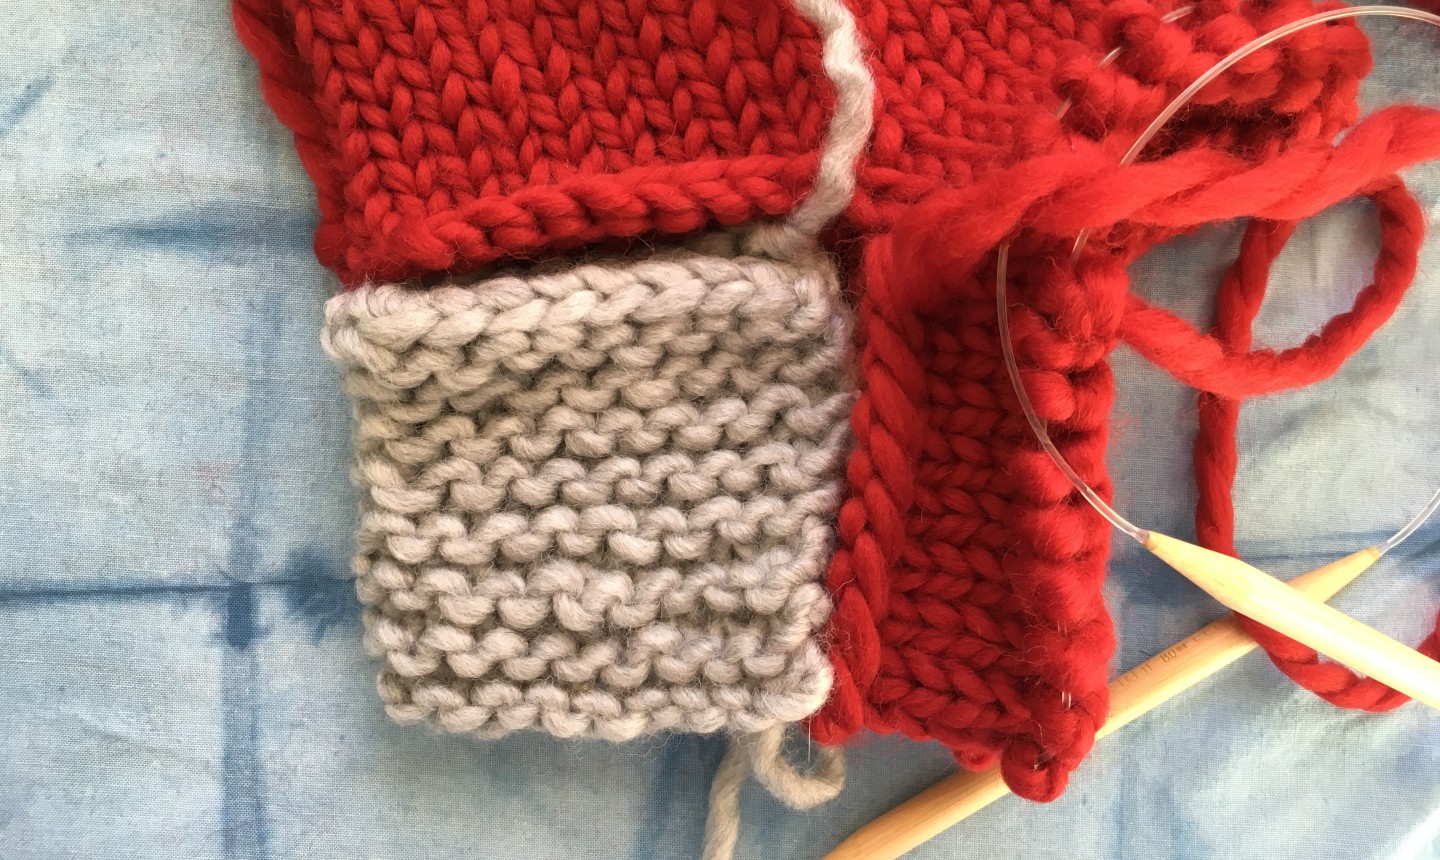
Line up your heel in the stocking. Basically, you’re folding your rectangle in half so it looks like a square and fitting it into the the opening in your stocking. (Go ahead and pretend that the toe is finished being knit in the photo above…)
Whip stitch the cast-on edge along the long bind-off edge of the stocking, then turn and stitch the side of your heel in place along the cast-on stocking stitches. Stitch the side heel stitches in place along the other side of the stocking, then seam the bottom bound-off heel stitches together.
Fringe It Up
Cut 30 strands of CC yarn about 8″ long.
Pro Tip: Find a piece of cardboard or a book that’s about 4″ wide, and wrap your yarn around that. Cut at one end and you’ll have your 8″ strands.
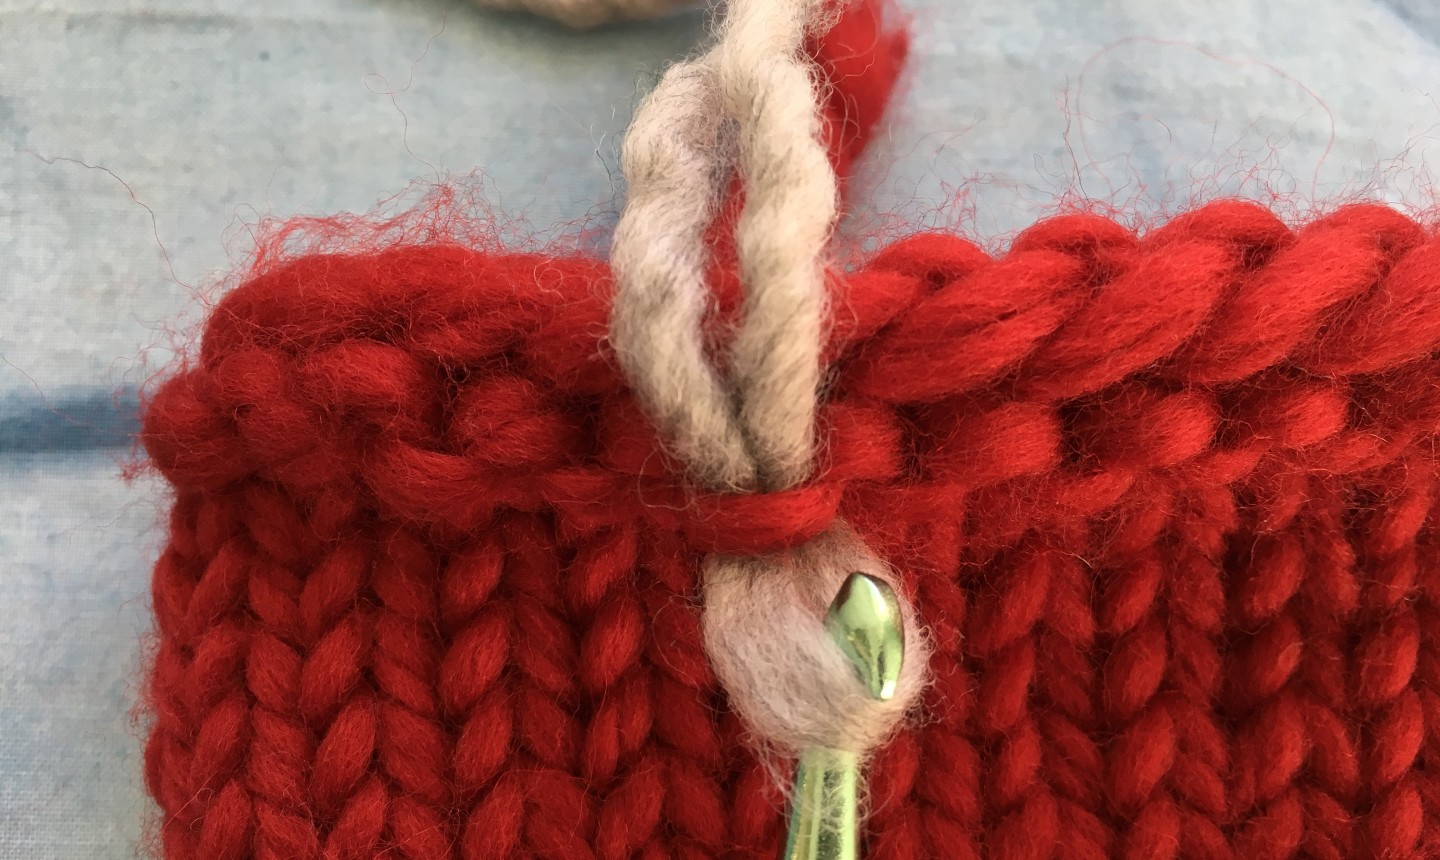
Insert your crochet hook up through the first purl bump of your CO edge, grab a strand of yarn at the halfway point, and pull the loop down.
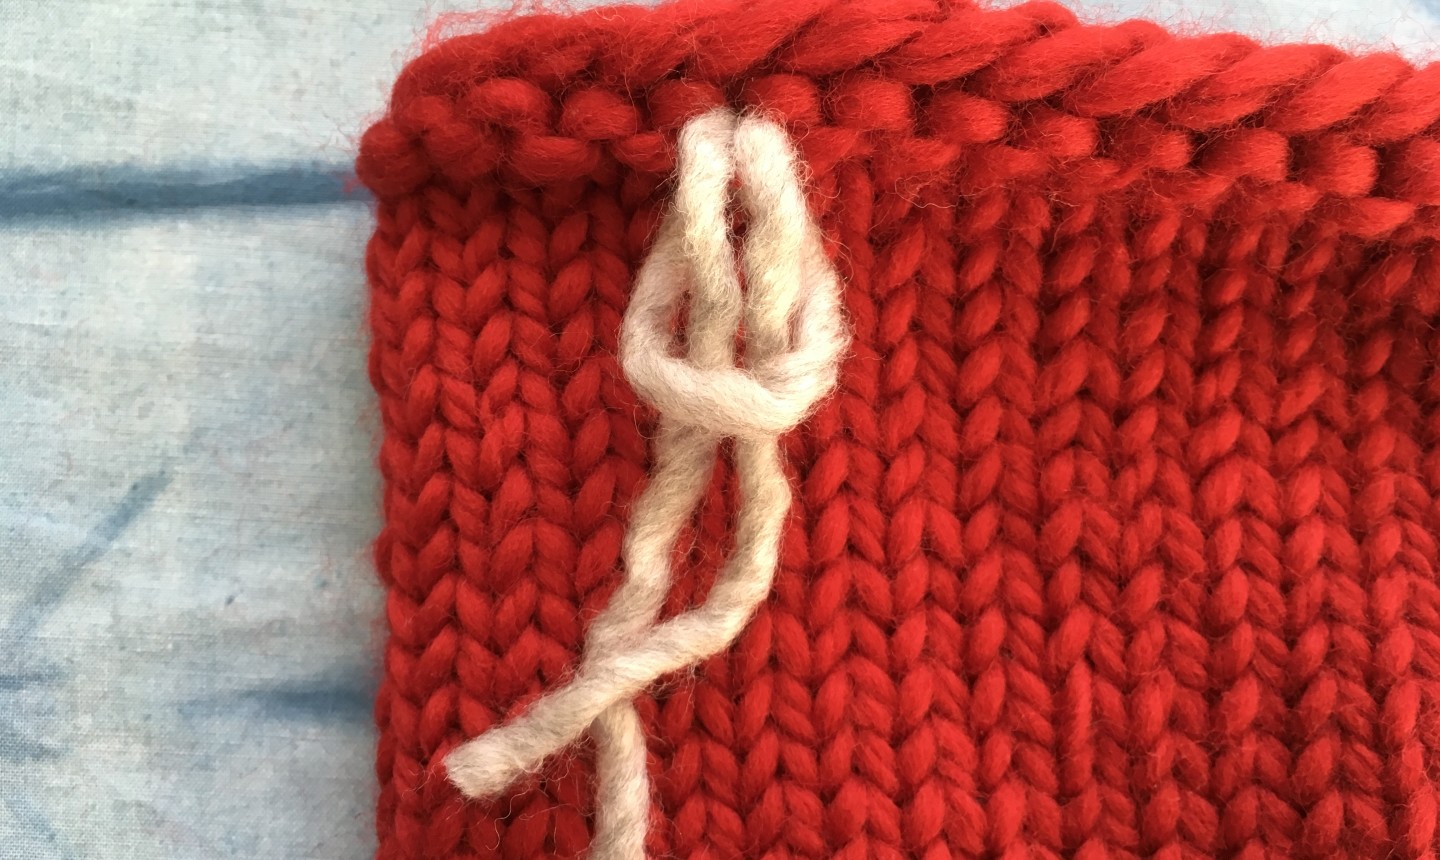
Thread the loose ends through the loop and pull down to tighten.
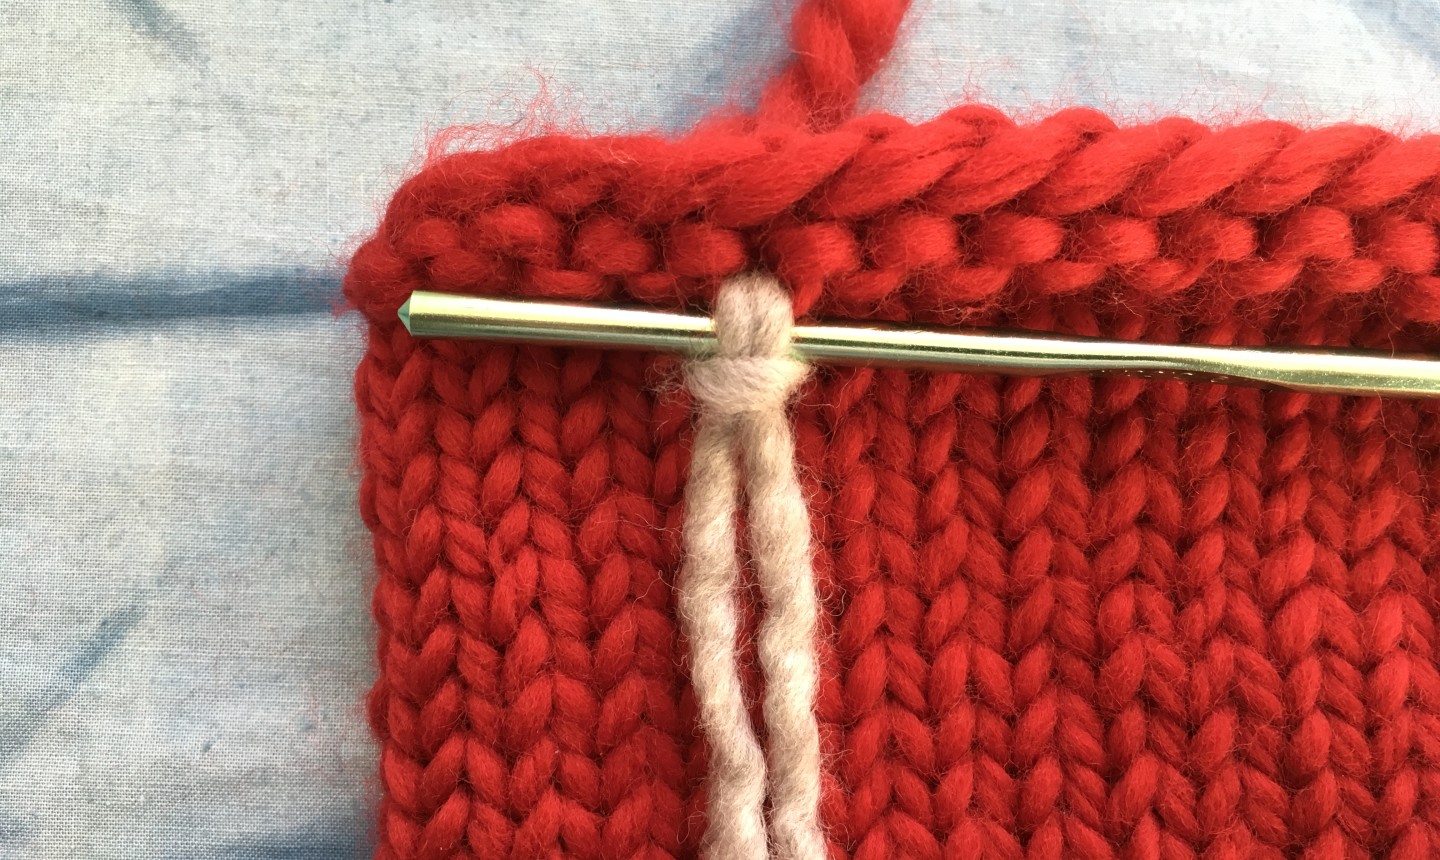
You may find it easier to slip a crochet hook or knitting needle in there to tighten your fringe around.
Work your way all the around the stocking until it’s fully fringed. If your fringe ends up uneven, give it a trim!
Hanging Loop
Time for the final touch: a hanging loop. This stocking uses a simple braid, folded in half. Weave the ends of the braid into your stocking, leaving one strand long to wrap around the bottom of the braid and disguise your knots.
Weave in any loose ends, and then hang that stocking with care.
chunky scarf