
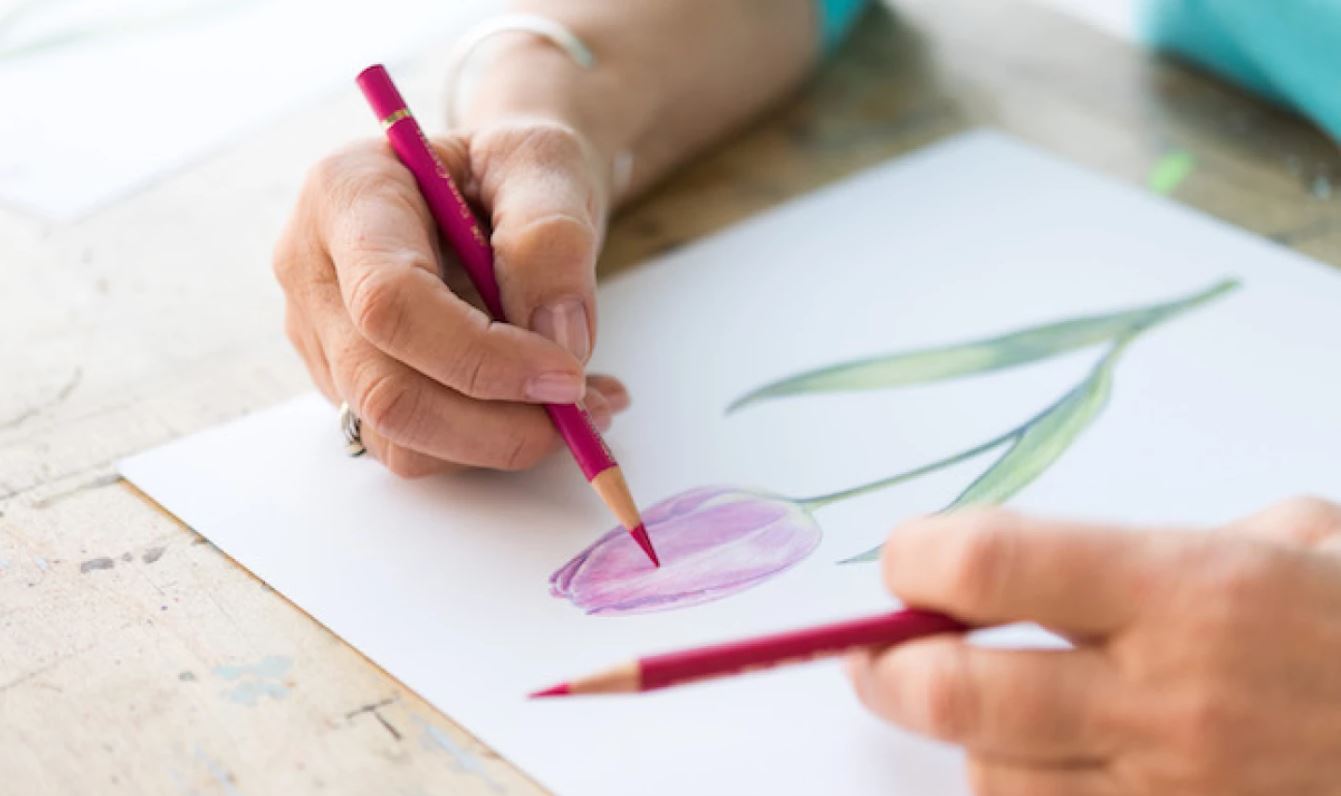
We bet you’ve seen it: Art that looks like an incredible painting, but was actually done with colored pencils. These seemingly simple tools can create an incredible range of dramatic effects, if you know the right colored pencil techniques to bring to the table. Ready to try? Go!
1. Layering Colors
Say it with us: layer, layer, layer. This is the key to getting vibrant colors and realistic shading. Check out the first persimmon below, which uses only one shade each of red and green. Pretty dull, right? But by layering in shades of gray, orange, green, violet and blue, the final result is much more lifelike. Watch the tutorial for a detailed look at how layering brought this fruit to life.
2. Pencil Pressure
The pressure is on your pencil, and how much makes a huge difference: a lighter touch results in a lighter color, whereas a heavier hand creates a dark, saturated hue. Lighter pressure is the usual go-to because it makes a better base for layering colors, but the best way to feel it out is to make a pressure scale — simply draw swatches of the same color using different pressures and you’ll quickly see the difference. Then you can refer to your scale as your work on your piece.
3. Incising Paper
Incising or indenting is a technique that allows you to make very thin, white lines within dark values. So cool!
To do it, place a piece of transparent paper (such as tracing paper or waxed paper) over your drawing paper. Use a ballpoint pen or a 2H graphite pencil to draw the incision lines, pushing down hard enough to make an indent on the paper below.
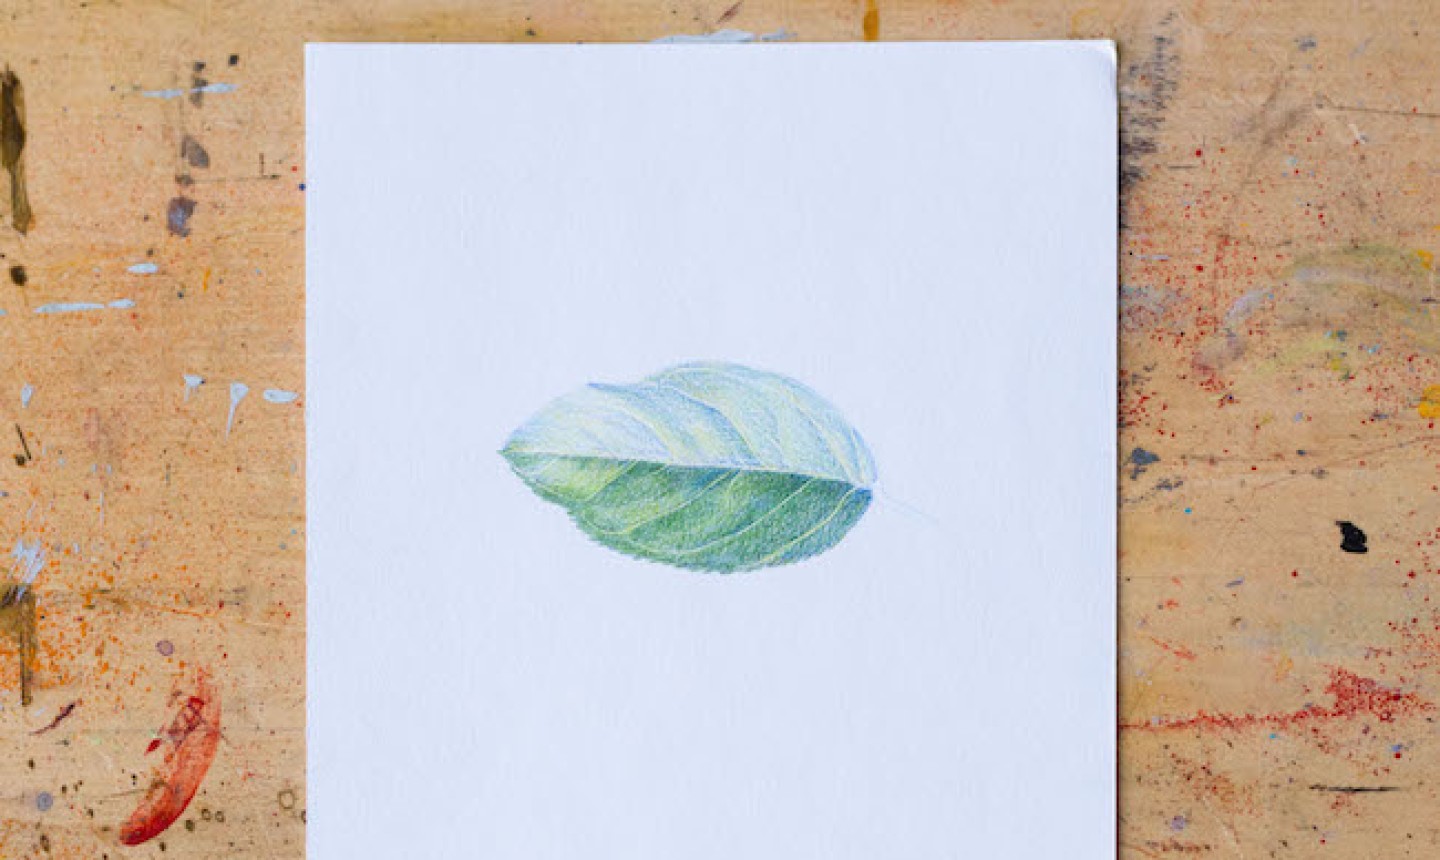
Once you’ve drawn all the lines, remove the sheet of transparent paper and shade over the indented areas. (This comes in handy when drawing fine details like animal fur, flower filaments and anthers, leaf veins, scratches and more.)
4. Drawing Highlights
There are several methods to create the lightest areas in your colored pencil drawings, and they often depend on the types of paper you draw on. On white paper, simply use the blank paper itself as the highlight. (You can create an outline of your highlight with a light color, so you remember not to shade there.) On colored paper, you’ll need to use pencils to add the highlight.
Start with a light colored pencil first (cream, light peach, cloud blue, etc.), then finish up shading with white. Apply a very heavy pencil pressure to achieve the necessary brightness. If the highlights are super tiny or need a punch, try using touch of white crayon, pastel, gouache or even acrylic paint with a 00 brush.
5. Blending
Blending isn’t a necessary step, but many artists like the smooth finish. (It’s what makes it look more like a painting, too!) Using blending solvents and tools, you can smooth out the pigments, eliminate the lines you made when applying color and make the overall image darker, smoother and more vibrant.
6. Underpainting
Underpainting is the first layer that’s applied to your subject. These initial layers create a structure for your drawing and influence the final look. In the tutorial below, the first color we add to the cherry is a light yellow around the center, where the highlights fall. Then orange is added throughout to act as a midtone, and then the darks are marked in with magenta.
Now that you have this roadmap, you know exactly where to place your final pigments!
To say thank you isn't enough. God bless you all for your kindness in sharing your knowledge to the whole wide world. Mahalo nui loa🥹, ♿️Joe🇨🇦 Do you have more articles like this? And do you mind if I share your website?
COOL! :D
This was super useful 😃